


DIY Upholstered Headboard

by
Love & Specs
7 Materials
$100
2 Hours
Easy
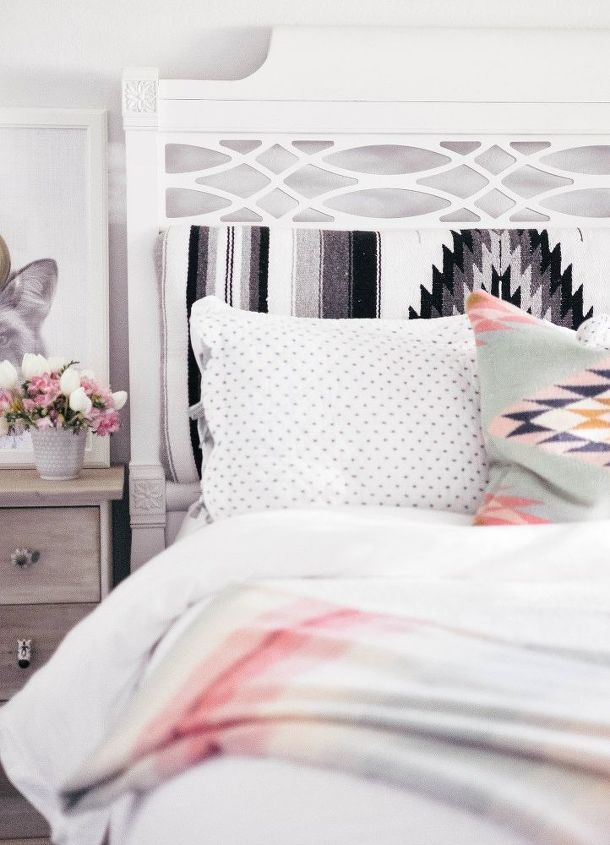
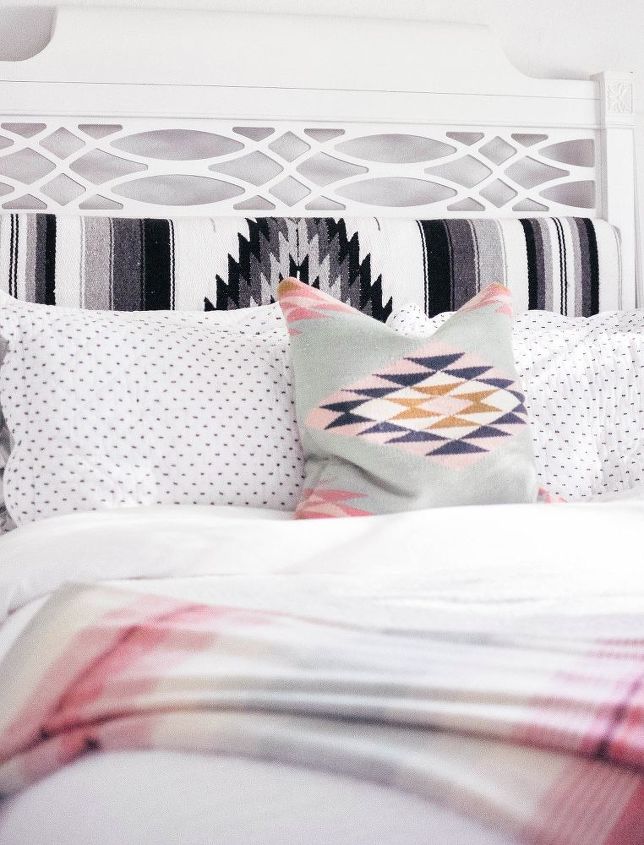
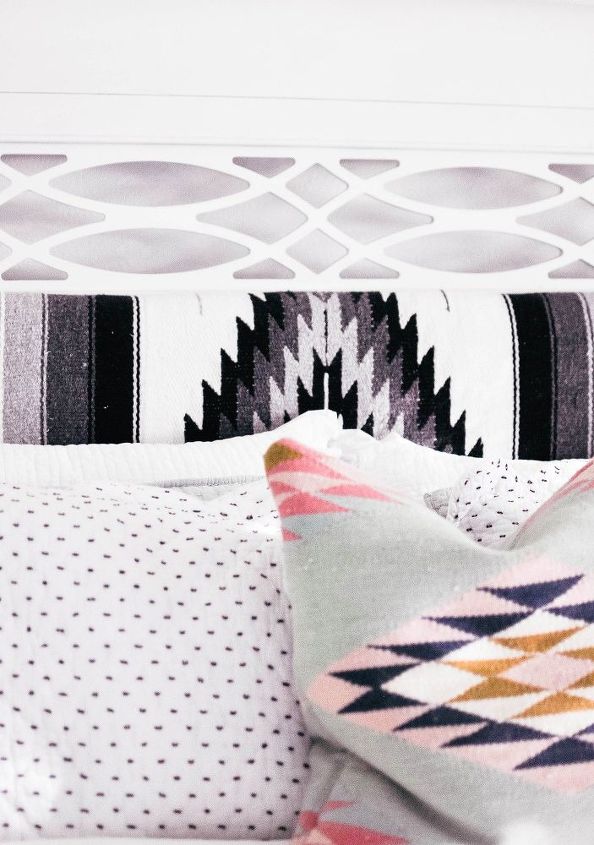
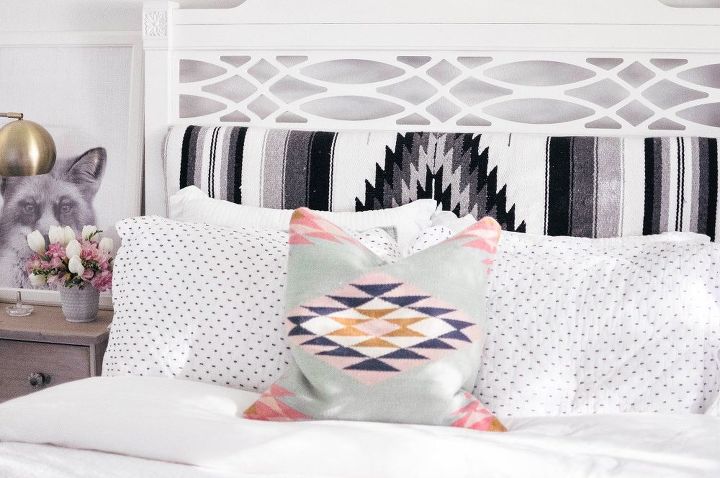
I gave an old, rickety headboard a fun and fresh update by adding an upholstered panel using an inexpensive and fun Mexican blanket! Who knew that an old Mexican blanket could be such a fun fabric?!
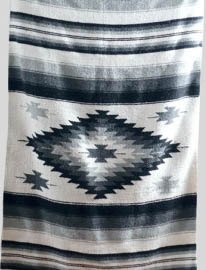
If you're going with a new color scheme for your headboard like I did, sand your entire headboard using a medium-grit sanding block or power sander. Spray paint your headboard the color of your choosing - this headboard was black, and I used a pure white semi-gloss spray paint all over to change the color completely. Then grab an inexpensive, patterned Mexican blanket in the colors of your choosing!
Measure your headboard space. For mine, I was measuring the recessed panel on our headboard.
Cut a piece of plywood (or have Home Depot cut it for you) to fit the dimensions of your panel space.
Trace the proper panel dimensions onto your foam. Cut your foam piece using an electric kitchen knife if you have one. That's the cleanest, easiest way to cut foam without buying a special saw or going through the not-so-precise and much more difficult razor blade route.
Apply a heavy coat of foam adhesive to your foam piece and very carefully attach it to your plywood. This stuff bonds pretty much immediately which makes placing the foam tricky - hover just above your plywood, and line it up precisely where you want it before setting the foam onto the plywood. This is where having a partner to help comes in handy.
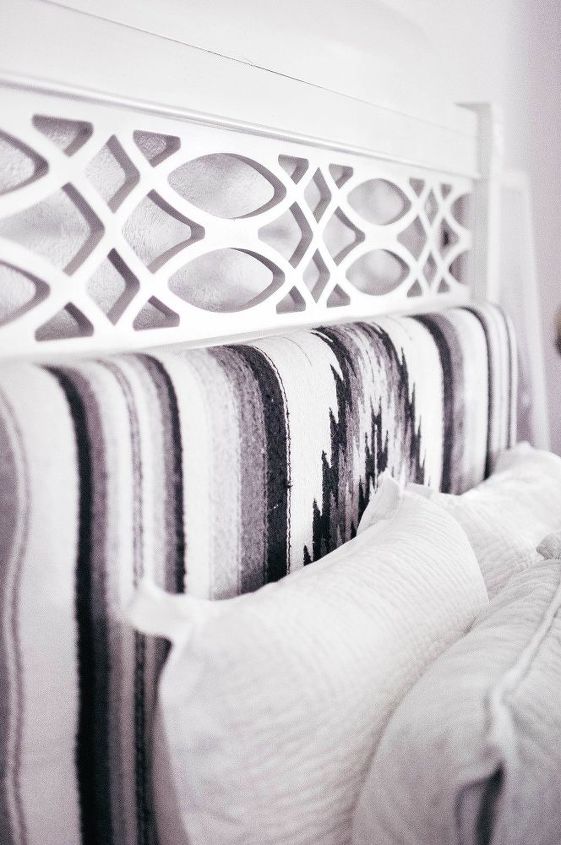
Lay your fabric flat on the ground, with whatever side of the fabric you want showing on your headboard facing the ground. Then place your foam-plywood panel in the center of the piece of fabric, with the foam side touching the fabric. In the case of the Mexican blanket, we had to be very precise to make sure that the pattern on the fabric was perfectly centered to our foam-plywood panel. Cut your fabric to fit your foam-plywood panel, leaving two inches of fabric extending out past the plywood.
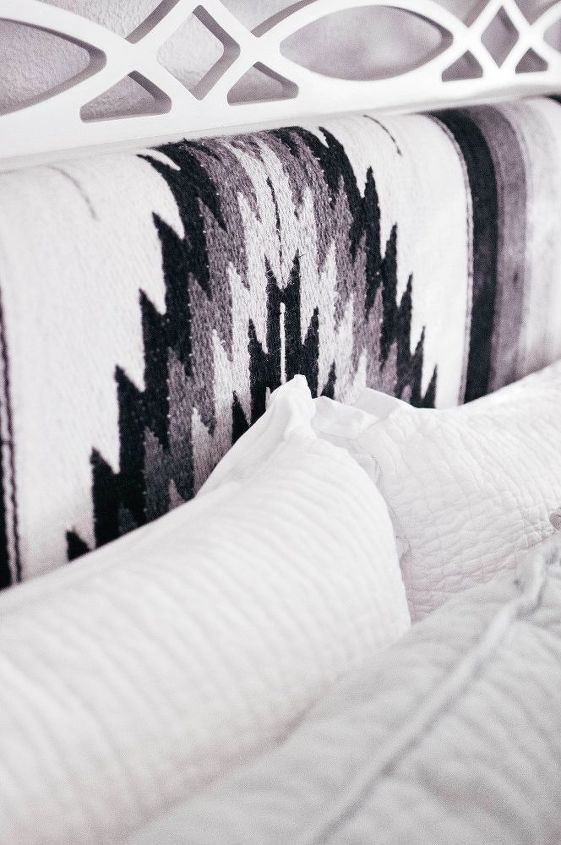
Begin carefully pulling your excess fabric around your foam-plywood panel tightly, and using your staple gun and staples to secure each piece of fabric onto the plywood. If you're using a heavily patterned piece of fabric like we did here, especially one with straight lines on the pattern, be very careful when pulling. If you pull too much and don't check the other side of the panel to watch your pattern, you may distort the lines (making them look bowed or bent) on the other side of your upholstered panel, which you'll be seeing every day. The lesson: pull tightly, but not too tightly.

The easiest way to attach your upholstered panel to your headboard is to have a helper. One person can position the upholstered panel where it needs to be on the front of the headboard and hold it in place, while you then drill your screws into the headboard and through the plywood panel in each of the four corners in the back of the headboard, adding more screws in between the corners if necessary along the edges of the panel.
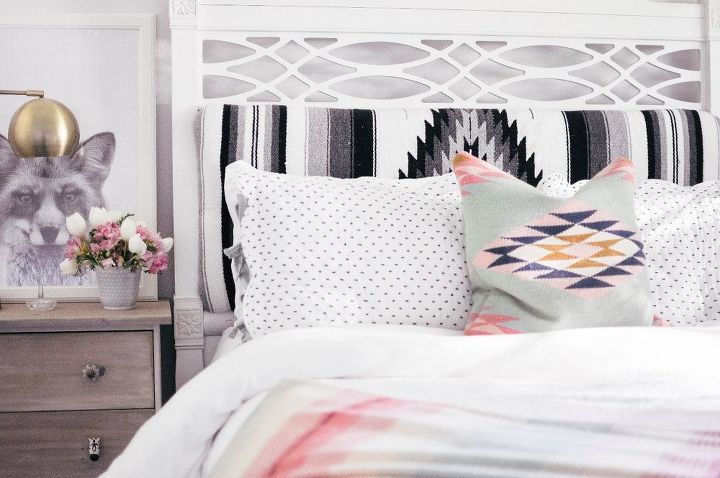
And you're done! An easy DIY at a relatively low cost that translates to a majorly upgraded centerpiece in your bedroom. So fun!
Want more details about this and other DIY projects? Check out my blog post!
Comments
Join the conversation
4 comments
-
LOVE how this looks! Great job!
-
Wow!! This looks gorgeous :)


Frequently asked questions
Have a question about this project?