


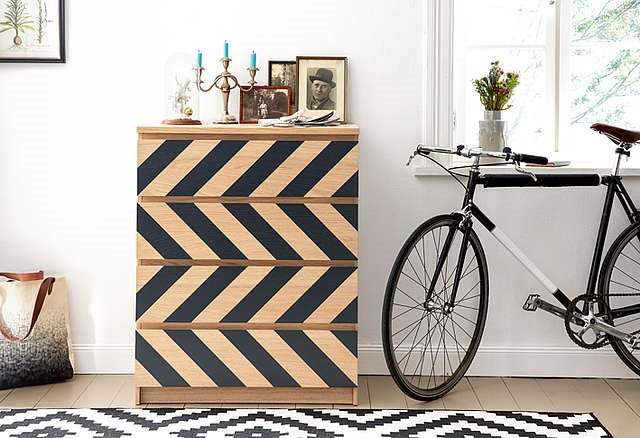
Dresser With an Edge
Simple pieces of furniture can be transformed into stylish living accessories in just a few simple steps and with an individual coat of paint.
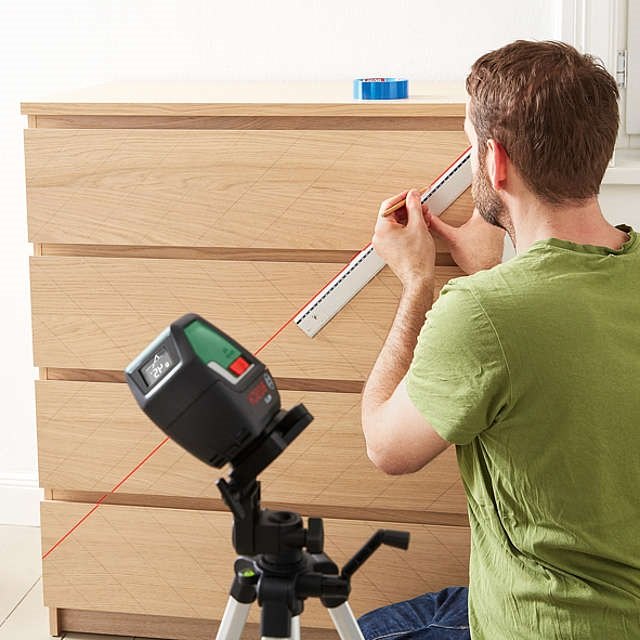
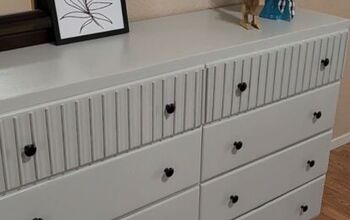
To get a zigzag pattern, the baselines must first be drawn thinly on the dresser. To do this, set the cross line laser to 45 degrees and point it at the piece of furniture. With the help of a ruler and by repeatedly adjusting the laser, the lines can be marked on the first drawer at a distance of 10 cm. For the opposing strips of the next drawer, incline the cross line laser at a 45-degree angle in the other direction and repeat the steps.
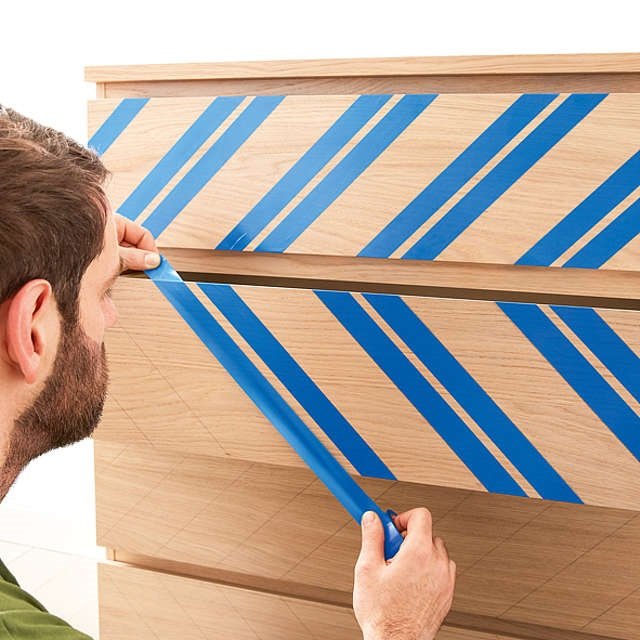
Mask the pencil markings with adhesive tape – use a special adhesive tape for paints here . This is particularly thin and enables straight zigzag stripes and prevents the color from running later.
Attention: Always attach the adhesive tape on the side of the marking that is not to be painted later.
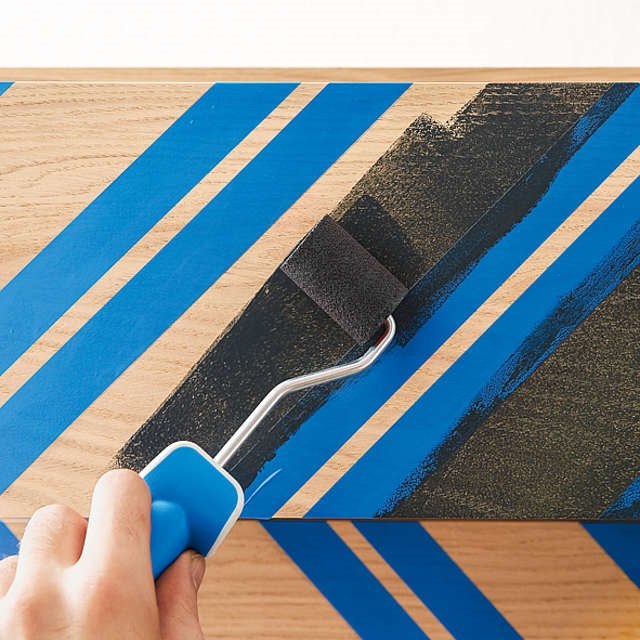
Now the paint is used: with the help of a narrow paint roller, the open spaces can be painted with black acrylic paint . After the paint has dried, the tape is carefully removed. The chest of drawers with a zigzag pattern is finished.
Resources for this project:
See all materials


Comments
Join the conversation
-
Beautiful transformation. Well-written, clear instructions. Nicely done, nicely explained process. Thank you.
-
Looks great


Frequently asked questions
Have a question about this project?