


End Table Makeover

I bought this old, clunky, beat-up end table from FB Marketplace over a year ago, with full intentions to give it a lovely makeover. I finally did it! I don't know why this one took me so long; it was a fairly easy project with beautiful results.
Check out my video tutorial for more details about how I completed this project!
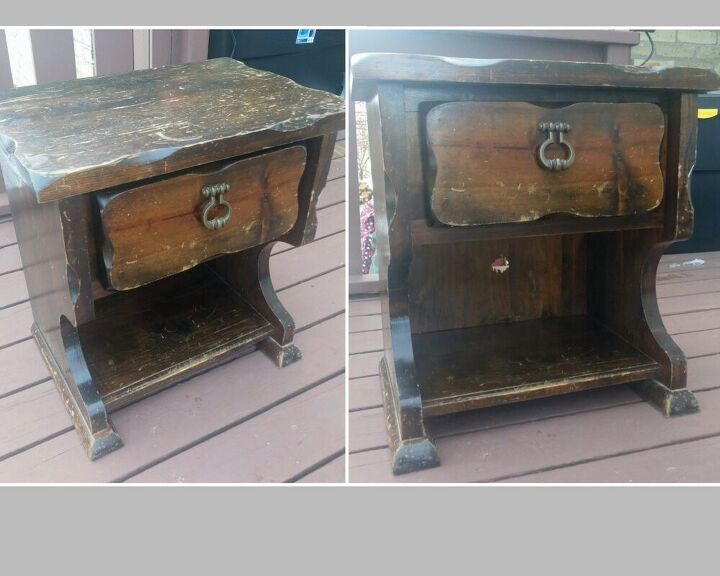
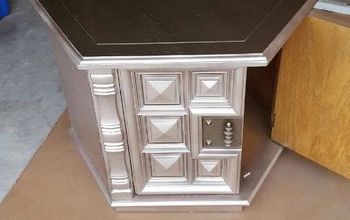
Here is the original look. Very dark, thick, and suffer up. I knew this would need a lot of elbow grease to turn it into a new table.
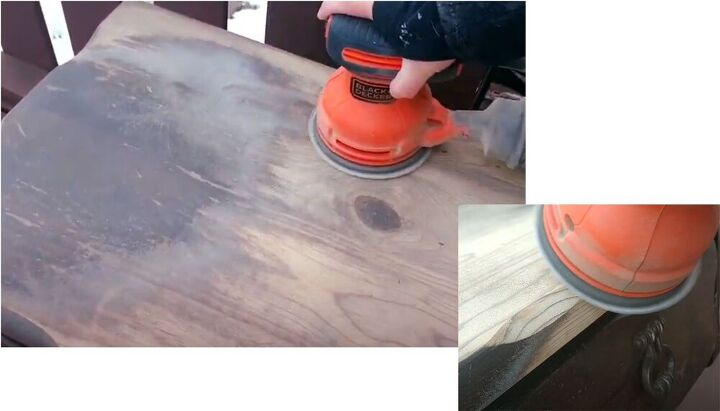
First, I sanded. I wanted to stain the top, so I had to sand it down to the original wood. There are some decorative curve/notches along the edge so I had to be careful not to sand too much and mis-shape those. I just pressed the edge of the sander very lightly along the curve.
I painted the rest of the table, so I did a quick, light sanding over the base of the table to prep it for painting.
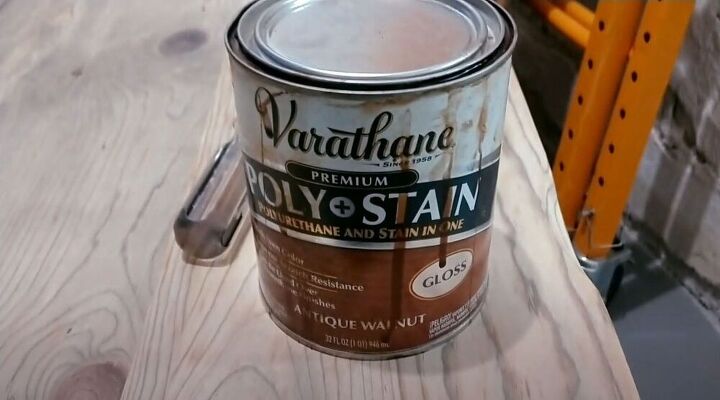
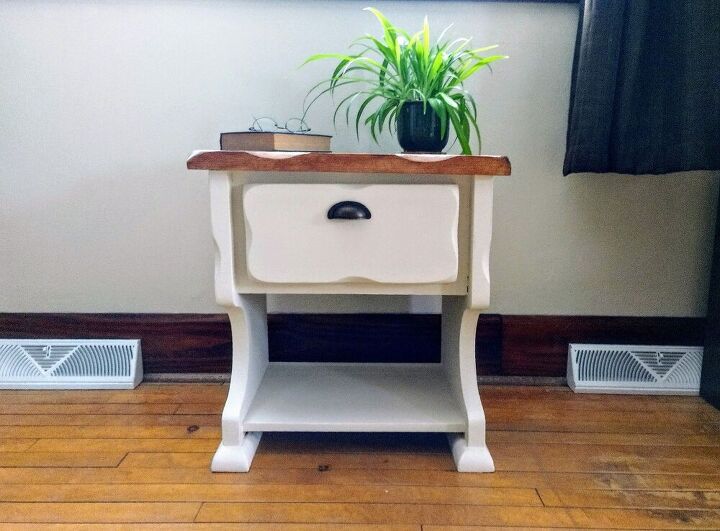
I chose a Varathane Antique Walnut stain that I've used on multiple projects. A small container of stain goes a long way! I did two coats of this stain to create a darker, richer color.
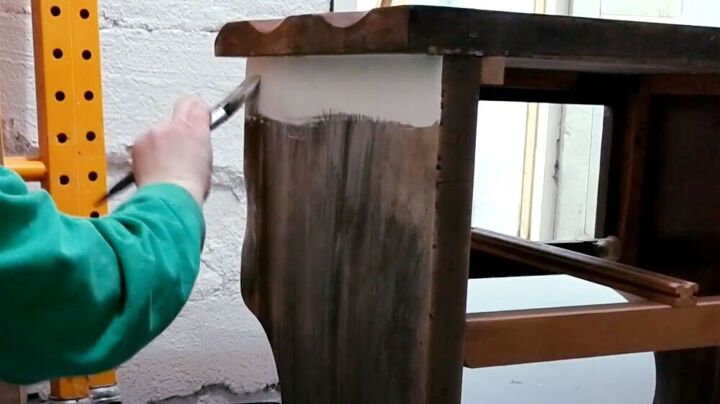
For the rest of the table, I used leftover paint we had from painting a room. It is Behr Antique White. Two coats of paint.
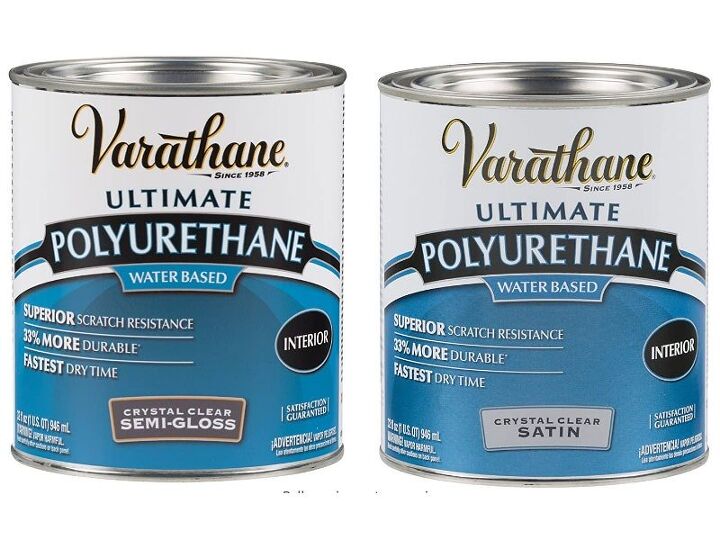
For the table top, I used a Varathane semi-gloss polyurethane, and gave it three coats. Whenever I'm working on a table top, I always use three coats of a clear coat topping. This really protects the wood and makes it easier to clean.
For the table base, I did two coats of a Varathane satin finish polyurethane.
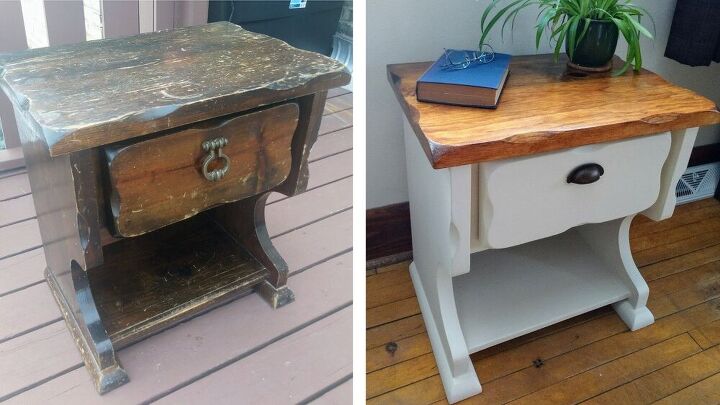
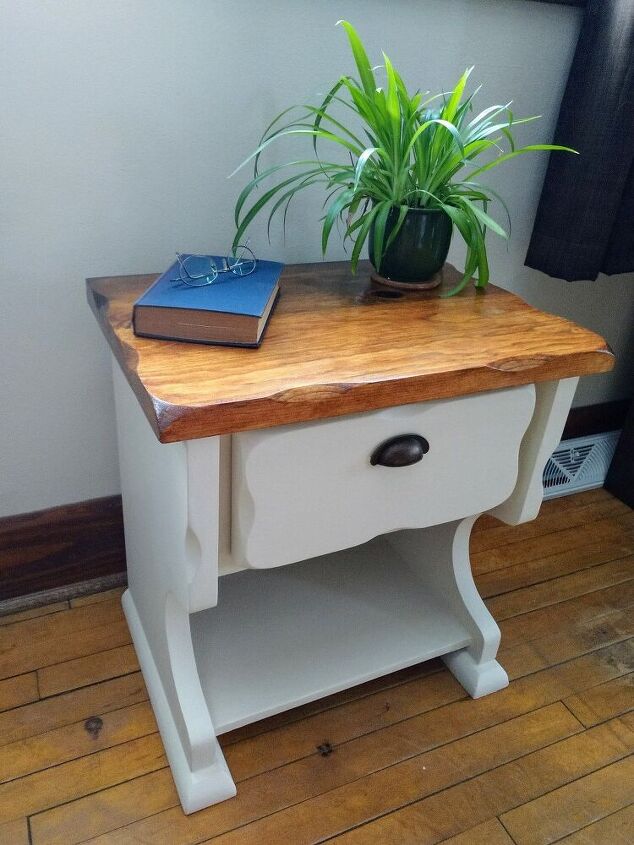
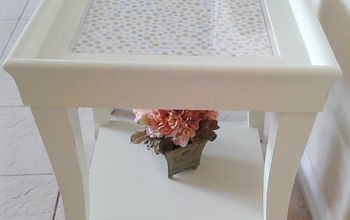
I added a new drawer handle and it's complete! I was really going for a lighter, brighter look, and I think I accomplished my mission!
Resources for this project:
See all materials


Comments
Join the conversation
-
Great job. But this is all new to me. I don’t understand the reason for the stain step?
- See 1 previous
-
Well done. Beautiful job.


Frequently asked questions
Have a question about this project?