


French Country Bedroom Makeover: Episode 7 – Adding Rub on Transfers
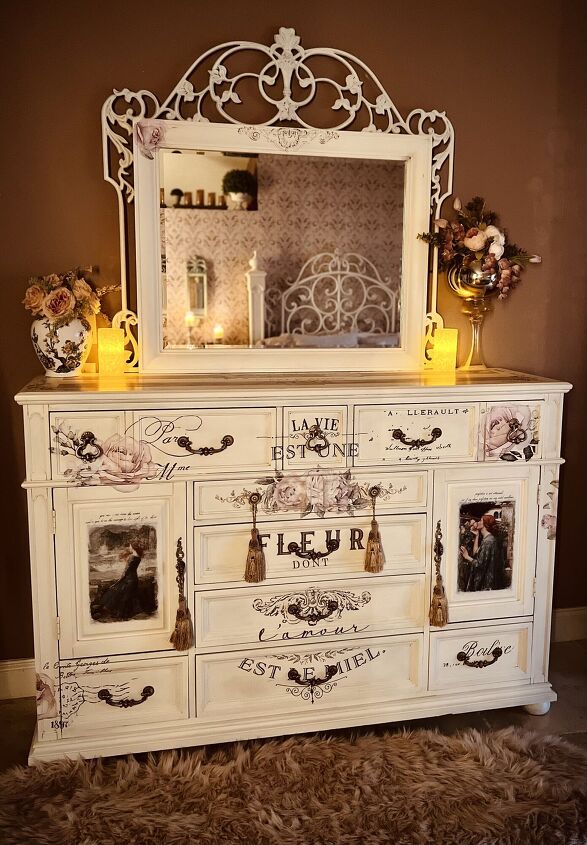
How to add rub on transfers to the dresser. After this dark wood got painted white, it gets some French flair with rub on transfers!
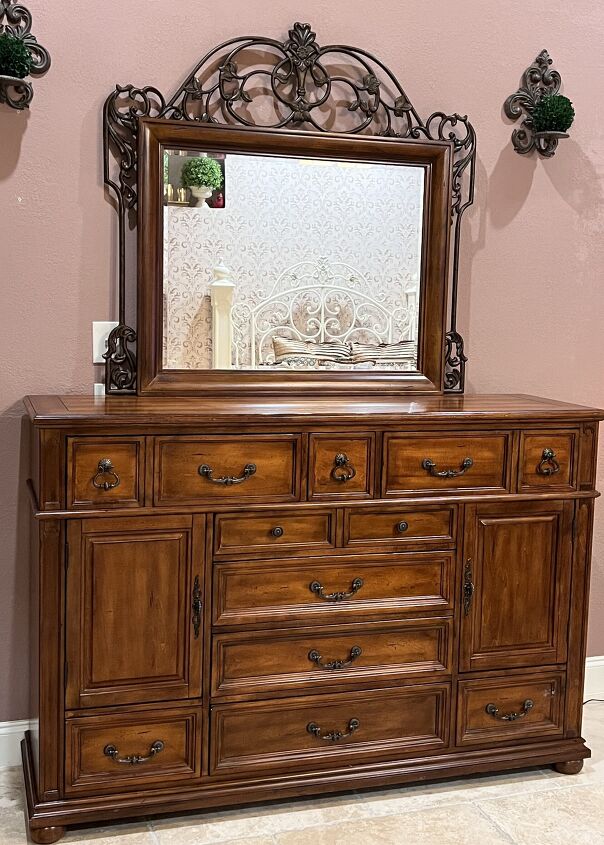
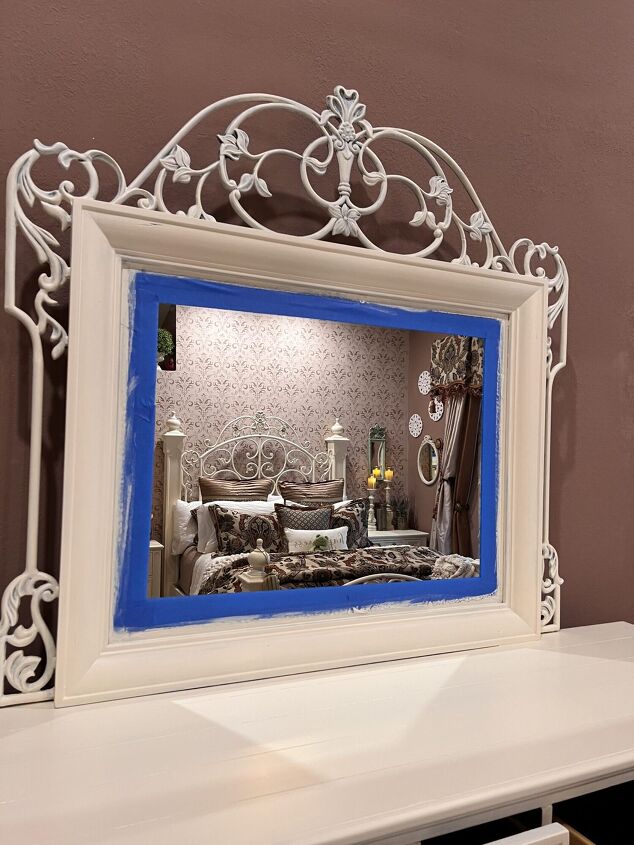
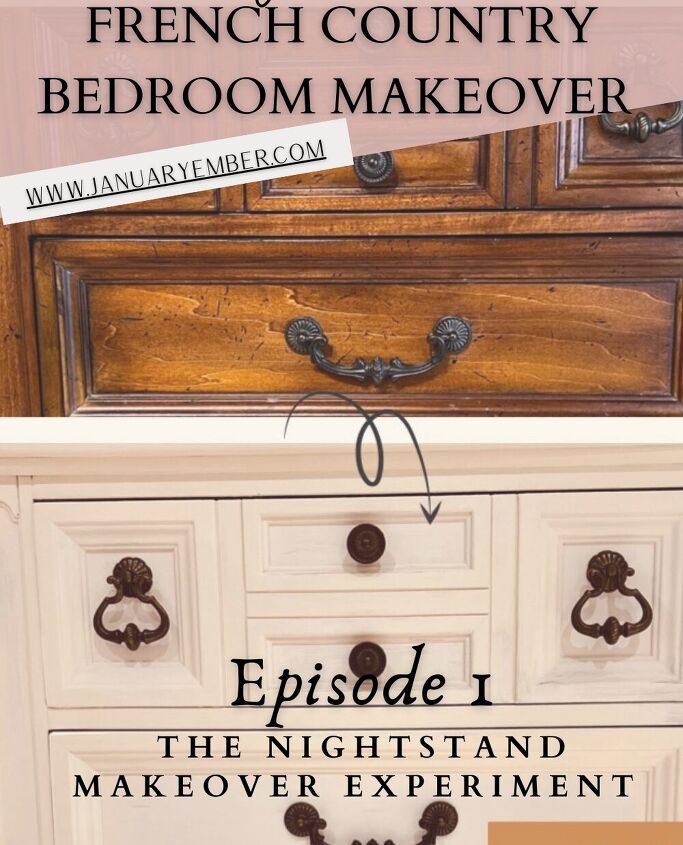
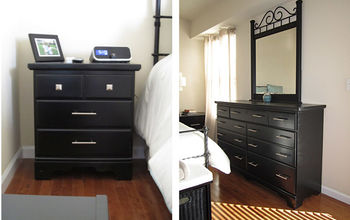
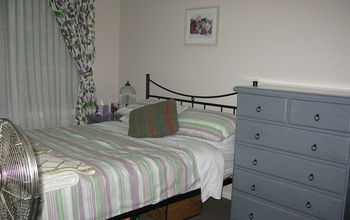
Before - the dark antique walnut dresser and wrought iron mirror. This is a BIG dresser!
Before and After
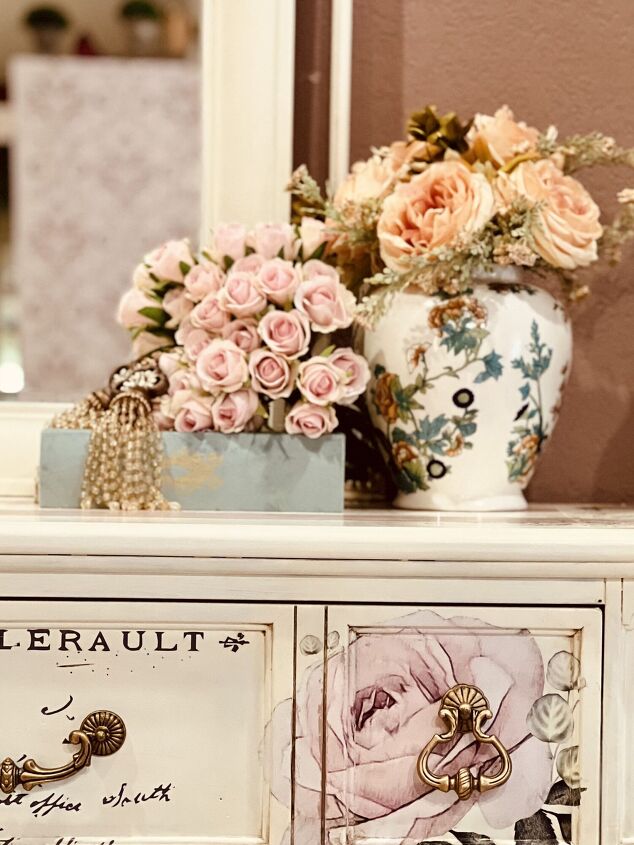
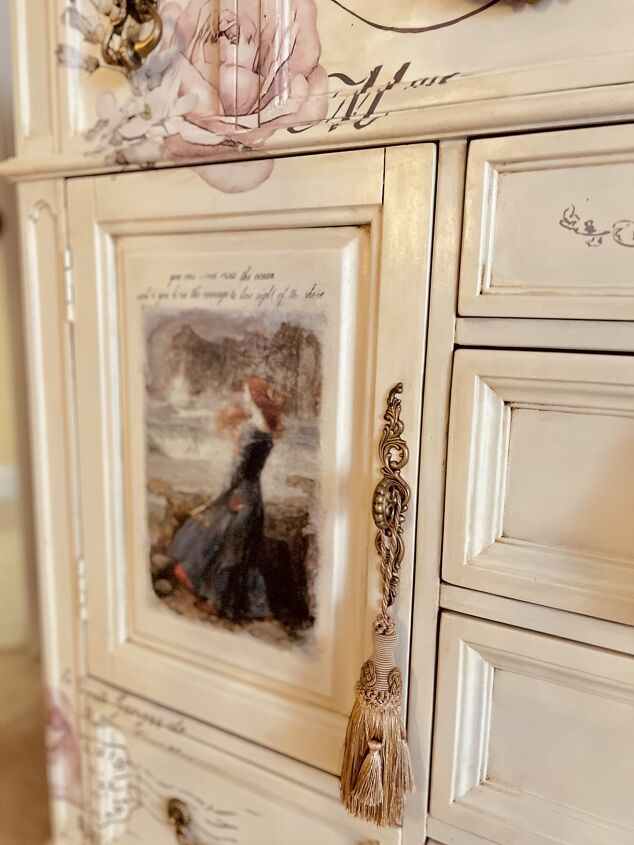
I started this French country bedroom makeover project wanting to brighten my bedroom, and painting the dark wood with the manor house white did just that! I knew I was going to add some type of French rub on transfers to the dresser.
I, like many, have become obsessed with these lovely furniture rub on transfers.
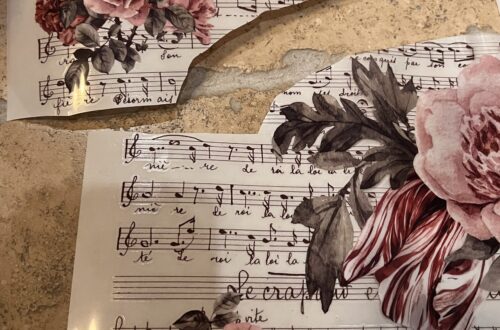
Start with carefully unrolling the rub on transfers. Very carefully! One of mine stuck to another and then it got ruined…there is no fixing it if it sticks to something it shouldn’t. With these, you get one shot, so do not let that plastic piece come off before you are ready!
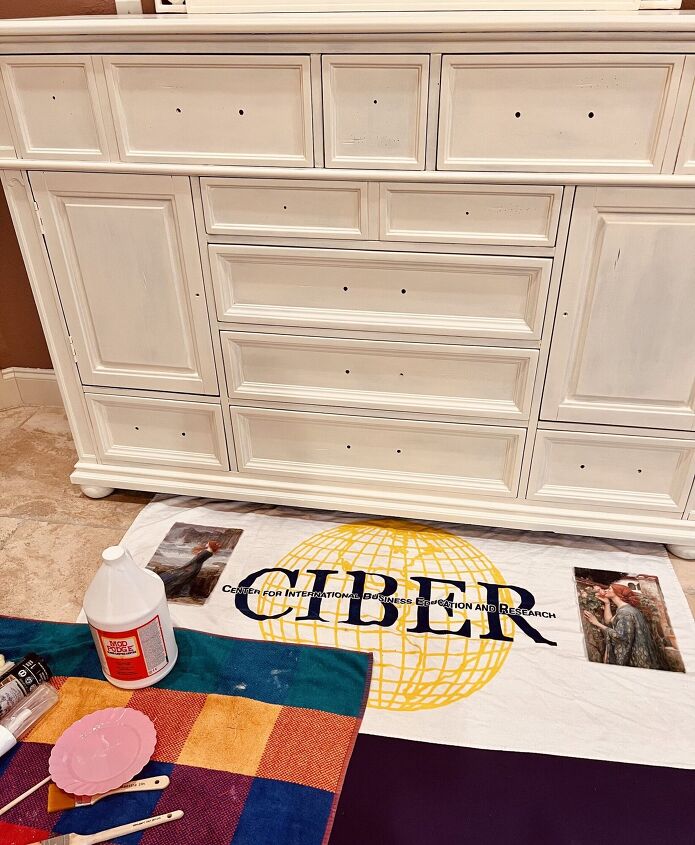
As I was doing this dresser makeover DIY project, I laid all the rub on transfers out on the floor and put some stuff on top of it to “flatten” them out from being rolled up.
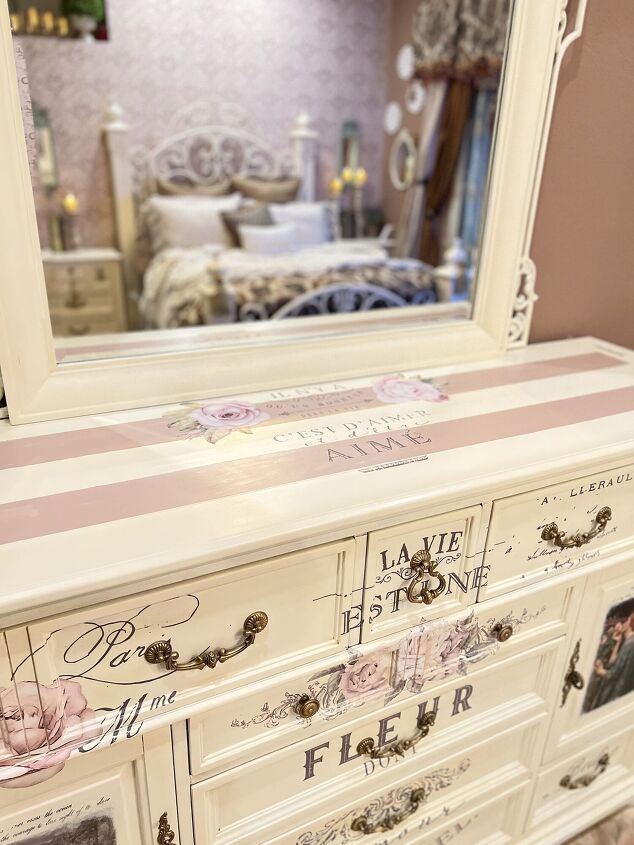
Next, I grab some painter’s tape and put the pieces on the dresser to see where I am going to want to put them. This is important to do. You need to plan your design and keep in mind where the drawers meet, etc. Take my advice here, I did not plan my armoire as well as I liked and then I had to try to “fix it”.

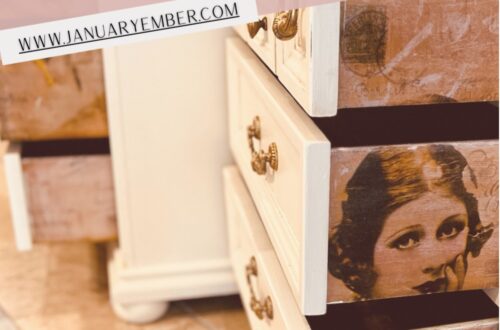
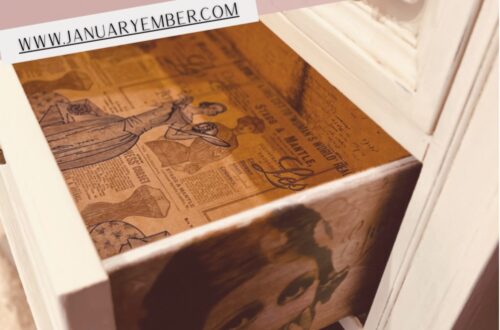
Once you have your layout and design in place for your dresser makeover DIY project, I recommend starting with one small section at a time. I cut some pieces into smaller sections when I could to make it easier to apply.
If you have a perfectly flat surface, then you are in good shape and won’t have to go through these trials and tribulations I am about to talk about. You have to rub down pretty good to get any rub on to stick well, but a perfectly flat surface is going to be the easiest – so if you ‘ve never done this before, I suggest practicing first.
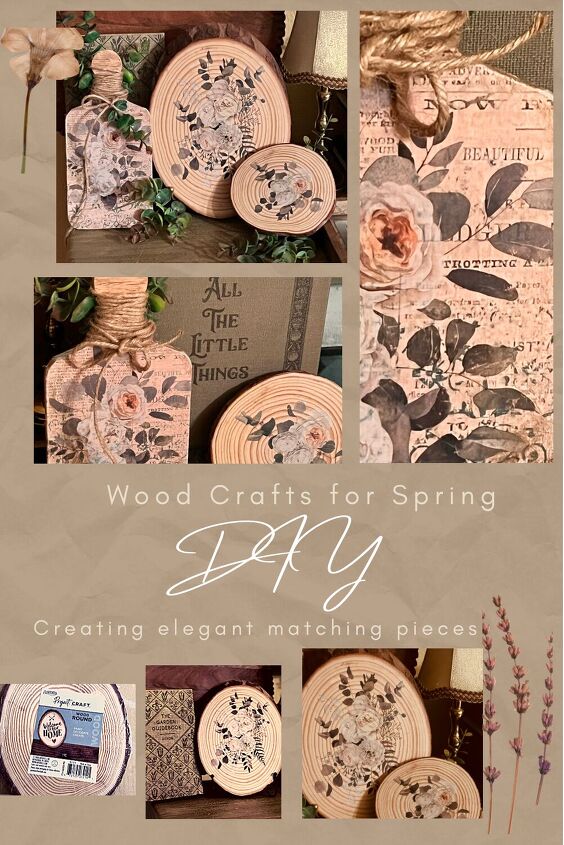
I like to get wood slice coasters, and wood slices for art crafts and use those for practice.

Tips for working with RUB ON TRANSFERS:
- Unroll the rub on transfers carefully
- Lay them out so they can flatten
- PLAN your design before you start
- Use painters tape to attach plan pieces to dresser to get an idea as to how it will look (best to check before you commit)
- Cut pieces into smaller sections when possible to make it easier to apply in difficult areas
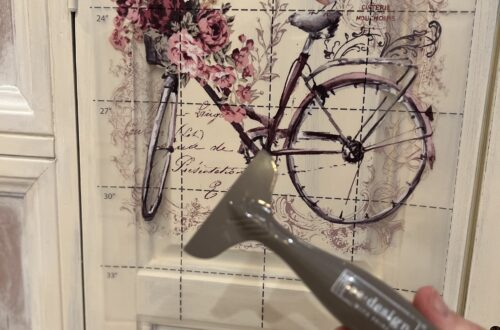
- Use the specialty tool, it is hard plastic (not a wood stick), and has curved edges to get into corners, edges, and grooves. It helped me a lot.
- Use an thin cutting blade to lightly cut between drawer and door openings, then rub down edges.

Check out my blog for more details, video tutorials, and for all the links for my tools, supplies, and décor items I used.
Check out the other Episodes in this French Country Bedroom Makeover Series:
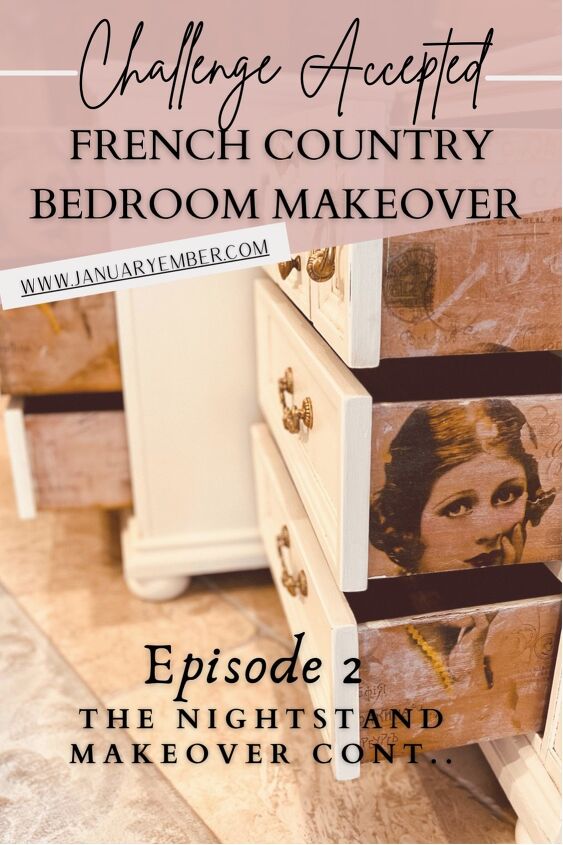
- Episode 1 – The Nightstand Experiment
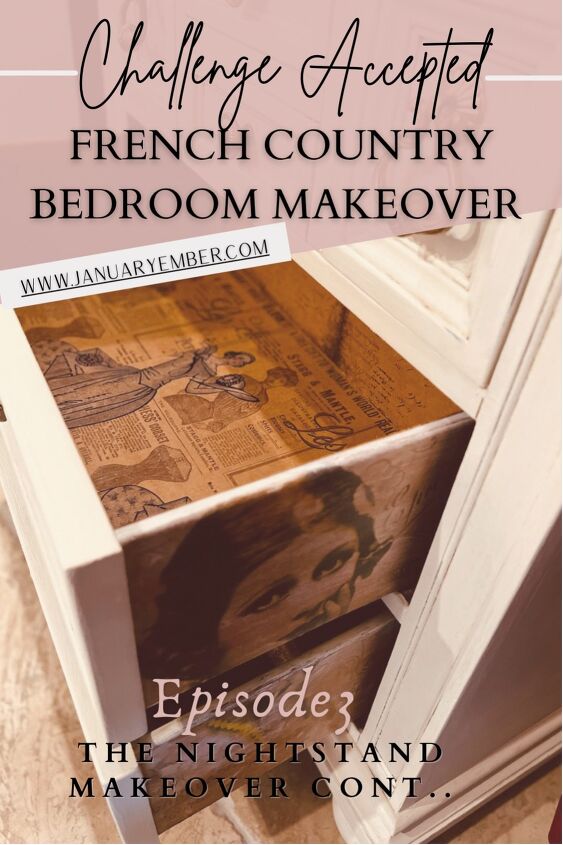
- Episode 2 – Nightstands Continued: Decoupaging the drawer sides
- Episode 3 – Nightstands Continued: Decoupaging the drawer inside: bottom and sides
- Episode 4 – Nightstands Continued: Hardware makeover – Getting a good Gilding!
- Episode 5 – The 4 Post Antique Walnut & Wrought Iron bed makeover Headboard & Footboard
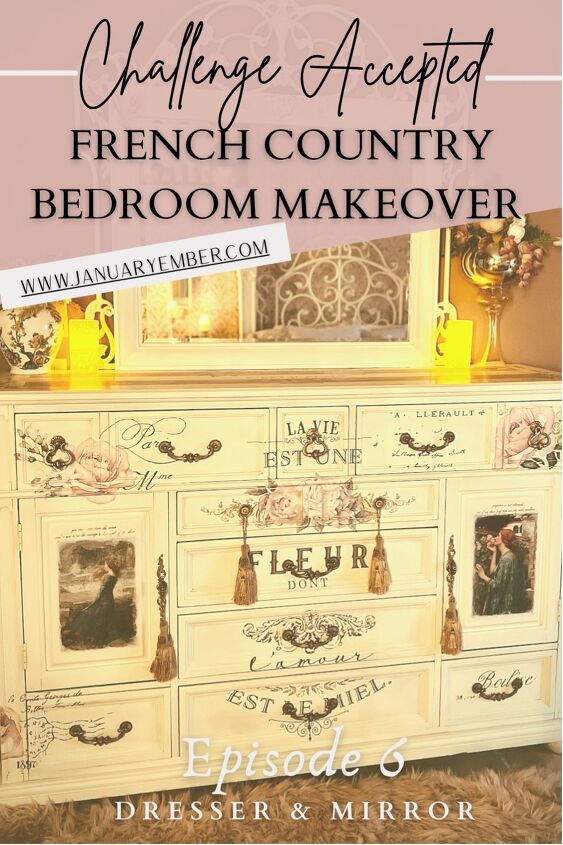
- Episode 6 – The Dresser & Mirror (with wrought iron) – the all in one painting & adding pops of color
- Episode 7 – The Dresser – adding rub on transfers
- Episode 8 – The Dresser – adding decoupaged rice paper Artwork & quotes
- Episode 9 – Creating the French Feeling with some linen bedding and Parisian inspired décor
- Episode 10 – The Mannequin makeover
- Episode 11 – The Armoire: creating 2 separate pieces and opening up the space
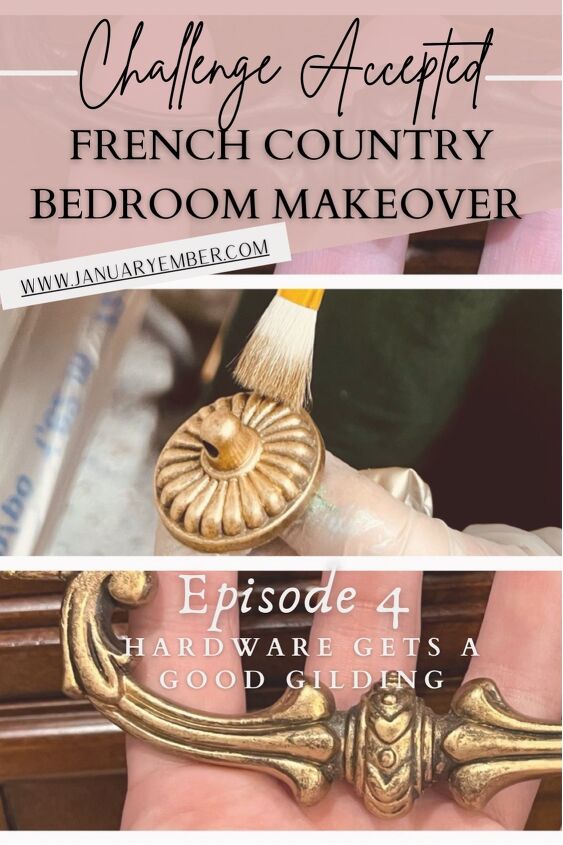
French Country Bedroom Makeover Ep 4 gilding hardware

How to decorate your Barbie Dream House post by my 3rd grader
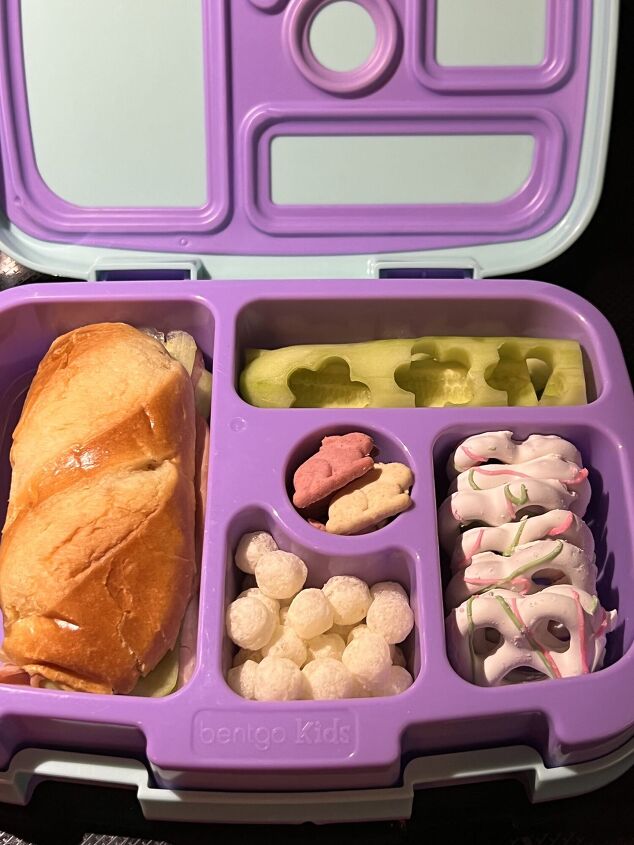
10 Fun Spring Bento Box Lunch Ideas for Kids
French Country Bedroom Makeover Episode 8 decoupage artwork
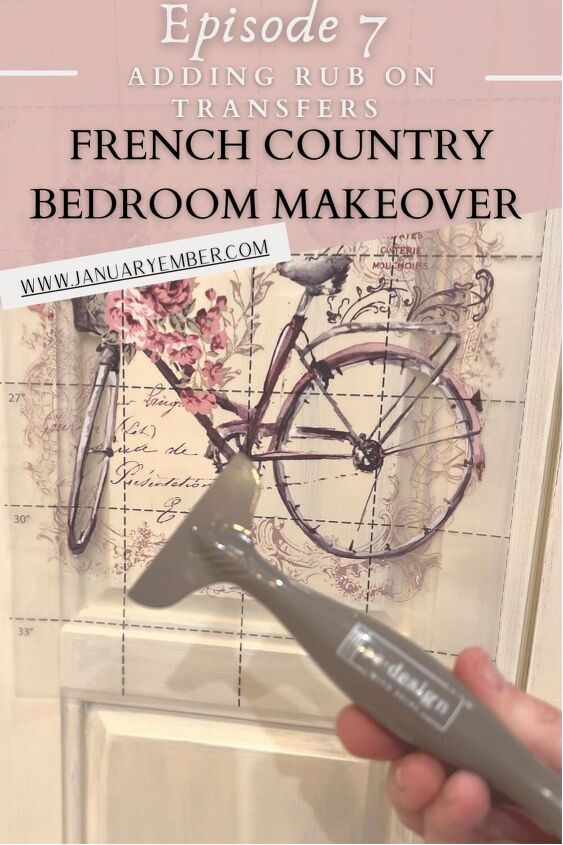
French Country Bedroom Makeover: Episode 7 – Adding rub on transfers
French Country Bedroom: Episode 6 – Dresser makeover

French Country Bedroom Makeover: Episode 5 – Cozy Wrought Iron Bed
French Country Bedroom Makeover Ep 3 decoupage inside the drawers
French Country Bedroom Makeover Series: Episode 2 – Delicate Decoupage Drawer sides
French Country Bedroom Makeover Series: Episode 1 – Brightening Nightstand Experiment
Thanks for stopping by! I hope you found something inspiring.
Please pin, save & share!
Until next time…make every day a little more magical!
January Ember
Resources for this project:
See all materials


Comments
Join the conversation
-
Very shabby chic. Looks beautiful.
-
Thank you so much! A year later and I’m still in love!😍


Frequently asked questions
Have a question about this project?
Sorry, I couldn’t find the info I was looking for so please tell me, did you strip the dresser or sand it down prior to painting it? And could you tell me what is the name/brand paint color you used on the dresser? It’s absolutely beautiful and I want to do this project asap!!!