


Fun Star Burst Side Tables

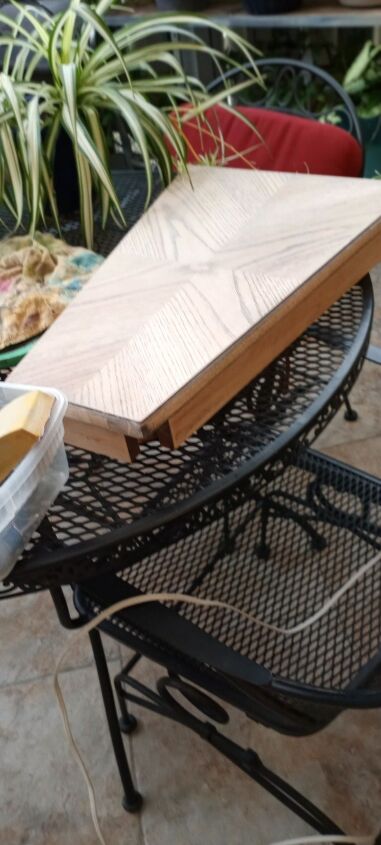
My parents have had these Hammary Wedge Chair side tables in their bedroom for many years. Over time the finish, mostly on top has gotten badly scratched and damaged mostly because Dad dropped his 5lb hand weights on them a few too many times. When they purchased new tables they gave these to me as a "project". I find the best inspiration when I don't jump into a furniture project right away and as per normal it took a few weeks before I really noticed the super awesome way the top wood is inlaid to form a sort of star burst. I'm such a lover of all things wood grain and this grain is just beautiful! I've been wanting to experiment with black stain and thought this would be a great opportunity. My original plan was to enhance the pattern with the black stain and use paint in the grooves which I hoped would add depth and interest. In the end I think I achieved the look I was going for but it was with A LOT of trial and error. The paint just didn't react the way I'd hoped so I went back to my old stand by.
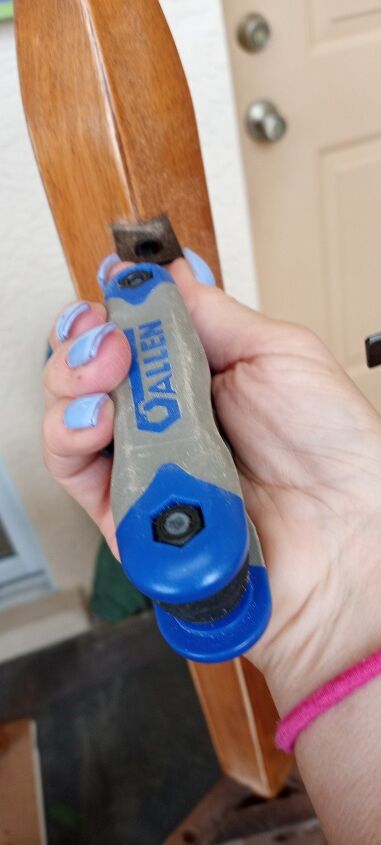
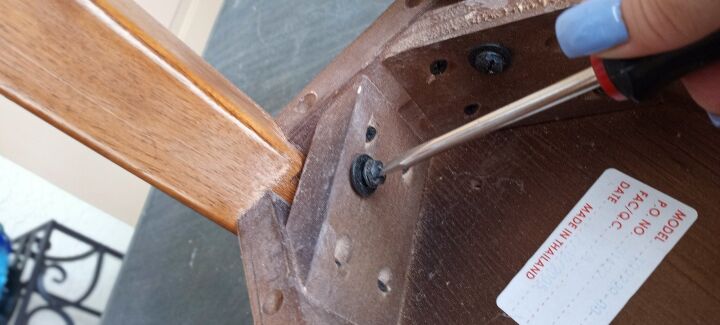
I took everything apart in order to properly clean, stain and paint all pieces .
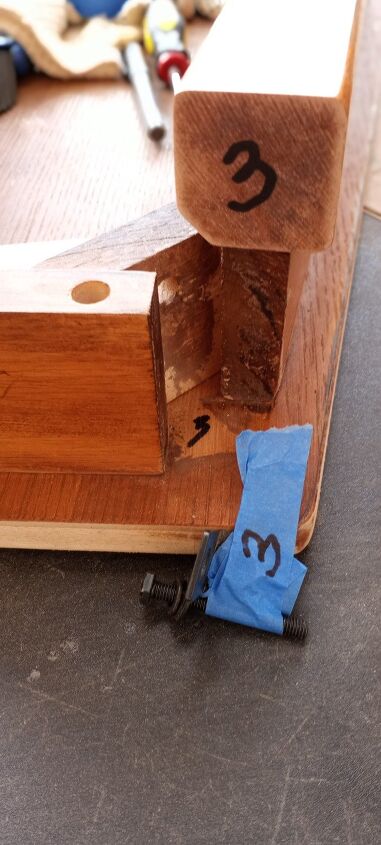
I numbered each joint with the corresponding leg and hardware just to help insure everything would line up properly when I reassembled them.
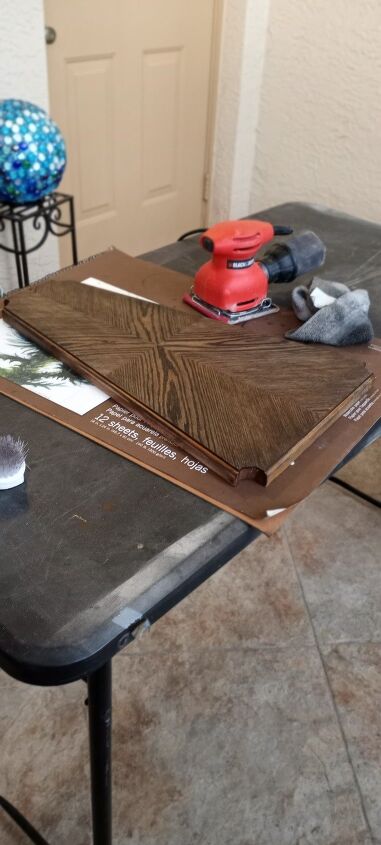
Everything has been taken apart, cleaned and labeled. Now it's time to sand the finish off.

After being sanded
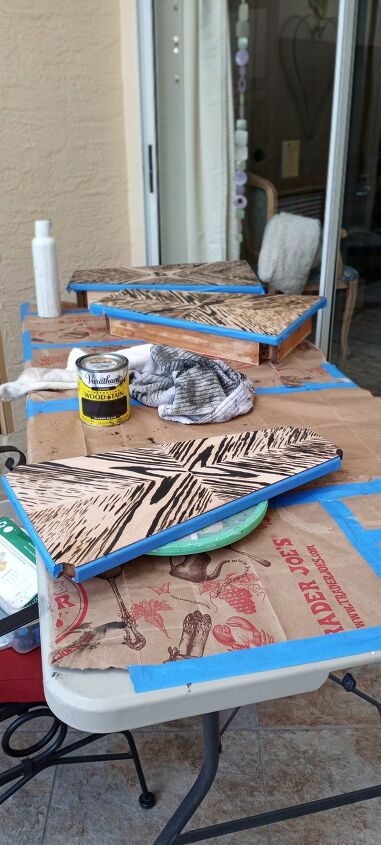
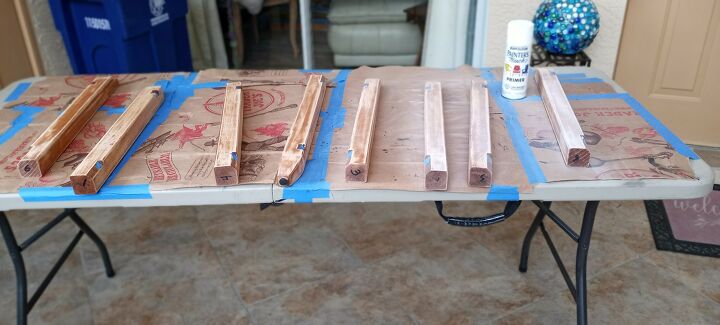
After giving each sanded piece a very good cleaning I then taped off the edges I didn't want to get stain and/or paint on. I've learned over time these steps will save time in the long run! The tops of all four flat pieces are made up of four sections which create a really neat and unique star burst kind of design on each one.
I mixed the black stain according to manufacturer instructions. The stain was applied liberally using an older artist brush (that I wouldn't use for paint anymore) only to the areas I wanted accentuated.
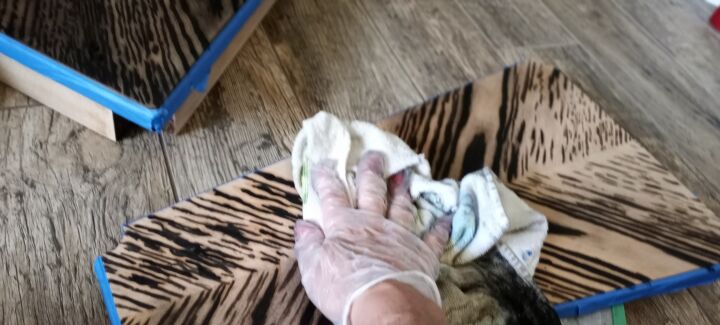
The next day I used an old clean, dry towel to wipe back any stain that hadn't dried. I did so in strokes moving on the diagonal from the inside top of each of the panels outward.
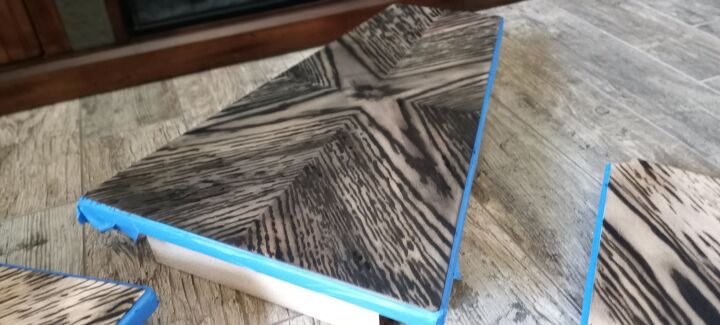
This is one of the tops after I wiped back the wet stain and buffed it really well.
I applied the chalk paint to the lighter areas in an attempt to achieve the color variance I desired. No matter how I did this I couldn't get it to cooperate; if I applied it and immediately wiped it back it just left a milky haze over everything. If I let it dry in the areas where I wanted color it left too much color and just a yucky mess of dried paint.
Moving on to a different section while I ponder what to do next.
I've suddenly got ZZ Top on the brain.....
I didn't completely remove all the original stain because 1. Blah, so much work 2. I was going to distress 3. Going to try out this chalk paint stuff everyone raves about.
After applying blue tape over the screw holes I covered all four sides of each leg with spray primer.
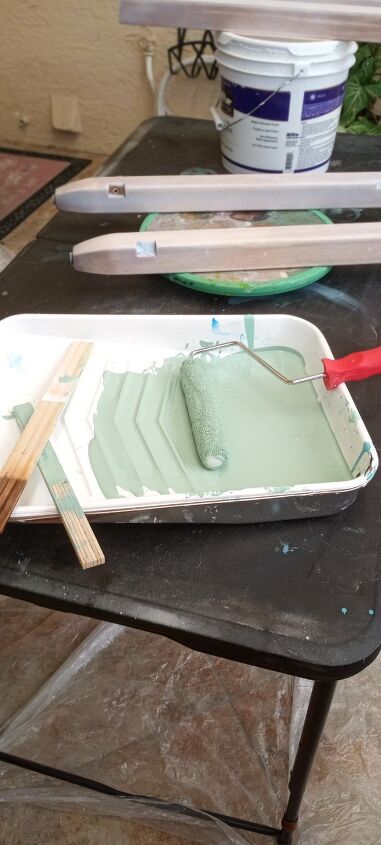
I wanted to use what I had on hand for this entire project if possible. I have a few Folk Art Chalk paint colors in blues/greens that I like and a large container of Behr Matte White paint left over from one of our many home remodeling projects. I did a lot of research and couldn't find any reason why not to add some of the white to the chalk paint.
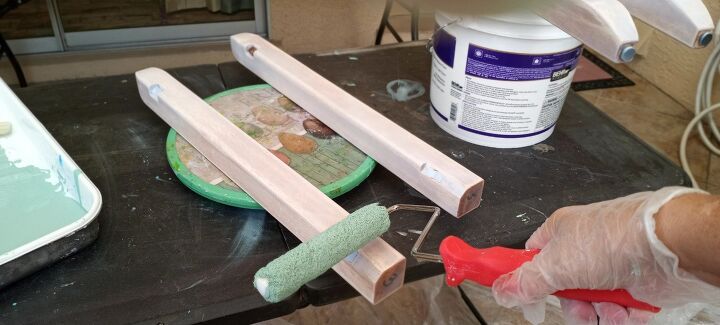
For the most even application I used a roller and my art lazy Susan so I could get to more areas and touch less.
There are several steps I didn't get pictures of my hands were gloved and yucky, here are the details:
Legs: Two coats of chalk paint were applied, after they dried distressed them with fine grit sand paper then cleaned to rid of dust. I then applied a very light coat of black stain over the legs with one of the cloths used previously. After desired look was achieved I sealed them with Polycrylic.
Shelves: Imperial Blue Shoe Cream was scantly applied with a clean, dry cloth to the tops then buffed. Black stain was added with a small foam brush to the thin area around the base of the shelf. The wide area (tops only) were painted in the same method as the legs; green chalk paint, distressed, black stain, polycrylic.
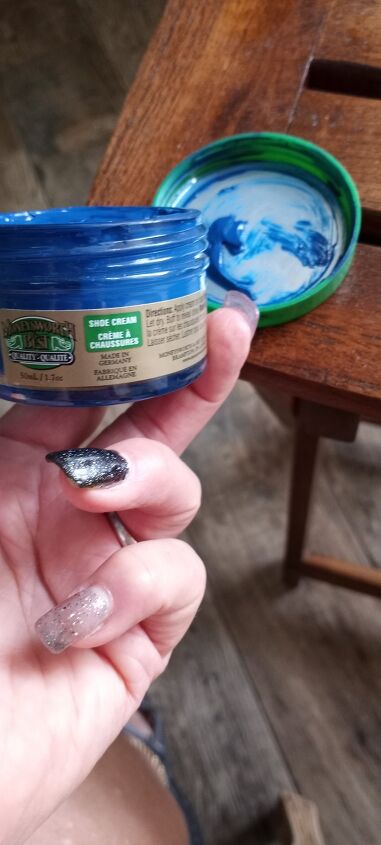
We have a wide selection of shoe polish and creams but I haven't used a great majority of them. This was the first time using this beauty but it won't be my last. It really is cream, so smooth and vibrant.
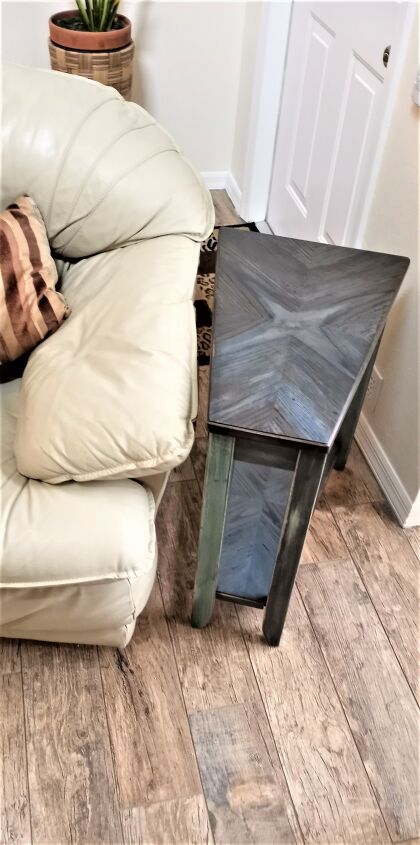
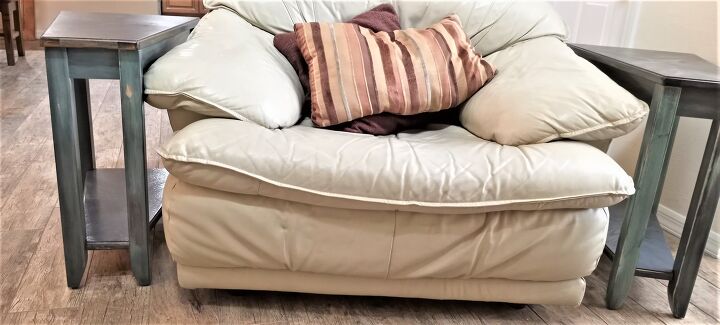
Here they area in my living room all ready for another generation to enjoy.
I had everything I needed to complete this project which was actually by design. For those who don't have everything the same can be accomplished on the piece of free furniture of your choice by purchasing these basics:
Polycrylic-$10
Shoe Cream-$6
Min Wax Stain-$5
3M Sandpaper-$6
Folk Art Chalk Paint- $2
** Note this estimate doesn't include any tools or PPE**
Resources for this project:
See all materials


Comments
Join the conversation
-
Thanks for your reply Kimmy. I am really impressed with your work but was frustrated because I’m a visual learner. Thanks for sharing your talent.
-
Wow. What a beautiful piece of art. Love it.


Frequently asked questions
Have a question about this project?