


Green Cottage Dresser

by | May 3, 2022 | DIY, Farmhouse Furniture, Refurbishing Furniture |
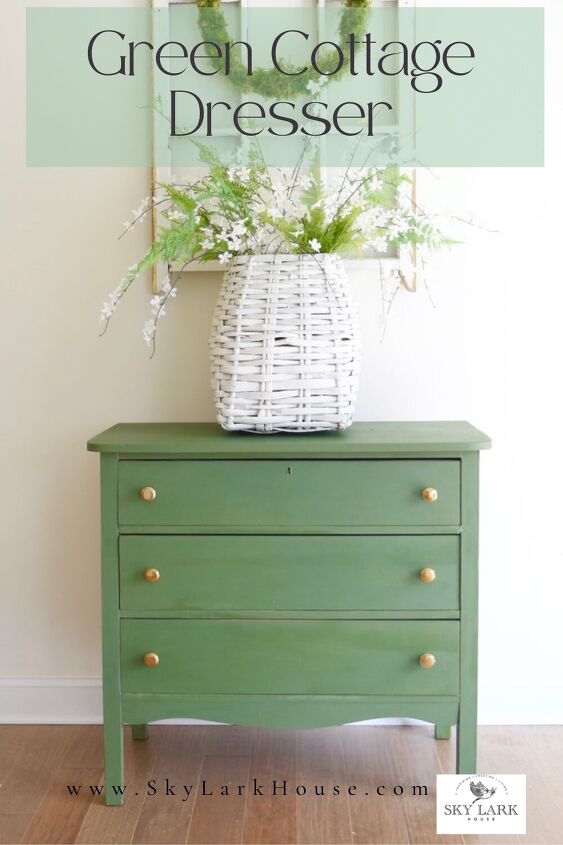
Have you wondered how to use MMS milk paint to transform an old dresser? In this post I show you how to create a cute green cottage dresser.
A quick note that this post includes affiliate links and I will receive a commission on items you purchase but at no additional cost to you. I am presenting you with my own opinion and honest review of the information provided. If you want to read the entire disclosure statement, please click HERE.
Last year, I refurbished an antique sideboard and painted it using MMS milk paint in the color Flow Blue. Well, I also purchased an old dresser from the same seller. The dresser was also from the 1920s-1930s era. Now that the weather is finally warm enough outside, I can start working on furniture again.
Here in upstate New York, the temperatures don’t reach the mid 50s and 60s until May. Usually, in March and April I start to ask myself why I don’t live in Florida. Or at least, someplace where it’s actually warm during those months. If you live in upstate New York, no doubt, you can relate.
Anyway . . . this weekend was BEAUTIFUL and temperatures even creeped into the low 60s. So, I jumped on the opportunity to work outside.
Why I Work Outside
While milk paint is nontoxic, in order to effectively use it, I often need to use processes that create fumes and dust to strip existing finishes off old furniture. Stripping furniture and sanding it in an indoor setting requires a pretty extensive and expensive workshop specifically set up for this type of work. It requires a dust collection unit and proper HVAC settings for venting fumes. Needless to say, I don’t presently have this type of workshop. I don’t like to expose myself or others, including pets, to fumes or dust particles in an indoor setting – hence- why I have to wait for warmer weather to work outside.
Alright, so having shared that, let me walk you through the steps so you can create a similar dresser in your own home.
Green Cottage Dresser
Supplies
The first thing we need to do is gather our supplies.
- Citrus Strip
- Chip brush
- Saran wrap
- Plastic scraper
- Denatured alcohol
- Steel wool pads 00 – I needed 2 packages
- An old container to hold stripped paint
- Nitrile gloves
- Sandpaper, 120 grit, 180 grit, 220 grit
- MMS milk paint in any color you choose, I used Boxwood
- Hemp oil
- Paint brush
- Cardboard, drop cloth, heavy craft paper to protect your work surface
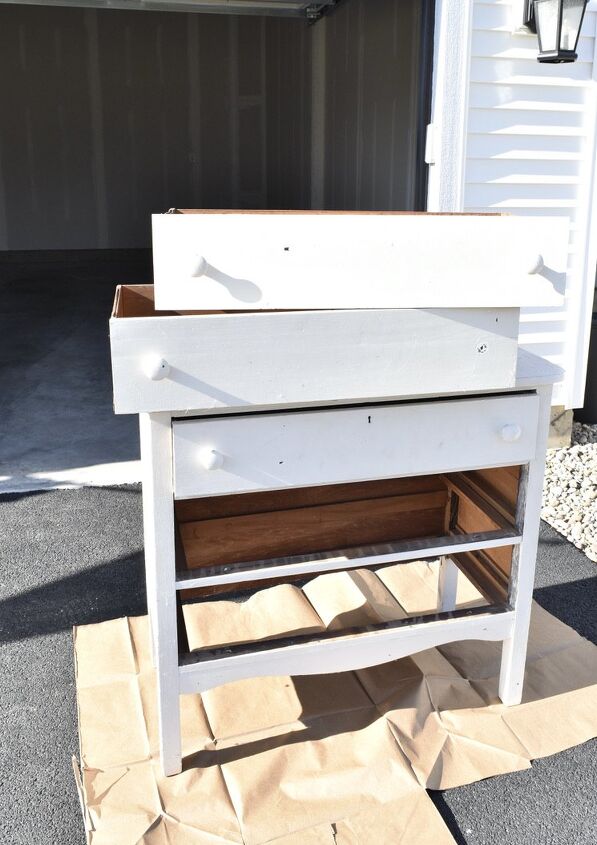
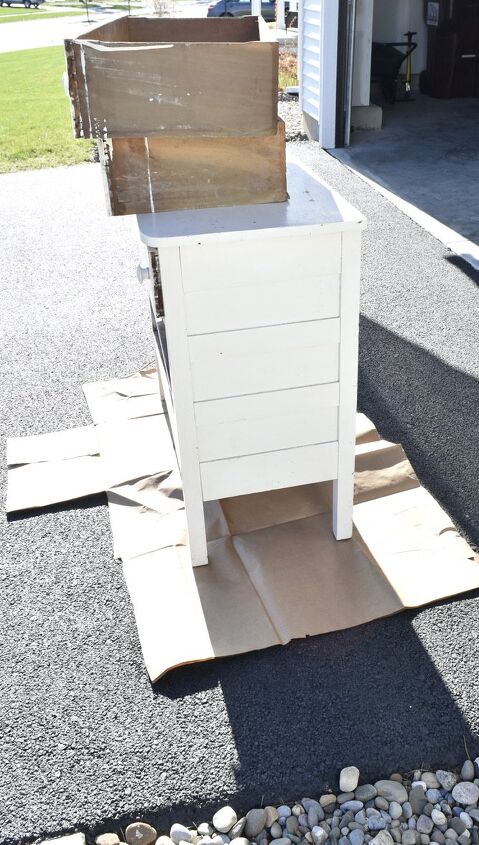
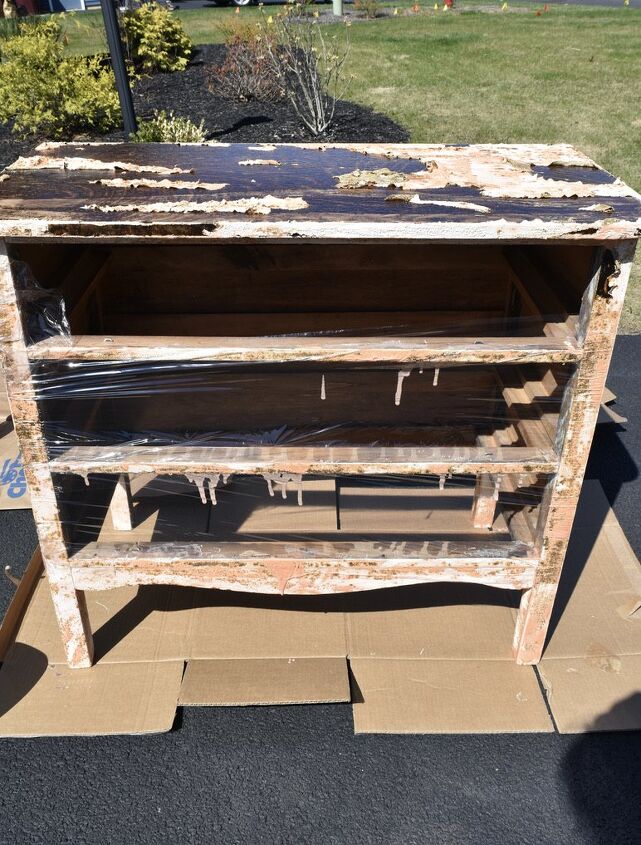
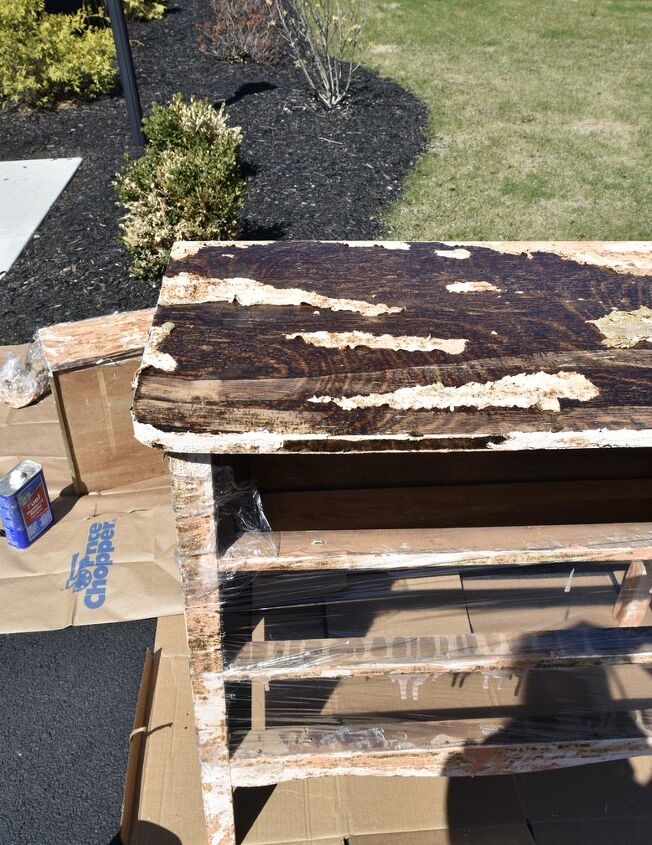
I almost forgot to take some “before” photos. Here is the dresser outside enjoying the sunshine and warmer weather. This is a cute little dresser that was well made. At one point, someone painted the dresser white just as they had painted the matching sideboard white. What you can’t see in these photos – is that the paint job wasn’t great. It was applied too thick in some areas and the top of the dresser was in poor condition because the paint had chipped and peeled away.
Step 1: Apply the Stripper
The first thing I did was apply some Citris Strip to the dresser using a chip brush. I wanted to be sure that I only had to strip the dresser one time so I applied a thick coat of stripper and covered the entire dresser with saran wrap. TIP – if you don’t let the Citris Strip sit long enough during the first application- you may end up having to re-apply it two or three times.
I also removed all the drawers and set them on a separate piece of cardboard.
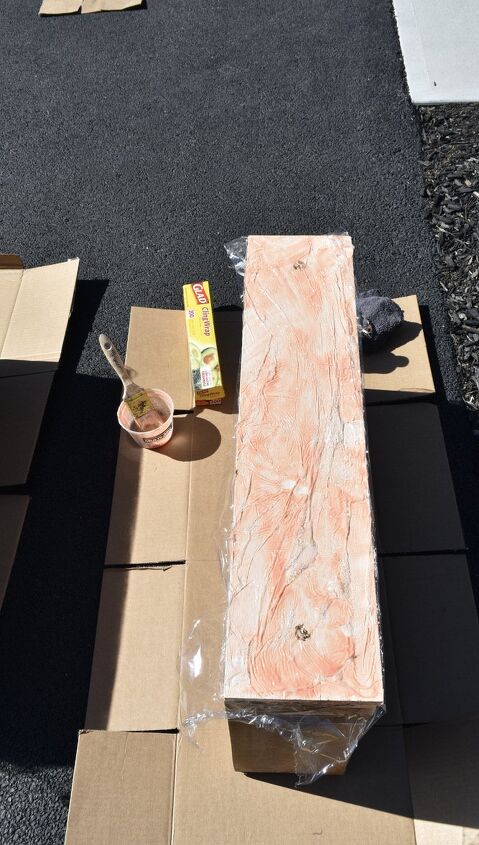
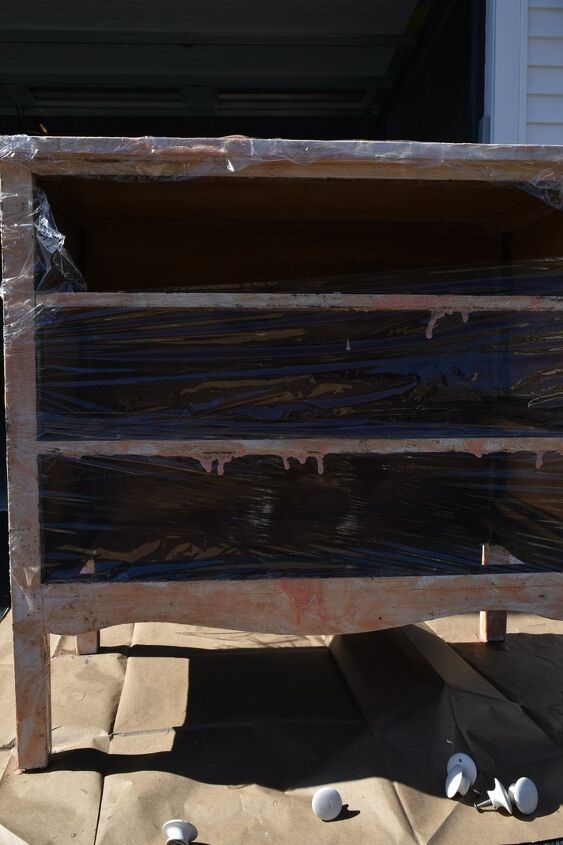
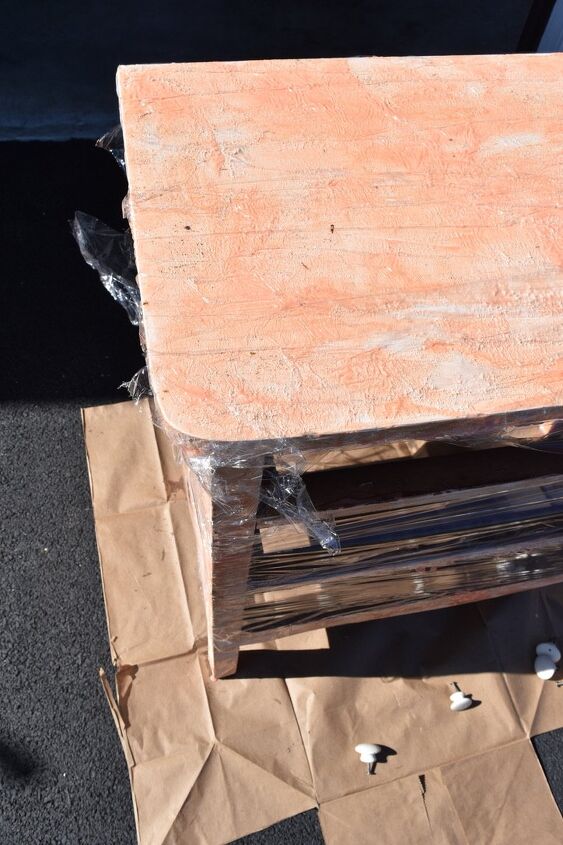
The photos above give you an idea as to how that process looked. Once the dresser was coated with stripper and covered in plastic wrap – I let it “cook” in the sun for 2-3 hours. I started this process early in the morning – so it was still fairly cool outside – around 50 degrees- when I applied the stripper. After sitting in the sun for 2-3 hours, the outside temperatures increased to over 60 degrees.
The warmer temperatures help to activate the Citris strip. The saran wrap helps prevent the stripper from drying out prematurely.
Step 2- Remove the old Paint
Now, if everything goes according to plan, you should be able to remove the old paint. While wearing gloves, take off the saran wrap and using a plastic scraper – remove the old paint. The paint should come off easily and it will be a gloppy, goopy, snotty, slimy mess. Simply scrape it into an old container.
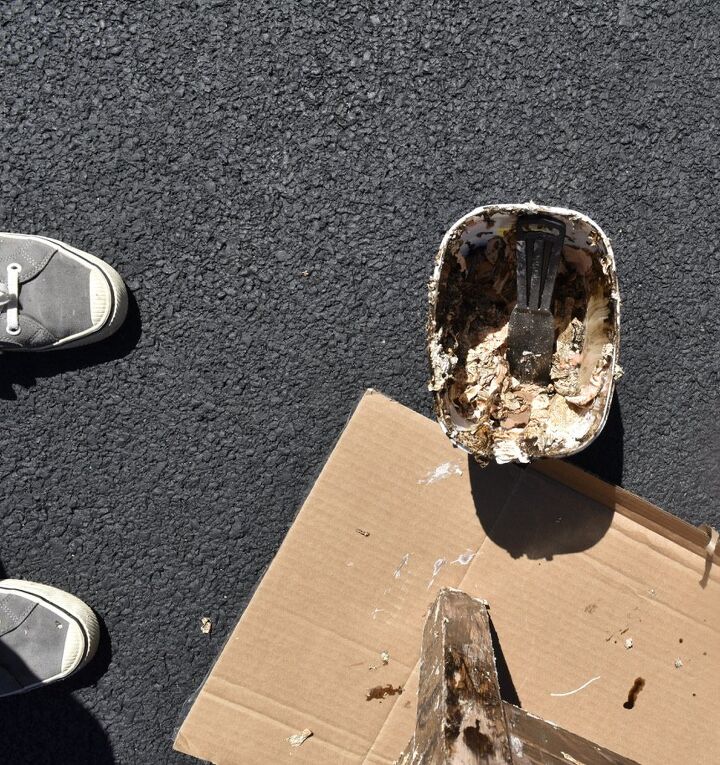
In my experience, removing the old finish is the most difficult part of this job. Yuck.
Try to get as much old paint off the dresser and into the container as you can. It will be difficult to reach into corner and joints of the dresser. That’s ok. Just do the best you can.
Step 3 Prep the Piece for Painting
Now that you have scraped off the old finish, there will still be residue on the piece of furniture. To remove this residue, use some 00 steel wool pads and denatured alcohol to scrub the entire dresser – frame and drawers. This may take some time. I almost used 2 bags of steel wool to complete this task.
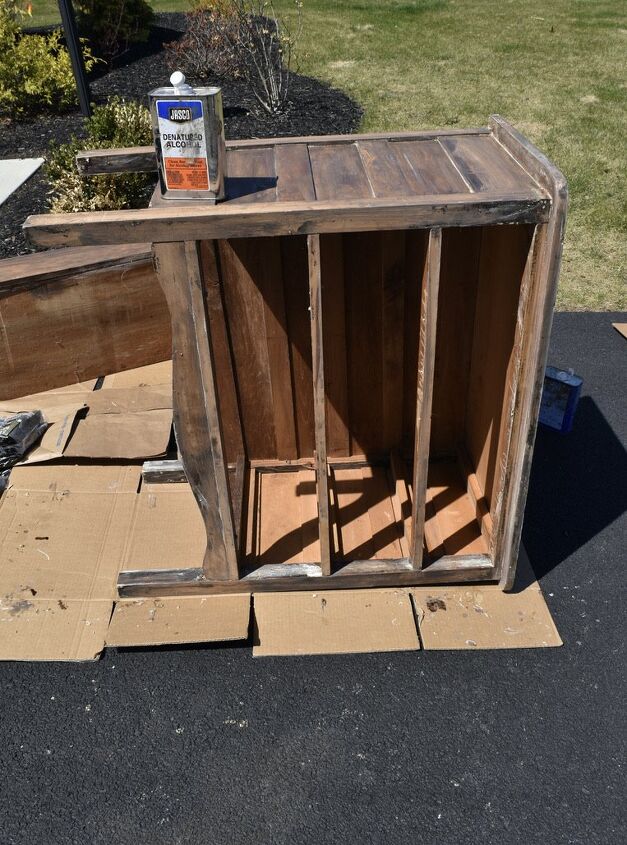
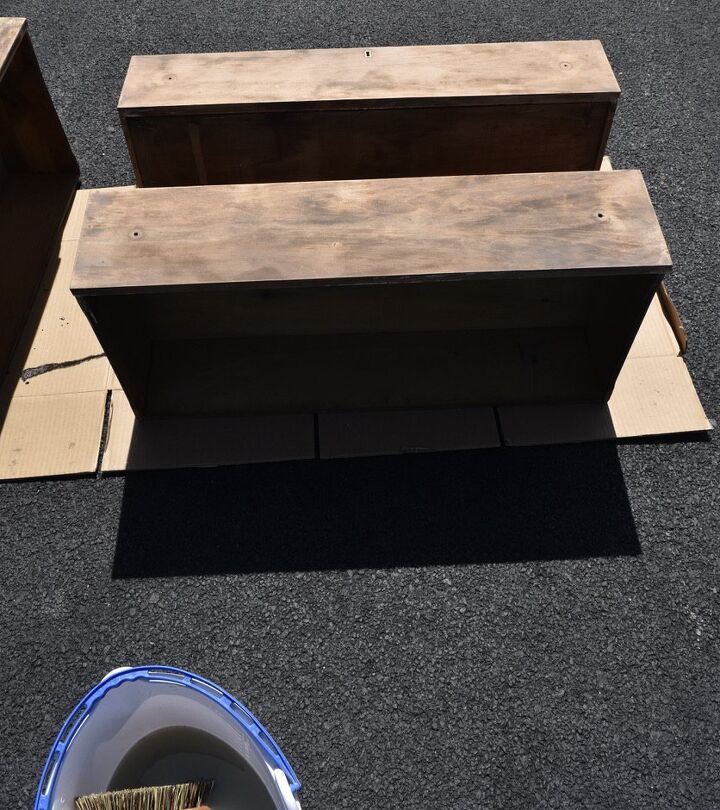
So that I can reach into all the crevices and to be sure that I don’t miss any spots, I turn the dresser on its sides and upside down. You will notice that when you are done, the surface of the wood will be matte and smooth.
Using a bucket with water and a degreaser (Ex: Mr. Clean, Krud Kutter, Simple Green) scrub the frame and drawers thoroughly so ensure its clean. Set the piece in the sun to dry.
Step 4: Lightly Sand
Finally, go over the piece one last time with 120 and then 180 grit sand paper. This just ensures the drawers and frame are clean and that there is no remaining residue. Wipe down the entire piece when you have finished sanding.
Step 5: Let’s Paint
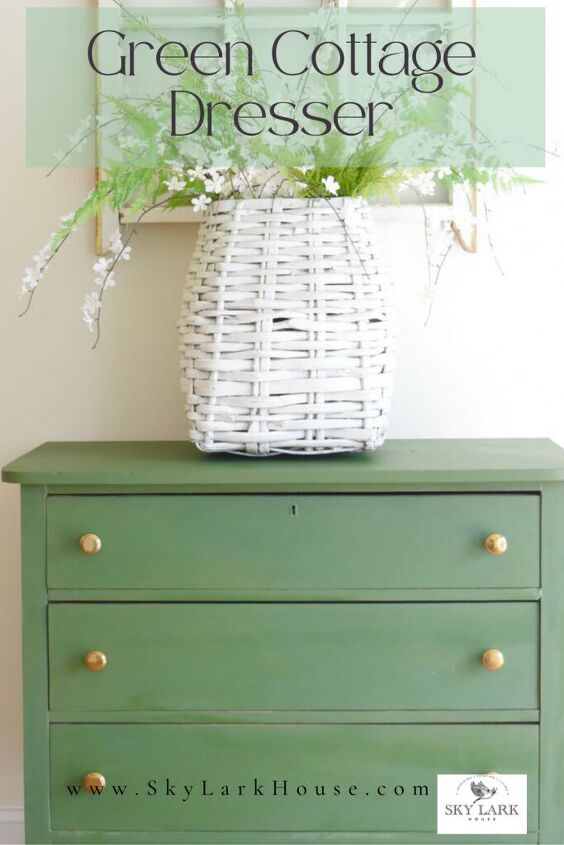
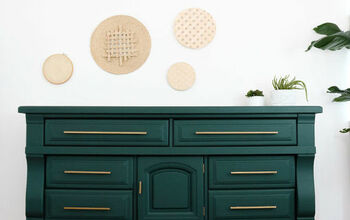
Now for the fun part! Mix up your paint color. For this project, I decided to use MMS Milk Paint in the color Boxwood because it is MAY in upstate New York and I am now looking for anything and everything green. I am inspired by spring and the up coming summer, so I chose this cheerful green color. Give me all the green!
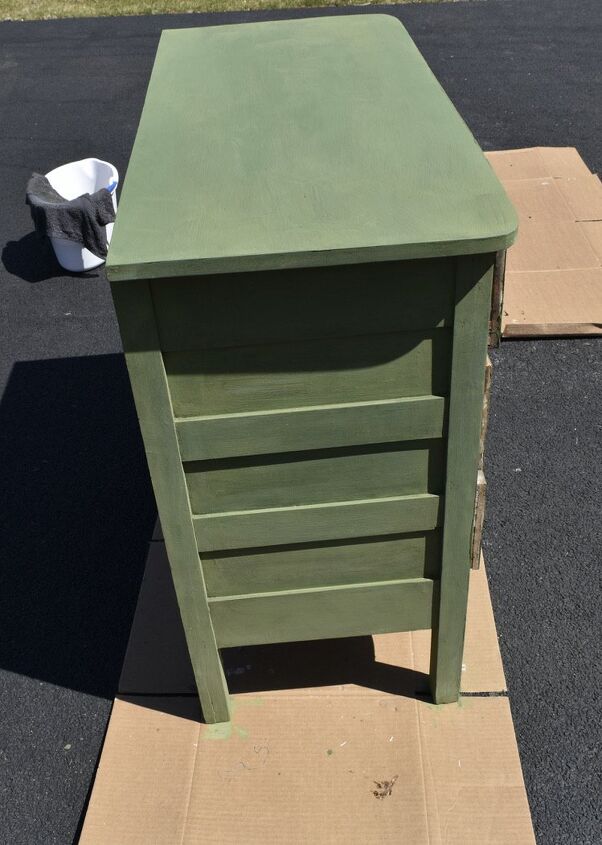
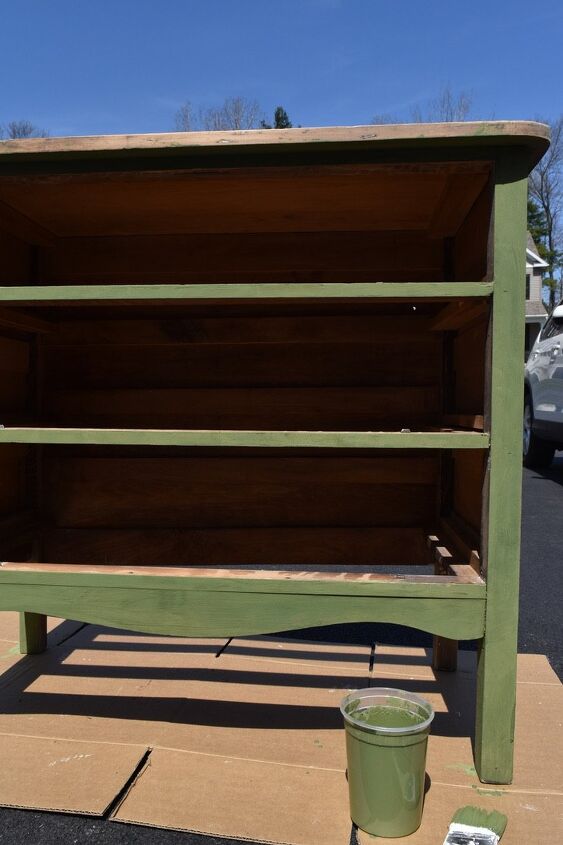
The images above show how the dresser looked after applying the first coat of paint. Two coats of paint were applied and I sanded in between each coat with 220 grit sandpaper. The sanding was just to ensure an even and uniform application of paint.
When the paint was dry, I sealed it with MMS Milk Oil, which is a hemp oil. I love using Milk Oil on deep rich colors. Here is a TIP, try to keep a brush that is used solely for applying Milk Oil.
The last last step was to replace the old wooden knobs on the drawers with brass knobs.
Final Result
Whew! So after stripping, cleaning, sanding, painting and sealing with hemp oil – the dresser is complete!
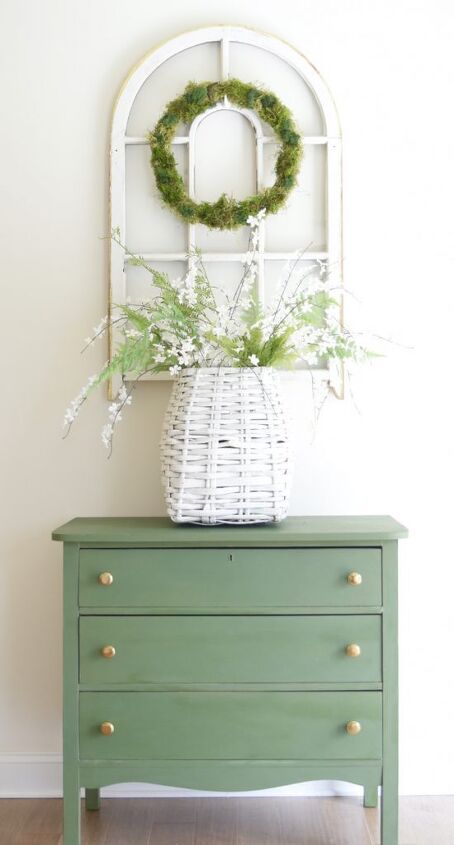
You can read about how to make the Moss Wreath in this post. It’s an easy project to do.
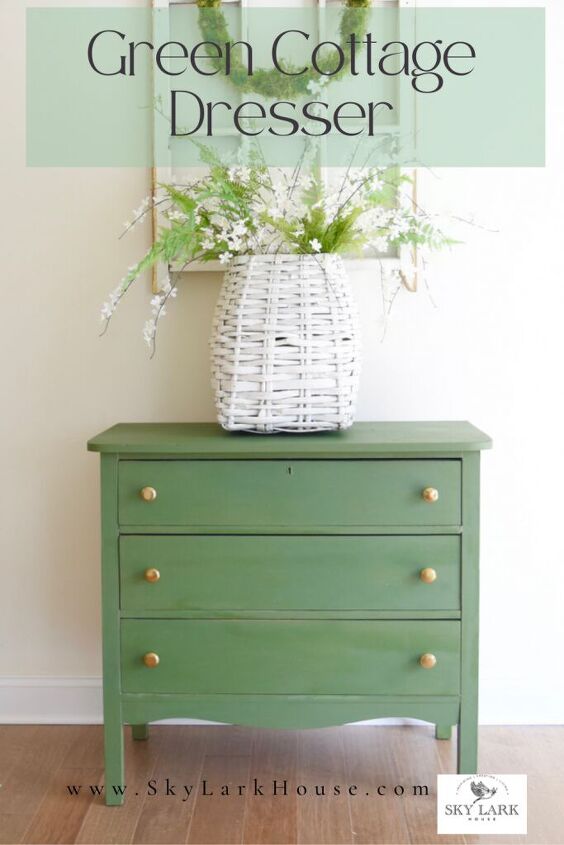
I think she looks pretty darn good! She looks much better, cleaner and more cheerful.
If you look closely, you can see that the Milk Oil hasn’t been fully absorbed. I love how this color reminds me of late spring and early summer.
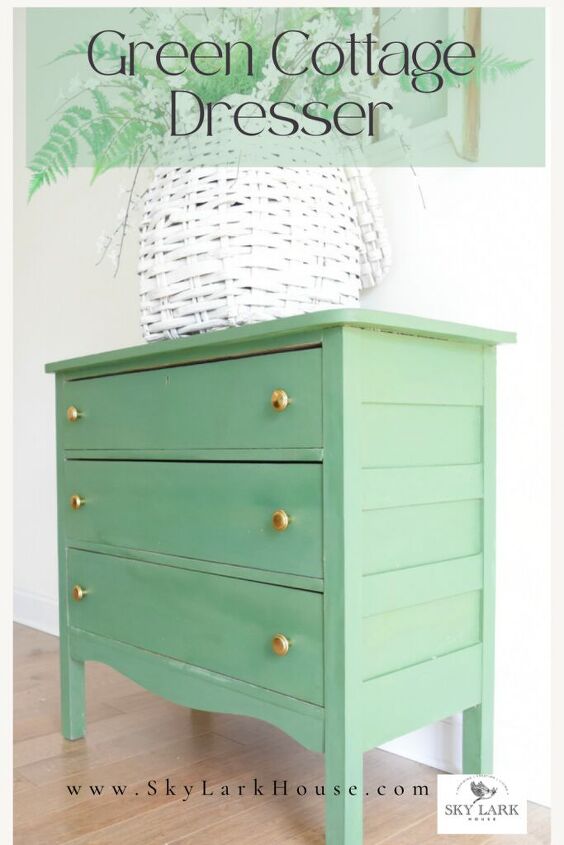
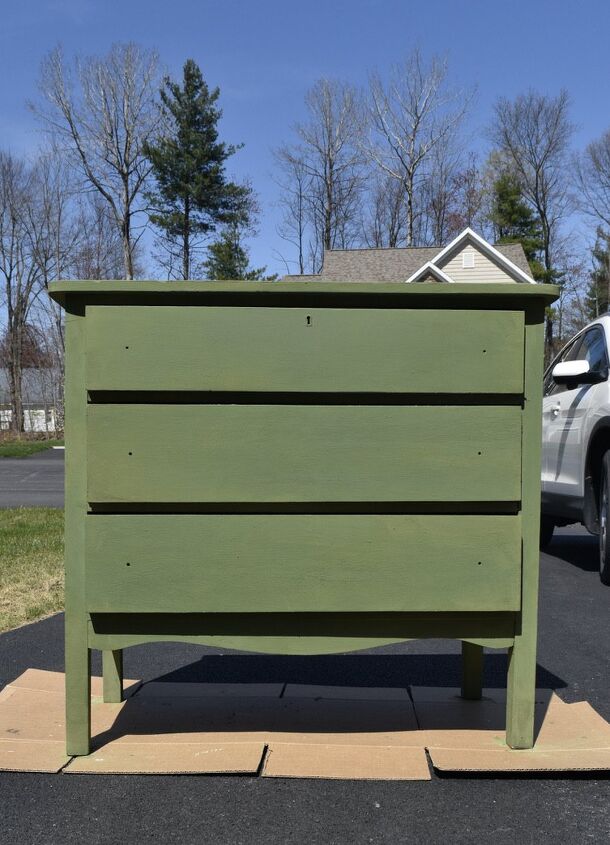
Here is one final photo so you can see the sides.
MMS Milk Paint
I have been using MMS milk paint for years and have recently collaborated with the company. As a result if you purchase any milk paint from the link provided, I will receive a small commission. Thank you for supporting this little business of mine. Be sure to use the code 10OFFSH to save 10% on your purchase.
This is a product that I truly believe in and value. I love using MMS milk paint on antique and vintage pieces because it compliments the furniture and looks authentic to the piece. Additionally, the milk paint is nontoxic and all natural which is a huge bonus.
Other Thoughts
If you want to see another amazing furniture transformation that used MMS milk paint, check out Cindy’s Repurposed Entertainment Center.
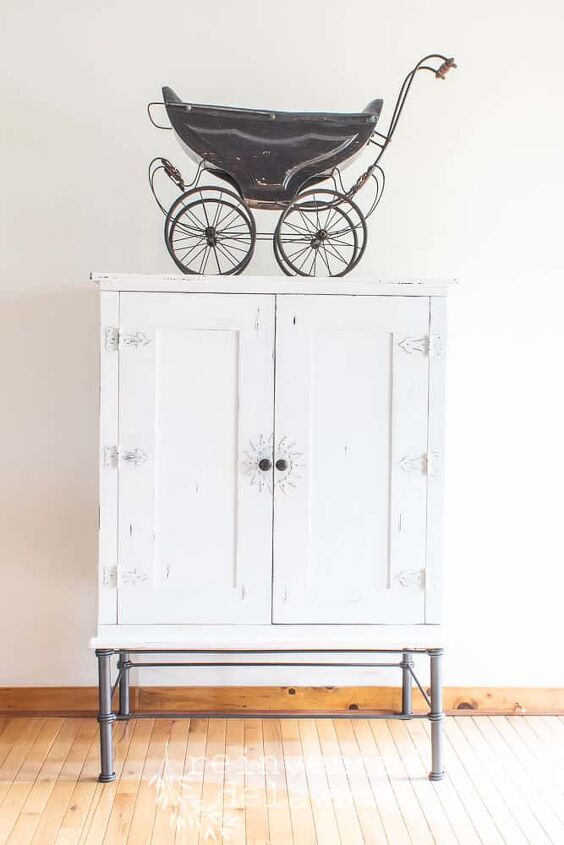
Photo by Reinvented Delaware
You also might like to read the following:
Summary
Thank you for stopping by the blog today! I hope you are as excited as I am about the warmer weather and all the possibilities that lie ahead. I am hoping to have more furniture projects to share with you in the coming months. You don’t have to have an unlimited budget to have a beautiful home. A little creativity, elbow grease and willingness to do things yourself goes much further than an unlimited budget.
← Previous
Next →
Subscribe To Our Newsletter
Join our mailing list to receive the latest news and updates from our team.
You have Successfully Subscribed!
Recent Posts
- DIY Painted Pottery
- Summer Collectibles – Vintage U.S. Flags
- DIY Crackle Paint – Part 2
- DIY Crackle Paint
- Ideas for Mother’s Day


Frequently asked questions
Have a question about this project?