


Grimy, Grungy Shutter Gets a Total Transformation
6 Materials
Today I'm continuing on my quest to find as many things as I can to do with old vintage shutters before my pile runs out. If you've been following along in my blog, this is shutter project number 6.
I previously shared on Hometalk one other shutter project, a shutter coffee table.
I previously shared on Hometalk one other shutter project, a shutter coffee table.
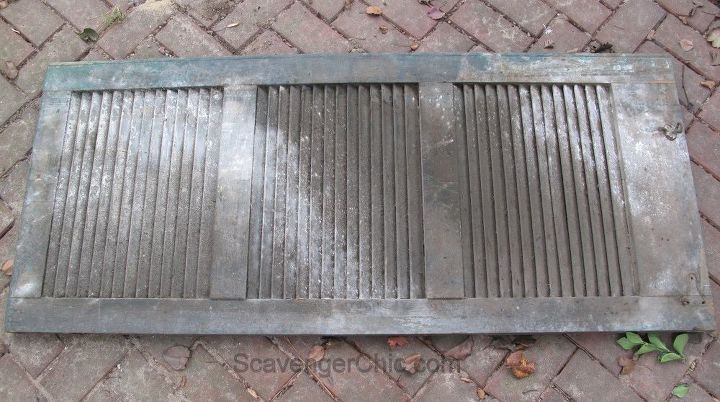
Here is my grimy, grungy shutter. The shutter, which appears to be gray but is actually green, is in desperate need of a good scrubbing.
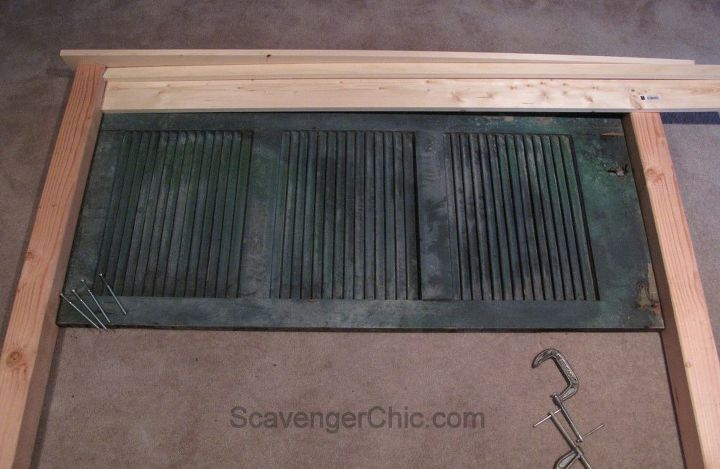
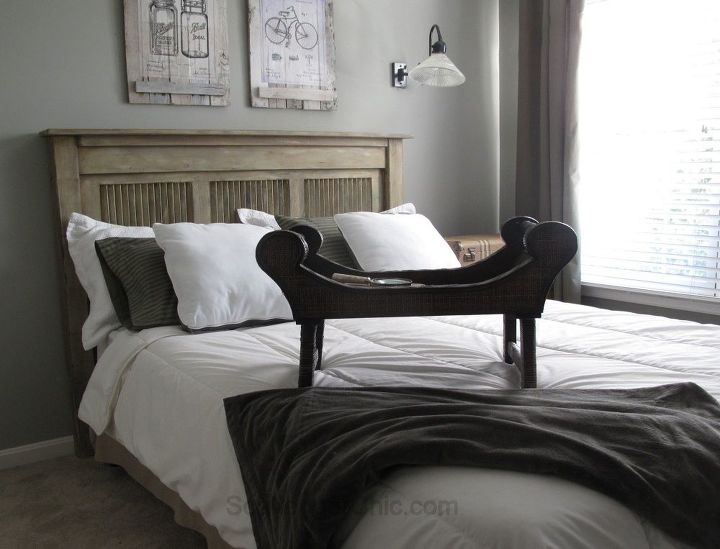
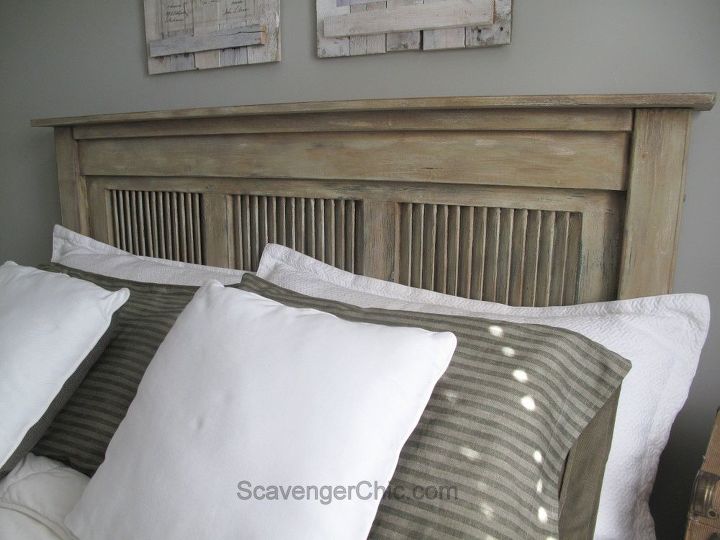
Lay all your pieces out on the floor until you get a configuration you like. I guess you can tell by now that I'm making a headboard with my shutter.
Since a queen size mattress is 60" in width, a headboard should be at least that wide but preferably somewhere around 62 /63".
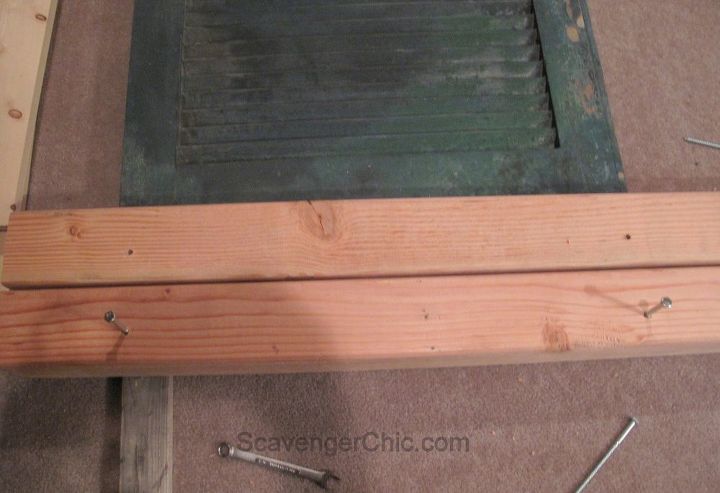
Overlapping an inch of the shutter and matching up with the top of the post, next up, the 1x6, cut the length of the shutter. With wood screws, attach the 1x6 to the shutter on the front.
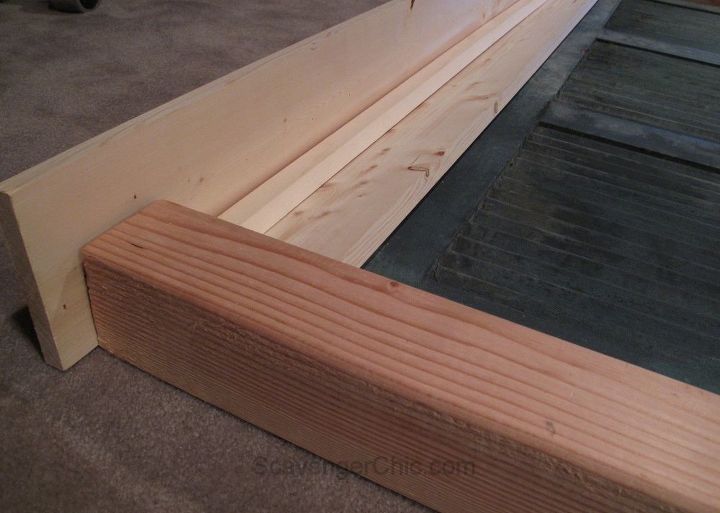
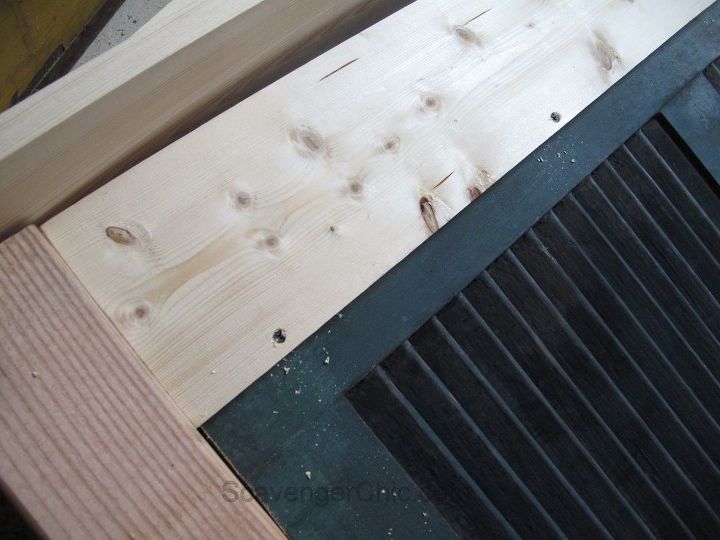
I know I went backwards in my picture timeline but I didn't have a good picture of where to put a 1x2 (top edge) and the other 1x6 (cut a couple inches wider than the headboard).
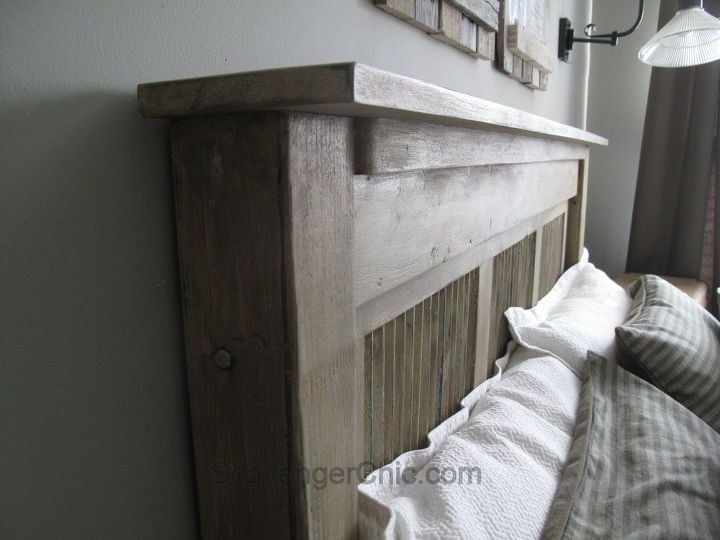
This is probably the best picture to show the rounded edge of the 1×2.
Make sure you click on the link below for how the bed was painted and more step by step instruction.

Want more details about this and other DIY projects? Check out my blog post!
Comments
Join the conversation
2 of 71 comments
-
OMG!!! That is so awesome. I love it. You did a wonderful job.I'm diffently going to check out the Scavenger Chic page. Your bed is gorgeous.
-
I am in need of some easy head board ideas. I do not have one. Just the basic metal frame.


Frequently asked questions
Have a question about this project?
Love this project. Simple, yet very classy looking. I probably missed it, but what painting techniques did you use? Love the way it looks!
Wow. Wow. Wow! I love the look and especially the color......what kind of paint did you use and what colors?