


HEAD...BORED? Not With a Pokémon Headboard!

by
Julie
5 Materials
My boys are trenders... they like what's trending... but I have to say that they usually stick with it a while. So my oldest boy likes Star Wars... many of you have seen his Star Wars Desk that we refinished. Now it's my Youngest Boy's turn! He's into POKÉMON. Geeesh... how may of you can say the same thing about your boys!
Everything Pokémon! I have started painting his wall and I have to say I am a bad mom because I have yet to finish the wall ... life happens and get's in the way... however, I did finish the refinishing project on the headboard.
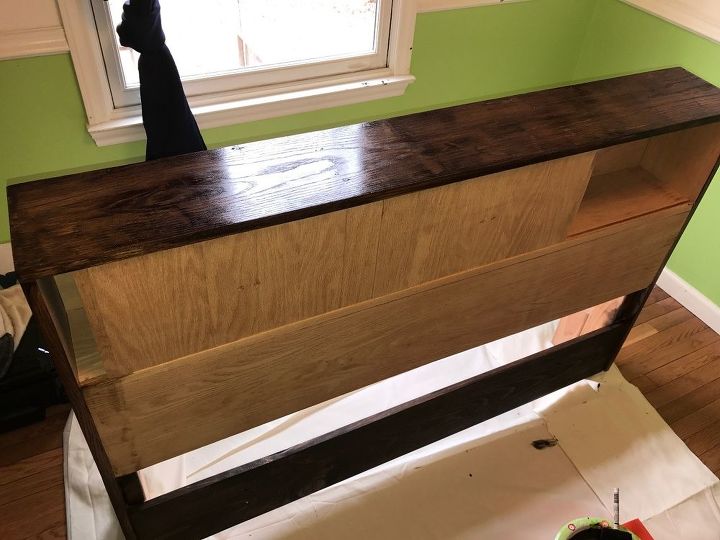
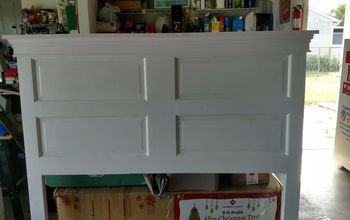
We purchased a headboard from our local Auction at $5. WOW... the best price at Auction yet! My husband's seeing the potential and loving that he can go to Auctions and I can turn them into something creative and useful! Anyway....it also got him a planer in the deal!!! So it definitely was a win for him. I'm sorry about not having a before photo of the headboard... he wanted to use his planer and I just wasn't fast enough to get the before photos! So he tore the whole headboard apart, $5 he wasn't worried about ruining it at least he'd still have the wood if he messed up anything! Once it was put back together with a few extra supports...
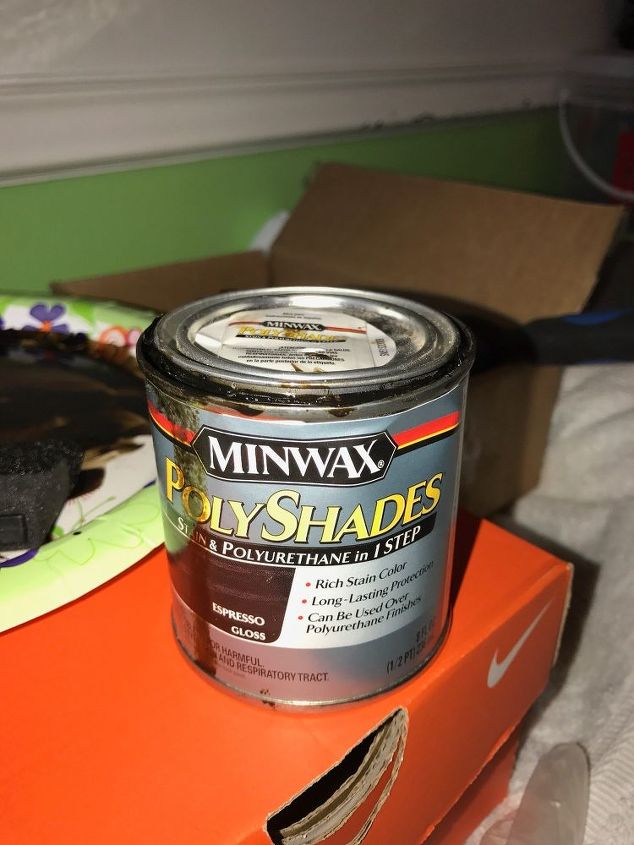
I used some left over stain I had from the Star Wars Desk... Minwax Polyshades Espresso gloss. ( I wanted an underlying base because what comes next will surprise you)....
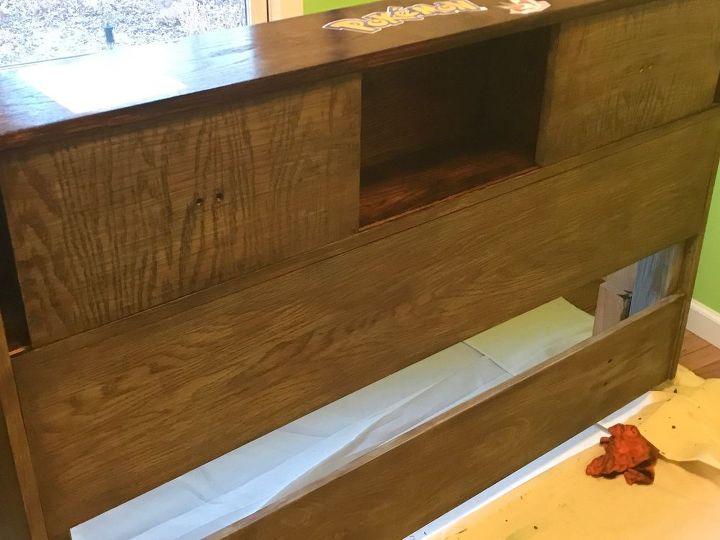
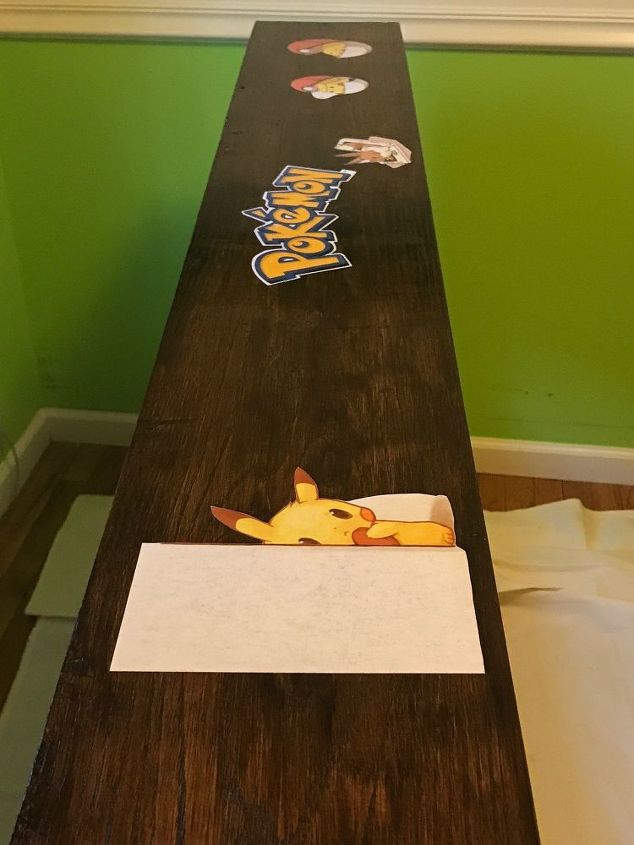
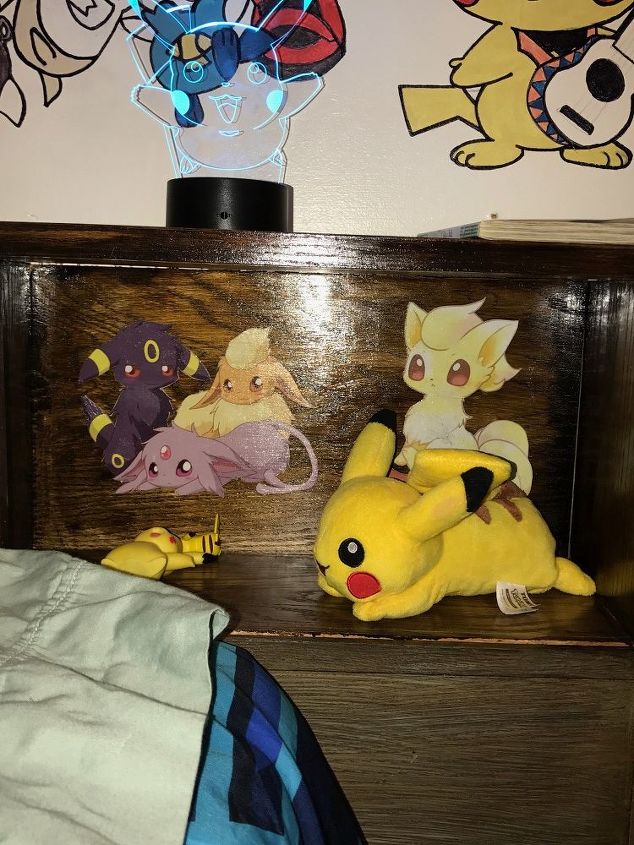
After the entire piece was stained I proceeded to place a few decals... you'll see on the top of this piece, I printed from free images on google onto regular copy paper, a few Pokémon images. I let my 9 yr old choose which images he wanted to go onto his headboard. We kept the copyright "®" register marks and "tm" trademark logos wherever there was one just so that we respected those images as such. I explained to my boys why we have them and what they stand for. Here in this photo you'll also see that I went over the top of the stain with something as well....
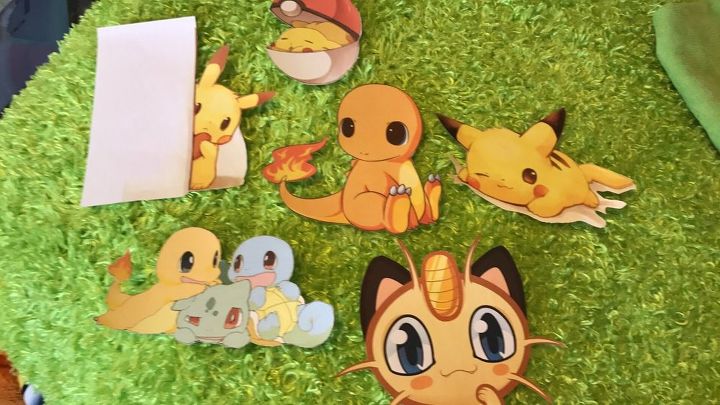
some of our images
more images on the top of the stain... again... I MODGEPODGE'd my images onto my furniture pieces, it seems to work well for me. If you're concerned that when liquids are spilled, etc the modgepodge'd images may come off... top it all off when you're done with some kind of polyurethane. They have spray and paint on polyurethane so you can use either of those to give it that final protection.
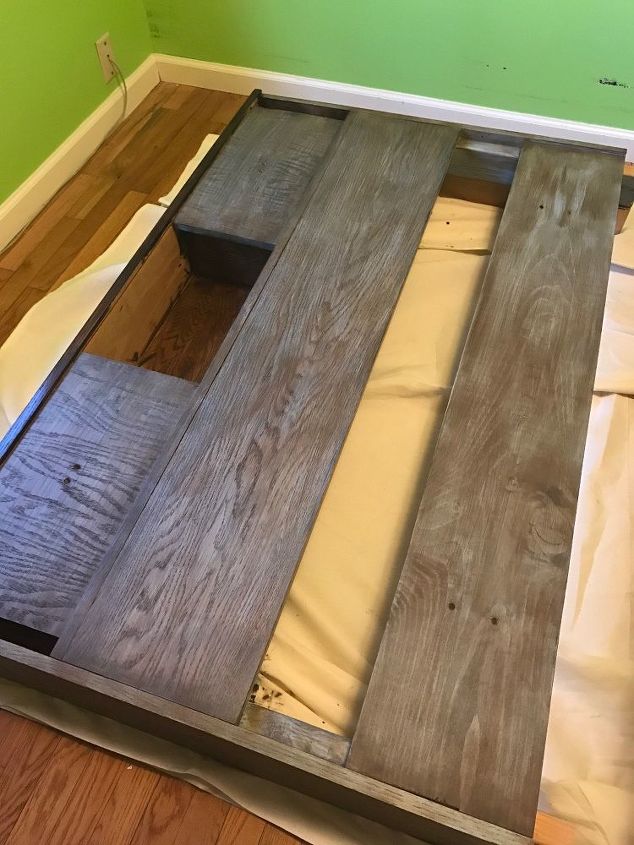
My next application after the stain was MILK PAINT! I used folkart® Milk Paint(TM) Cottage Green and I mixed it with the recommended Milk Paint Bonding Primer & Sealer then I applied it with a sponge brush... I apply my stain and the milk paint with a sponge brush and then rub off any excess where I don't want it to be so thick with a microfiber cloth (i find microfiber doesn't leave behind the "Dust" or particles from the material)
You can still see the stain coming through the milk paint where I rubbed excess off.
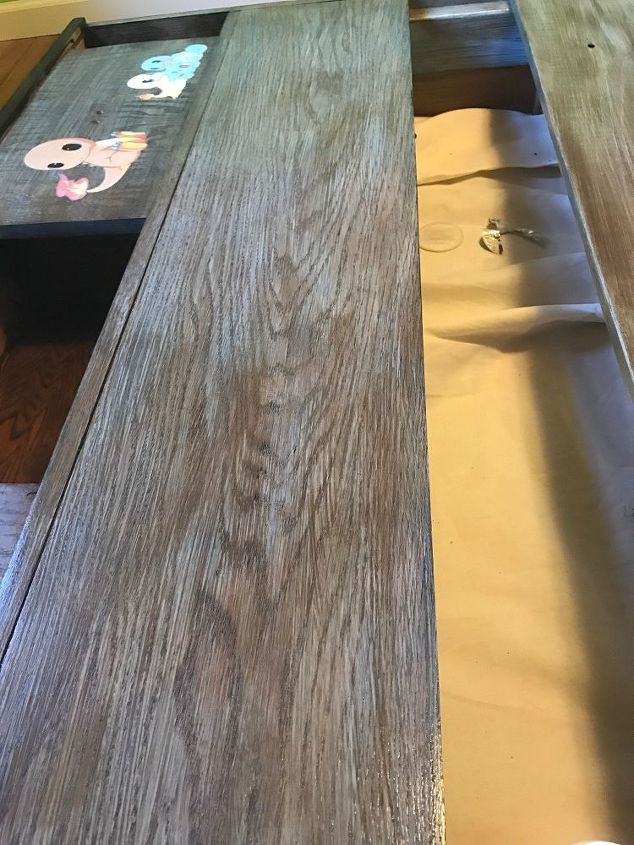
Next I rubbed on with a microfiber towel the Antique Wax by ArtMinds(TM). I didn't have to do this part, but I found that it brought out the "brown" color better and it gave it a bit more of a glossy appearance. Then I applied the rest of my images where my son wanted them! a couple here and a couple there...
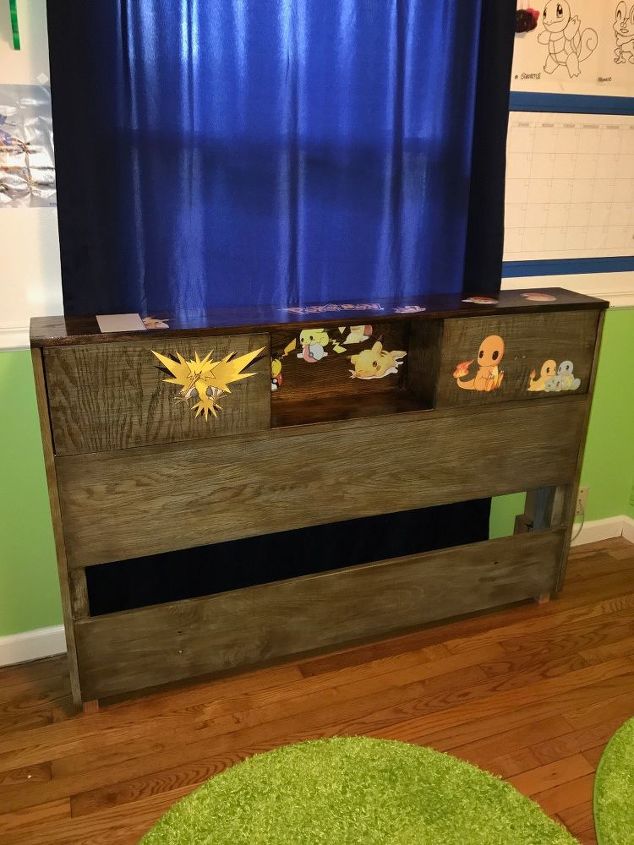
Here's the finished headboard. All decked out and ready to attach the bed.... (This was a full size headboard and we have a twin already so we had to place the 1x8 panel which was pine and not oak like the rest of the headboard... but you can't tell the difference once all of the paint is on it. Pattern is a bit different, but it still looks like all one unified piece!
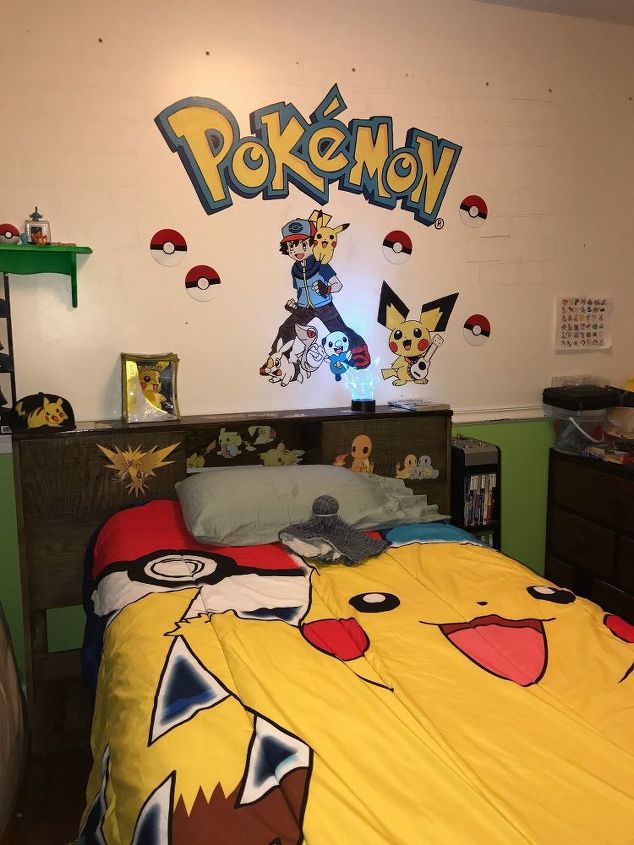
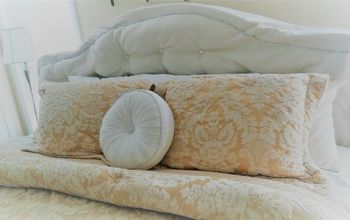
Here is the bed and headboard connected and in it's place. You see my unfinished wall... Sorry! I'll get to it one day!
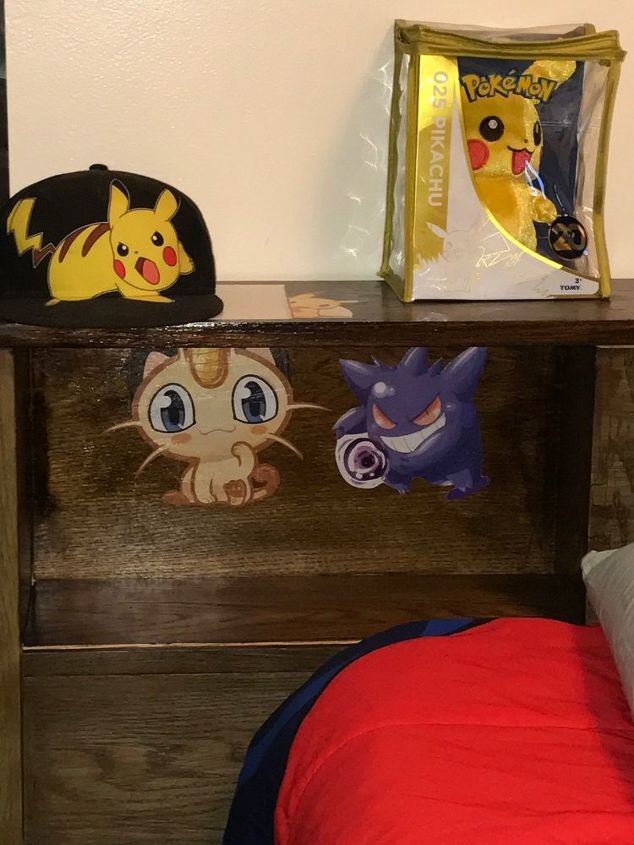
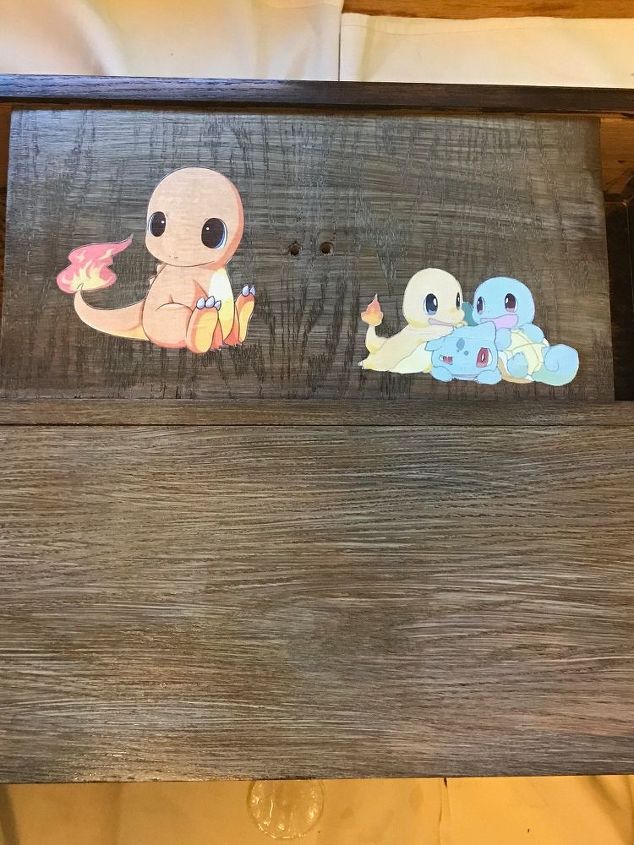
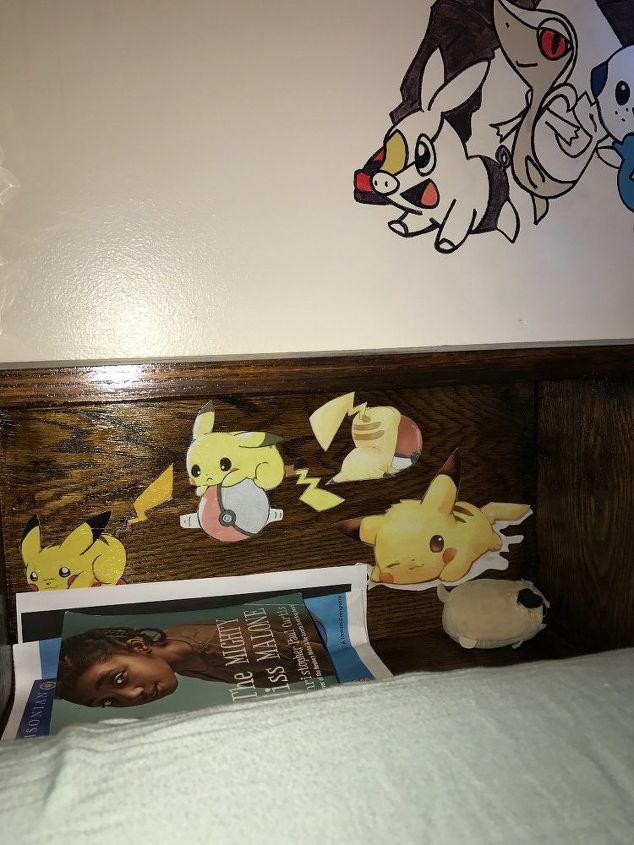
Close up of the images in each compartment in the headboard... sliding doors have images on them and then inside you find other surprises!
Pikachu is his favorite!
other side compartment....
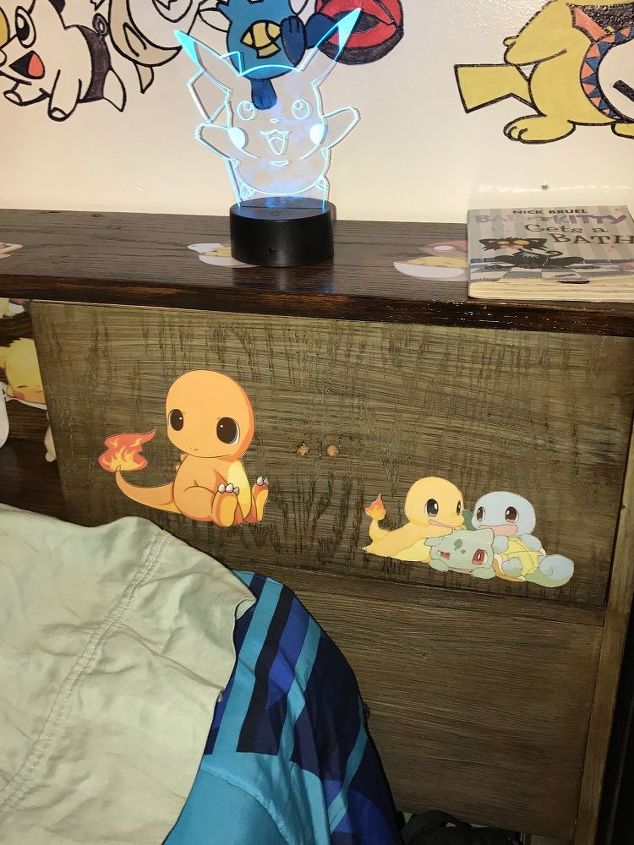
Right side door....
My Materials....
I hope you liked this project as much as many of you liked my last Star Wars Desk Project.... I enjoyed doing these project for my boys... one day they may grow out of them .... then we may just put them up for sale.... who knows what the future will bring! If you do something similar to this... make sure to post a photo of your project.... I sure would like to see your creation too!
Comments
Join the conversation
3 of 6 comments
-
Thank you B. Enne!!
-
Oh wow! He must LOVE this!!!


Frequently asked questions
Have a question about this project?