


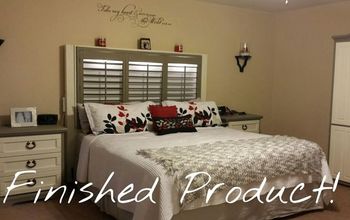
Headboard Made From Salvaged Shutters Diy
9 Materials
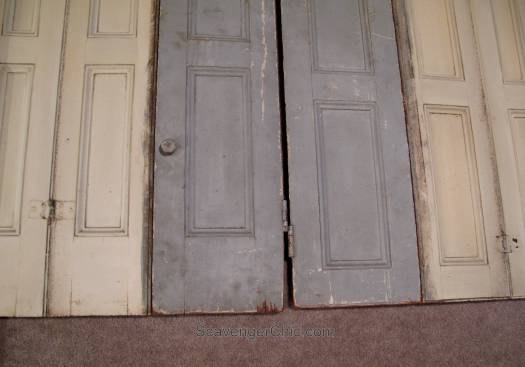
It must have been July when my brother first showed up on my doorstep with a huge pile of these fantastic interior wood shutters. I immediately knew that I wanted to make a headboard. The only problem was, I didn't need a headboard.
Don't despair if you don't have shutters, an old paneled wood door will give a similar look.
Don't despair if you don't have shutters, an old paneled wood door will give a similar look.
At some point, I found that my oldest son and his wife were on the lookout for a new headboard for their guest room. If I just happened to make one, what size would it be? Queen.
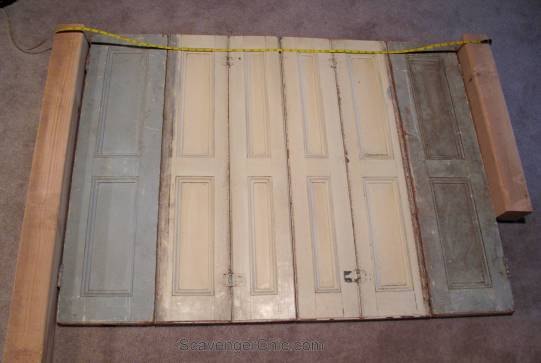
Start your headboard by laying it out flat. A queen headboard needs to be about 5ft wide. There is a little wiggle room...the headboard could easily have an extra inch, more or less, on each side.
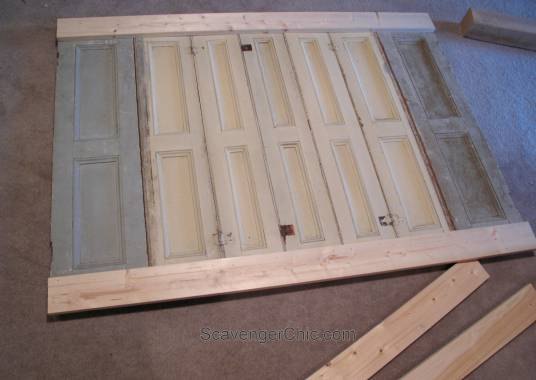
With the added panel, the new width of my headboard was 5' 1 1/2". Ready to assemble.
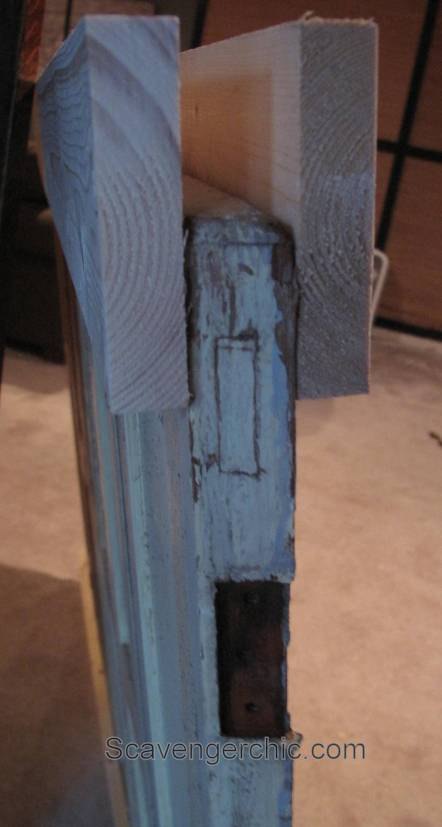
This is a side view. The 1x4's were glued and nailed into place with finishing nails.
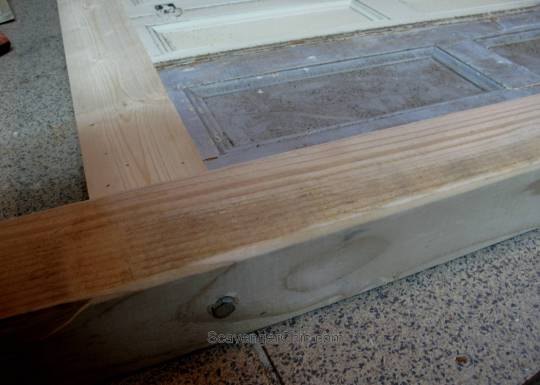
4x4's were cut. You would think I would cut the 4x4's to the height I wanted the headboard but you would be wrong...since this was a gift I wanted the headboard to be able to fit into my son's SUV so he could get it home, a five foot high headboard would never fit. These 4x4's were cut to 43". I cut two more 4x4's, 16" to extend the legs. When my son gets the headboard into his home, he can chop off the leg extensions to whatever length he wishes to fit his bed.

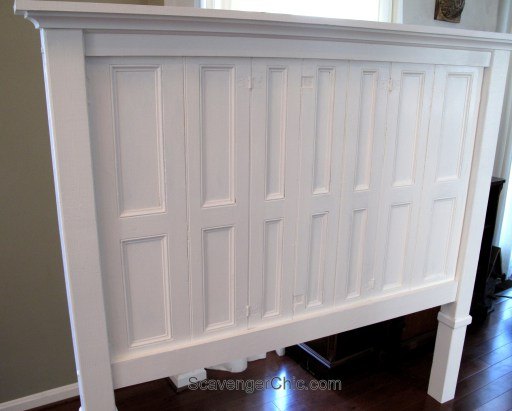
I cut a 1x6' top shelf 6 inches longer (3 inches on each side) than the width of the headboard. Nail into place.
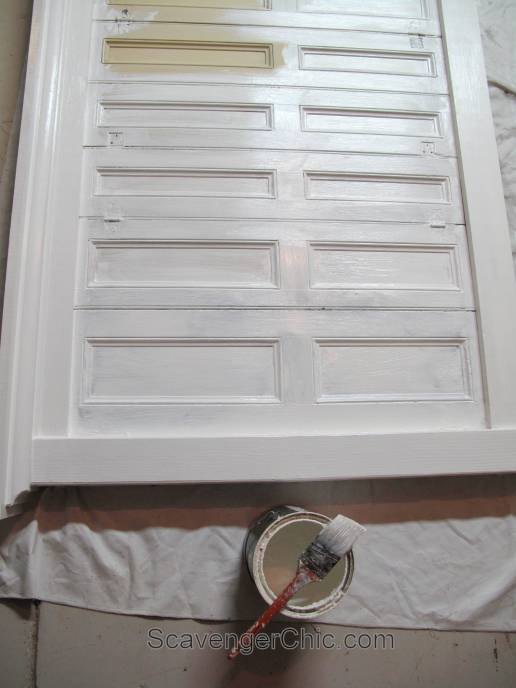
The nail holes and edges were sanded and ready for painting. The headboard then got 2 coats of an interior semi gloss white paint.
The headboard was a Christmas present for my son and daughter-in-law and I think they really liked it, but when it came time to leave it was either the headboard or the dog. For some reason, they chose their dog.
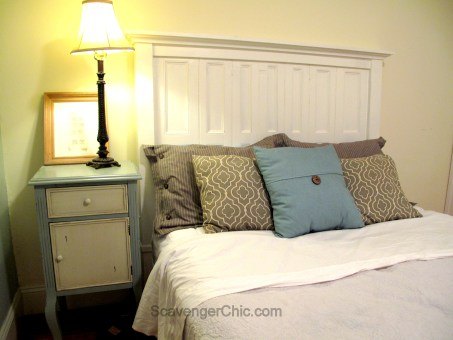
A few weeks later the headboard finally found it's way home.

Want more details about this and other DIY projects? Check out my blog post!
Comments
Join the conversation
2 of 71 comments
-
Very nice looking headboard
-
Very nice!


Frequently asked questions
Have a question about this project?
How did you attach the 16" feet to the 4x4's? I see a piece of wood or something going around where they're joined, but then, I've never done this, so I don't know the procedure for doing this. Thank you!