


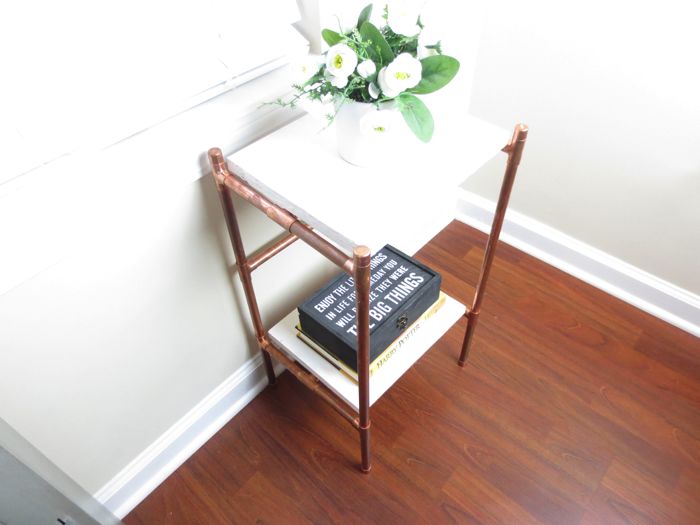
How To Build: DIY Copper Nightstands

10 Materials
$200
2 Days
Medium
One day I was looking around my master bedroom and noticed something missing…nightstands. I decided that instead of simply buying them from the store, it would be a great idea to build them from scratch using copper piping. The copper piping would add a unique touch and I could personalize the nightstands by making them myself. Yeah, it took a lot (emphasis on “a lot”) of time, however, it was definitely a very rewarding experience.
Before purchasing materials, be sure to jot down your preferred measurements. You will need the materials listed below. Please note, the amount of materials needed for this project is for two nightstands. I purchased all of my items either online or in-store at Lowes.
The specific measurements per nightstand are below:
- 2 Wood pieces: 9 ½ x 11 ½
- 8 “A” pieces: 6”
- 8 “B” pieces: 4 ½”
- 3 “C” pieces: 11 ½”
- 2 “D” pieces: 14 ⅛”
- 4 “E” pieces: 6 ¾”
- 8 “F” pieces/copper caps - ½”
- 12 “G” pieces/copper tees - ½”
- 2 “H” pieces/pipe straps - ½”
{
"id": "4114718",
"alt": "",
"title": "",
"video_link": "https://www.youtube.com/embed/O2Nc1wqJRNs",
"youtube_video_id": "O2Nc1wqJRNs"
}
{
"width": 634,
"height": 357,
"showRelated": true
}
Check out this video on my YouTube channel for the entire process!
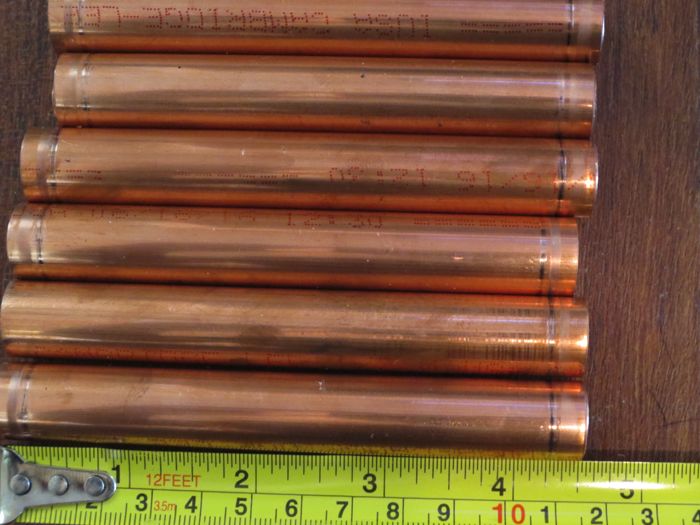
After purchasing all of the materials and getting the pieces of wood cut, next you will need to cut the copper. I did this by hand, but to save time, you may want to contact your hardware store and ask if they could cut the cooper for you.
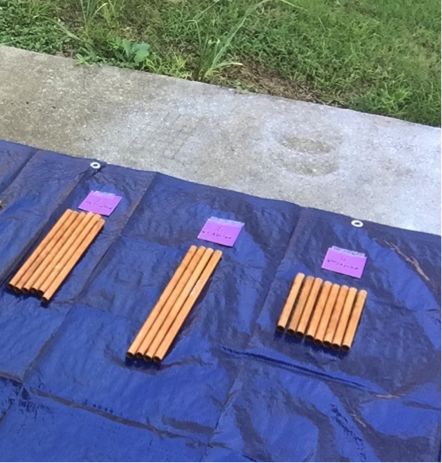
A few tips to help here: Separate and label your copper pieces so you know what size pieces will be used as legs, etc.
Also, build a model of how the copper pieces should fit together before permanently affixing them together. Once you are sure that everything is perfect, use a strong adhesive like e6000 (which is my favorite for DIY projects) to adhere and secure everything.
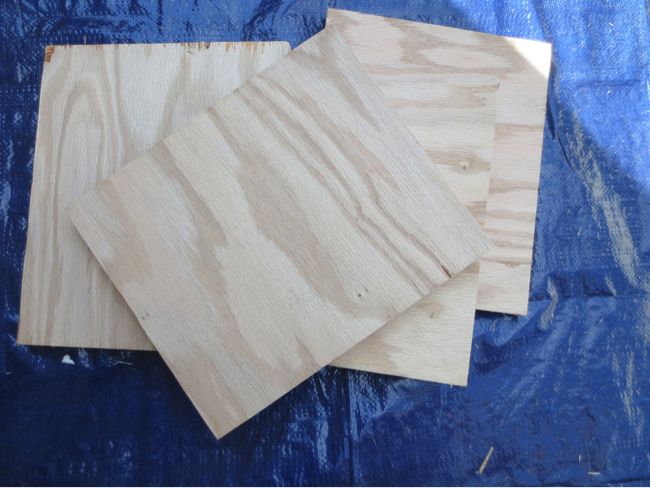
While the copper piping is drying, sand, clean, and paint your wood. I chose a white semi-gloss from Sherwin Williams. It is important to use semi-gloss, because it can be easily cleaned without losing the shine.
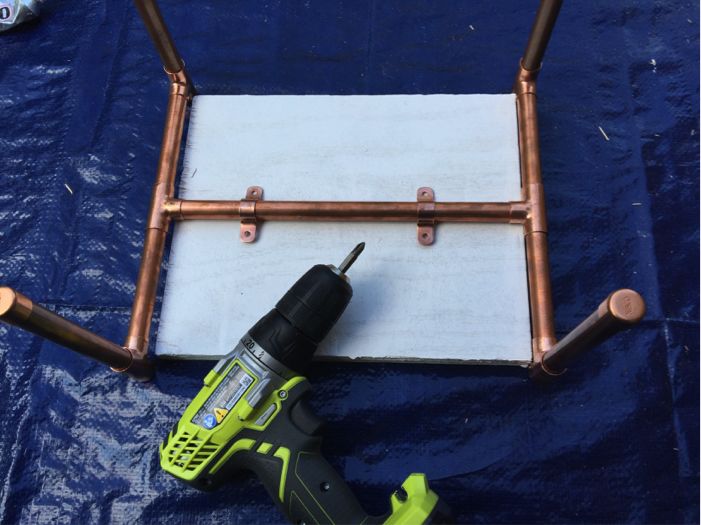
Once the paint dries, it is time to get your drill out and secure the wood to the copper using pipe straps.
Next, leave your copper nightstand in a safe and secure setting or place so that it can dry and your project is complete!
Thanks for reading!
For more of my DIY videos, please check out my channel: youtube.com/c/yannivlogs! Also visit my new website yannipaul.com for all of my other interests.
Comments
Join the conversation
2 comments
-
good job! Thanks for the share!!!


Frequently asked questions
Have a question about this project?