


How to Make a Chalkboard Out of a Headboard
3 Materials
$10
4 Hours
Easy
I love a good upcycle and the project I’m sharing today is one of my favorites so far. It was one of those things where the moment you see something, you know exactly what you’re going to do with it. The “it” in this case happened to be a twin headboard I found on Craigslist. Here’s how I turned it into a unique farmhouse chalkboard.
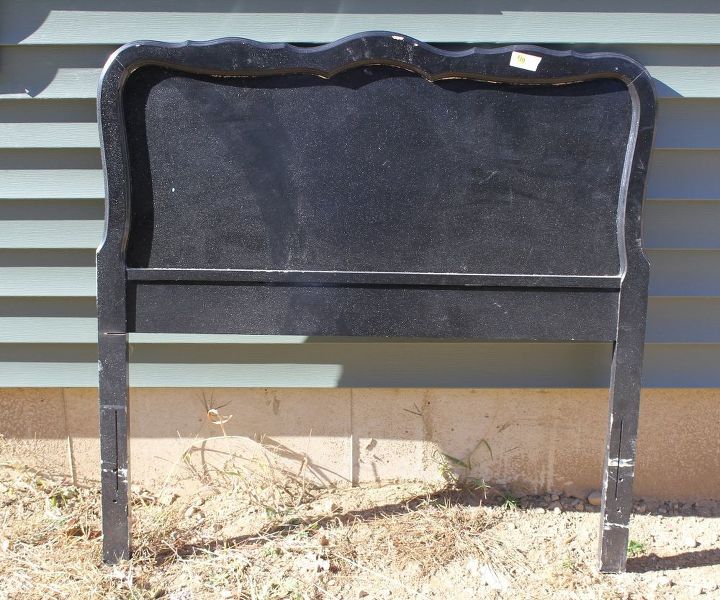
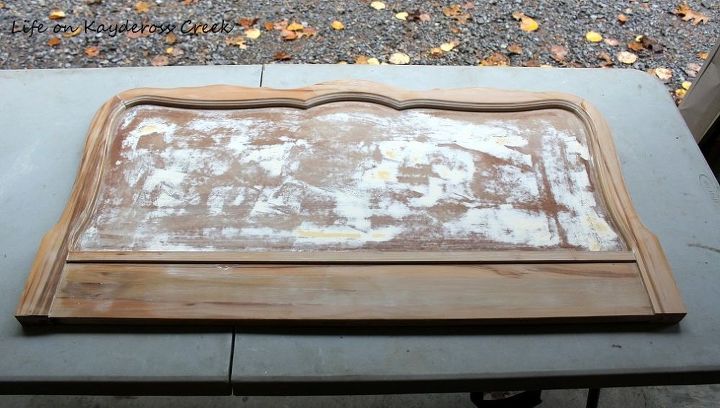
I could just picture the wood a warm dark brown stain. The first step to this upcycle was to remove the legs. We did that with the miter or chop saw.
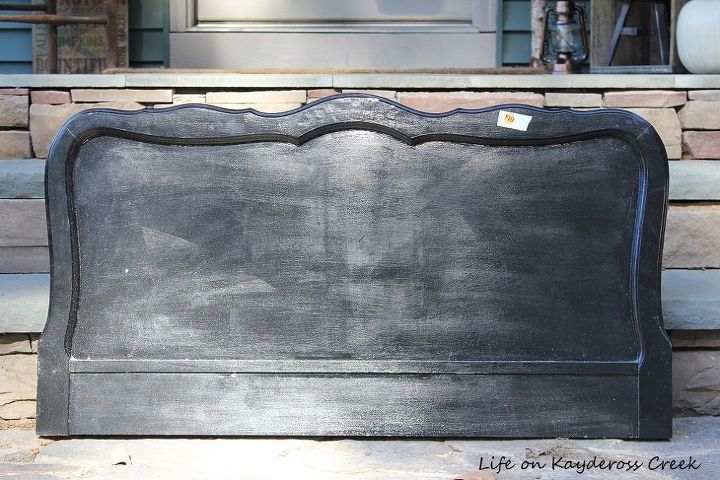
The next step was to strip it down to the bare wood. It had a really think coat of black paint. I scraped, stripped, and scraped some more. Finally, I got enough of it off where I was able to sand it.
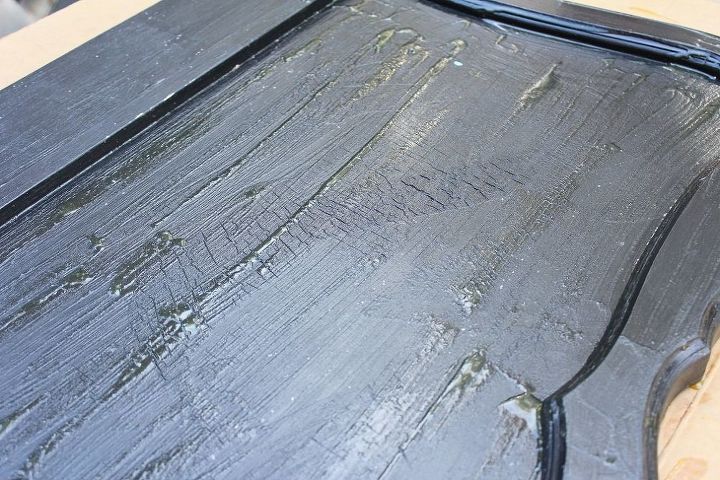
So I grabbed my trusty palm sander and got to work. The middle of the piece is particle board or something and very thin so I needed to be careful not to sand too much . I just wanted to get a smooth surface that would give the paint a smooth finish. The wood around the frame was what I really wanted to stand out.
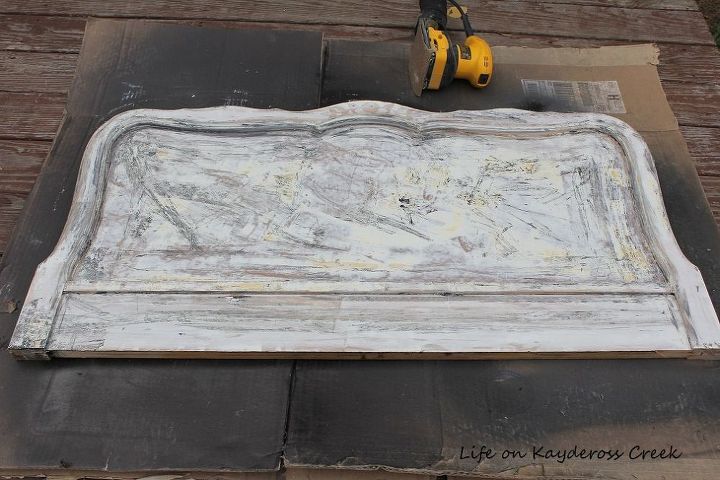
After sanding. Huge difference, right? It cleaned up so well! I just love the wood frame.
Unfortunately, as much as I hand sanded the small little lines, nooks and crannies on the frame, I just couldn’t get all of the paint out. I knew that it would show through the stain but was hoping for the best. I wanted the color to be a rich brown so applied Minwax stain in Espresso.

I love the way the little bit of leftover paint peeks through the stain. I had hoped that the layering of the paint and stain would be pretty and make the piece look even more antiqued which I think it did. A happy accident.
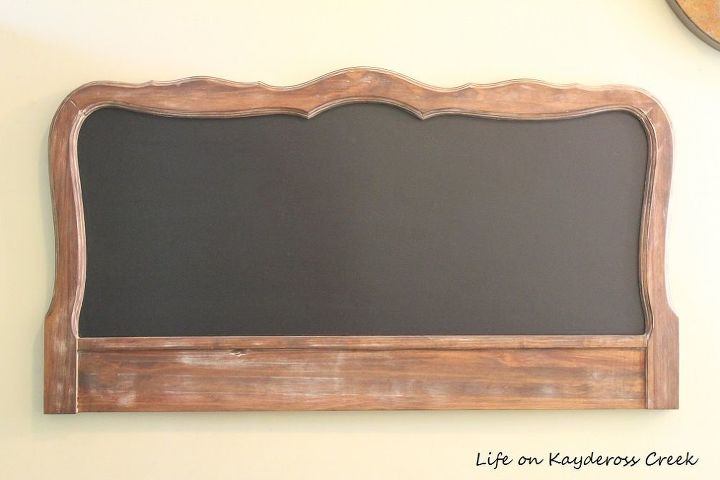
It was tricky getting the chalkboard paint evenly lined up with those pretty curves in the frame. I had to use a really good angled paint brush to twist into those edges. It took some time and after 2 coats she was good to go and we hung it in our mudroom.
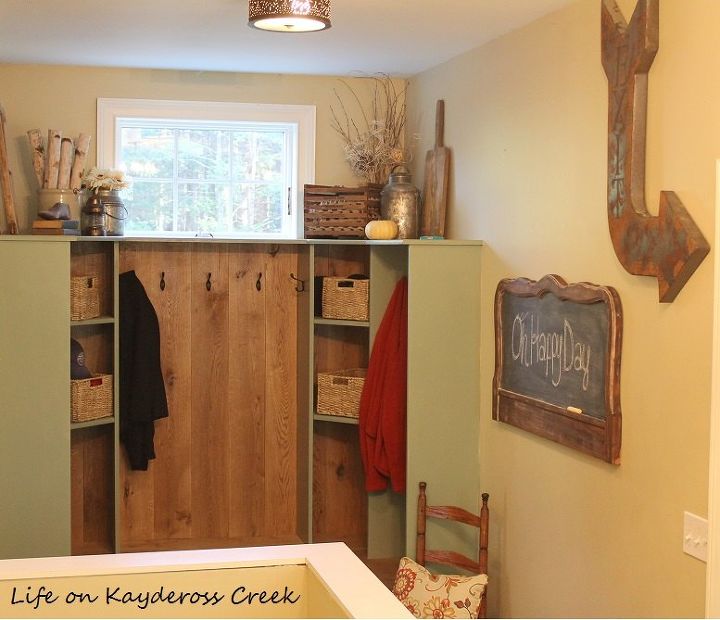
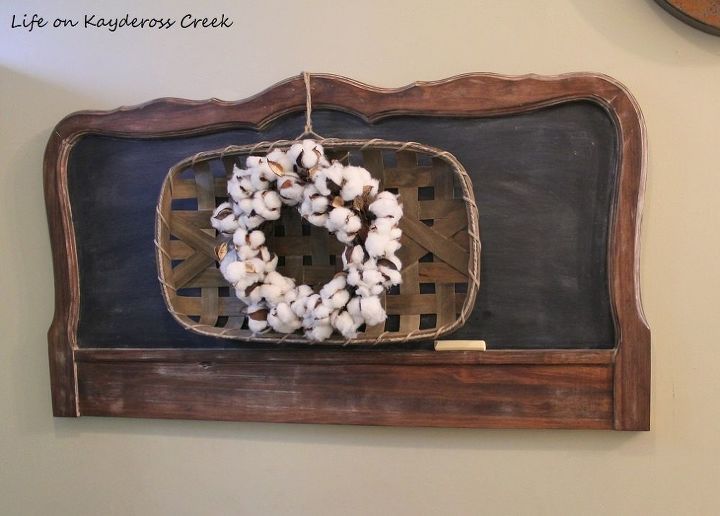
Chalkboards are great for to-do lists, notes and even inspirational quotes to start your day. They are also great as backdrops for other home decor. I love this one paired with the small tobacco basket and cotton wreath.
To see more of this projects and others like it, please visit my blog, Life on Kaydeross Creek at http://mylifeonkayderosscreek.com or on Facebook at
https://www.facebook.com/lifeonkayderosscreek/


Any price and availability information displayed on [relevant Amazon Site(s), as applicable] at the time of purchase will apply to the purchase of this product.
Hometalk may collect a small share of sales from the links on this page.More info

Want more details about this and other DIY projects? Check out my blog post!
Comments
Join the conversation
2 of 33 comments
-
Very cool! And I have lots of stuff like his to play with! 🙂
-
I remember seeing this on here. Thats awesome. Ive got to get busy. :)


Frequently asked questions
Have a question about this project?