


Turn a Plain IKEA Rast Dresser Into a Rustic Farmhouse Nightstand

IKEA hacks are all the rage! They are a great way to take a plain, basic piece of furniture and turn it into a conversation piece. The Rast dresser is an excellent base for so many projects. It only costs $39 and is made from real wood, as opposed to the particleboard IKEA uses in many of their other items. This means that you can sand, stain, or paint to your heart’s desire! Intrigued? Check out my step-by-step tutorial below to see how I turned my damaged Rast into a rustic farmhouse nightstand!

Tools and Materials:
- IKEA Rast Dresser
- Putty
- Screwdriver
- Plywood
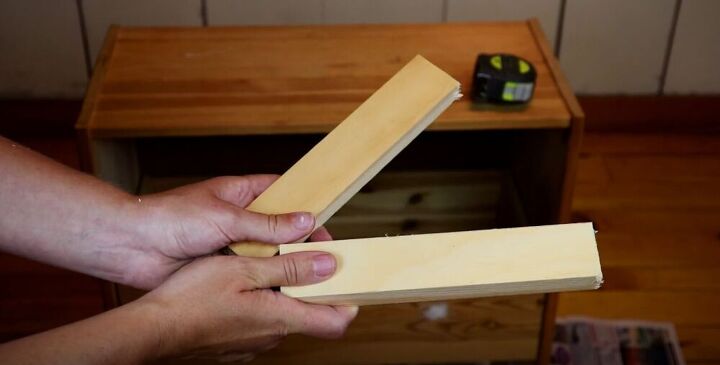
- Pine
- 1”x2” lumber
- Air nailer
- Paint
- Paint brush
- Sand paper
- Stain
- Foam brush
- Lint-free cloth
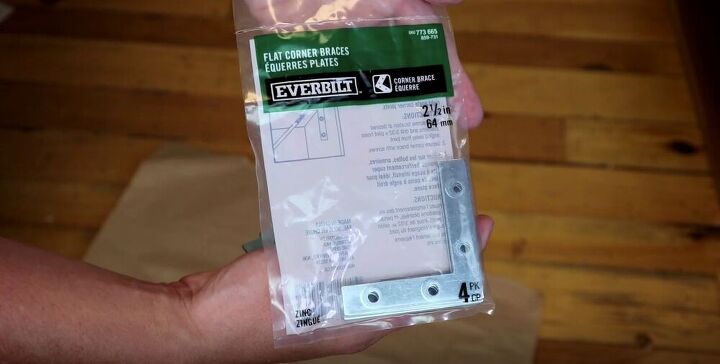
- 2 ½” L brackets
- Spray paint
- Oil wax
- Caster wheels
- Drawer pulls
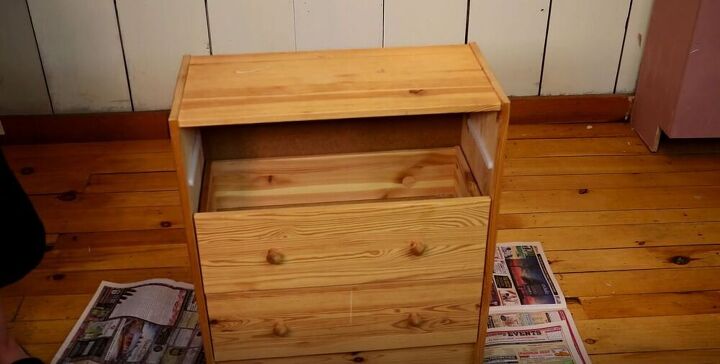
I have actually had this Rast dresser for a while, and the top drawer was broken, so I just decided to remove it entirely.
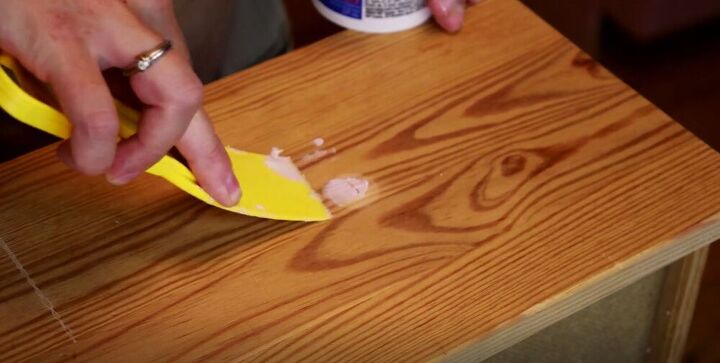
I also removed the drawer pulls from the other drawers and filled in the holes from the screws with putty.
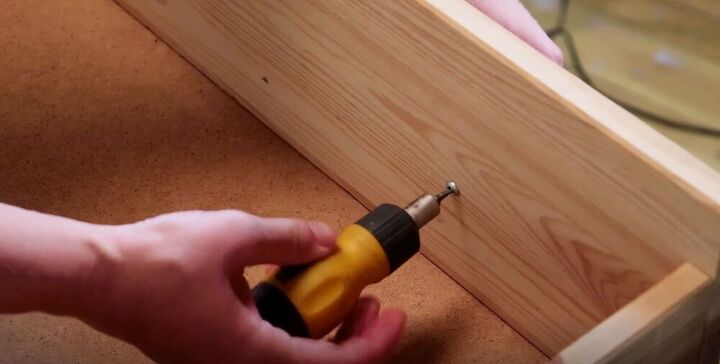
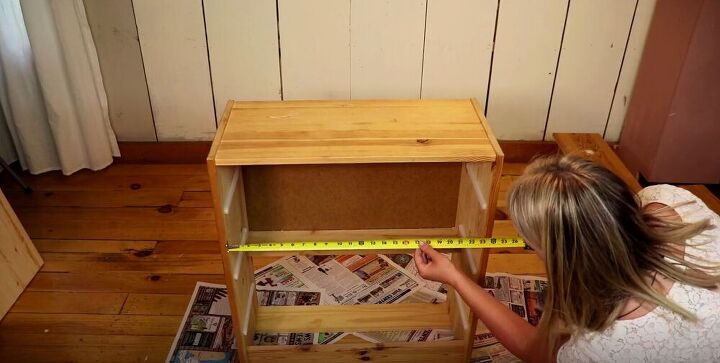
I wanted to add wheels to my dresser, but in order to do that, I needed to add a base to the bottom of the dresser. I measured the bottom of the dresser which came out to 23 ⅜” long. I cut two pieces of plywood to length.
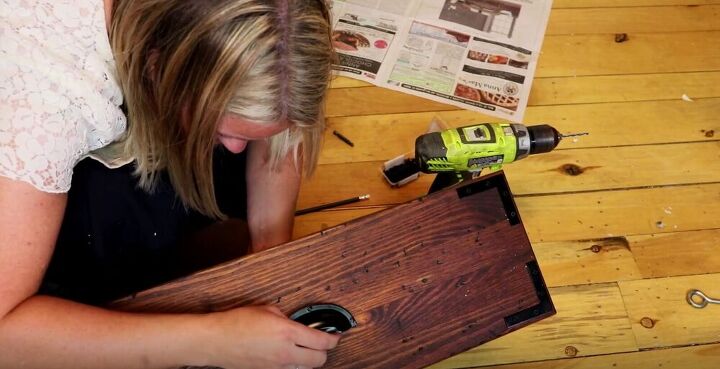
Next, I drilled pilot holes. Always make sure to drill pilot holes as without them the wood may split when you screw it onto the dresser.
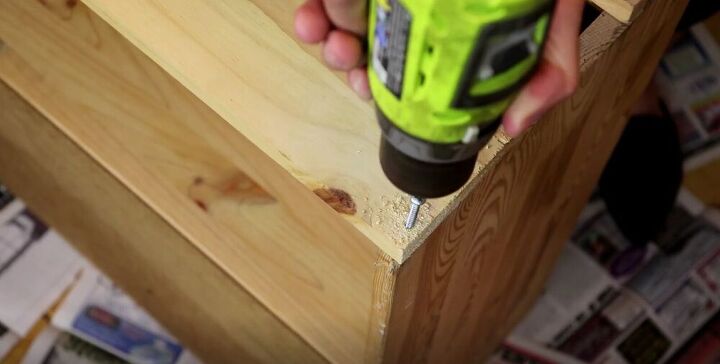
I attached the pieces of plywood to the bottom of the dresser and then flipped it over.
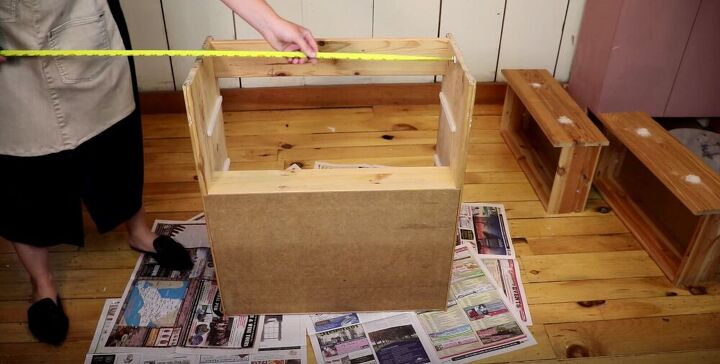
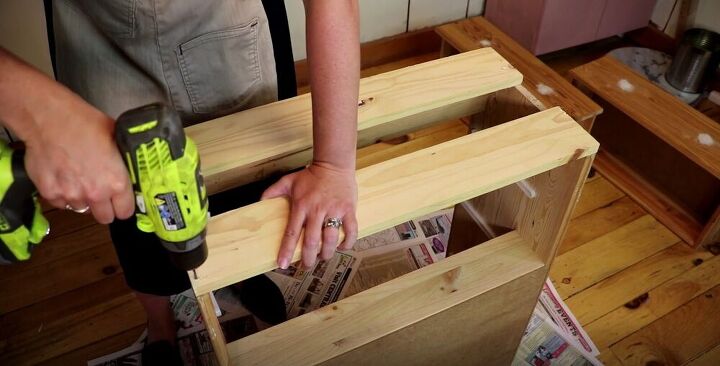
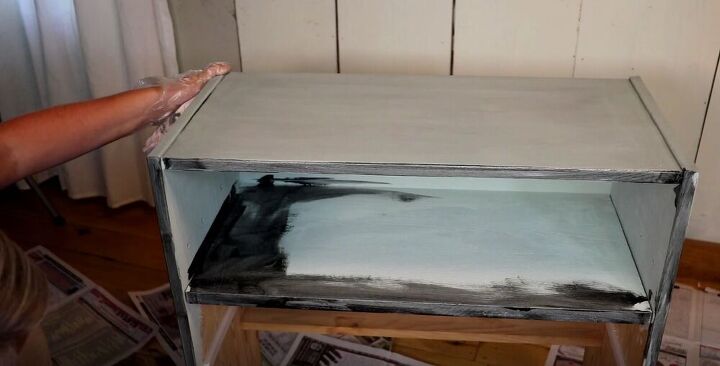
I wanted to add a shelf where I had removed the broken drawer. I measured the dresser and then cut a piece of pine to fit.
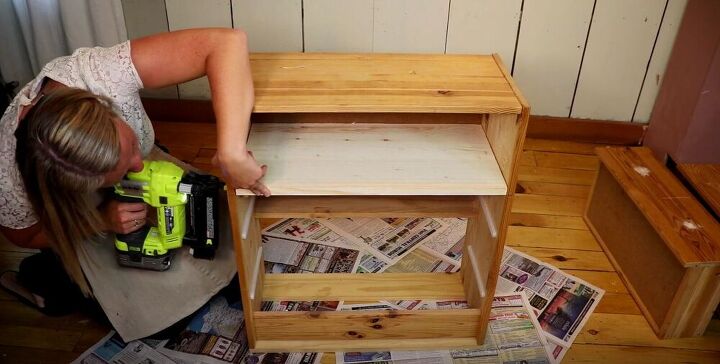
I cut two small pieces of 1”x2” wood to act as cleats for the shelf to sit on and screwed them in place inside the dresser.
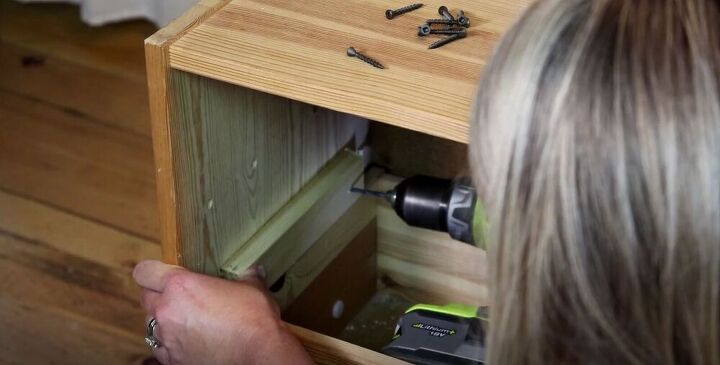
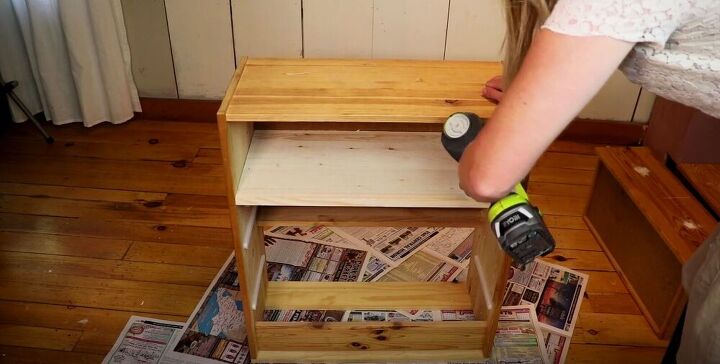
Then I used an air nailer to nail the shelf in place from the inside and the outer sides of the dresser.
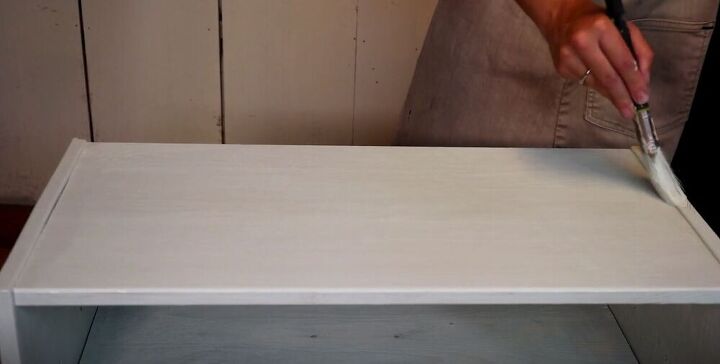
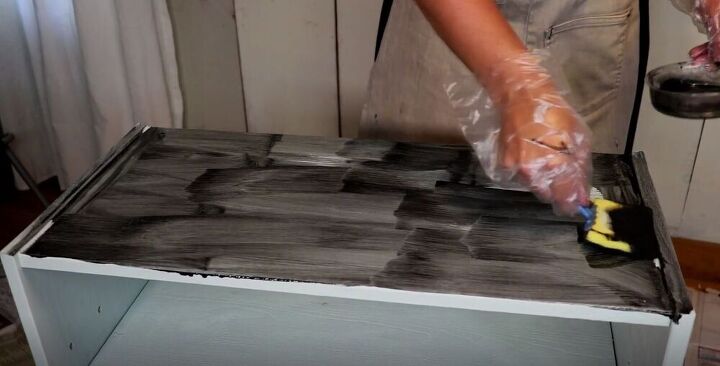
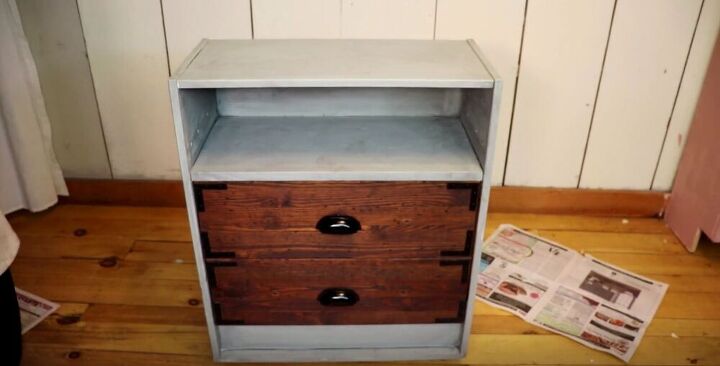
I painted the shell of my dresser with Country Chic Paint in the shade Happy Hour. I love this because it’s clay-based but gives a chalk-like finish, which adds to the rustic farmhouse look that I was going for. I only needed to paint on one coat, and then I left it to dry.
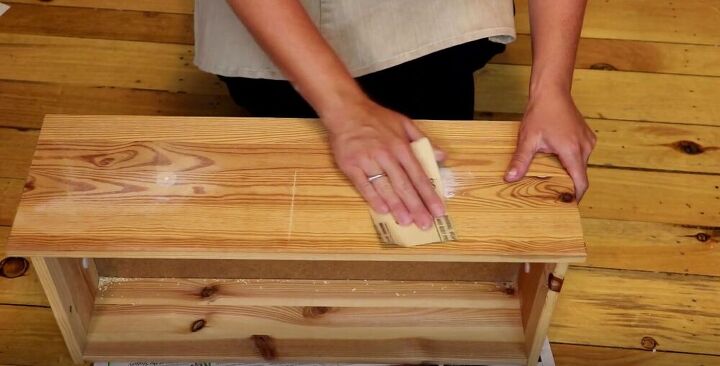
I lightly sanded the putty on the drawers until it was smooth.
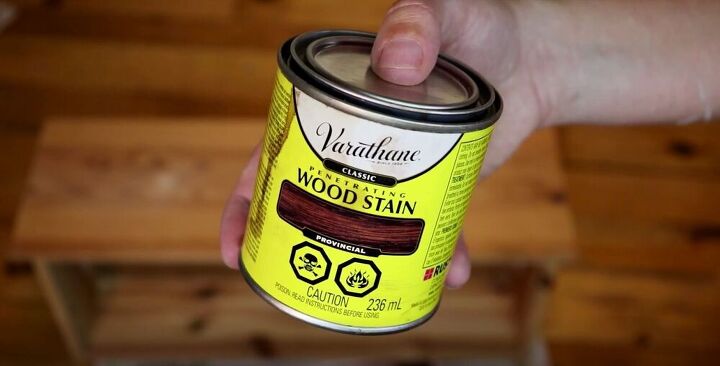
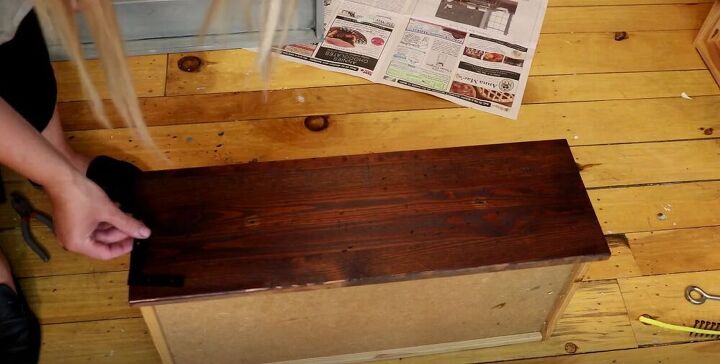
Then I stained the drawers with the color Provincial from Varathane using a foam brush.

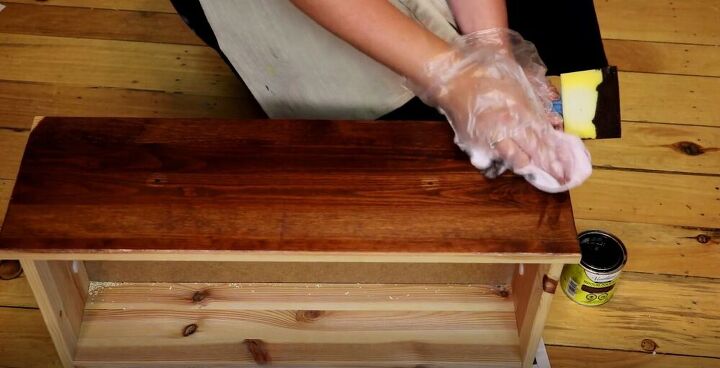
Before the stain had a chance to dry, I wiped off any excess with a lint-free cloth. As you can see, this technique really brought out the grain of the wood.
Before I could attach the hardware, I needed to paint them to match my aesthetic.
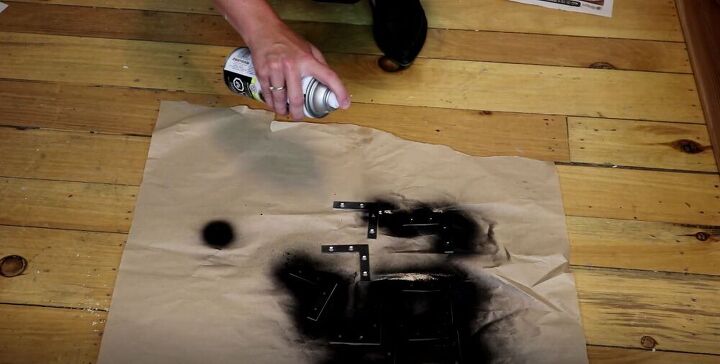
I spray painted my L brackets with black spray paint, let them dry, and then repeated the process on the other side.

I wanted to add a touch more of a rustic vibe to my dresser, so I painted on a layer of oil wax with a foam brush.
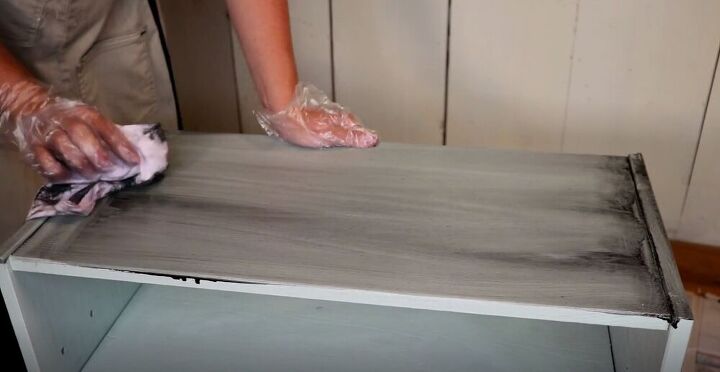
Then I wiped it off. It might look a little scary at first, but as you wipe it off you’ll see that it just adds a nice farmhouse look without being too overbearing.
I made sure to really get the oil wax into every nook and cranny of the dresser so that it looked cohesive
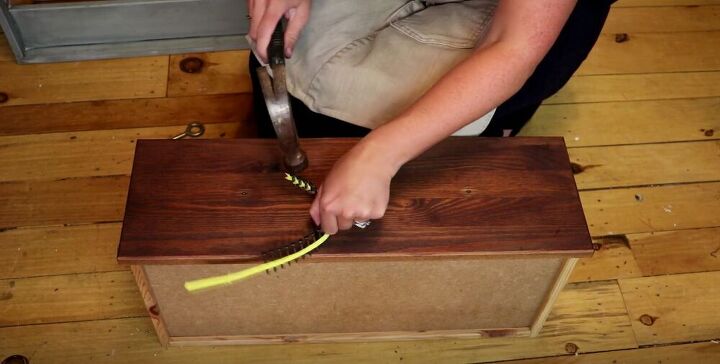
Using a hammer and a few other tools I roughed up the drawers. I don’t want anything to look too pristine or new, so I really went at it.
Then I restained it, which emphasized the spots I had roughed up.
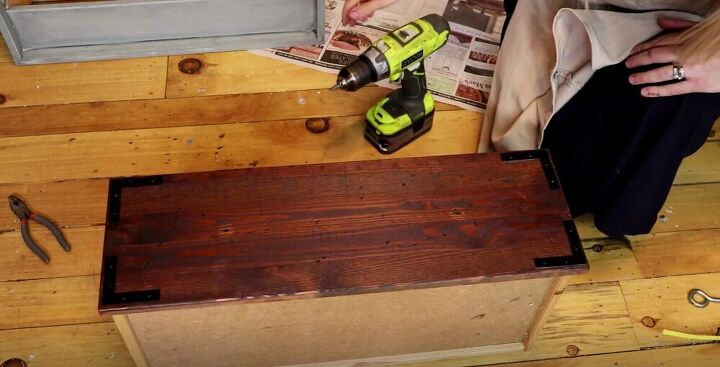
I added L brackets to the front corners of the drawers. This gave it a real Restoration Hardware look.
I attached my new drawer pulls to the front of the drawers. I just love how the black hardware looks up against the stained wood. These cup pulls are perfect for the rustic farmhouse look I was going for.
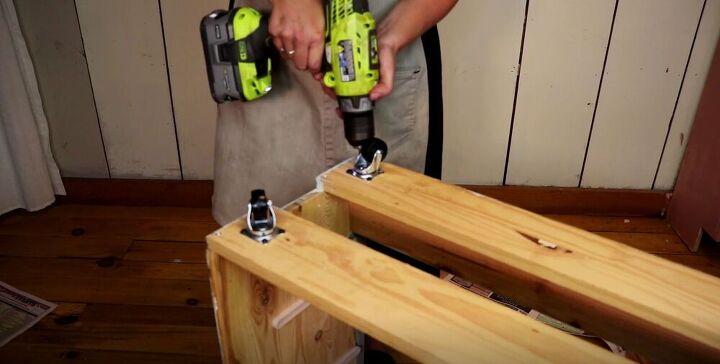
I flipped the shell of the dresser over and attached caster wheels.
Then I flipped it back over and put the drawers back in. The caster wheels make it easy to move when needed.
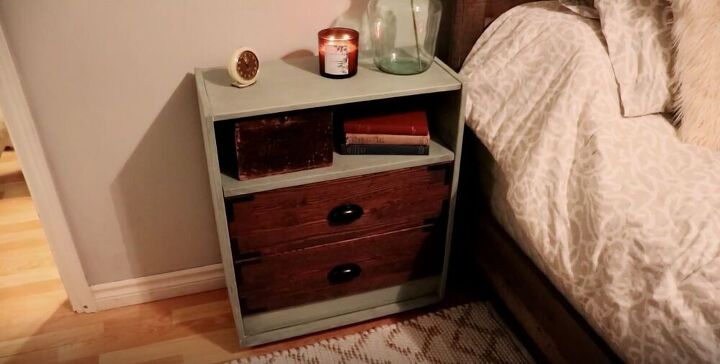
I’m using my made over Rast dresser as a bedside table in my bedroom, but it would really fit in anywhere in my house. Have you ever tried IKEA hacks before? Let me know in the comments below!
Resources for this project:
See all materials


Comments
Join the conversation
-
Wow looks amazing
-
I would stain the whole piece , as I like wood grains on furniture. If it’s real wood it will look a lot nicer! CMS PA.


Frequently asked questions
Have a question about this project?