


Master Bedroom Headboard is Finally Done!
It's only been about 3 years...
This one gave us a run for our money. It was either sell it or disassemble it to get it up to our room.
I couldn't bear to sell it. I'd waited over 3 years to redesign it for our master, so I wasn't going to give up so easily. It took me a long time to set aside time to do it because when I redo something of my own, I want to enjoy it. I didn't want to rush through it because I had pressing matters calling for my attention.
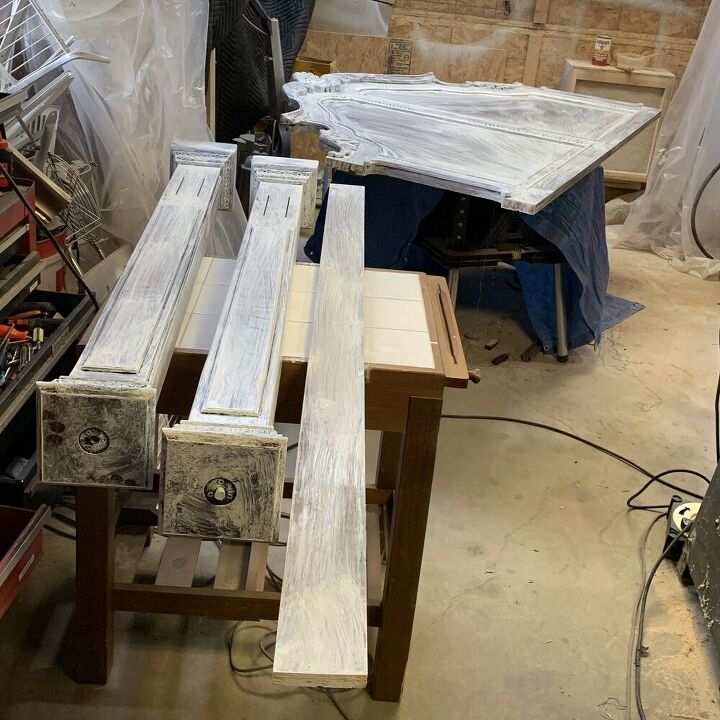
So I decided to let DH cut it apart so we could fit it up the stairs into our room, and then I painted it there. It took me a couple of weeks, but it was so worth it!
This is where I talked about the redesign and the brushes I used while painting: A Headboard Redesign w/ Brushes Overview, and here is where I did a video about the battle with fuzzies in my topcoat: Problem Solved – No More Fuzzies in My Topcoat!
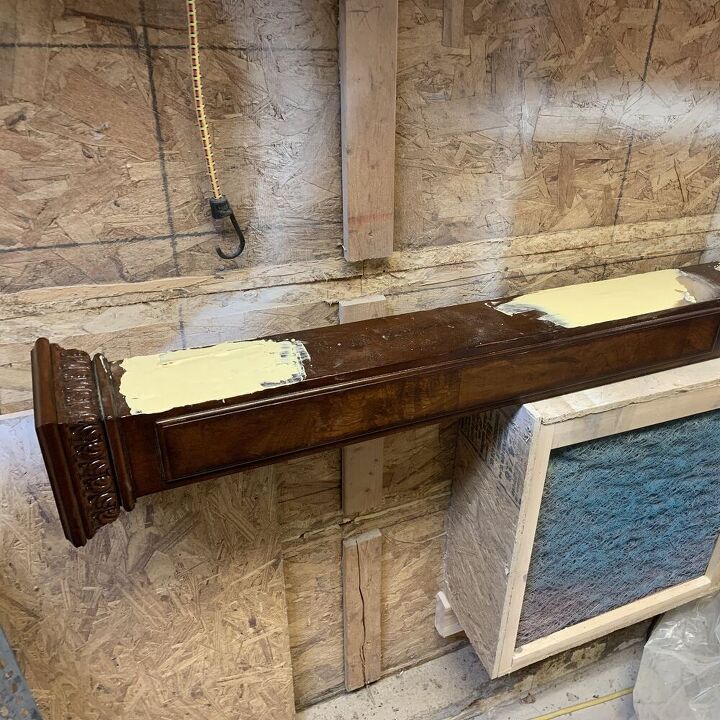
Here's a reminder of the "BEFORE."
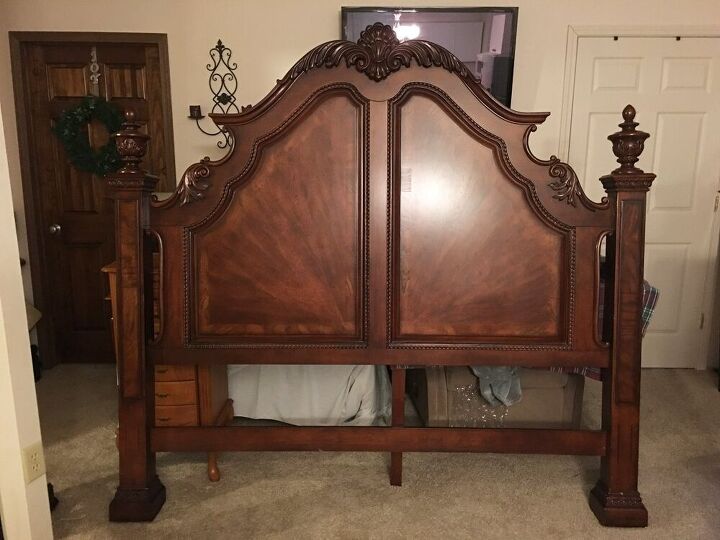
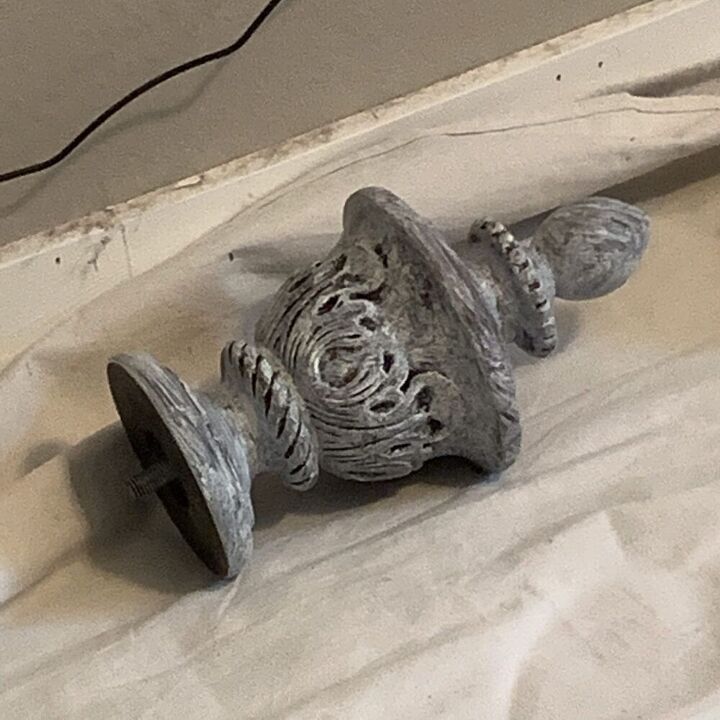
I hated to do it, but we decided to cut off the columns and then repair and reattach them once they were up in our room. I knew DH would do a good job, so that didn't worry me, but the thought of cutting up a beautiful piece of furniture made me cringe.
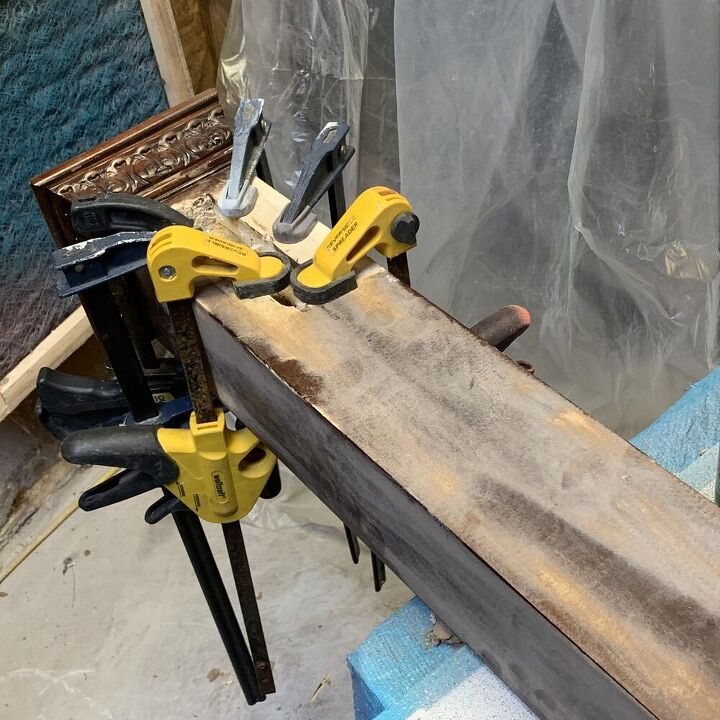
STEP 1 - Cut off the Columns
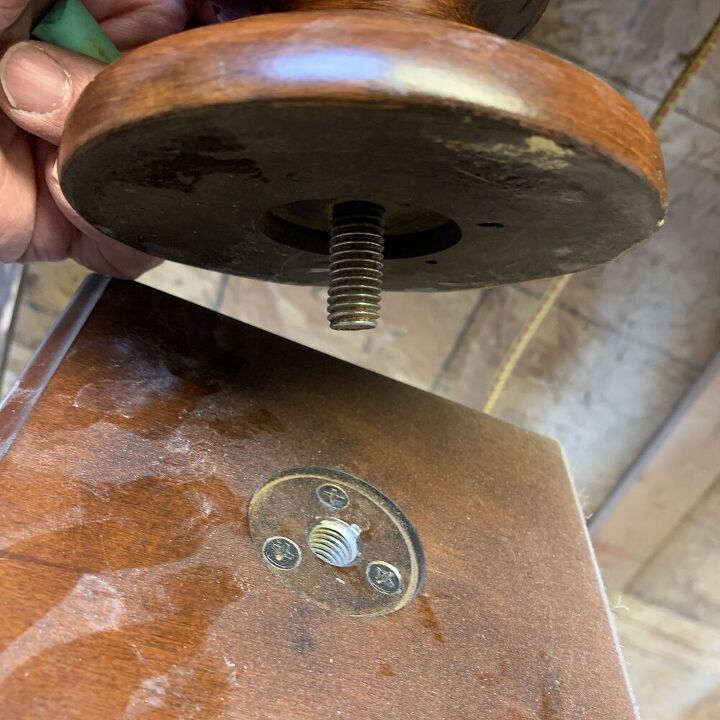
As I held the piece, DH used a sawzall to cut them off. It was a bit challenging since there were also metal pieces to cut through. Apparently the original wood workers wanted to make sure it was VERY solid.
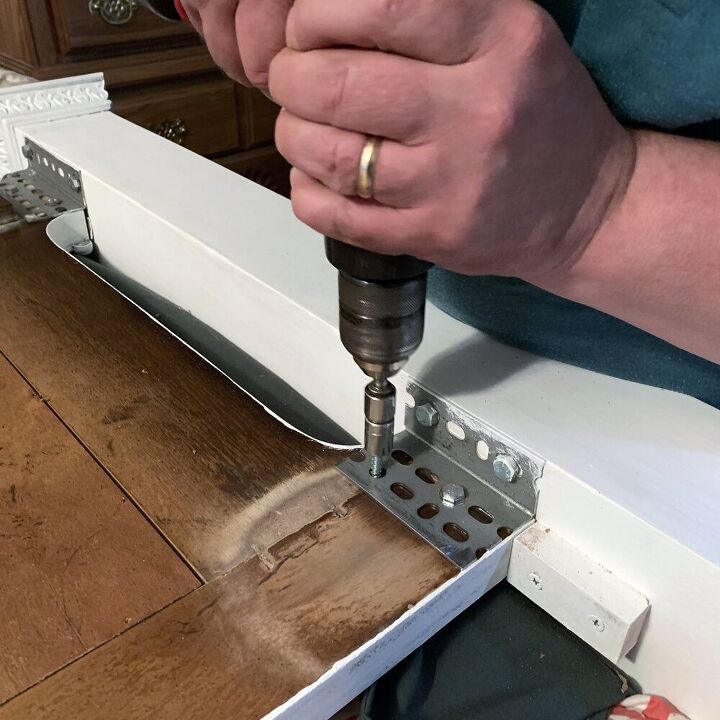
While cutting, the saw did quite a lot of damage, so DH:
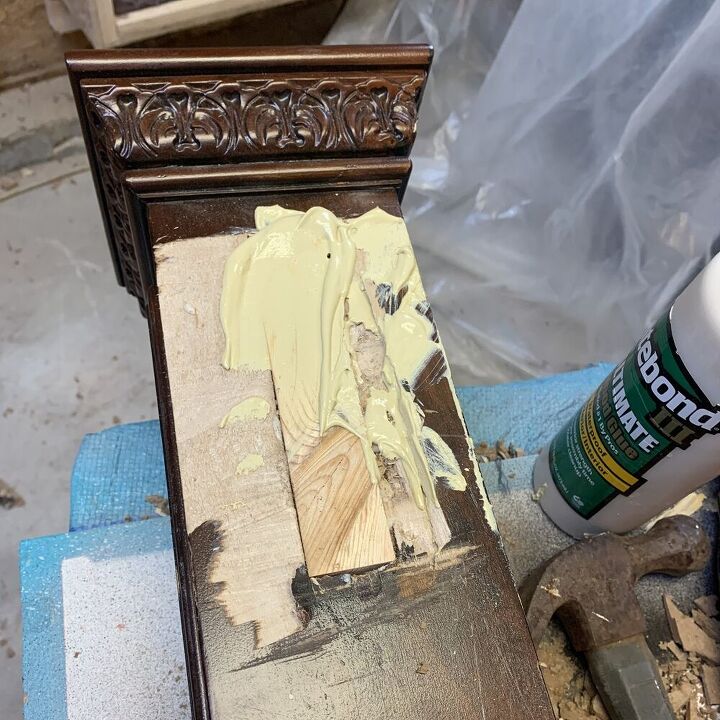
STEP 2 - Glue the damaged veneer back on the columns.
STEP 3 - Patch and repair using (afflink) Durhams Rock Hard Water Putty.
Durhams is a powder that you mix with water to the consistency you need. It's good stuff. Mix it up, apply it, add a final smooth layer and let it dry.
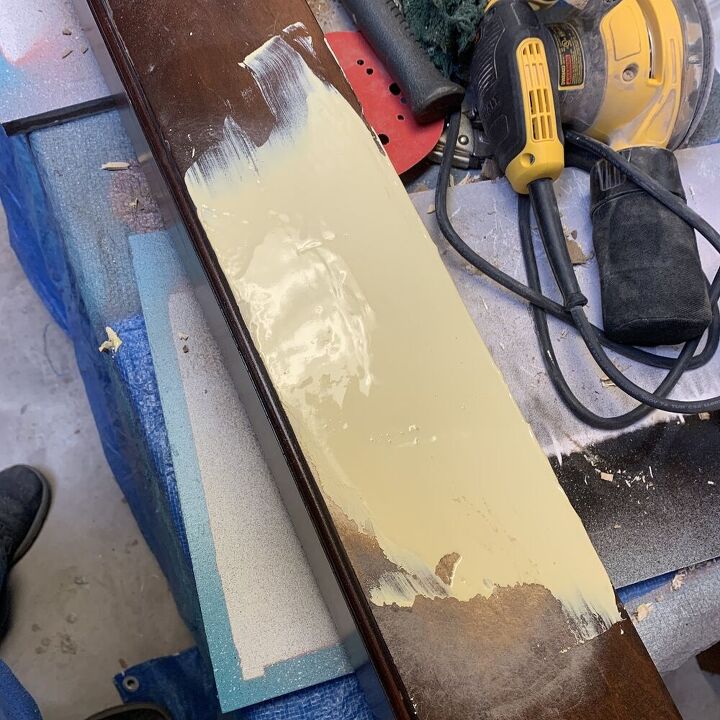
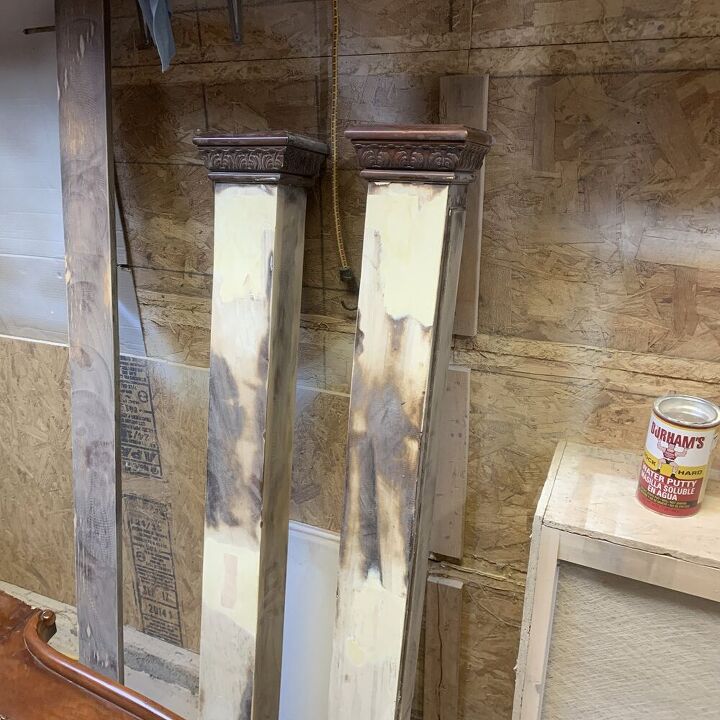
STEP 4 - Sand it smooth and pretend you never cut it up in the first place. It's really quite amazing what a little (or a lot) wood putty will do.
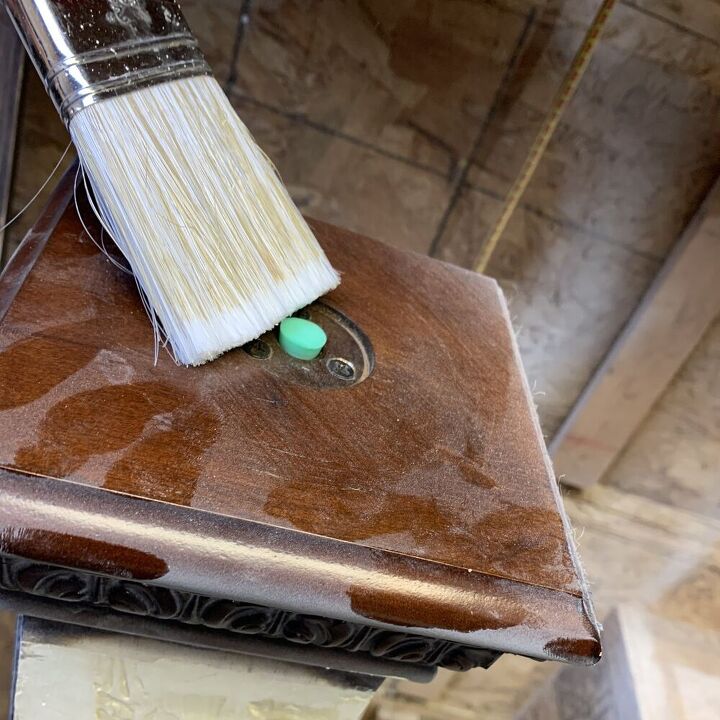
STEP 5 - Prime. We used (afflink) STIX Bonding Primer because I didn't want to sand it much to take off the shine as I considered nooks and crannies and my time restraints. I usually advise sanding to insure a good bond, but this is for me (you can take risks when it's for you!) and I was using an amazing paint that has great bonding qualities. I didn't use a blocking primer.
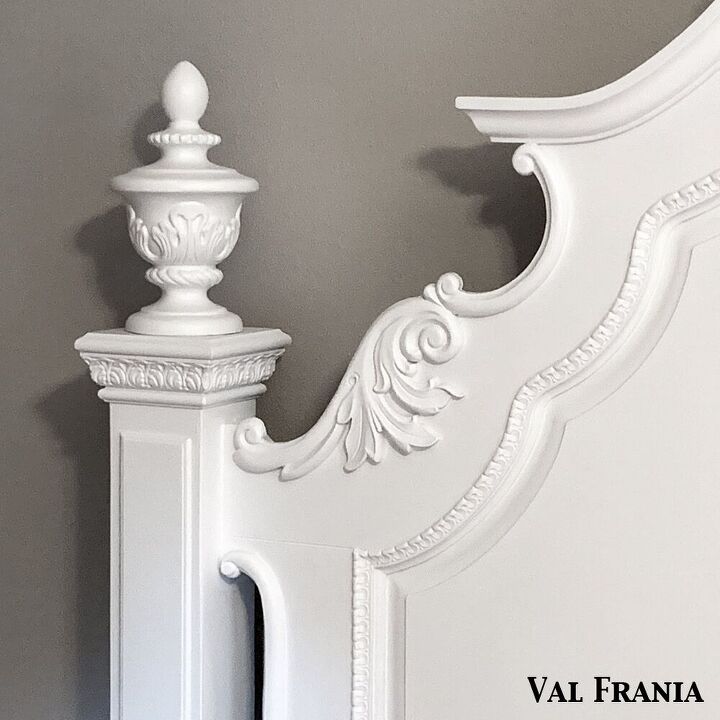
Here's a really great TIP: To avoid paint getting in the threads where the finial would be placed, DH placed one of his foam ear plugs in that spot before painting to protect it and then just pulled it out after he "STIX'd" it.
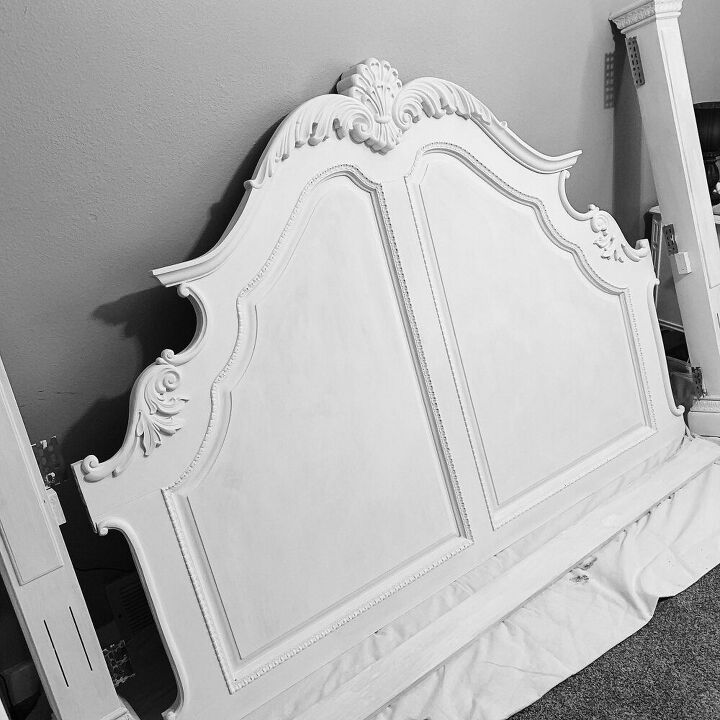
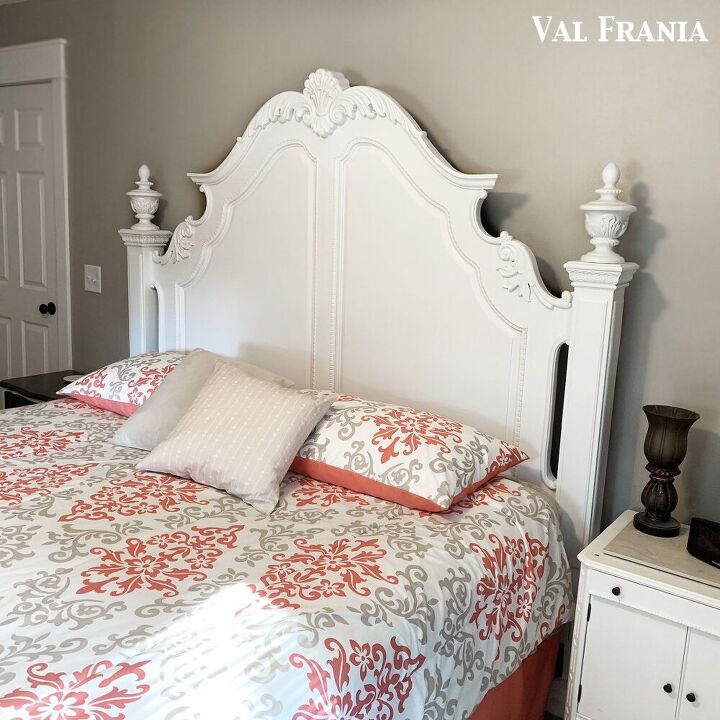
Now on with the show- I am totally in love with our new headboard! There's something about bright white that I prefer over anything else.
Some say they are tired of white because they paint it so much. I tend to not paint white in my business - I much prefer color. But for my own house, I'm slowly turning many pieces into bright white.
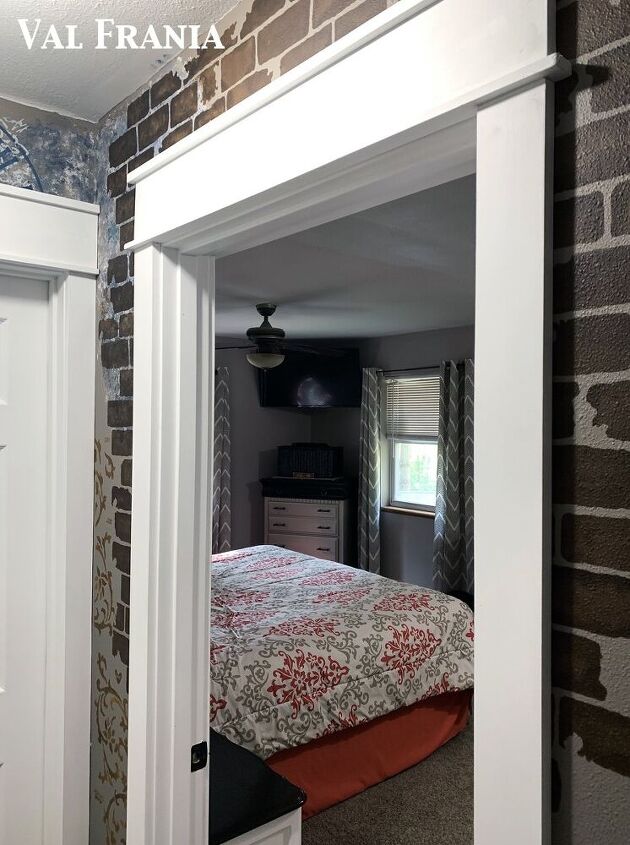
This the entrance from my hallway into my master. One day I'll share the stenciling I have in my hallway. It's pretty cool.
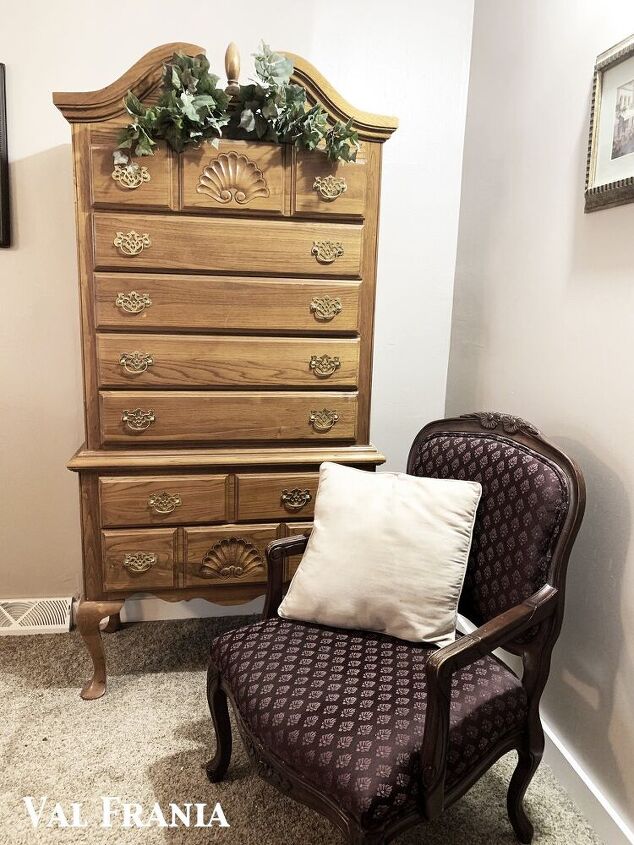
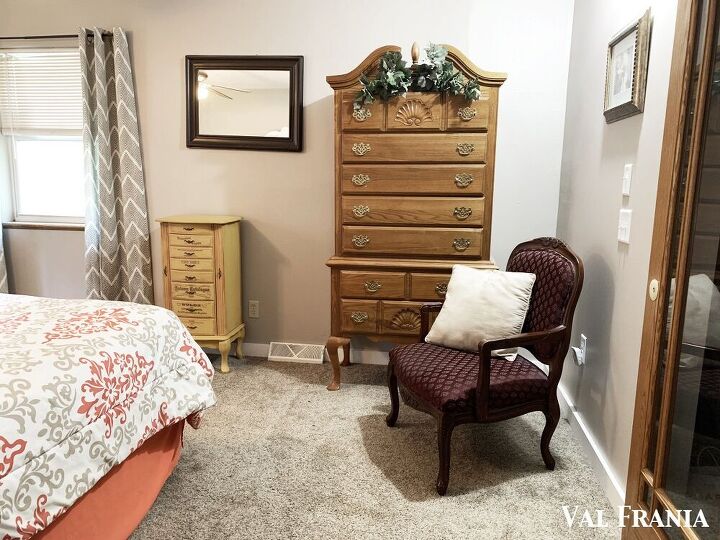
Below is the highboy that will be my next white piece to complete my master. It will probably take me another three years to get to it. VBG
Do you have spots in your home that bring you a smile? It's been my goal to create such a feeling in each room. this headboard is definitely one of those smile makers. If our home is our castle and the place we spend the most time, we need to make it a good one.
Nearly every piece of furniture has a story behind it. If you come visit, I'll bore you with a few of those stories!
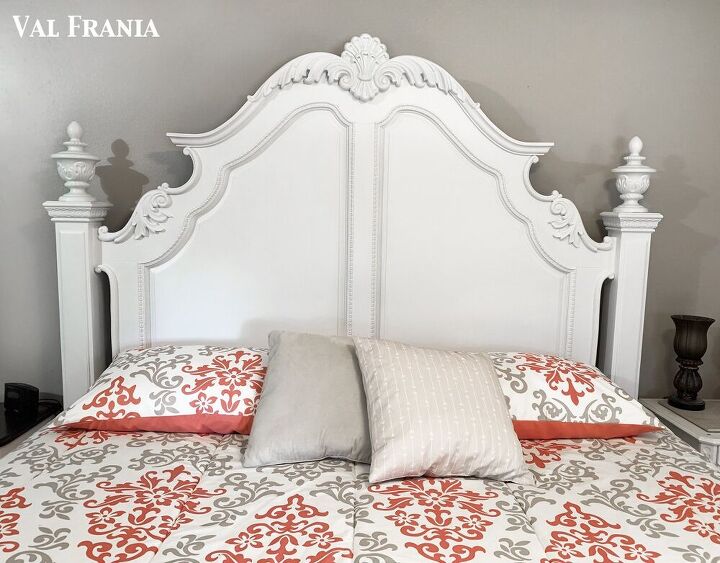
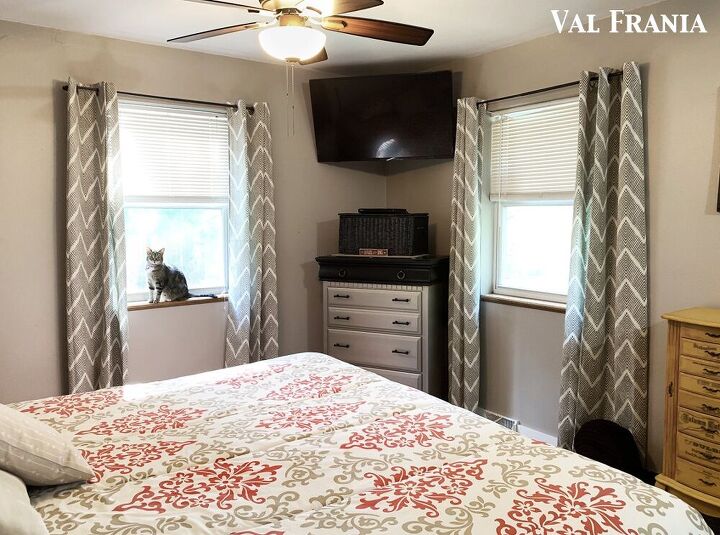
The view we have from our bed is a combination of tans and a bit of yellow, so the stark white is very refreshing, as will the highboy be when it's painted. Contrasts are very eye appealing, even if they are conservative with a little bit of color splashing here and there.
I know I have accomplished my goal with a piece if I go to that room just to look at it. This room is becoming my favorite because of the overall feel of comfort and style. Sure, there are quirks and not so perfect spots in the room, but I don't care. I focus on the special details that tell me the story - even the imperfect ones.
Thanks for letting me share my project with you.
Do you have a favorite spot in your home?
Https://FurnitureFlippingMarket


Frequently asked questions
Have a question about this project?
Why did you have to take off columns