


How to Do a Chic IKEA Nightstand Makeover in 5 Simple Steps

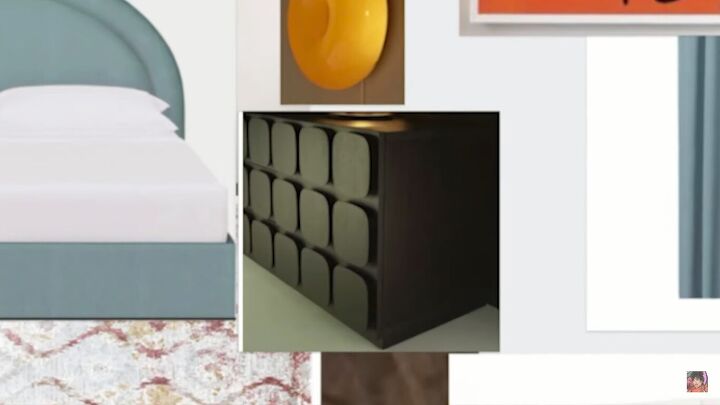
Welcome back to the series where we makeover my bedroom. So far, you’ve seen me tackle the walls, the headboard, and the bed frame. Now, we’re doing a DIY nightstand makeover! We’ll be turning basic IKEA nightstands into a style that I saw on Pinterest and fell in love with.
Keep reading and watching for some creative DIY nightstand makeover ideas!
Table of contents
Tools and materials:
- IKEA nightstands
- Bowl
- Marker
- Paper
- Scissors
- Scrap wood
- Jigsaw
- Electric sander
- Wood filler
- Scraper
- Glue
- Nails
- Hammer
- Drill
- Screws
- Paint
- Paintbrush and roller
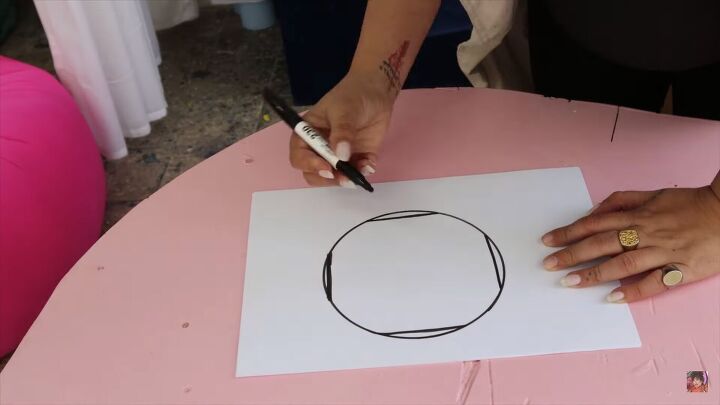
1. Make the template
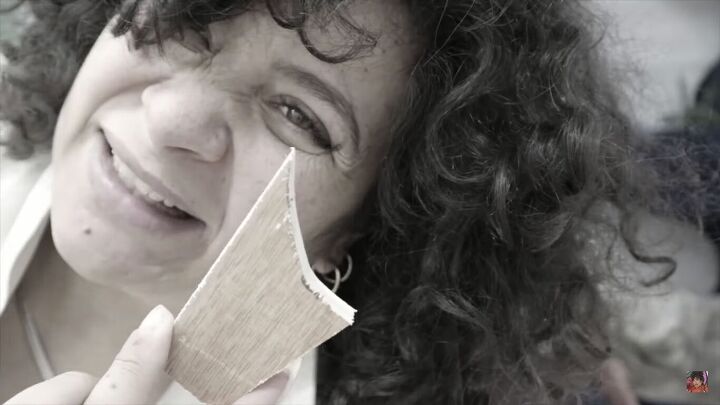
Take out the drawers and measure where you want the shapes to go. I used a mug, a paint can, and a bowl before I found the rough size and shape that I wanted.

Then, draw around the bowl to get the shape you want. I wanted straighter edges, so I adjusted them freehand. Once you’re happy, cut out the template.
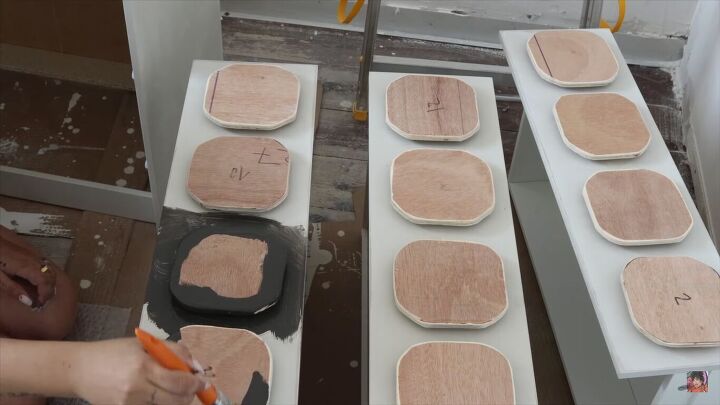
2. Cut out the shapes
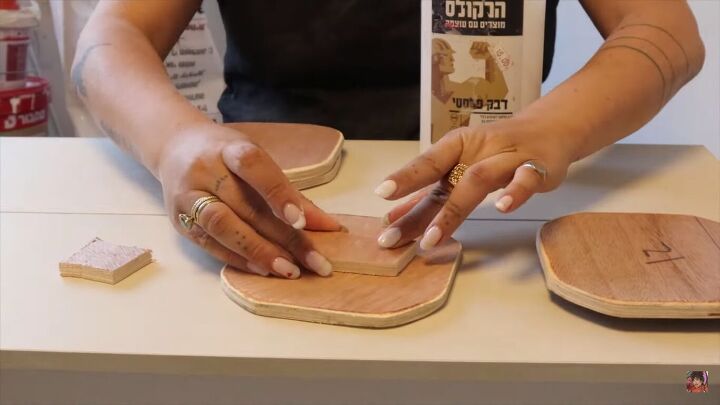
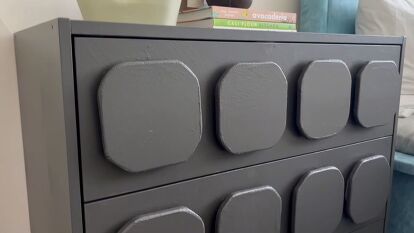
Draw around your template to get the shapes you want. I’m using some scrap wood left over from other DIY projects. I’m not going to make handles for the drawers; instead, the depths of the shapes will be the handles. Cut the shapes out with a jigsaw. I needed 24 in total.
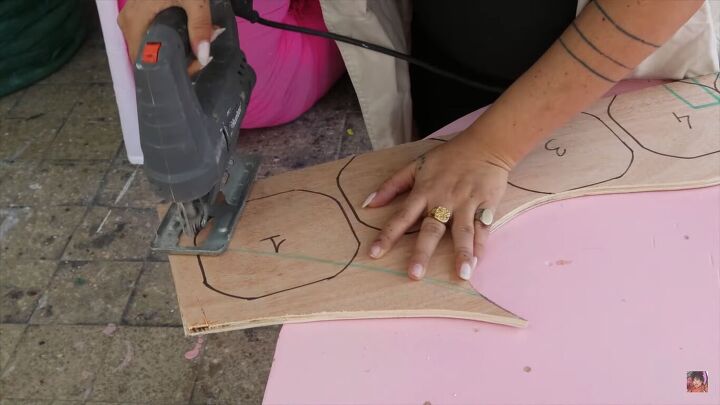
Sand the edges to make sure they’re perfectly smooth.
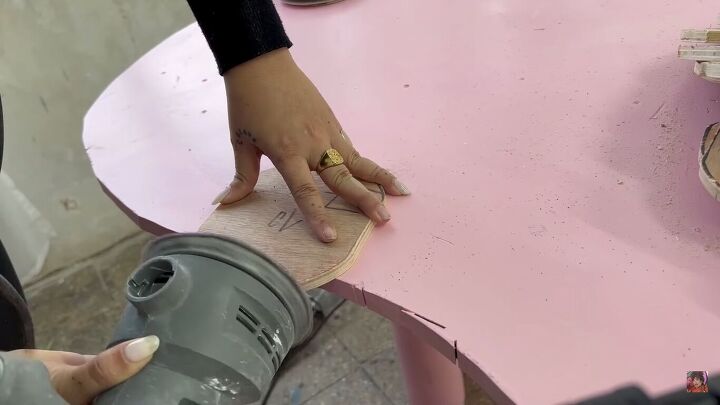
Don’t throw away your scrap bits of wood! We’ll attach these to the back of the shapes so that the shapes will have a more 3D effect sticking out of the drawers. Plus, this will make the shapes more like handles.
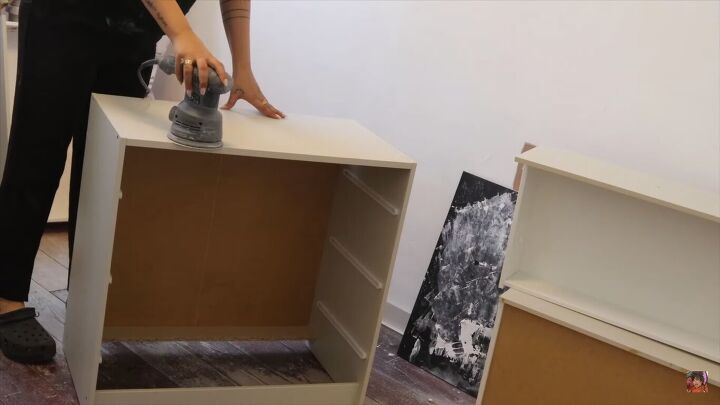
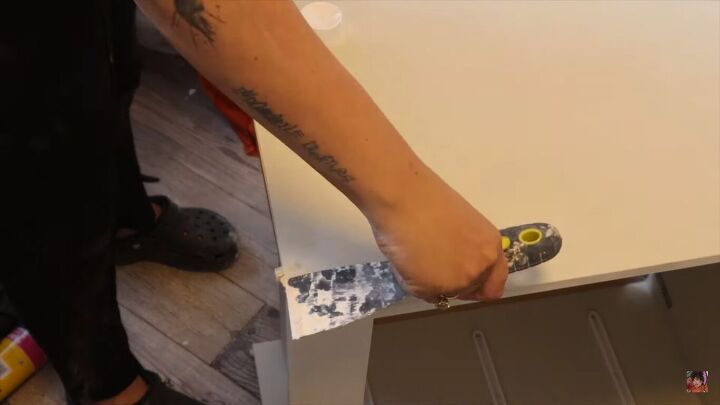
3. Prep the surfaces
You cannot paint directly onto IKEA furniture as most of the surfaces are laminate. So, sand down all the surfaces first.
If needed, apply wood filler to any worn corners and old handle holes.
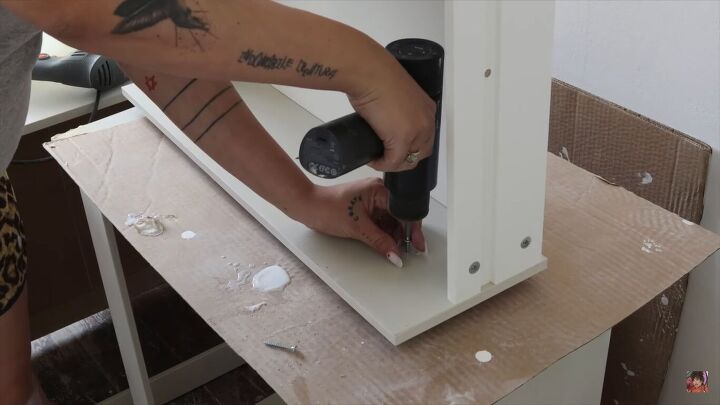
4. Attach the wooden shapes
Apply glue to the small wood pieces and attach them to the back of the shapes.
Then, glue and nail the wooden shapes to the drawer fronts.

As I mentioned, we’ll be using these shapes as handles, so we need to be super-sure that they can handle being pulled. Therefore, we’ll be adding screws from the inside. First, pre-drill your holes, then add your screws inside.
5. Paint
To paint, you’ll need a paintbrush to get into the corners and into the gaps between the wooden pieces, as well as a roller for the flat surfaces. This paint took 3-4 coats before I was happy with the result, but it was worth it.
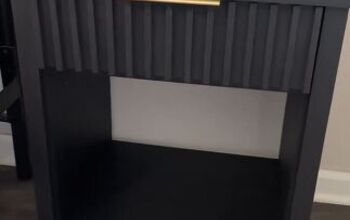
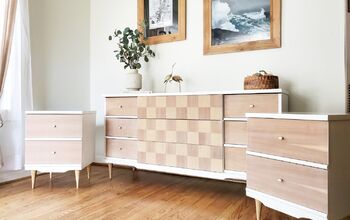
Before and after nightstand makeover

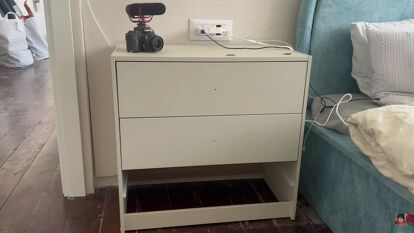
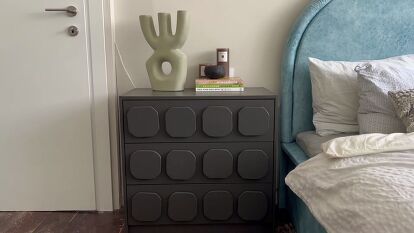
DIY nightstand makeover
Here’s the before and after of the nightstand makeover! What do you think of this IKEA beside table transformation? Let me know your thoughts in the comments below.


Frequently asked questions
Have a question about this project?