


Old Dresser Gets New Look With Chalk Paint and DIY Jeweled Handles
2 Materials
$35
2 Days
Easy
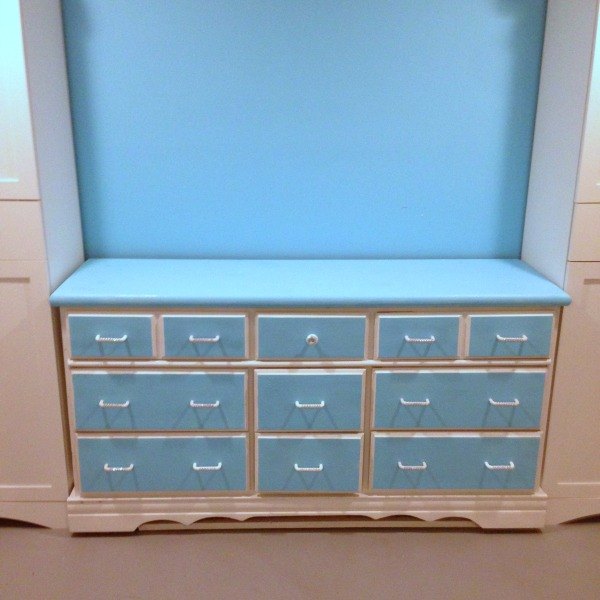
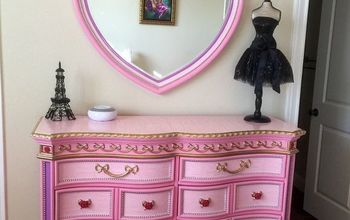
I have a dresser that I’ve been dragging around western Canada since 1975, yes..1975! It was part of a bedroom set that was a birthday gift from my parents and for whatever reason I just couldn’t let it go, instead; it sat in the basement collecting dust. I finally decided to paint it and include it in my craft room for supply storage but some of the old brass handles were broken and one was missing. I decided if I’m giving it a make-over (who knew handles were so expensive!) then I would get creative and come up with something unique and affordable and this was a great solution!
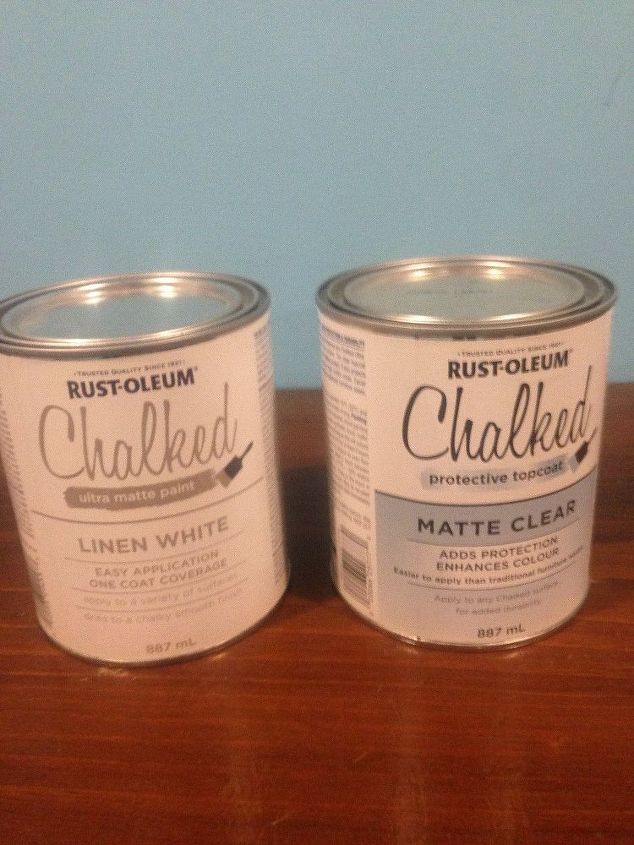
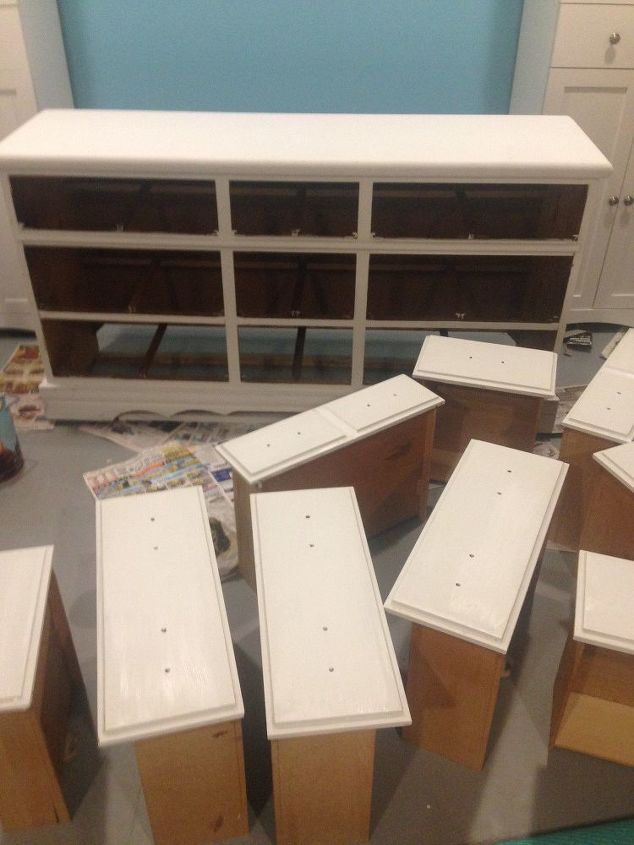
I started by removing the existing handles and knobs and giving the dresser a good wash down before painting it with Chalk paint.

Next I painted it with 3 coats of white chalk paint.
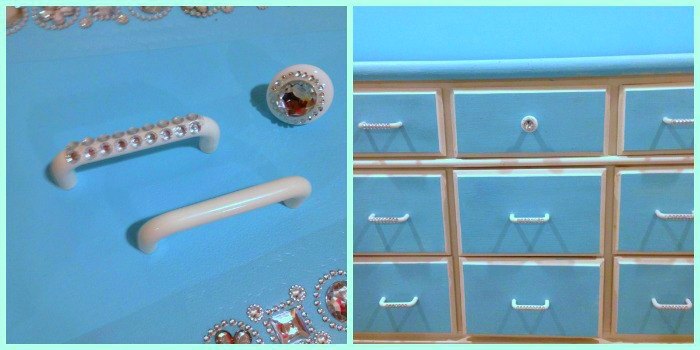
After I had painted it all white, I painted the top and front of drawers in blue and gave it a clear coat. Now it was time to add new handles and knobs. Working on a limited budget I decided to purchase inexpensive handles and add stick on jewels.
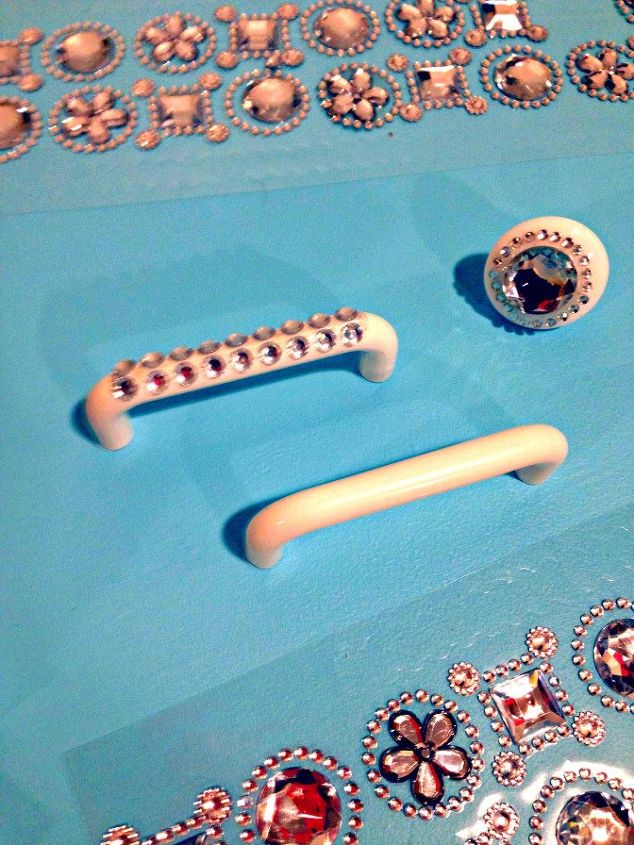

I love how it turned out. The stick on jewels are still sticking and add a little sparkle. I thought I might need to use glue but they stuck on firmly – so far so good! The nice thing about this is, if you change your mind you can remove it with no damage, muss or fuss.

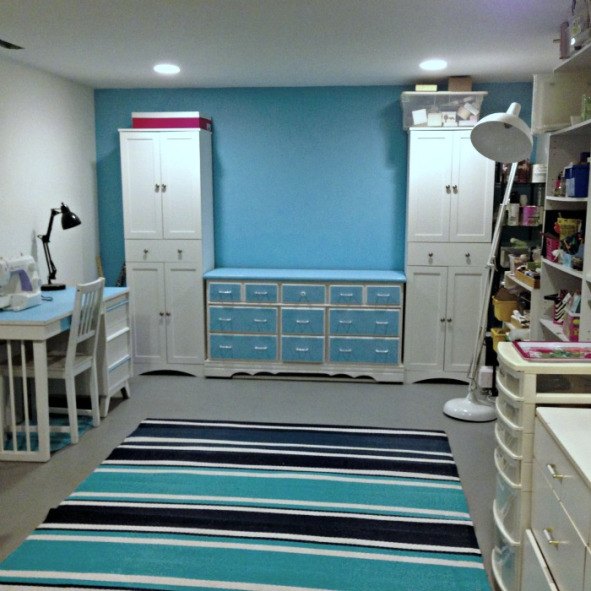
I’m so happy I was able to retain a meaningful old piece of furniture by giving it a new look, a new purpose and some new sparkle with these easy DIY handles!

Want more details about this and other DIY projects? Check out my blog post!
Comments
Join the conversation
1 comment
-
Gorgeous and lots of storage well done


Frequently asked questions
Have a question about this project?