


Painted Nightstand - No Sanding!

by
Dysko7710
6 Materials
2 Days
Medium
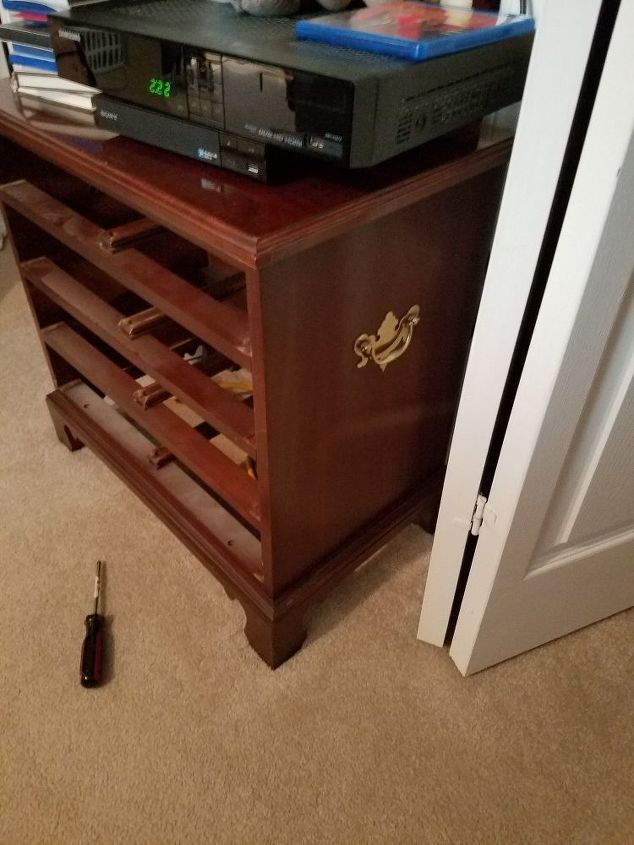
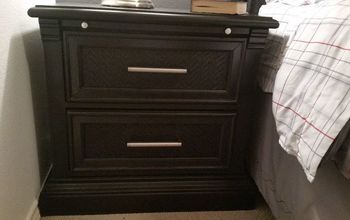
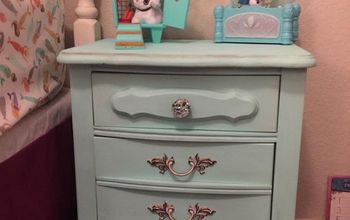
My husband and I inherit a lot of furniture from our families. And for a 'mad scientist' diyer like myself, this is a wonderful thing! When we moved into our new home 2 years ago, we bought new bedroom furniture that is a beautiful gray color. However, our 'extra' furniture in the room was 'hand me down' and did NOT match at all. That all changed with some paint! Here is the after picture of my nightstand followed by the before:
My goal was to make this piece 'go with' my new furniture, not necessarily match exactly.
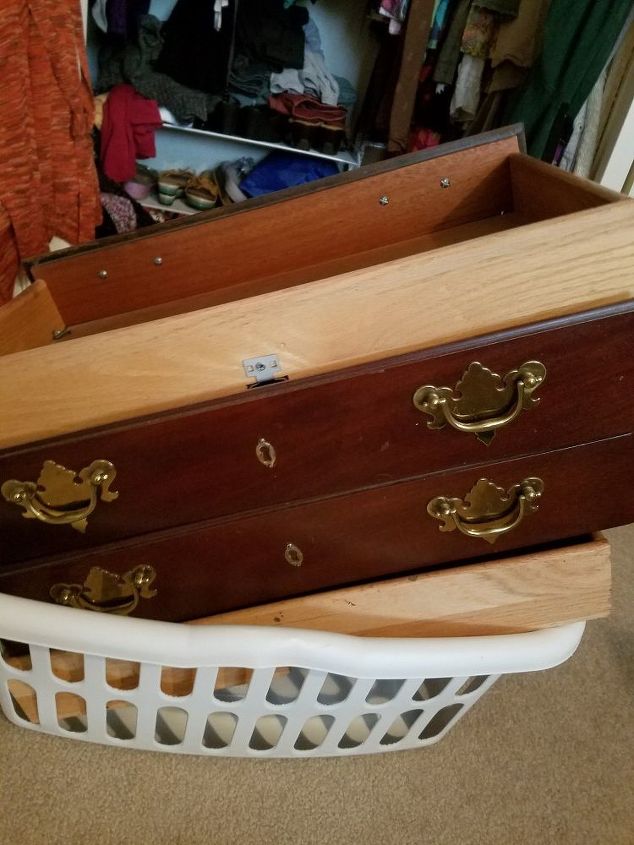
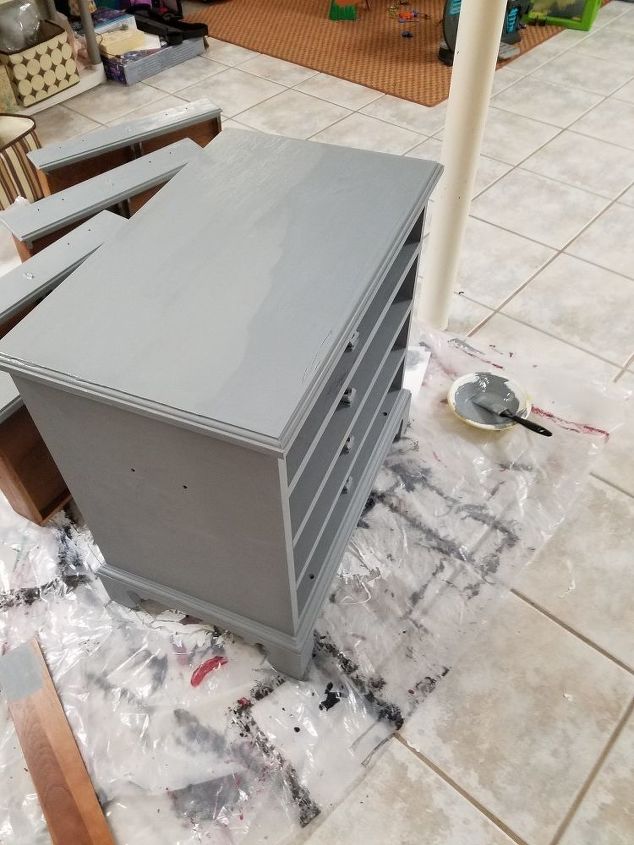
So, I took my nightstand downstairs, the drawers were out and I removed all of the hardware/handles. I decided to paint it a gray color I already had on hand from painting some rooms in the house. To figure out how to make it match my bedroom furniture, I painted this gray onto a wooden slat I had. Then I blended some reds, blacks and oranges into it once it dried (by dry brushing these on - I will show this technique below). I took the wood slat up to my room and held it up against the furniture through this process to get it to match as much as I could (my bedroom furniture was more beige/gray than the blue/gray I had, but it does have some other color blended into it, so I knew I could make my gray match pretty well by painting streaks of other colors onto it).
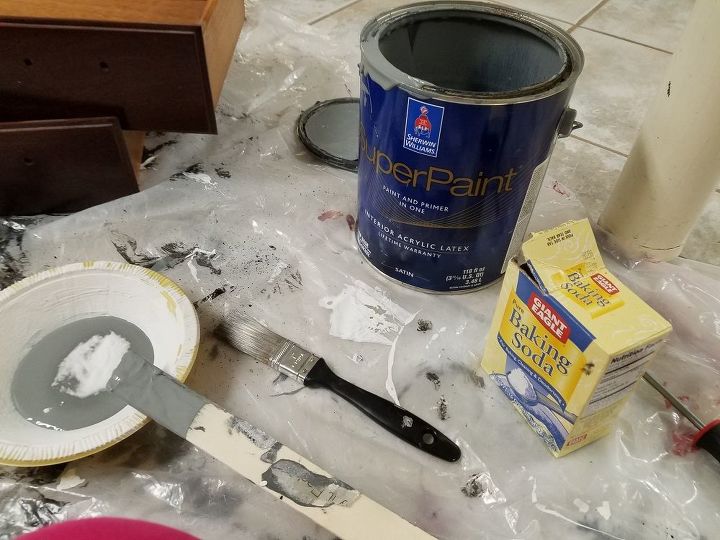
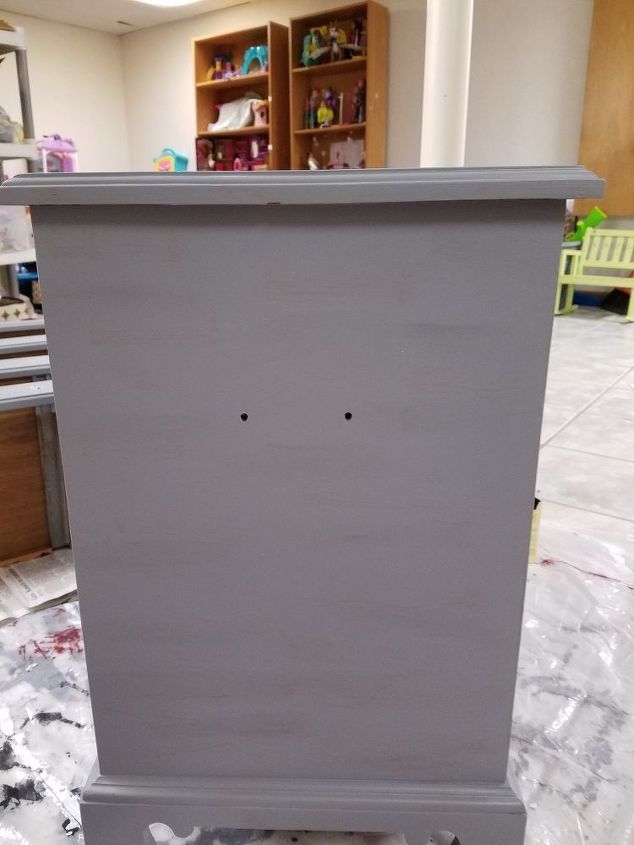
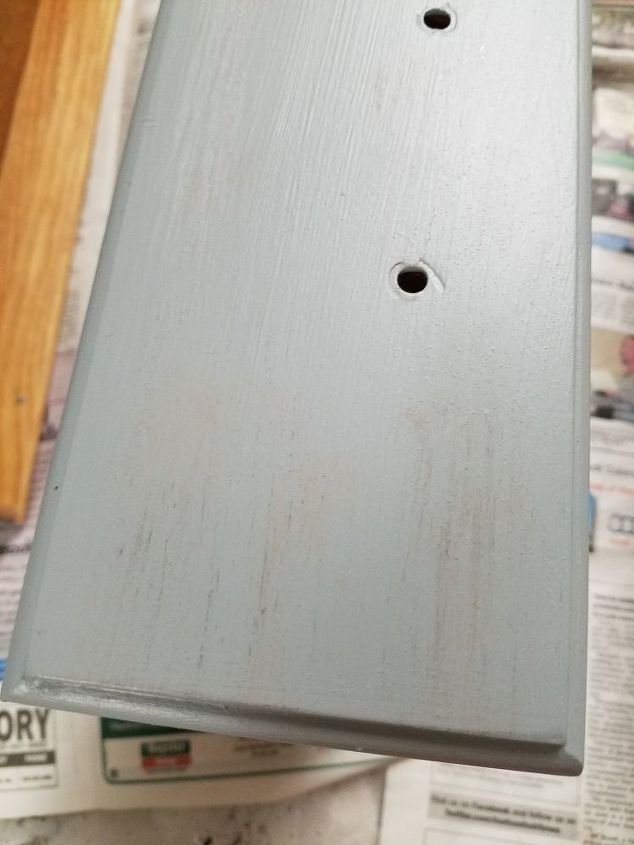
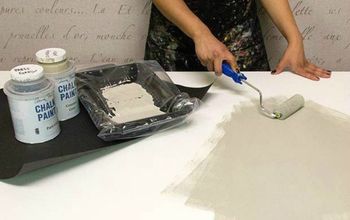
Here is the gray paint I used. I mixed some baking soda into it to create a homemade 'chalk paint'. This dresser was covered in a thick varnish. I do not own an orbital sander, and I hate sanding. So, I always try painting over varnish without sanding - and so far I have always been successful. I don't measure when I do this, but you can see I probably mix in about a tablespoon of baking soda per cup of paint. This thickens the paint and makes it stick to your surface much better. Then I painted the entire dresser, and the drawers (not all of the insides - although you could, but no one is going to see the inside). I painted it twice, allowing it to dry between coats.
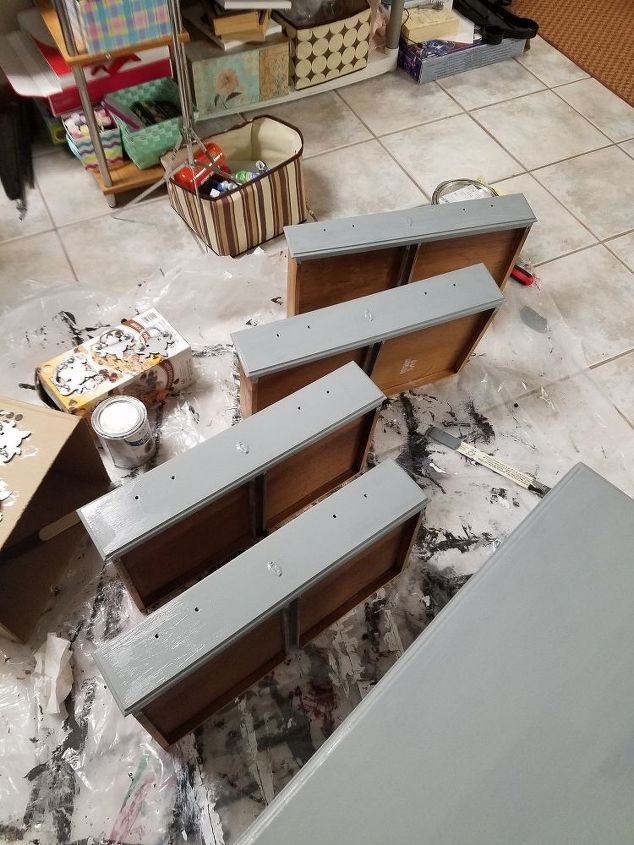
Next, I mixed a bit of glazing medium into brick red acrylic paint, black paint and some rust/orange paint. Glazing medium allows the paint to go on thin and dry slowly so you can wipe it or brush it onto your surface adding a subtle distressed coloring. I used a dry brush method to brush this on in streaks and then blend it in to darken the gray and give it a subtle distressed look. With dry brushing, you wet the brush, but then wipe all excess off onto a paper towel or cloth, leaving color on the brush, but very dry. You can then brush it on and get a very light and subtle paint streak. I then blended it with a paper towel.
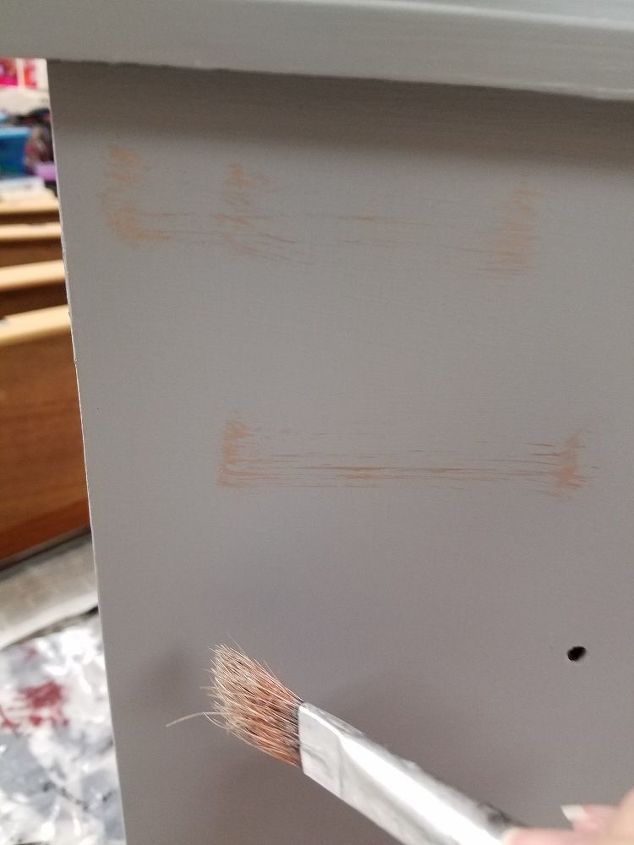
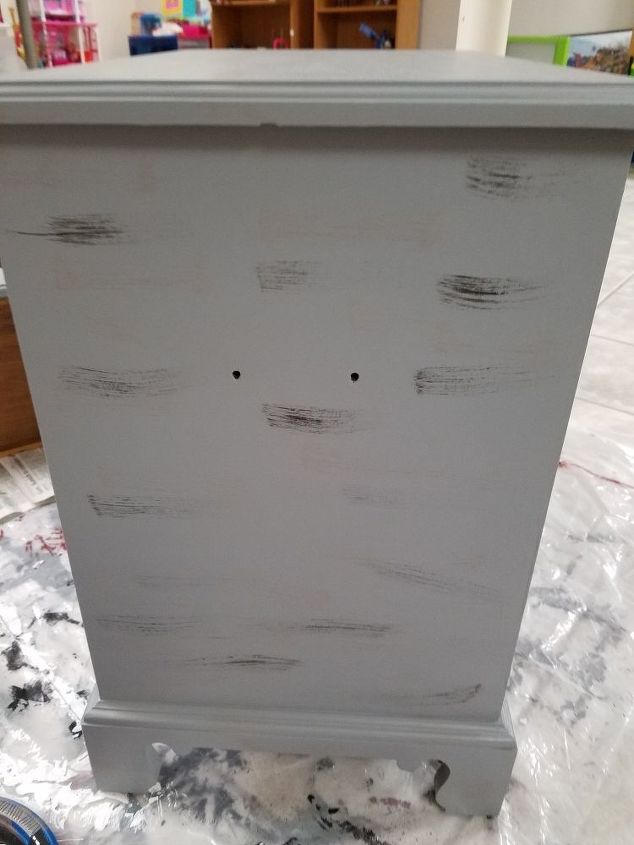
Once you blend, it is very subtle, enough to darken it and add some brown element to it.
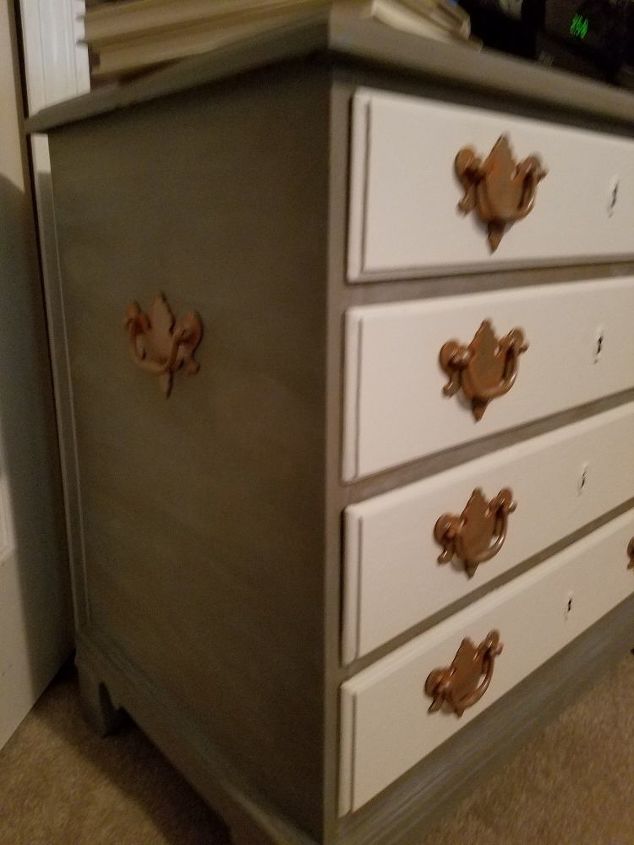
I did the same to the drawers, as you can see above.
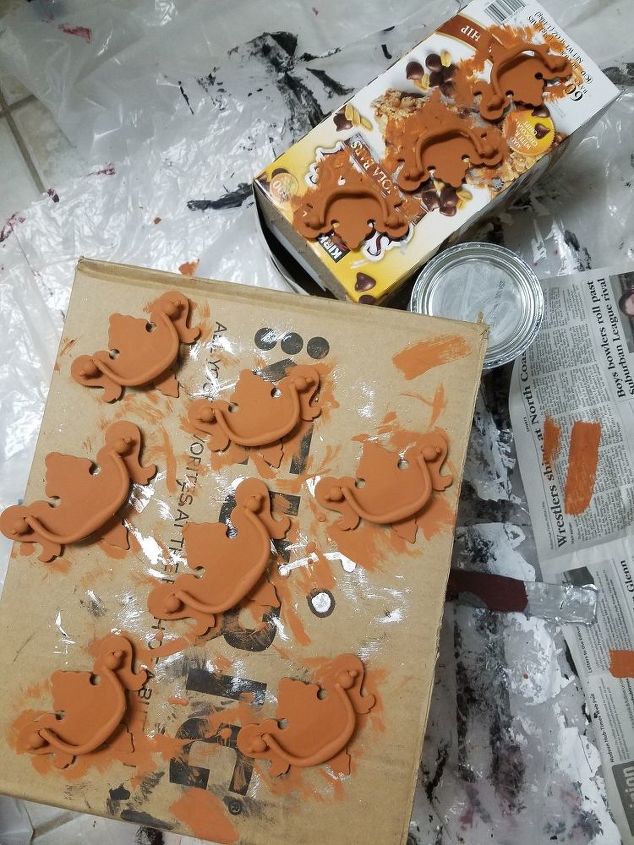
Next, I painted the hardware. I decided to paint it orange to stand out a little from the other furniture. After this dried, I dry brushed it with metallic silver paint so that it would reflect some light in the room, since the other hardware on my furniture is a metallic silver and reflects light.
After putting it upstairs painted all in gray, I decided something was off. It needed something else to make it stand out just a little from the other furniture. So I took the drawers back out and painted them all a moderate white (not bright white, closer to an eggshell). Once I put them back in, it was perfect! I also painted the key holes in the center of the drawers black to make them stand out.
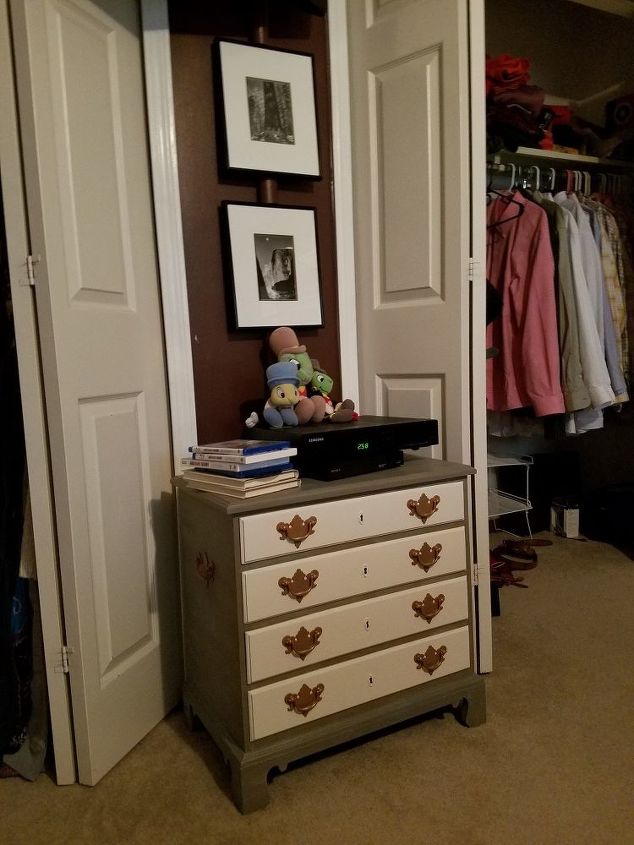
Above is my finished product.
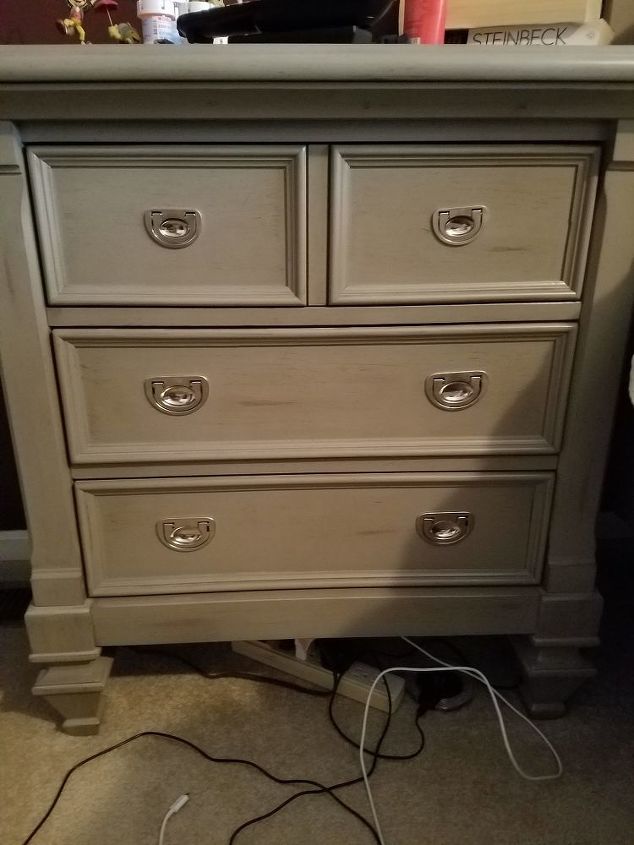
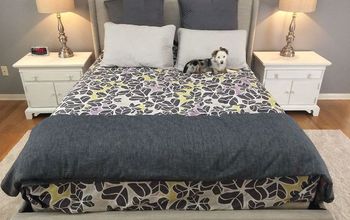
This above picture is my actual bedroom furniture (please excuse the cords). You can see I painted my piece to match this gray, but gave it it's own personality to compliment and stand out against my bedroom furniture.
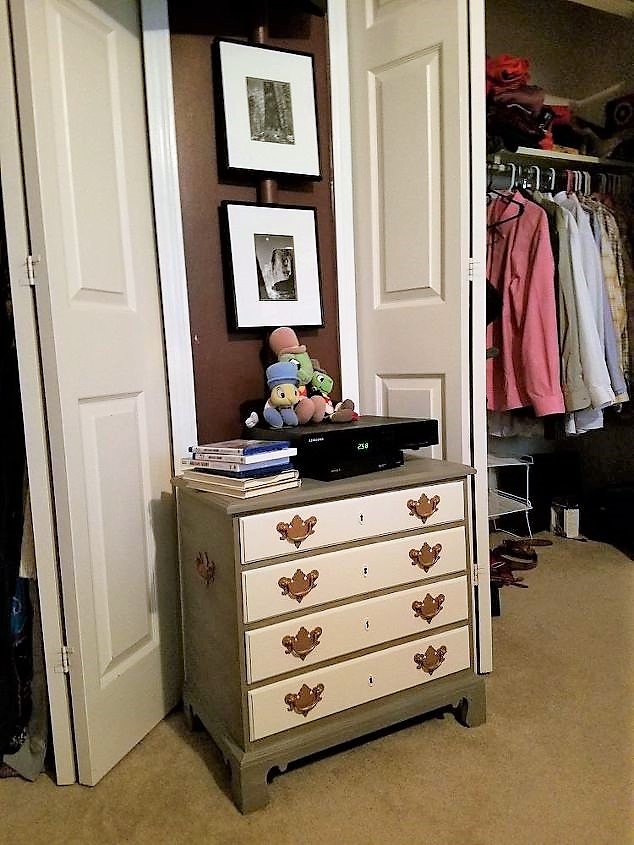
Now, it compliments my furniture, without exactly matching it. And draws in the whites and eggshells in the room. This one was a bit of a process with some changes along the way, but I love my final result!
Comments
Join the conversation
4 of 6 comments
-
nice work, I use baking soda a lot too

-
You just painted over varnished furniture with no sanding??? Wow!!!


Frequently asked questions
Have a question about this project?