


Side Table Revamp on a Budget

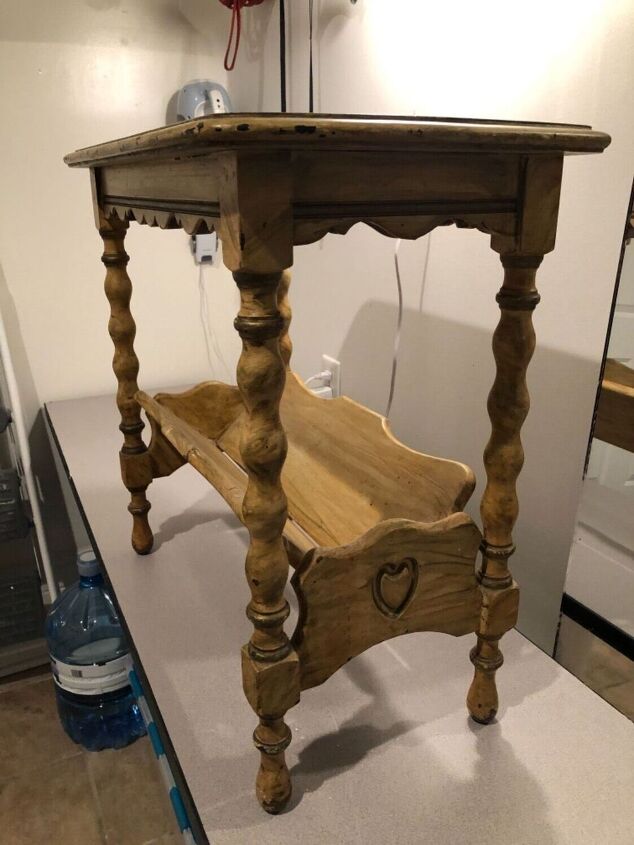
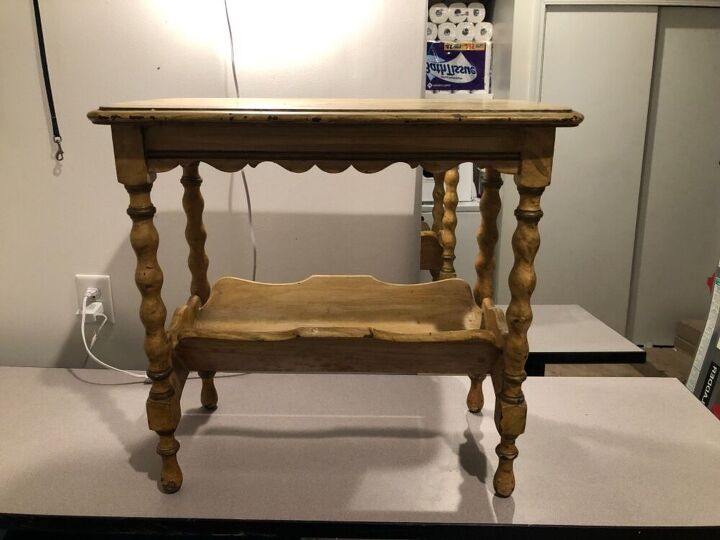
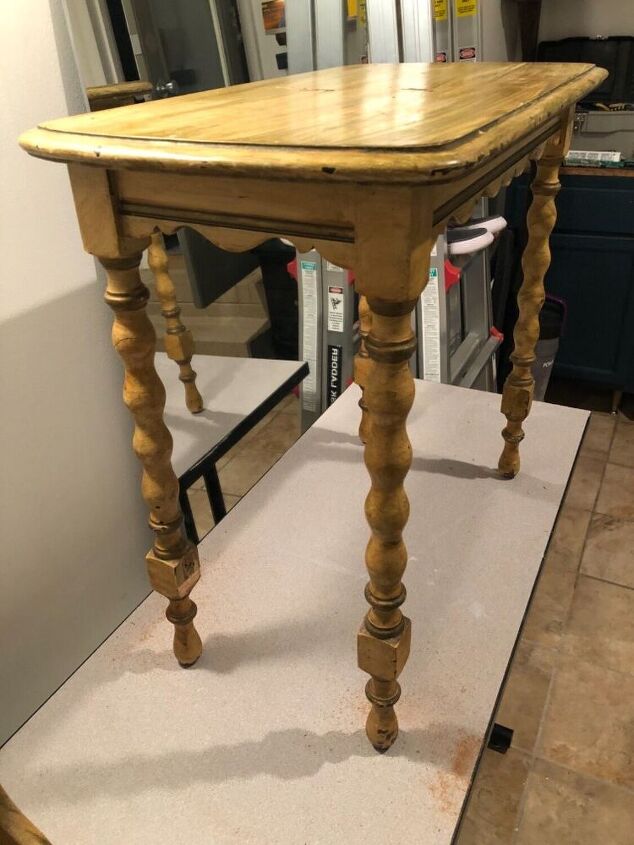
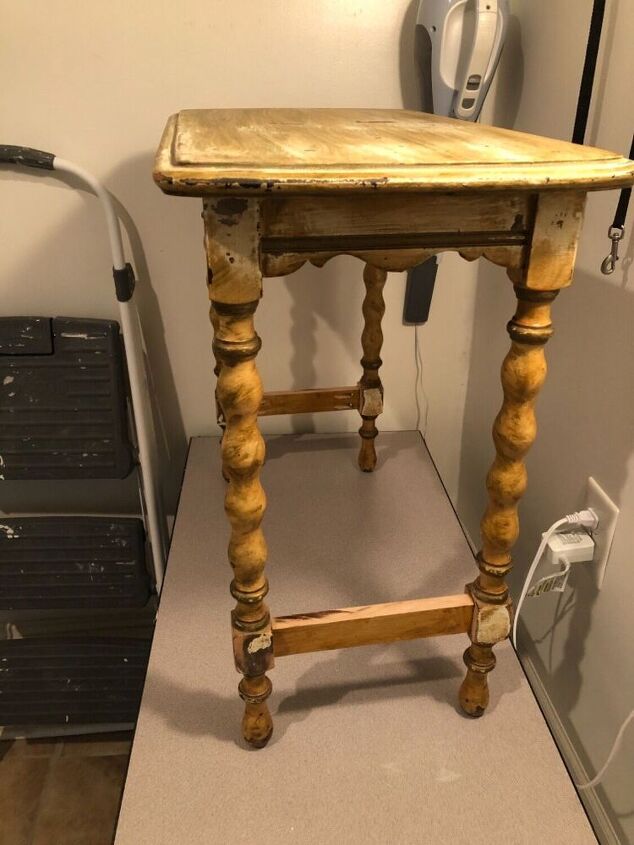
I was given a small side table that my friend removed from a home that she was cleaning out. While the table had beautiful turned legs, it had a pretty awful finish and an awkward little magazine rack at the bottom. I left the table to sit for a few months because honestly, I was not sure how to go about modernizing it. Initially I wanted to fill in the heart at the bottom and just leave the magazine rack, but I knew too well that if I did that it would become the place that dust bunnies and cat hair would go to die  .... So finally one day I decided to "bite the bullet" and see what I could do to upgrade this side table on a very small budget. Here is how I did it.....
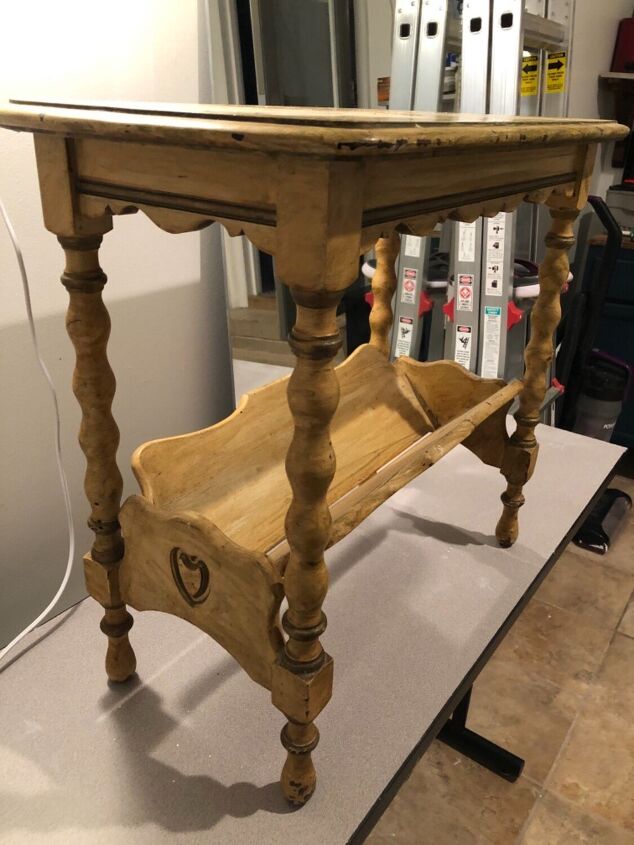
As you can see from the before pictures the table had a very splotchy finish that appeared to be a stain or tinted poly applied over paint.... no bueno.....
What you will need: A furniture piece in dire need of an upgrade!
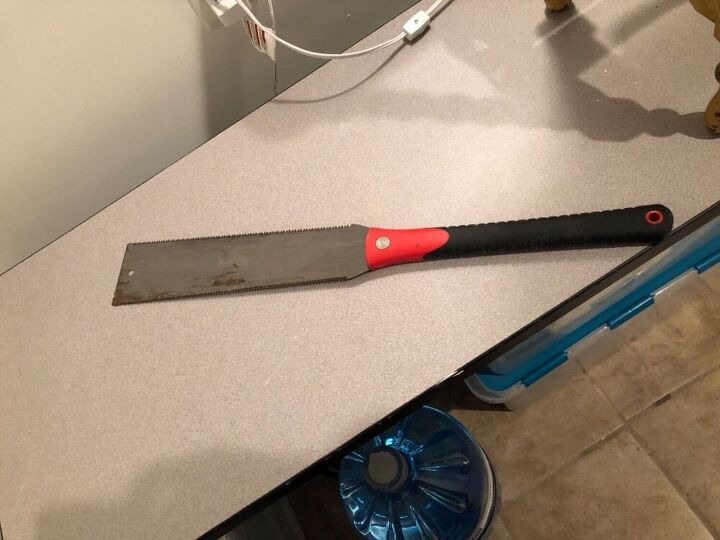
What you will need: A Saw
(I cannot recommend this "Japanese Pull Saw" enough as a DIY tool to have in your collection. It cuts so well and is typically what I go for rather than any of my other hand saws!)
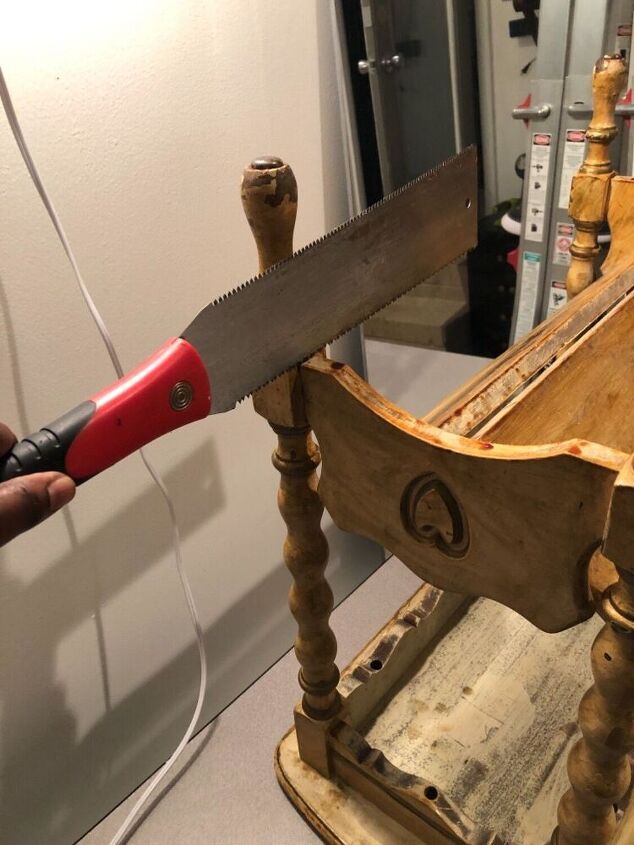
My first item of business was to remove the magazine rack. Attempting to stay as close to the legs as possible, my saw made quick work of removing this table's unsightly appendage.

Now, while I was thrilled with how the table looked at this point, I wanted to add some cross supports to give the table a bit more rigidity.
What you will need: Boards for cross supports
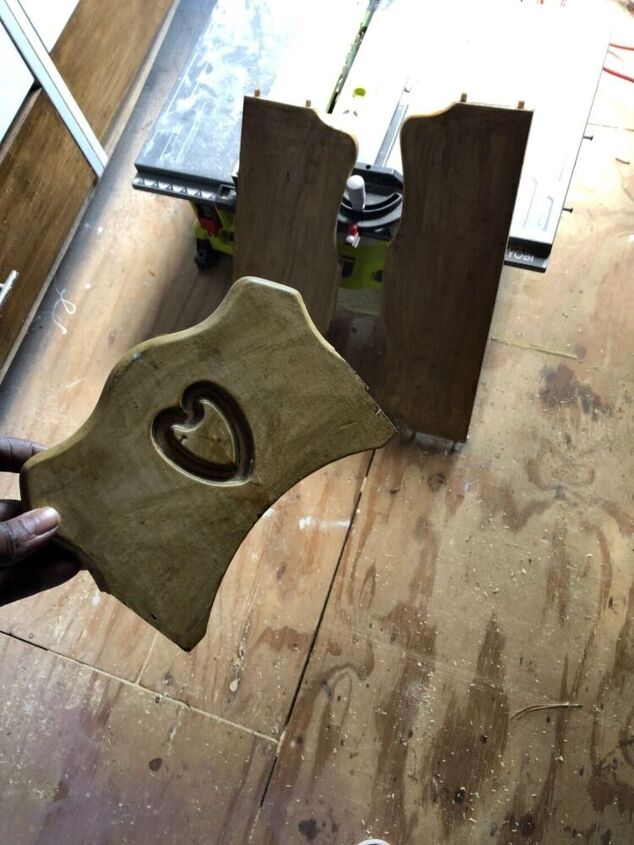
Since I had no other plans for the magazine rack I decided to use parts of its wood to create the supports. With a swift blow from the hammer, I was able to quickly separate it into individual boards.
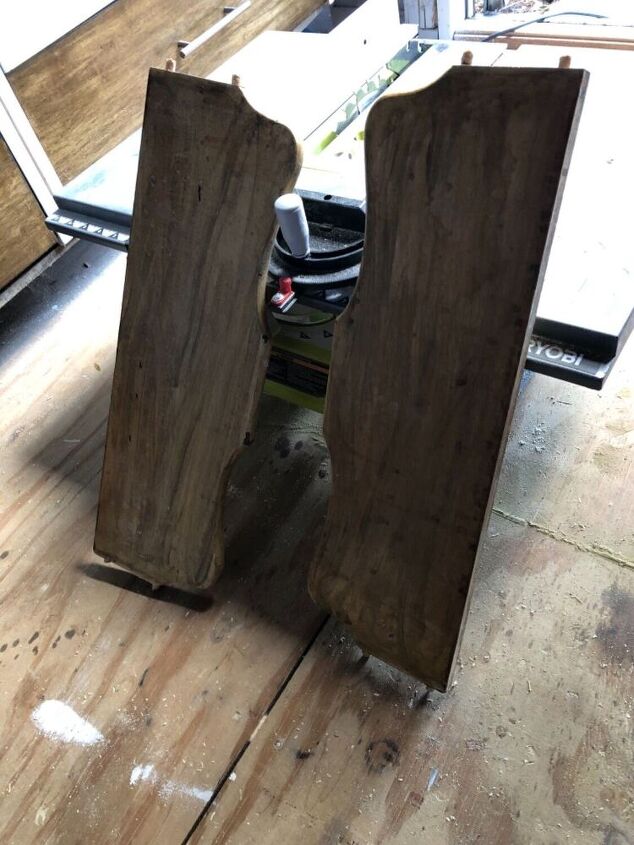
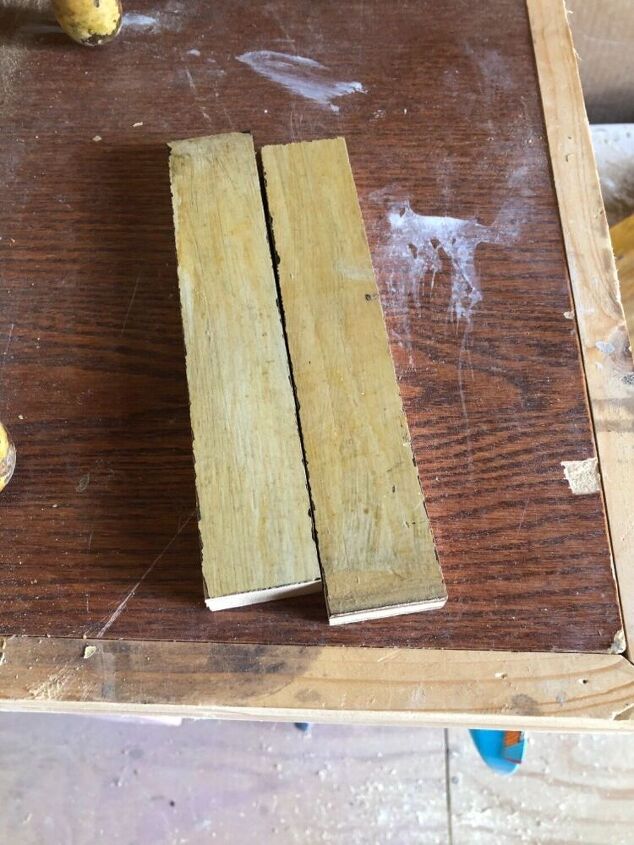
I ran one of the side supports through my table saw and created 1"x2" boards that I later cut to size to fit between my table legs.
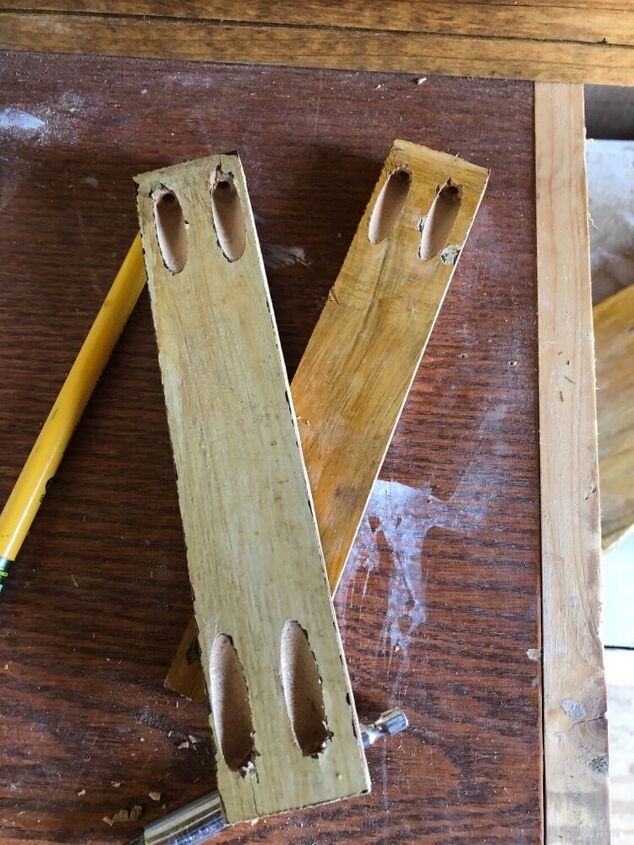
What you will need: Pocket hole jig
Once cut to size, I added pocket holes to each side of the supports.
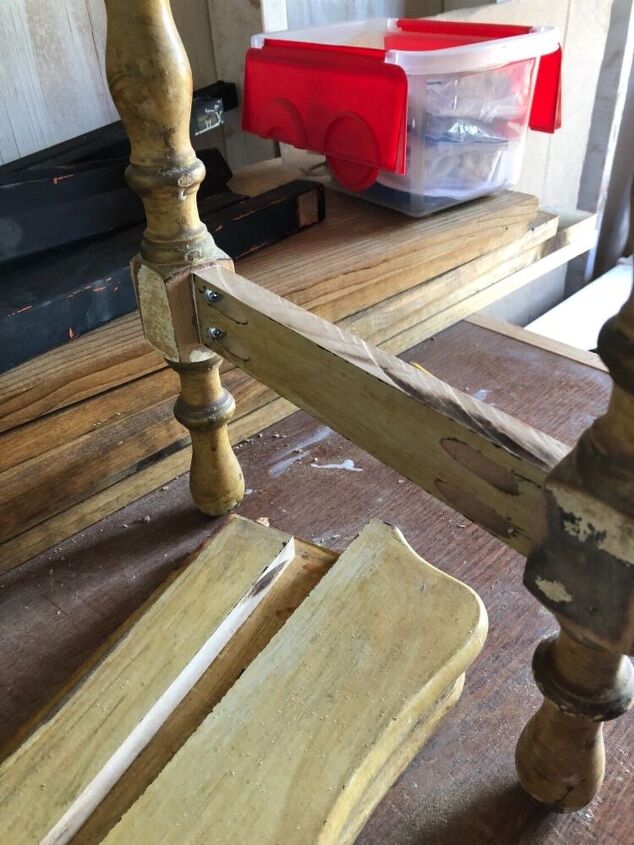
What you will need: Wood glue and pocket hole screws
After applying a thin bead of wood glue on each contact point, I drove in the pocket hole screws.
There were a few spots on the table the had dried poly drips or dings that I decided to sand, just to ensure maximum adhesion of the paint (sanding is not required when using chalk paint but I still always rough up the surface a bit). Side note: Can you see "THE DISGUSTING" that is the finish on the table? I could not wait to cover it with paint!!!
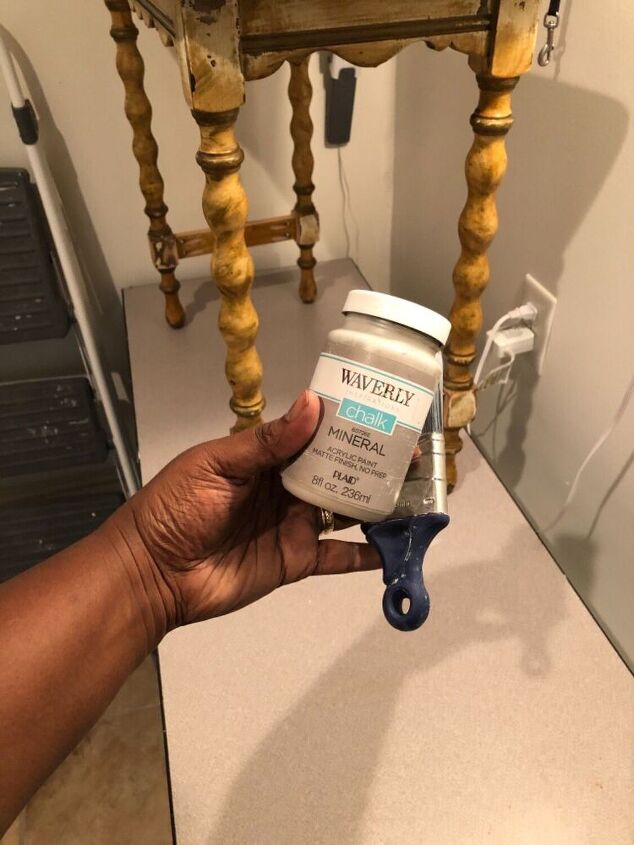
What you will need: Paint
I decided to use some of the Waverly Chalk Paint in the color Mineral that I already had on hand. (This particular container typically sells for around $6 at Walmart)
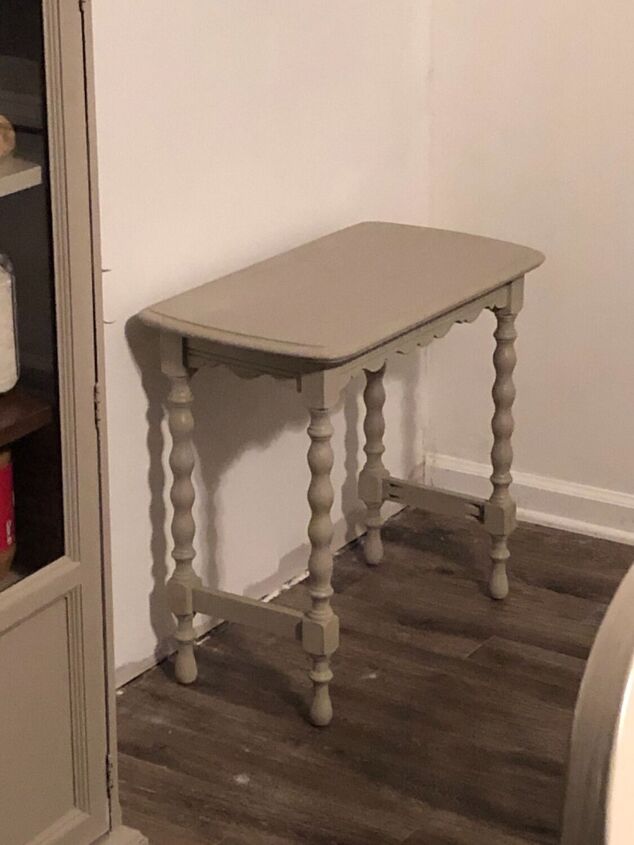
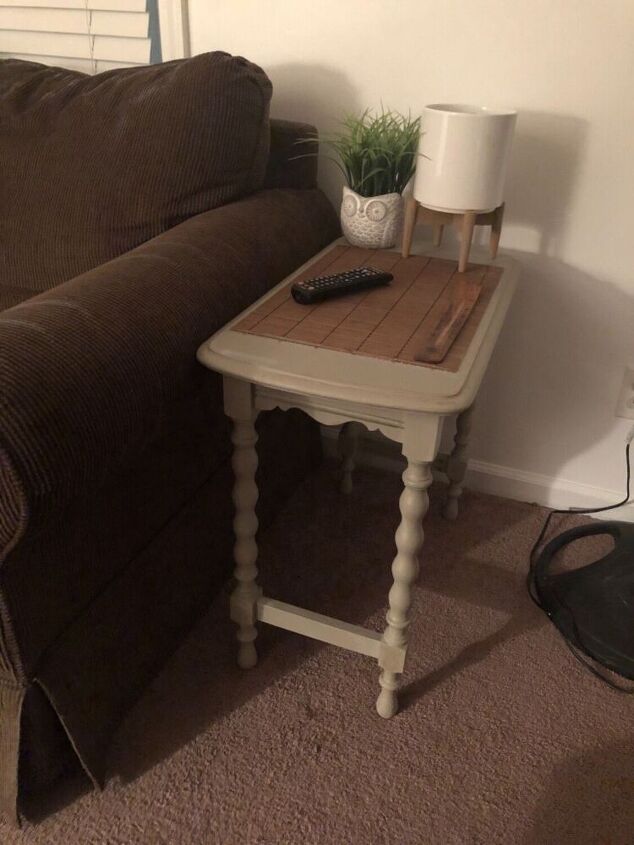
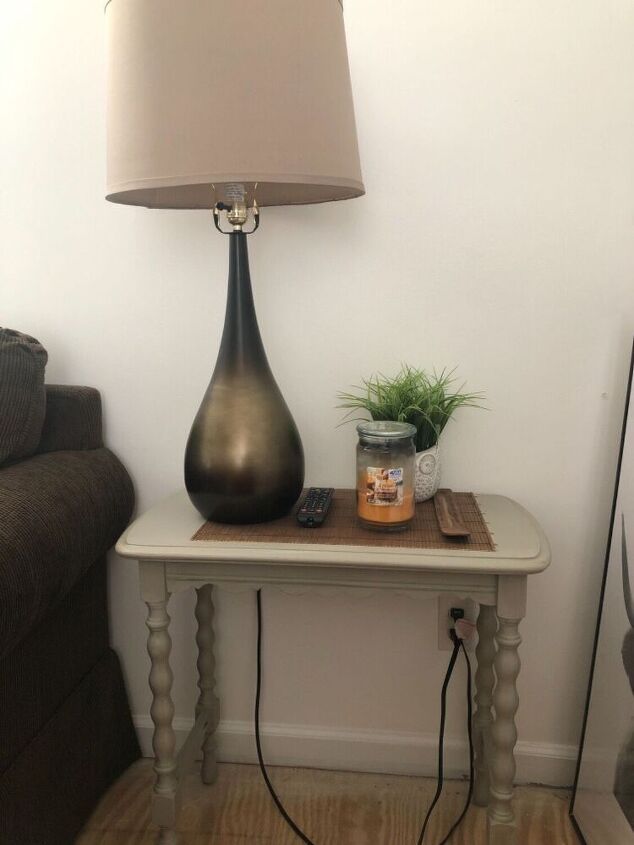
After two coats of chalk paint and coat of poly, this side table revamp was DONE!
Resources for this project:
See all materials


Comments
Join the conversation
-
Nicely redone painted piece . I myself like the rustic look and would have liked to have it just the way it was but that's the beauty of making it your own .
-
I like old furniture but this piece was absolutely awful!! The style, the stain, everything! Looks 💯 percent better. Good job!


Frequently asked questions
Have a question about this project?