


Stripped Wooden Table

My friend got this table for free and had planned to repaint it but she decided to give up on it. She kindly gave it to me and I gladly took it off her hands! I had been looking for a piece to replace the current table in the hallway and I thought this would be perfect!
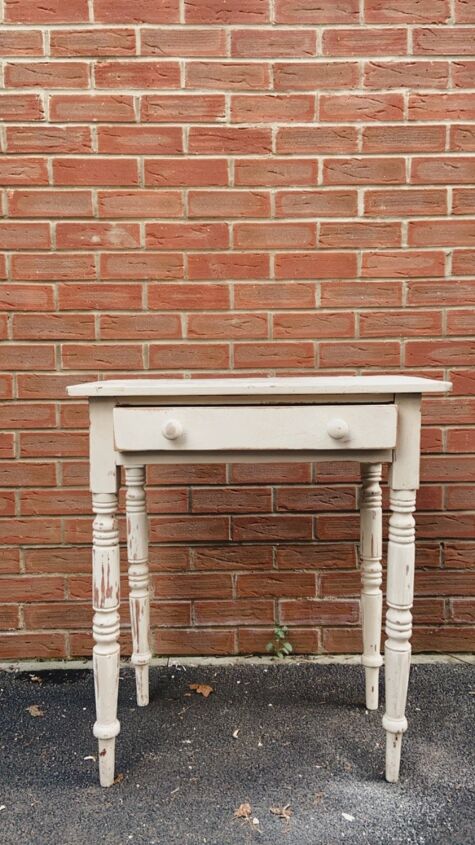
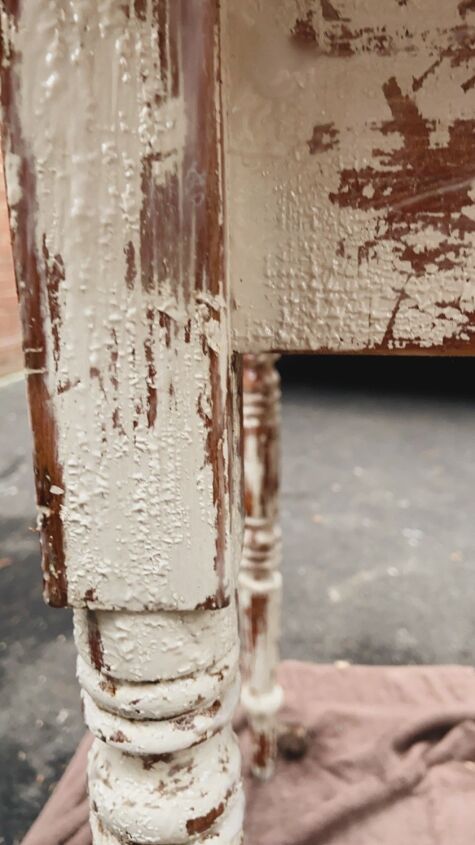
This is the before. It had been painted and filled with wood filler in some places.
Also there was some black marks on the top from paint some other paint. I couldn’t wait to get started on removing all of this.
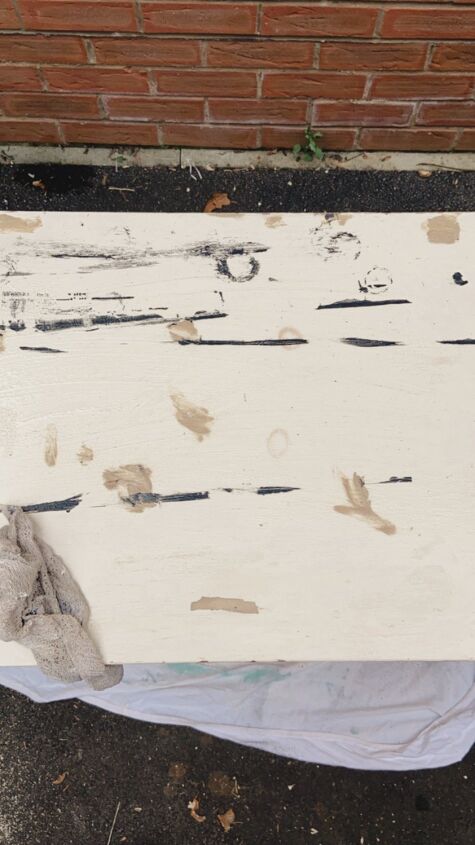
I started by applying a coat of paint stripper all over the piece with a cloth and a paintbrush.
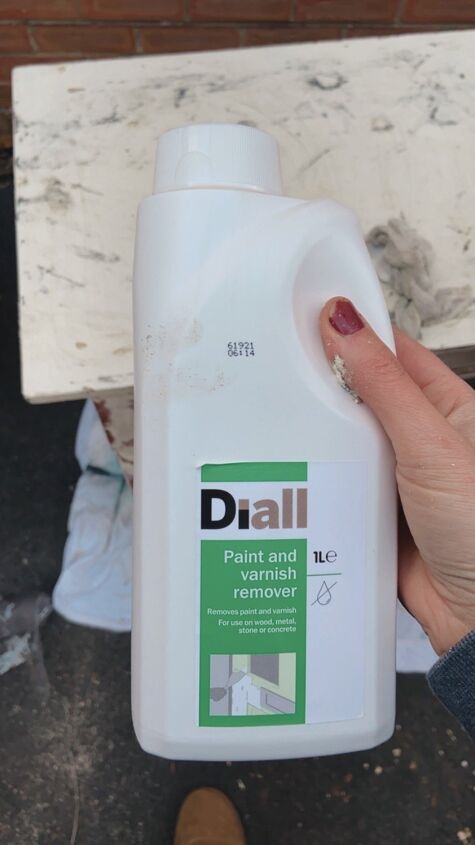
This worked so well to dissolve the paint. The instructions said to apply another coat after an hour and then start removing the paint.
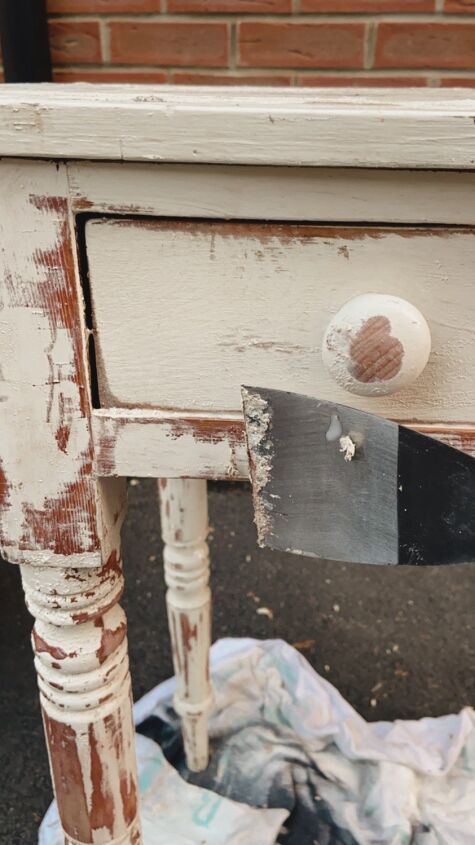
I scraped off the excess from the first application using a paint scraper.

I also used a brush to scrub the legs.
I needed to apply another coat all over again to remove more of the paint. I started the process over again and hosed off the piece to remove all the excess paint stripper.
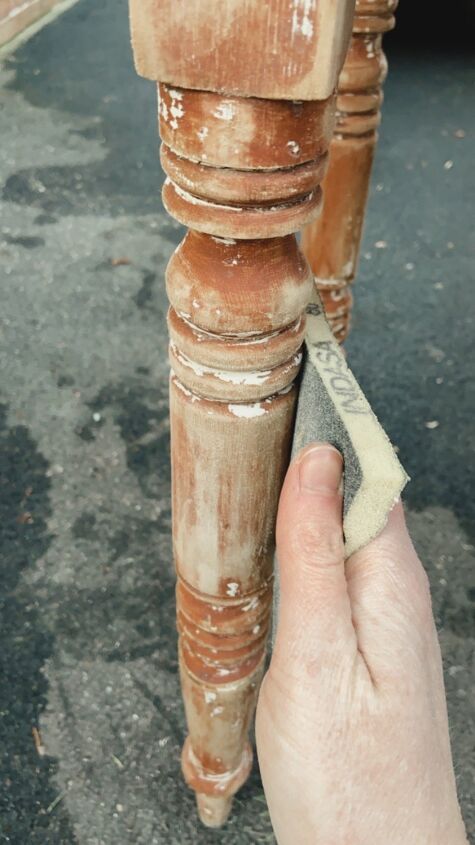
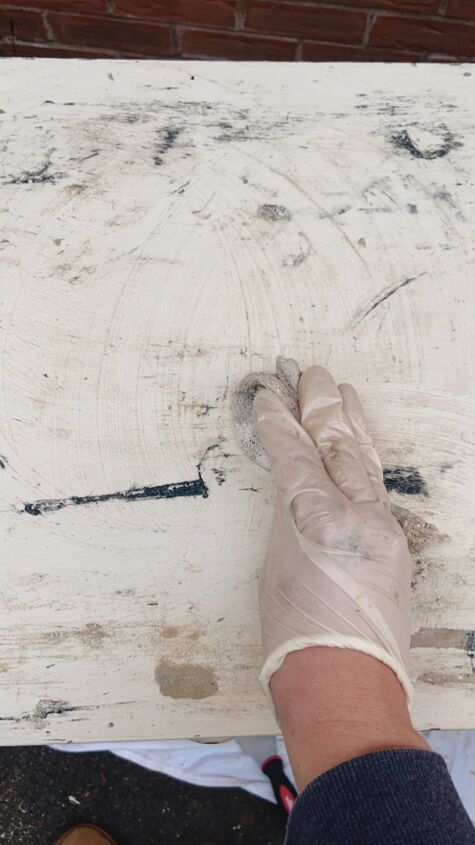
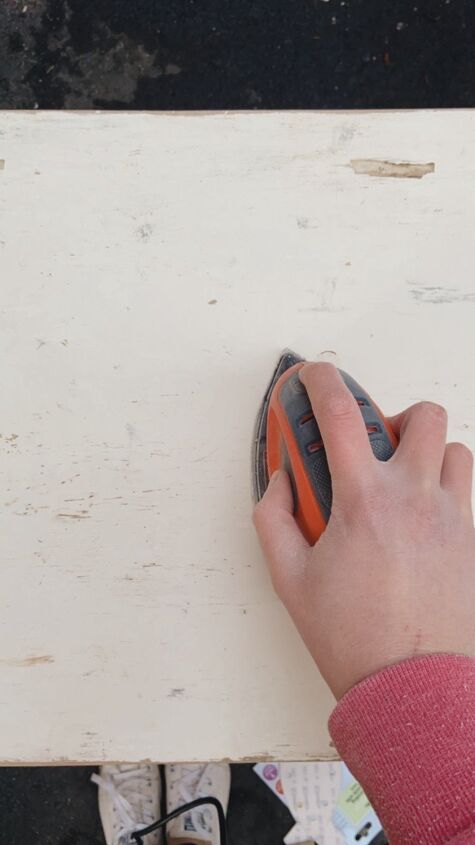
I used a sanding pad to smooth the wood and take away any rough areas/small loose pieces of wood from the stripping process.
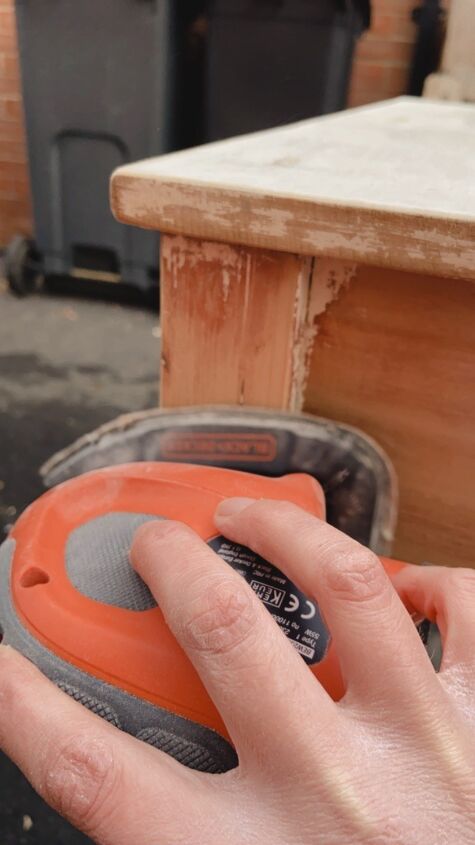
I also used my hand sander on the flat parts to create a smooth finish.
For the top I removed the coat of paint with my sander. This took a while but for some reason was easier than using the stripper on this area.
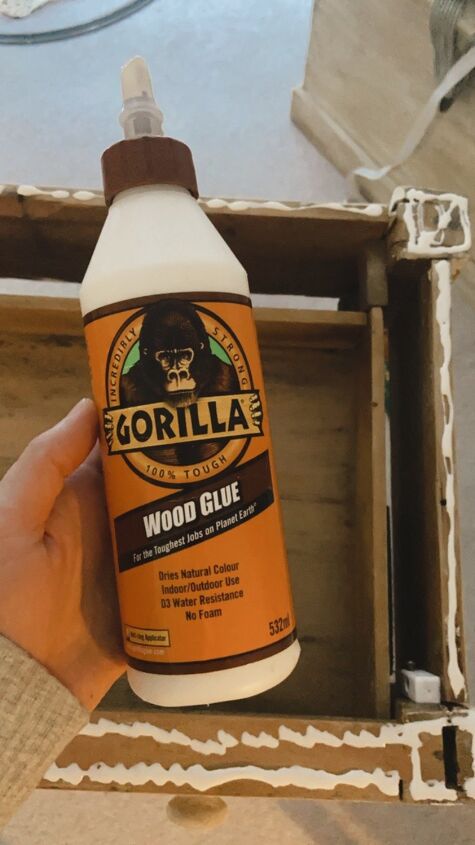
Once I was happy with the wood finish I glued the top piece onto the table. This brand is really strong so I decided to use this method rather than nails.

The piece came with the top removed as the nails holding it together had been removed and the holes had been filled with filler. I didn’t want to have visible nails in the top of the wood so I used this method since it should hold fine. If there are any issues in the future I will use something stronger, but for now I’m going with this.
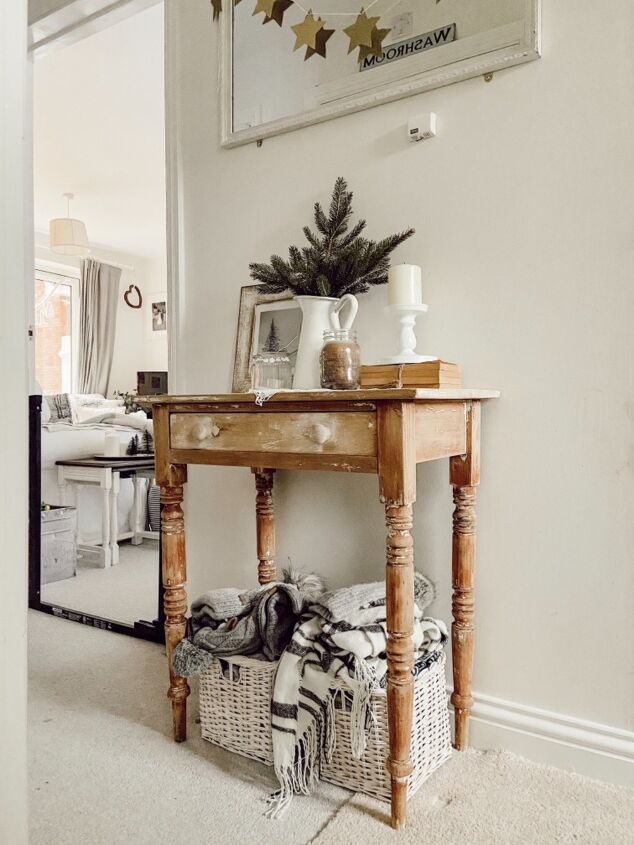
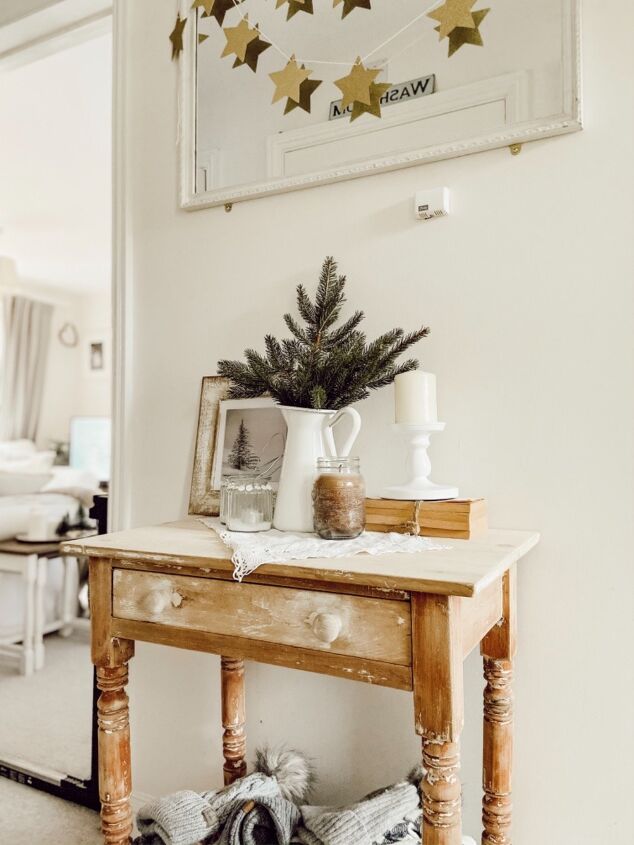
Here it is! I love the finished result. It’s rare for me to reverse something from white to wood but I’m so happy with how it turned out. I deliberately left a chippy finish as I felt like it would add a bit more character.
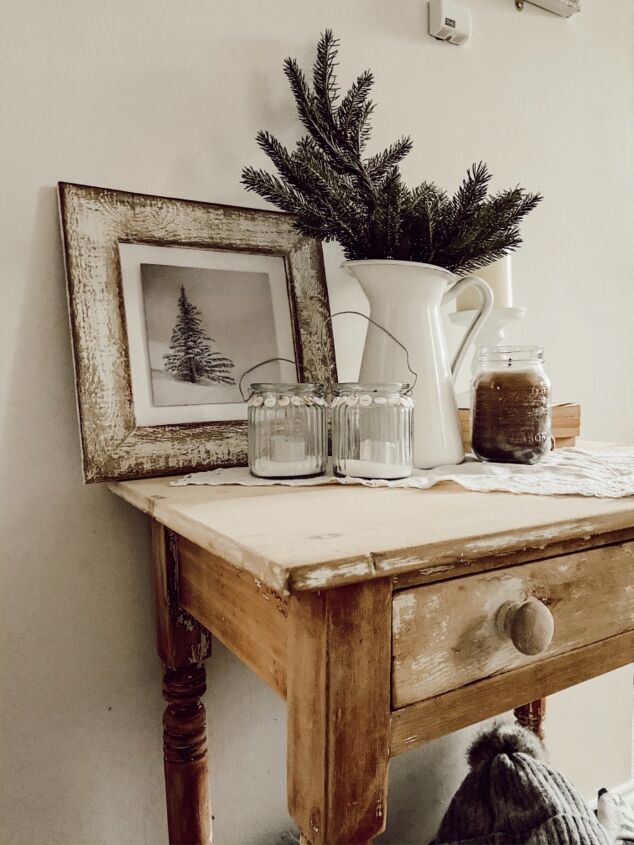
I also love how there are different shades of wood from where the original stain has been partially removed. I should add that I didn’t use anything to seal it because I want to sit with it for a while and make sure that I really love the finish I created! Once I’m definitely happy with it I will seal it with a clear wax to protect the wood.
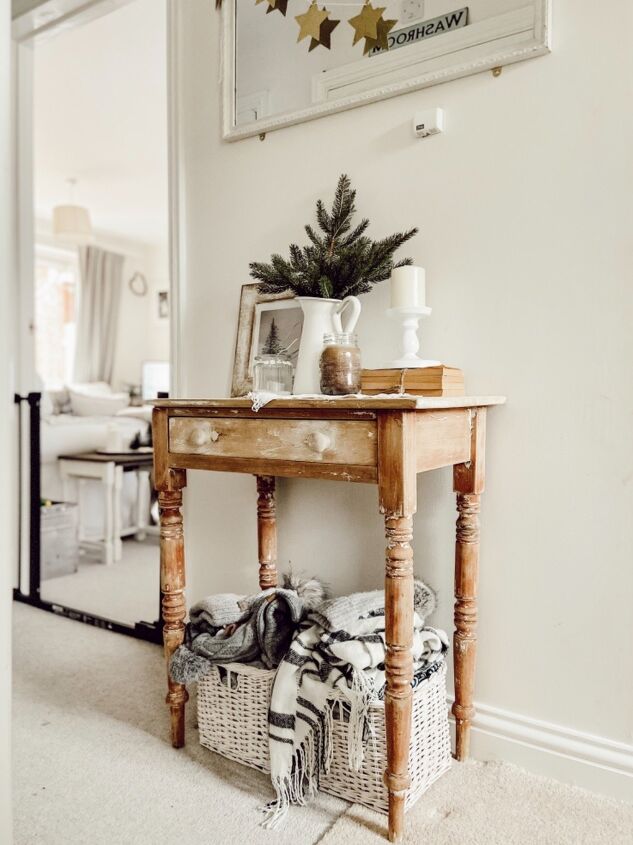
This piece is just perfect for this space despite being slightly larger than the piece that was there before. I need to work on storage for the baskets underneath but they can live there for now.
I hope that this inspires you to give some new life to a painted piece and hopefully serves as a reminder that just because something is painted it doesn’t have to stay that way!
To see more of this and other projects follow along on Instagram!
~ Rachel ♡
Comments
Join the conversation
-
The table is really pretty. I really hope that you still love 💕 it. I love different woods and really like it when older pieces are brought back.
-
I bought a dresser that is painted a burgundy color and stripped it down to base wood. I also realized this dresser was handmade, there were pencil marks on the inside and on the drawers. So I decided to keep it a natural wood finish. It turned out pretty beautiful! Will send a pic when it’s finished.


Frequently asked questions
Have a question about this project?