


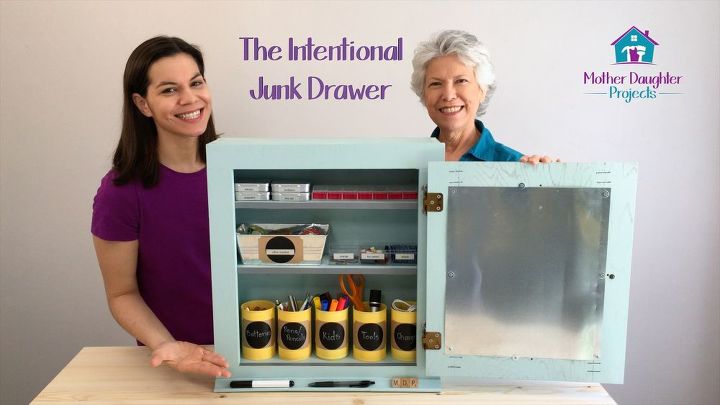
The Intentional Junk Drawer
We were invited to join in a thrift store challenge over at Creator's Studio. We were challenged to make a $10 thrift store item new and beautiful again using Rust-Oleum projects.
We loved the challenge and couldn't wait to get started!
We loved the challenge and couldn't wait to get started!
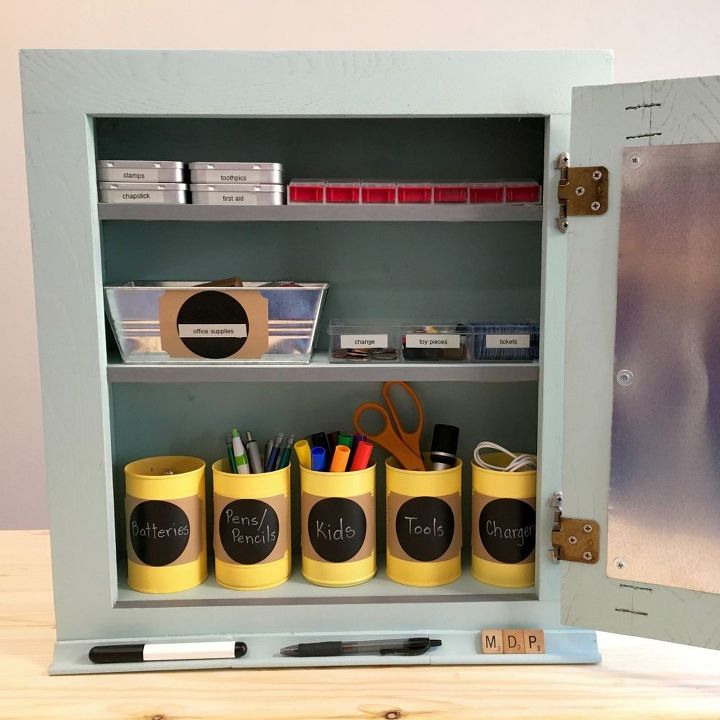
…everyone has that drawer in their home, you know the one, that holds change, stamps, pens/pencils, assorted toy pieces, coupons, bandages, tweezers and more. Thing is, that drawer is ALWAYS disorganized.
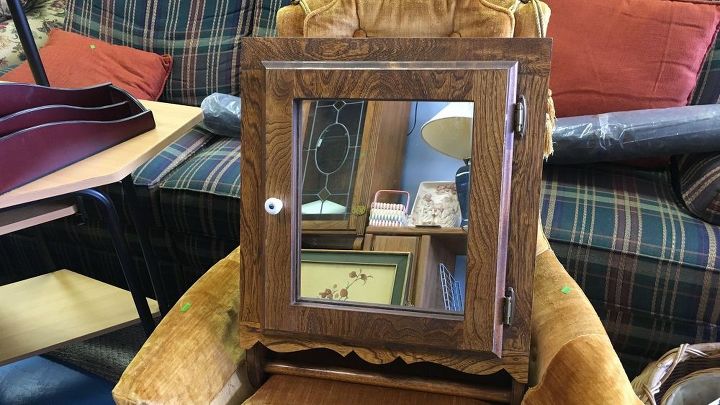
Before. We found this item at a local thrift store in Tallahassee, FL.
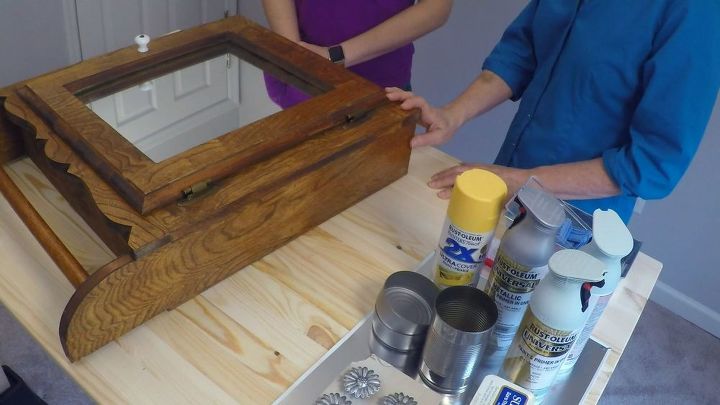
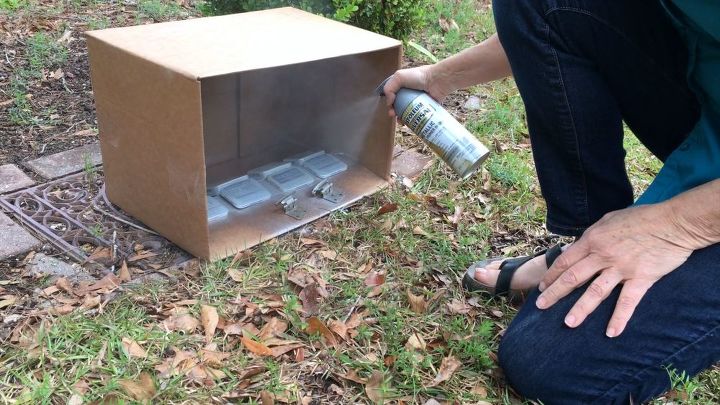
Step 1
Step 2
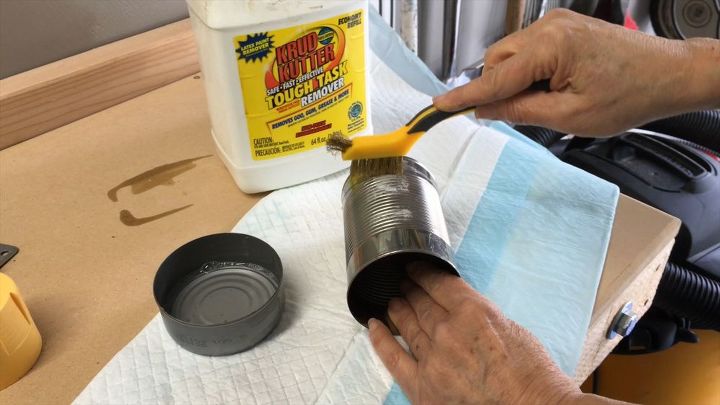
Step 3
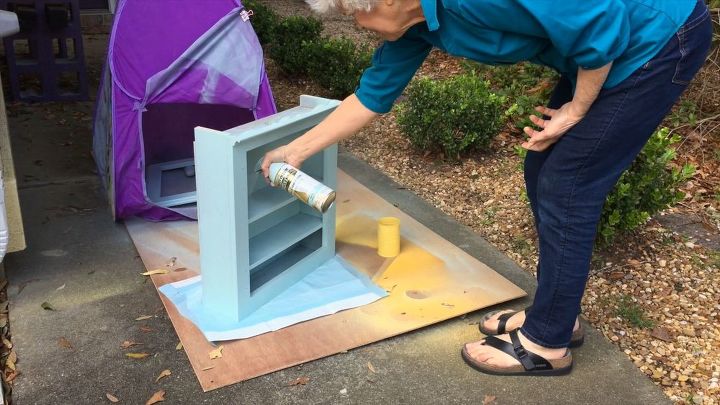
Step 4
Step 5

Want more details about this and other DIY projects? Check out my blog post!
Comments
Join the conversation
2 of 25 comments
-
We took the mirror out and used a piece of galvanized tin so we could use magnets.
-
Looks Fun and it came out beautiful


Frequently asked questions
Have a question about this project?