


Vintage Headboard Remix
I'm ashamed to say it but my husband and I have been living without a headboard for YEARS. I kept going back and forth on style and color and couldn't really find anything I loved. That means it's time for some DIY!
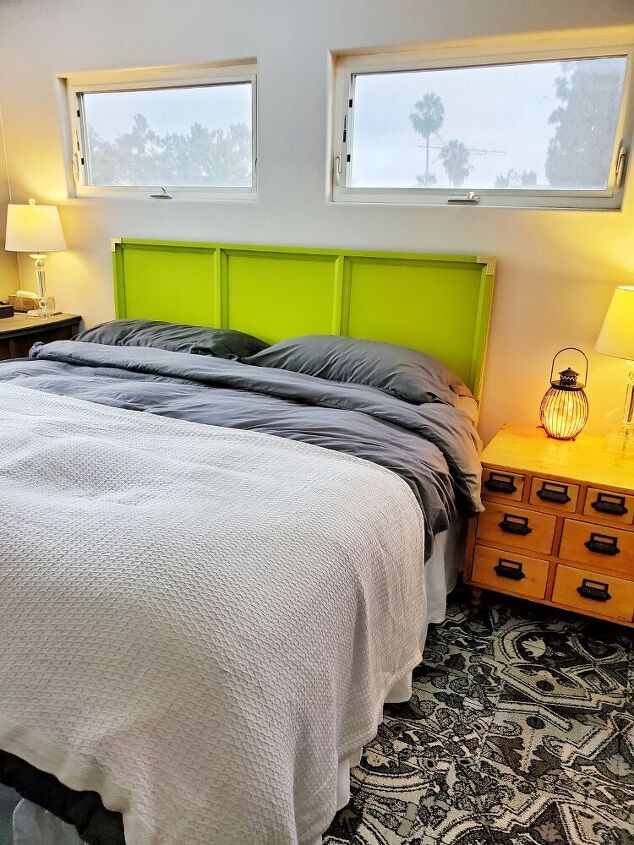
I finally decided to take the plunge and go for something fun and funky even though that was the opposite of what I had been leaning towards. 🤣 It's just a headboard and can easily be changed down the line if we get tired of it. For now though, I'm loving the pop of color!
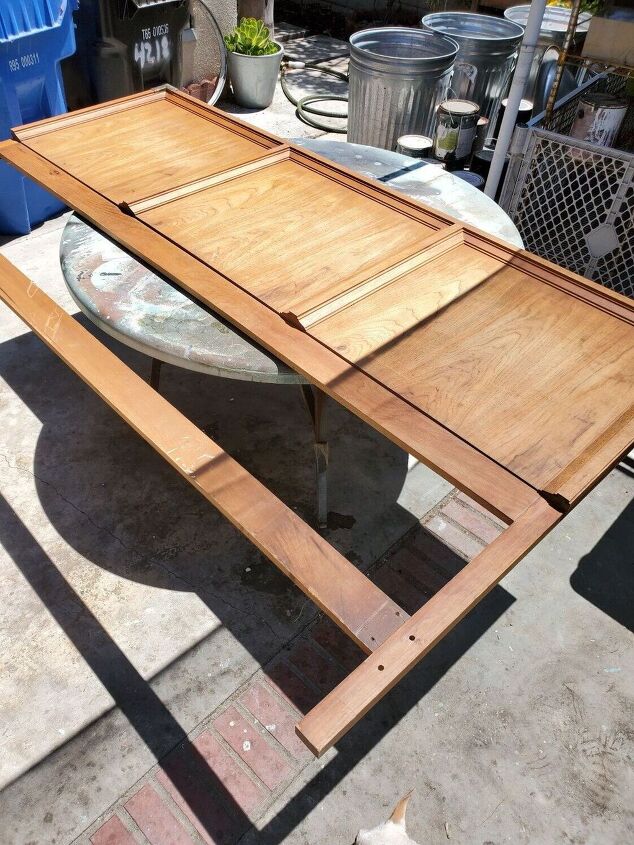
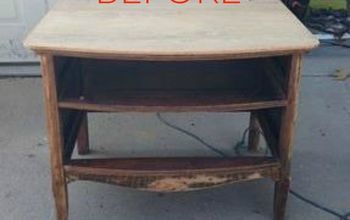
I found this vintage wooden headboard that I really liked. I knew I was going to paint it but a project of mine is NEVER that simple lol. We have a pretty tall bed and this piece was just too short as it was.
First, I measured and determined how much height I wanted to add. I cut 4 boards that height plus about 2 additional inches. More on how we added height later.
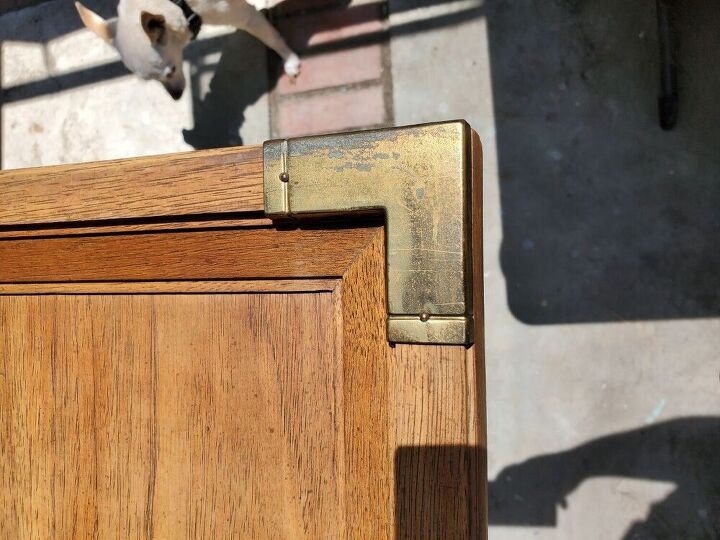
Before painting, I cleaned and lightly sanded the whole piece, and removed the hardware in the corners.
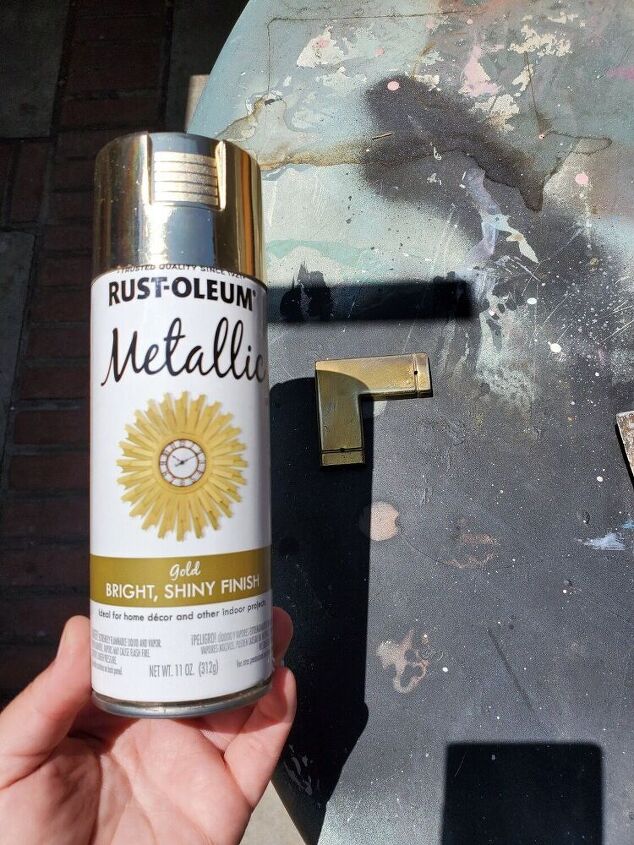
I cleaned and sanded those pieces as well and sprayed them gold.
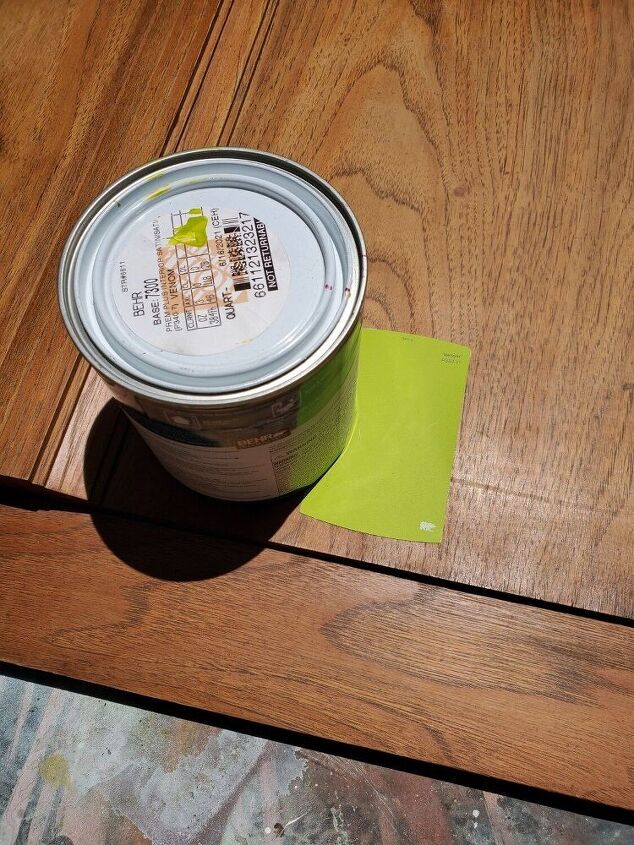
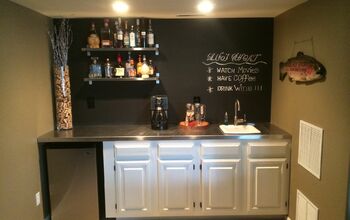
Next it was time to paint! I picked out a color called "Venom". I went pretty bold with this one!
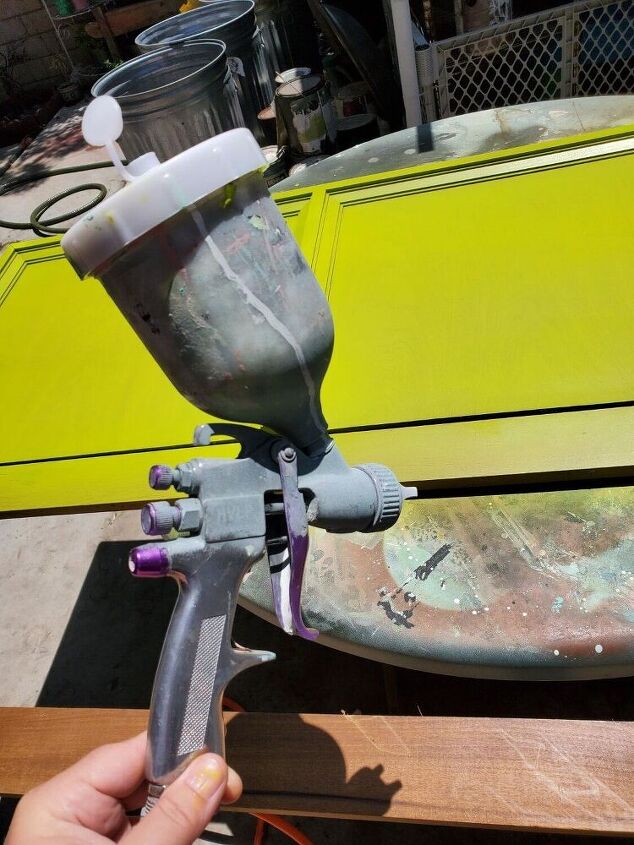
I watered down the paint just a little so it would spray better in my gun. You don't have to do this with all spray guns though so make sure you're using what works with yours.
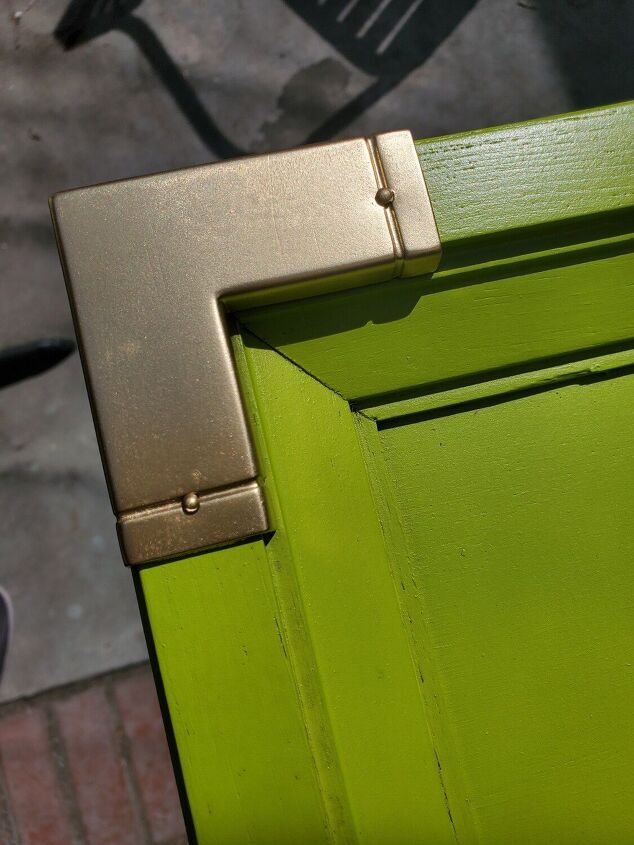
I sprayed on three coats letting each coat dry in between. Then I added the corner brackets back on.
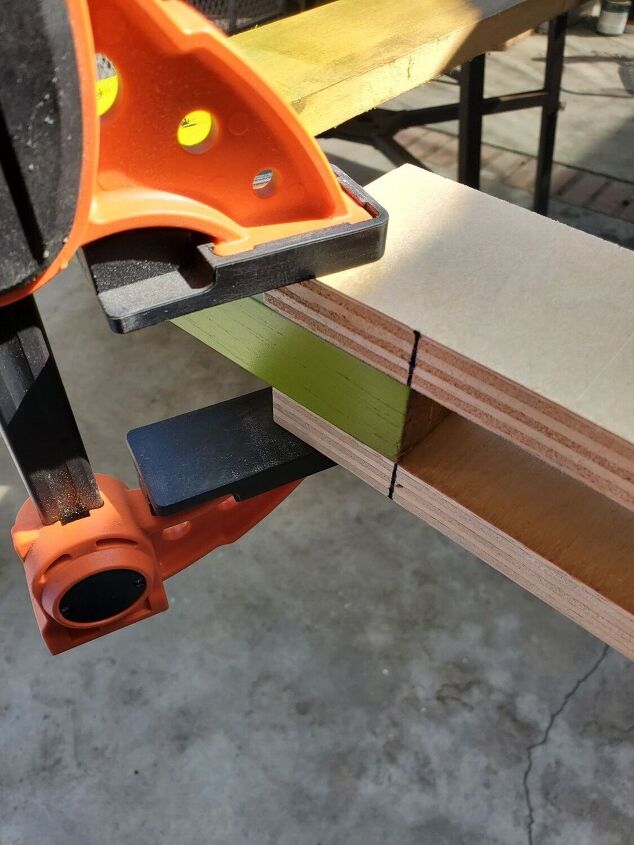
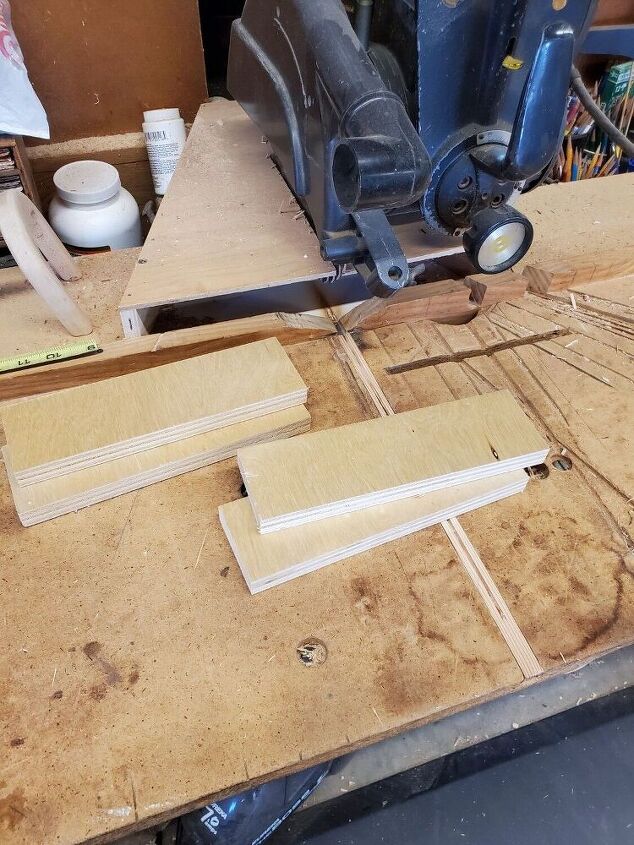
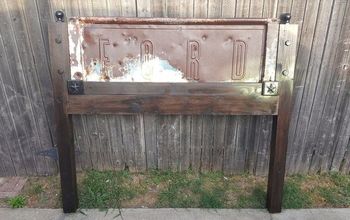
Now to add some height! This part of the bed won't really show behind nightstands and a bed skirt so I really didn't care how it looked. I decided to sandwich two pieces onto each leg. I started by clamping them both on, ensuring they were both lined up perfectly.
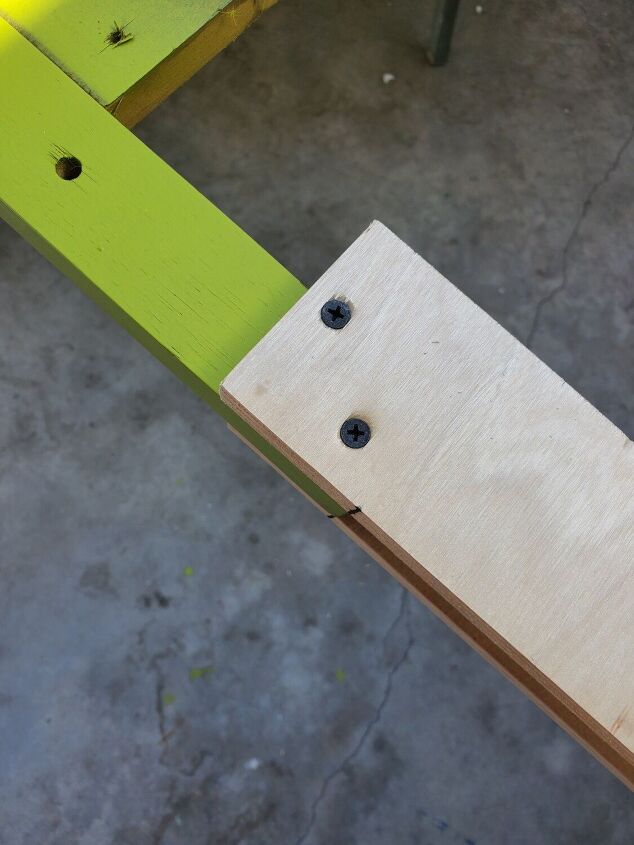
I drilled pilot holes into each side making sure they were staggered so the screws wouldn't hit each other and then screwed the pieces of wood into place using 2 inch screws.
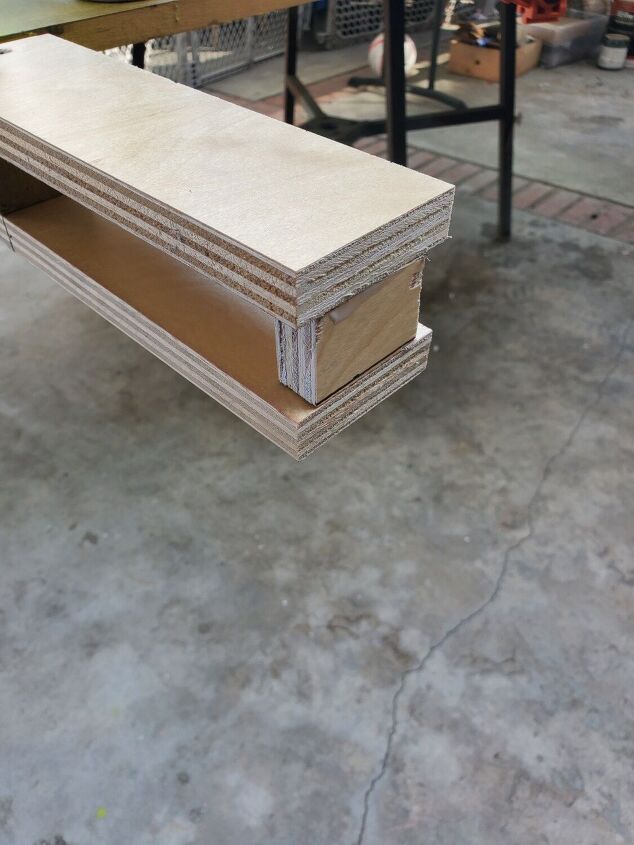
Next, I measured and cut blocks to go in between each piece to add stability. I glued and nailed these in from each side using a nail gun.
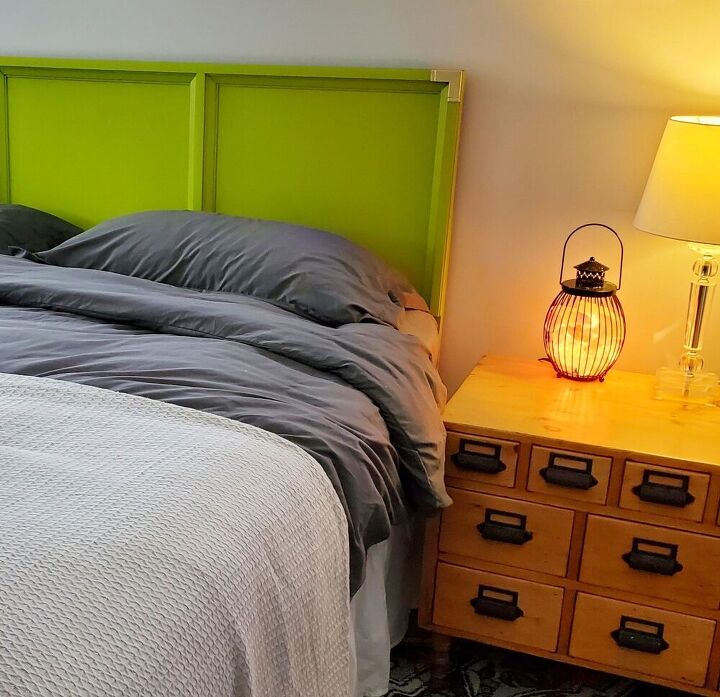
All done! This piece gave our mostly grey bedroom a bright and fun pop of color. Thanks for following along and I hope this inspires you to create something beautiful for your space!
Comments
Join the conversation
-
Love the side table, lantern and your pop of color. Nice touch.


Frequently asked questions
Have a question about this project?