


DIY Collectible Display Pegboard Wall

My husband has a big collection of Star Wars figures that are still in their packages. They’re all in individual protective cases, and he had been storing them on a wall hung piece by piece with nails. While that method was doing the job, it made it hard for him to move them around if he added a new critter. (I call all his figures critters and statues creatures.) So I asked him if I could do a surprise upgrade and promised that it would improve his storage space. He reluctantly agreed, so I got to work.
Here’s how the wall looked before I got my hands on it. Not bad, but not great. And the nail situation was such a pain for him to remove and rearrange since the walls of our basement are all made from super thick 1970’s wood panelling.
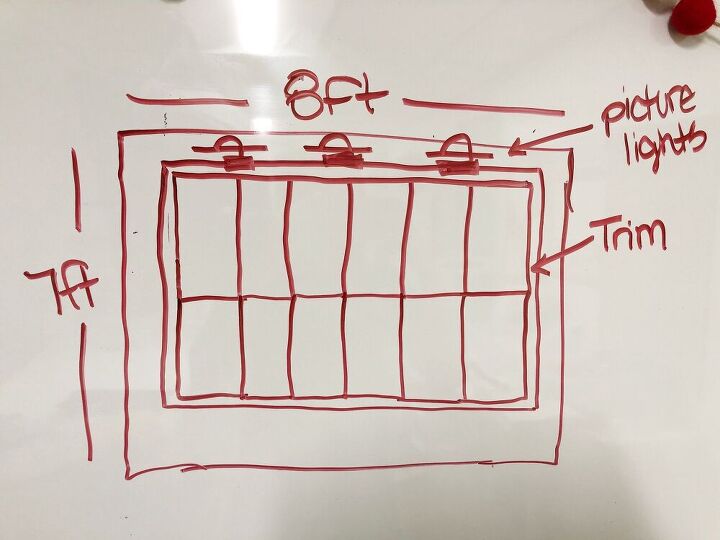
I drew up these plans on a big dry erase board, because I’m super fancy and high-tech like that, and made some measurements of the amount of space I had to work with. (Note: I ended up having to downsize these measurements by one foot due to a furniture placement issue.)

The metal pegboards I used have a built-in framing around the back that keeps it the perfect distance away from the wall, so you can jump right into installation. (Find out more about the pegboards in my full detailed post on my blog) I didn’t need use the anchors since the walls are made of paneling so thick the Kool-Aid man couldn’t bust through, but I have used them in other rooms and they’ve held up really well when I didn’t have a stud nearby.
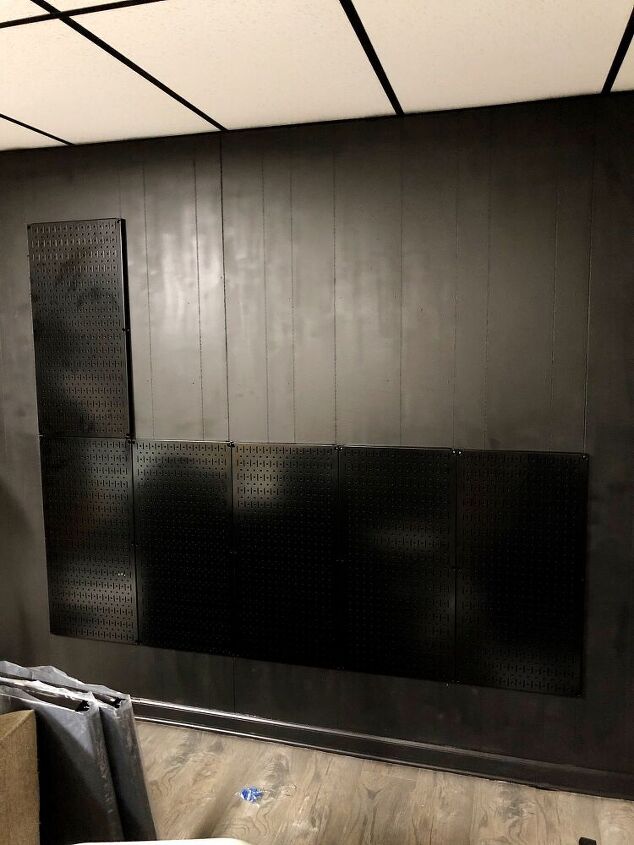
To put them in place, I started with the bottom row and installed them from left to right, then installed the top row directly on top of them to keep things tight and level.
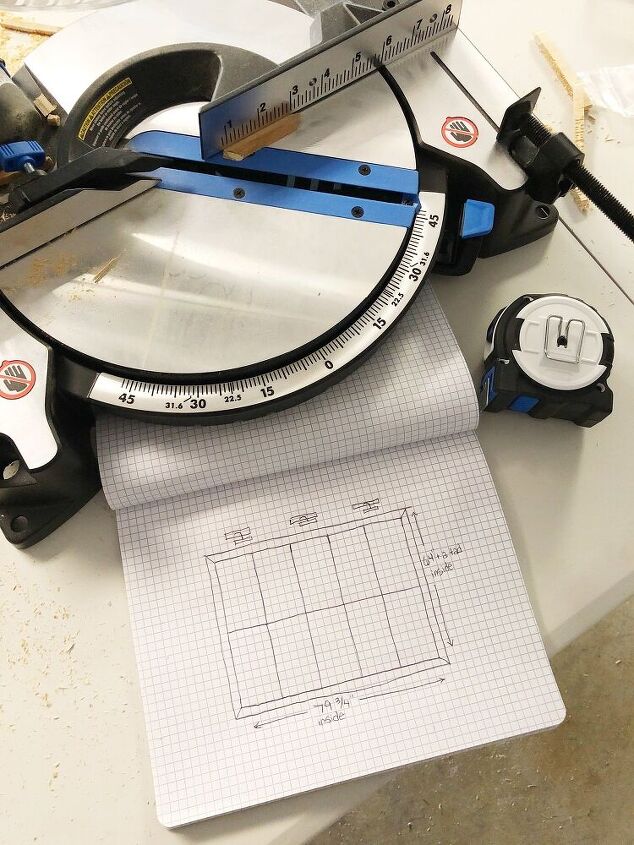
Once I got the pegboards in place, it was time to frame them out with trim. I measured out the length and width of the collage of pegboards and sketched it out on my handy dandy notebook, then I cut the corners at 45 degree angles.
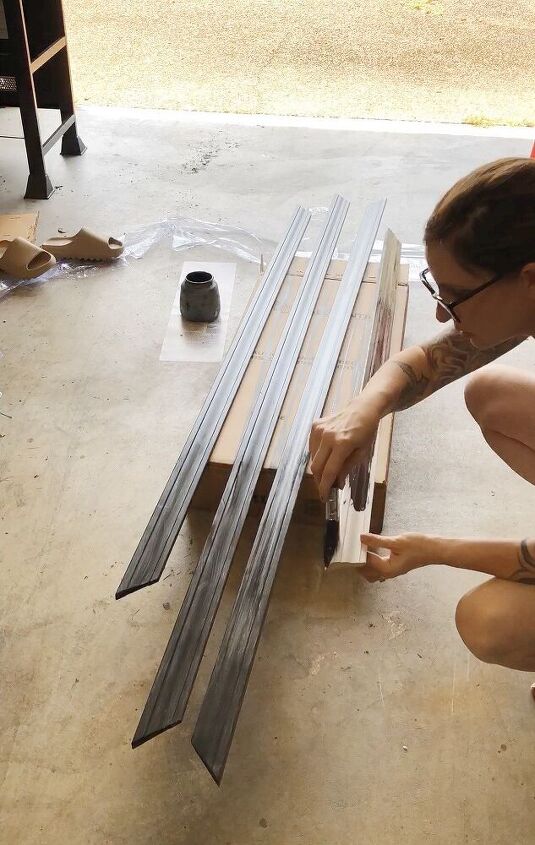
Before installing on the wall, I gave them two coats of paint (the same Tricorn Black that’s on the walls). It’s important to paint before you install them because the white edges up against the pegboard sides will still be seen a little, depending on the angle you’re standing at. Always pre-paint any type of decorative trim before nailing to the wall.
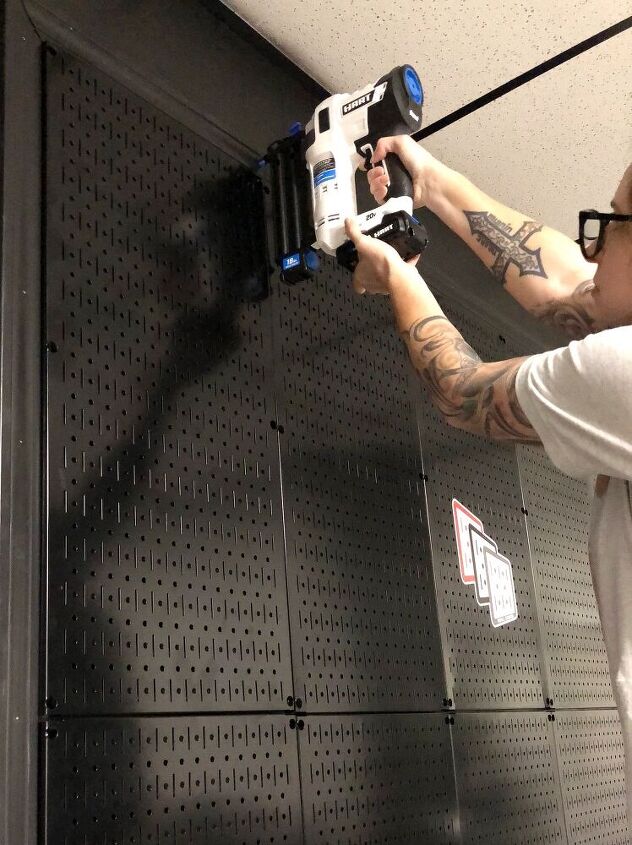
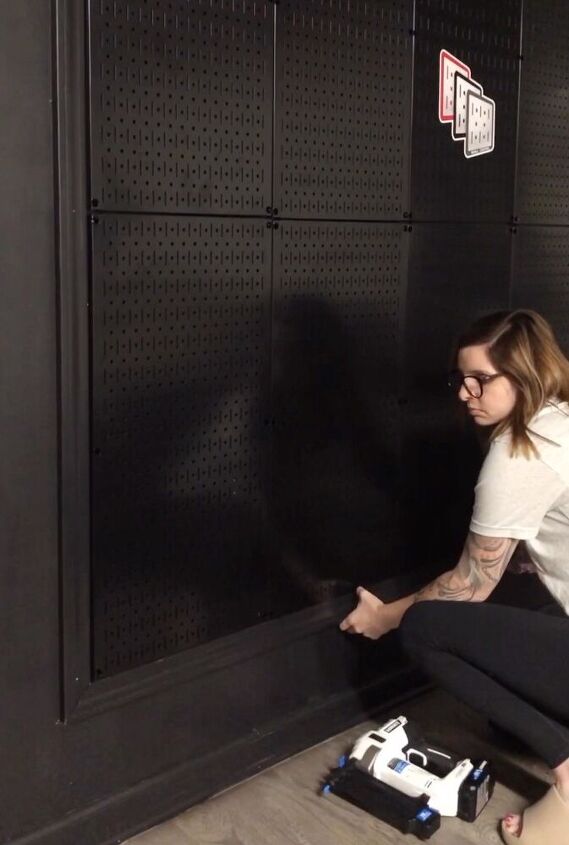
Once the paint dried, I used a brad nailer to attach them around the pegboards. Then I filled the nail holes and corner joints with spackle, and gave it one final coat of paint.
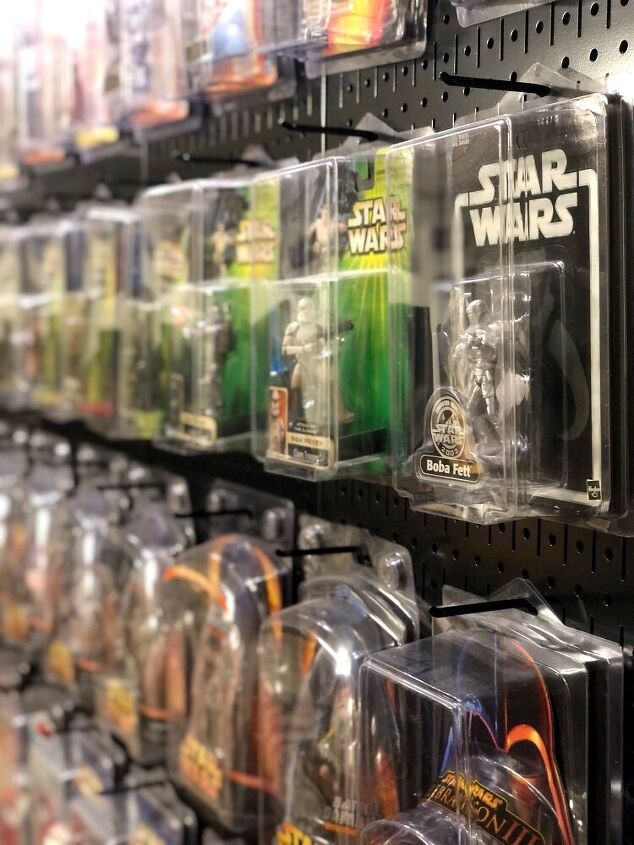
The final step of this mini-makeover is to put the critters on the pegboards. Sounds easy, but this was actually the hardest part of the process. I had to figure out which packages were the same size and how to line them up to fill the board with the right spacing.
I ended up laying them all out in the floor and moving them around at least three times before I got it right. (Side note, Hub doesn’t like how the Anakins and Darth Somebodies aren’t together, so he’ll be rearranging to the “right way”. I just arranged by package, and apparently in the collector world, that’s wrong.)

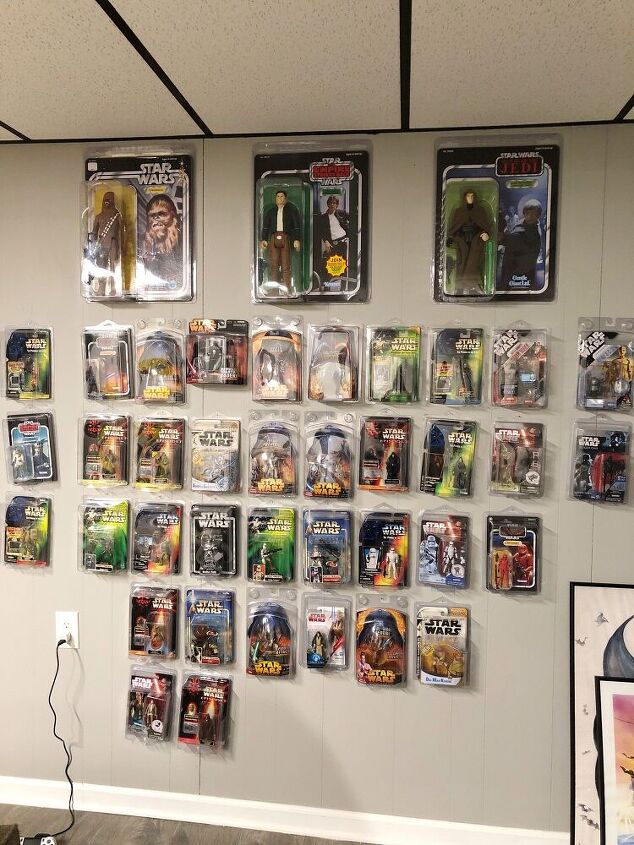
Quick reminder, here's how it looked before...

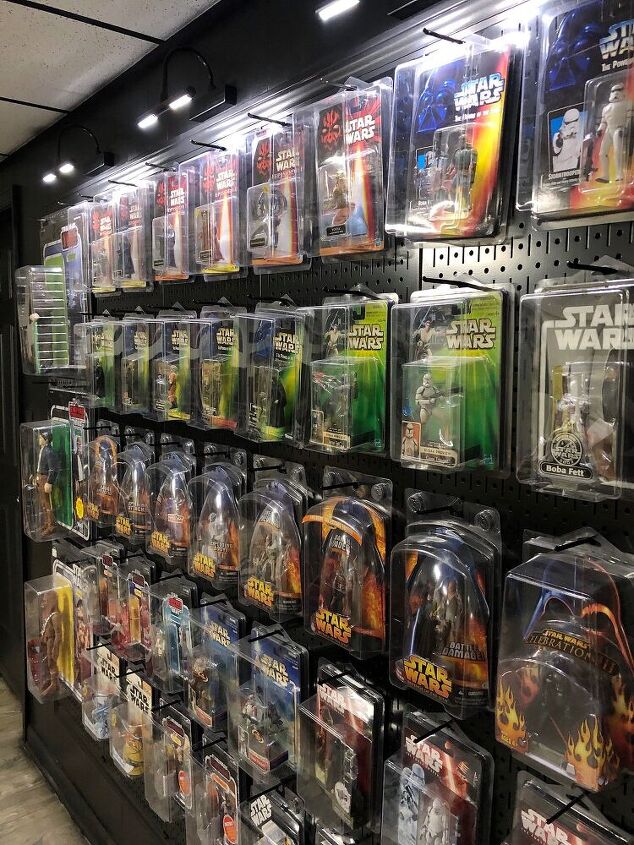
And here's how it looks now! Head over to my blog at the link at the bottom of this post for all the detailed instructions, more photos, and sources. You can also find out about those awesome picture lights, which aren't even hardwired!
You can also watch the entire process on Instagram in my Story Highlights bubble called Critter Wall. Find me on IG @lelaburris


Comments
Join the conversation
-
I absolutely love your idea! I want to make this for our videogame collection now!
-
This looks amazing - love the added lighting to really showcase the collection even more!


Frequently asked questions
Have a question about this project?