


DIY Jewelry Stand - Great Last Minute Mother's Day Gift!
Easy
Do you need a last minute gift for a First Communion or Mother's Day? You can quickly and easily make this cute jewelry stand.
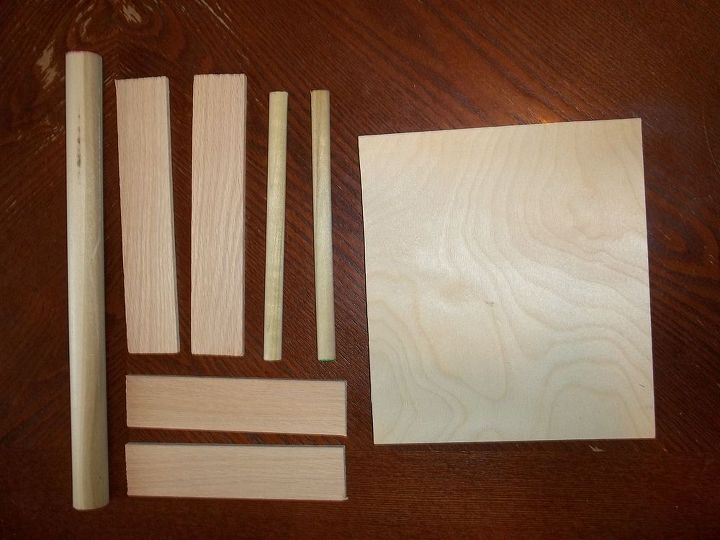
This is a quick, easy, and fairly cheap project. I roughly followed the plan on thatsmyletter.blogspot.com, but did not follow it exactly.
You can view my full plan at my blog http://jaimeofalltrades.blogspot.com/2014/05/last-minute-first-communion-or-mothers.html
This is a quick, easy, and fairly cheap project. I roughly followed the plan on thatsmyletter.blogspot.com, but did not follow it exactly.
You can view my full plan at my blog http://jaimeofalltrades.blogspot.com/2014/05/last-minute-first-communion-or-mothers.html

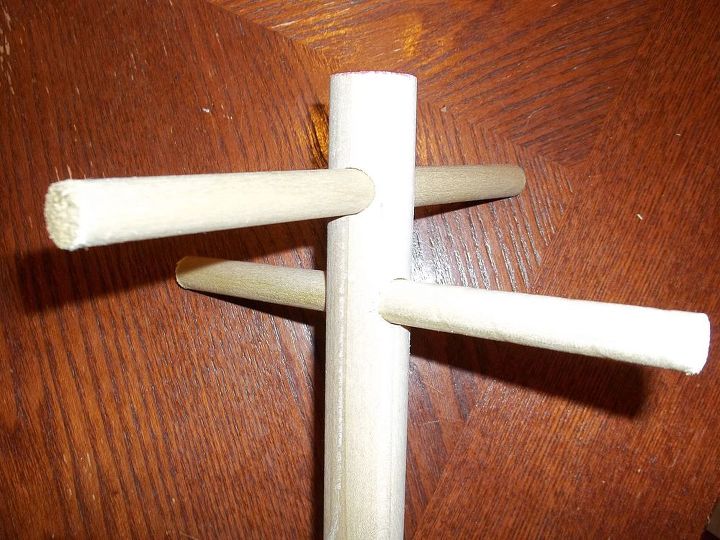
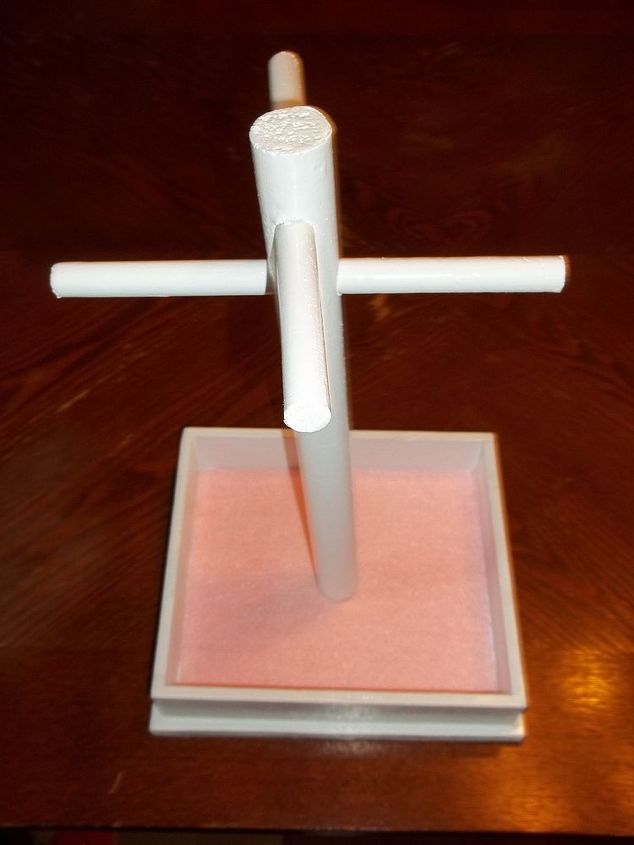
Step 1.
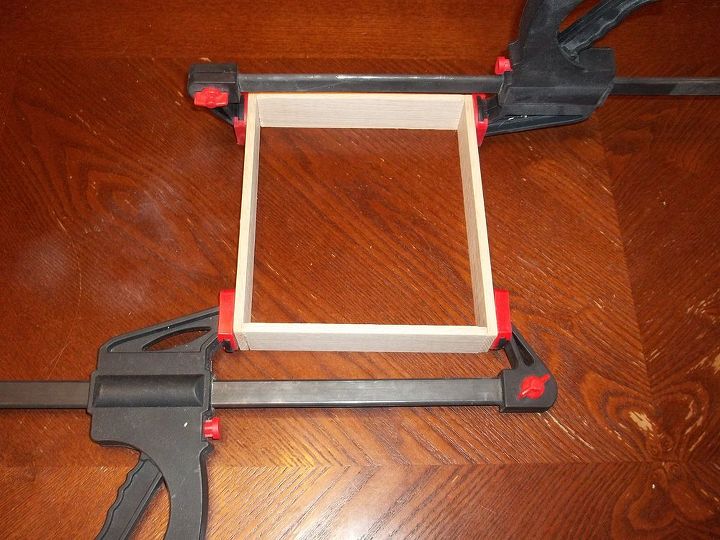
Step 2.
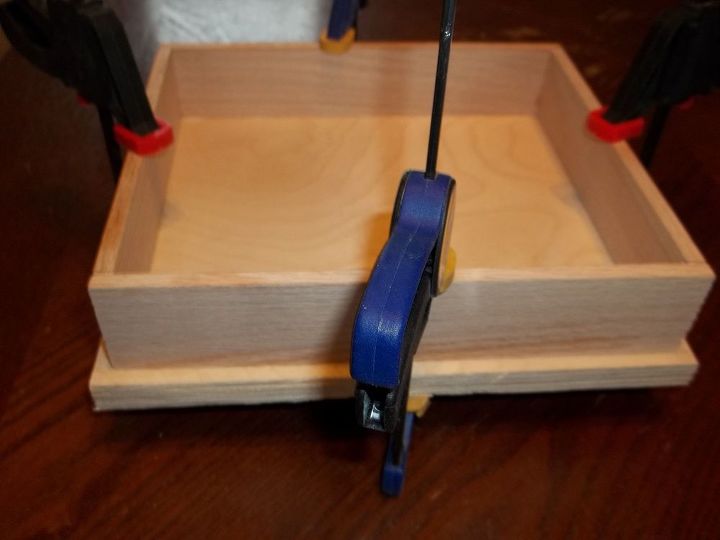
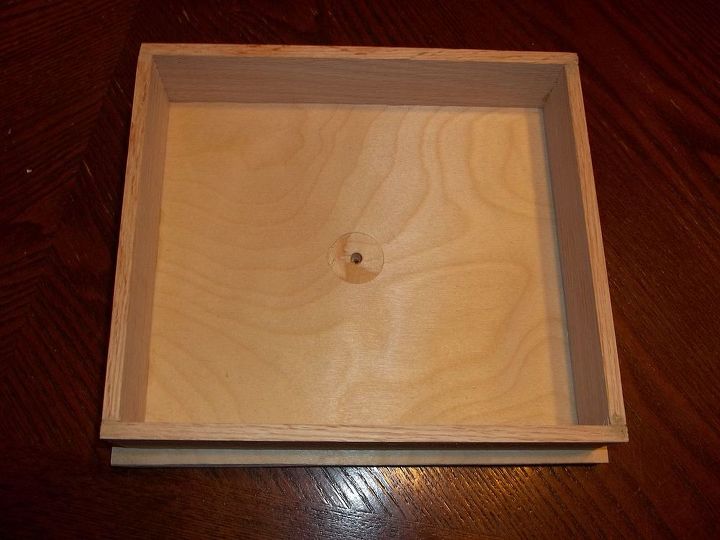
Step 3.
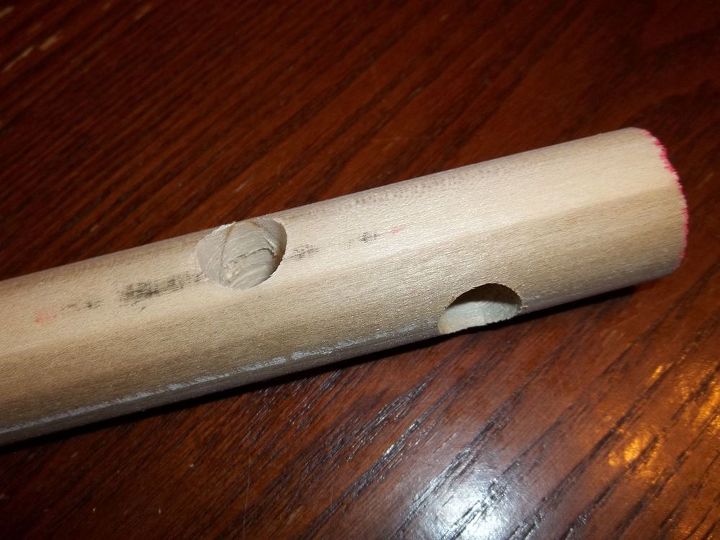
Step 4.
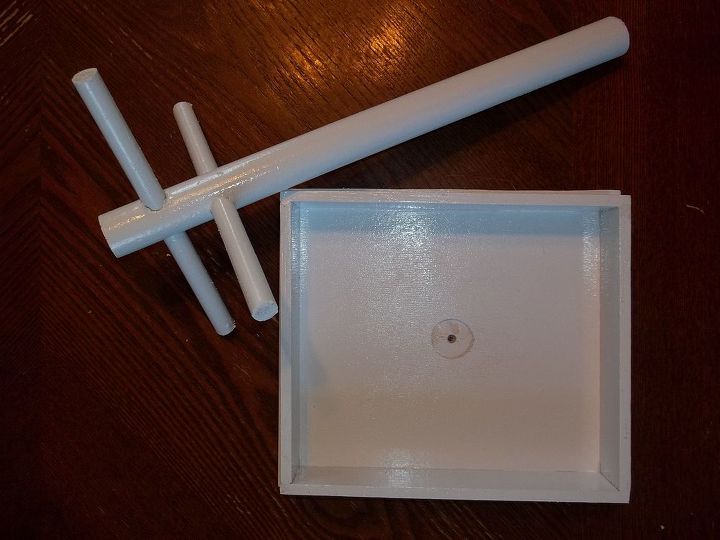
Step 5.
Step 6.
Step 7.
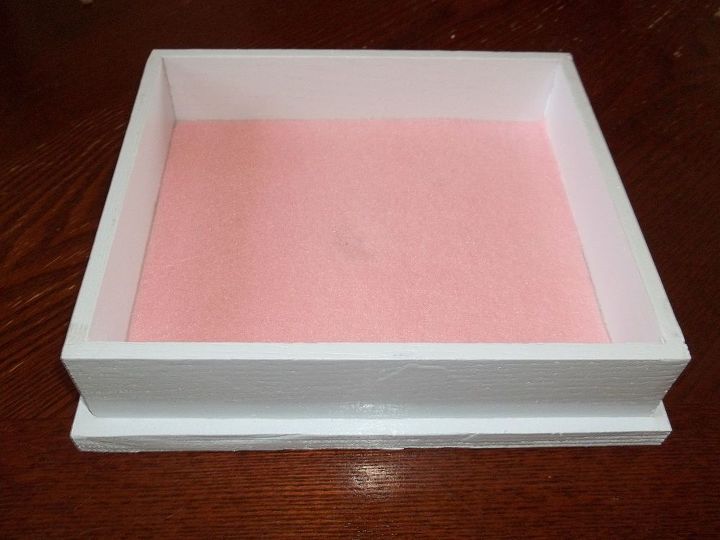
Step 8.
Step 9.
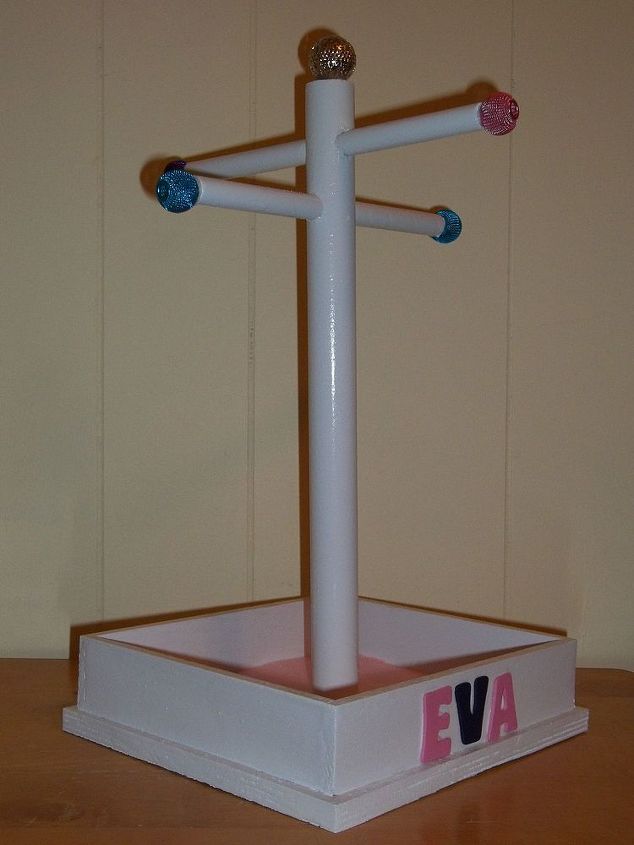
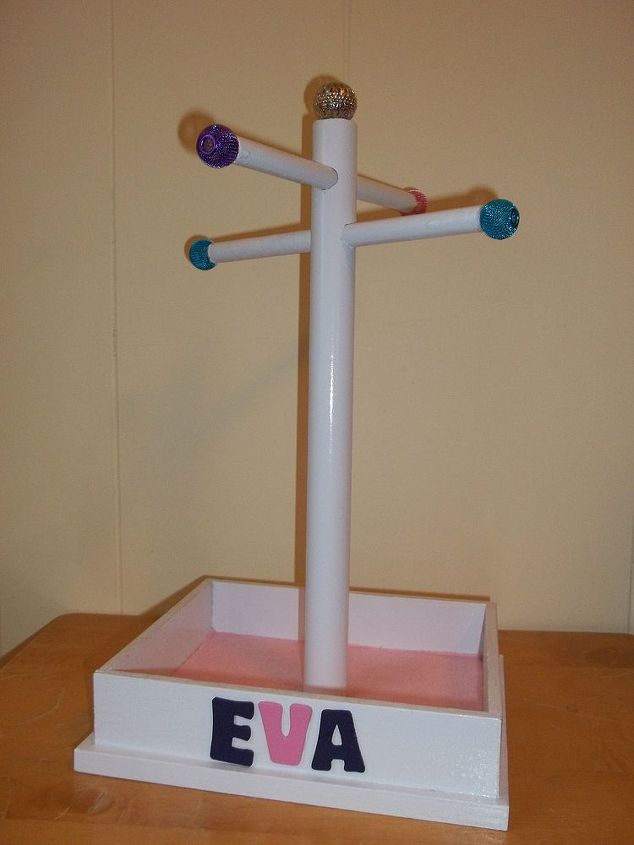
Step 10.
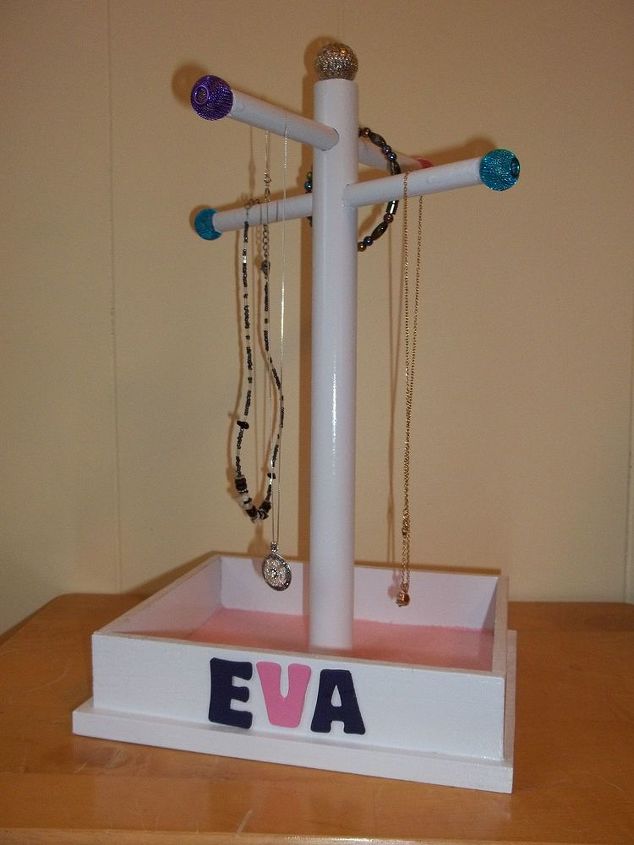
Step 11. Hang your necklaces and bracelets. You can put your rings and earrings in the base. Enjoy your jewelry stand!

Want more details about this and other DIY projects? Check out my blog post!


Frequently asked questions
Have a question about this project?