


DIY Upcycled Wood Jewelry Organizer
Over the past year, I’ve acquired quite a few necklaces and bracelets and I did not have a good place to store them. I recently made a DIY Upcycled Wood Jewelry Organizer that hangs on my closet door. This organizer keeps my necklaces and bracelets in one spot and visible so that I can easily choose what I want to wear with a particular outfit.
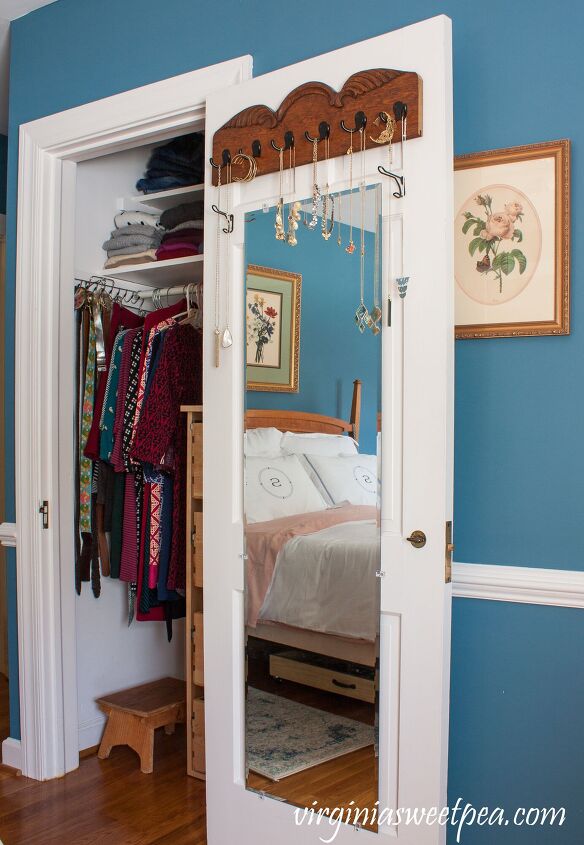
My new jewelry organizer hangs above the closet door mirror high enough to keep most of the necklaces from blocking the mirror but not so high that I can’t easily reach my jewelry.

I love how this project turned out and I’m so glad to no longer have all of these necklaces and bracelets spread out across my dresser.
Supplies
- Upcycled Wood
- Hooks with Screws
- Saw
- Center Rule – This is a SUPER handy tool that finds the center of a any item without measuring!
- Aul
- Drill
- Router and Keyhole Bit
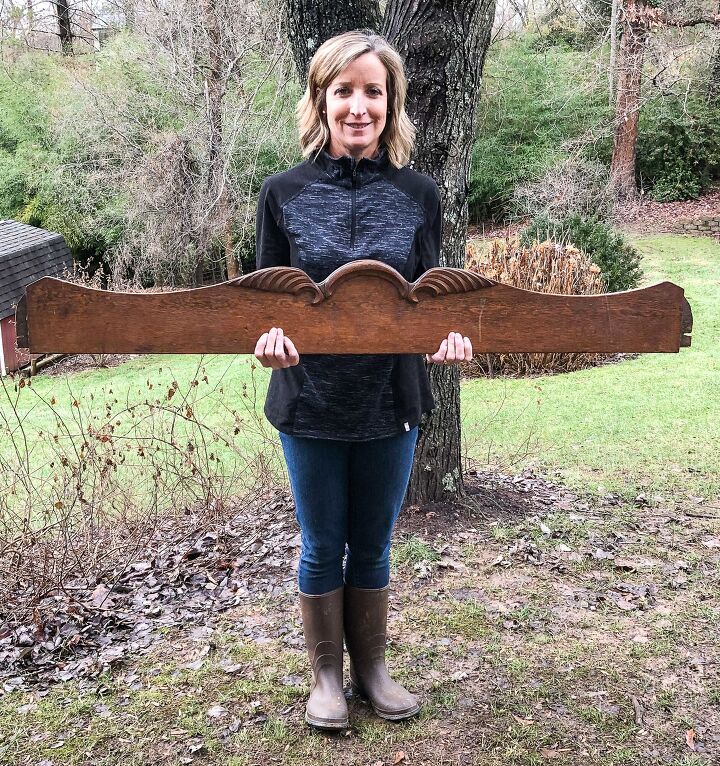
For my jewelry organizer, I used a board that once was a part of a piece of furniture. This was in my grandfather’s shed and it’s hard to tell where he got it. He did a lot of furniture repair and refinishing, so he probably thought that he would eventually use it for something.

After cutting the wood to size, the top edges were rounded off using a bandsaw.
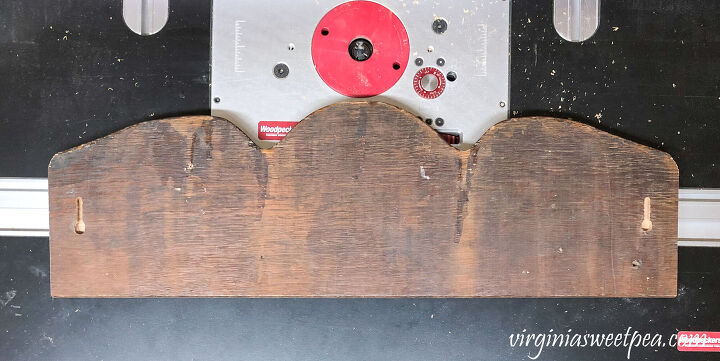
Add keyholes for hanging. Keyholes are a great way to hang a piece like this because the piece hangs very securely to the wall. Use a router with a keyhole bit to route the keyholes.
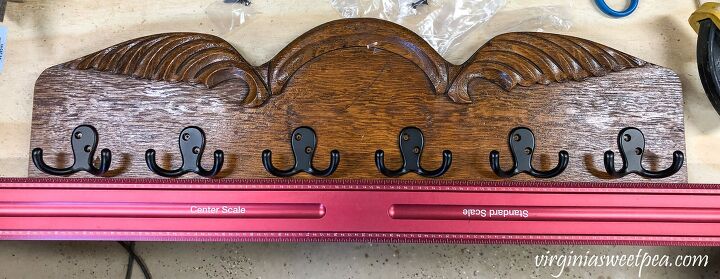
I used six Matte Black Double Pronged Hooks from D. Lawless Hardware for this project. The easiest way to figure the spacing for the hooks is to use a center rule.
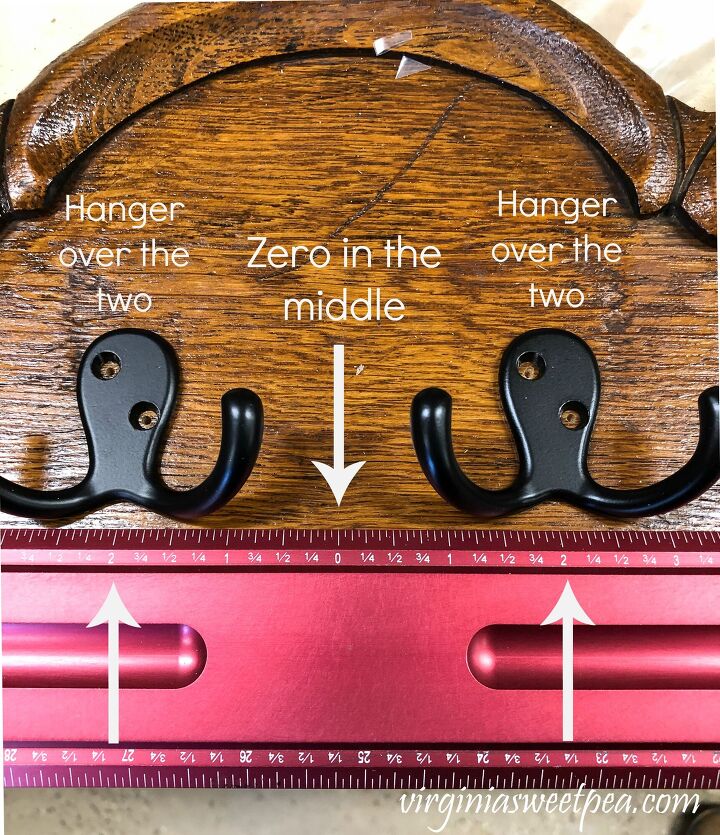
To use the center rule, place the zero in the center of the piece of wood. I determined that my hooks should be four inches apart, so centered a hook over each of the 2s.
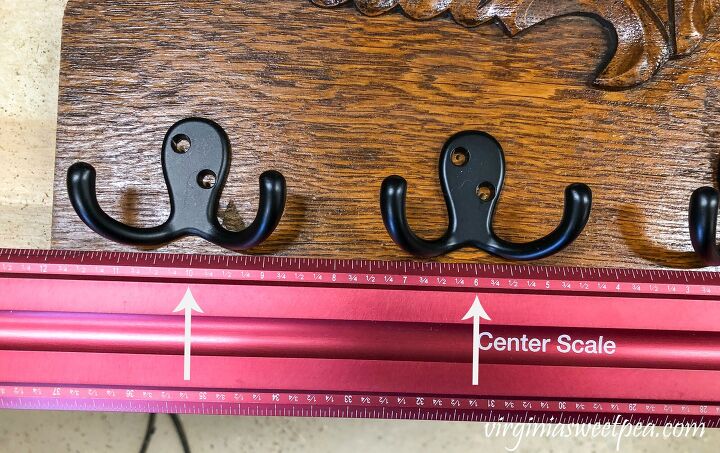
The next two hooks were centered over the 6 and 10.
To make sure that the hooks were parallel to the bottom of the board, I used a scrap piece of wood.
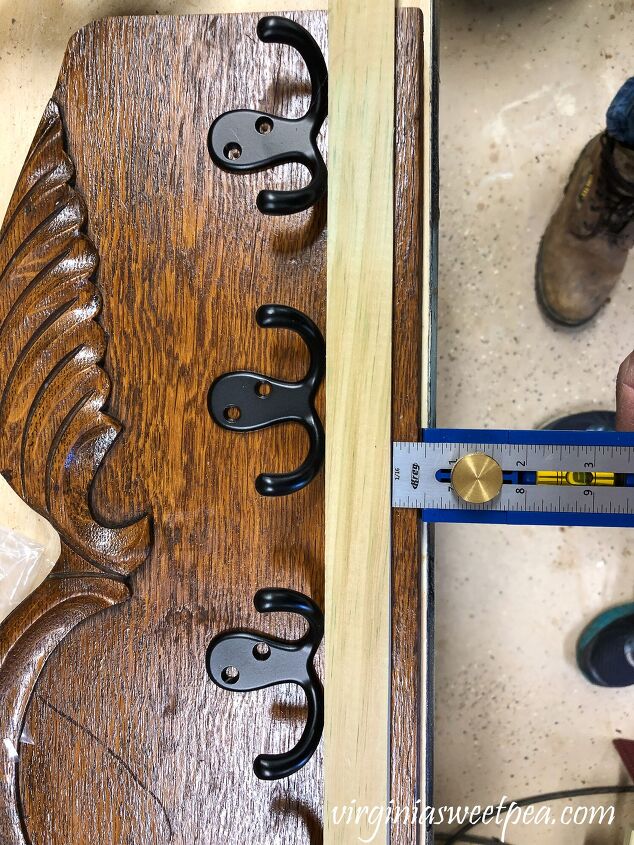
A Kreg Multi-Tool makes measuring for this type of job easy. Make sure that the board is exactly parallel to the bottom and in the correct spot, then make sure that each hook is seated evenly on the scrap wood.
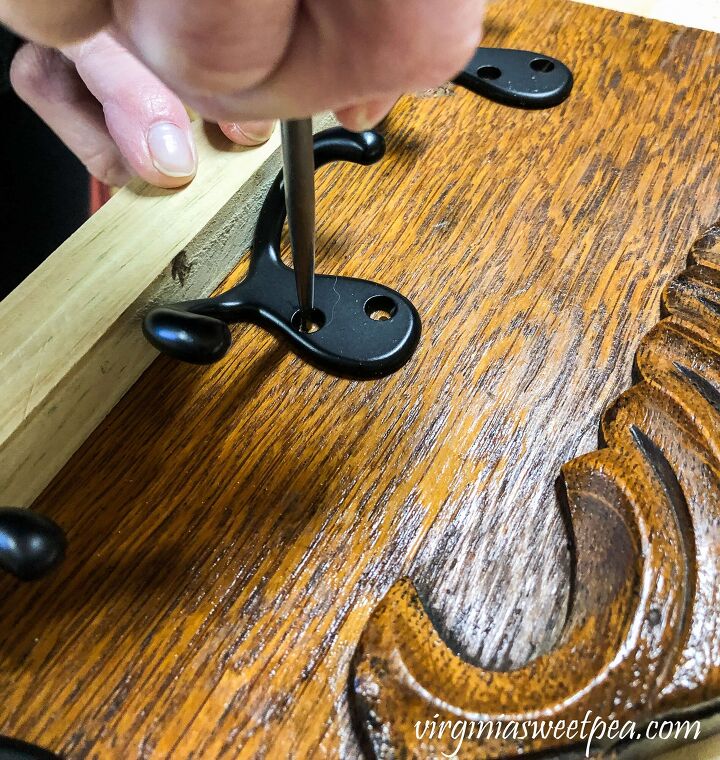
Use an aul to mark where to drill holes for the screws. You may have noticed in the pictures above that the holes were already marked and drilled. I forgot to take pictures as I completed those steps.

Use the screw size that comes with the hooks to determine the bit size for the pilot holes. Drill pilot holes for each screw.
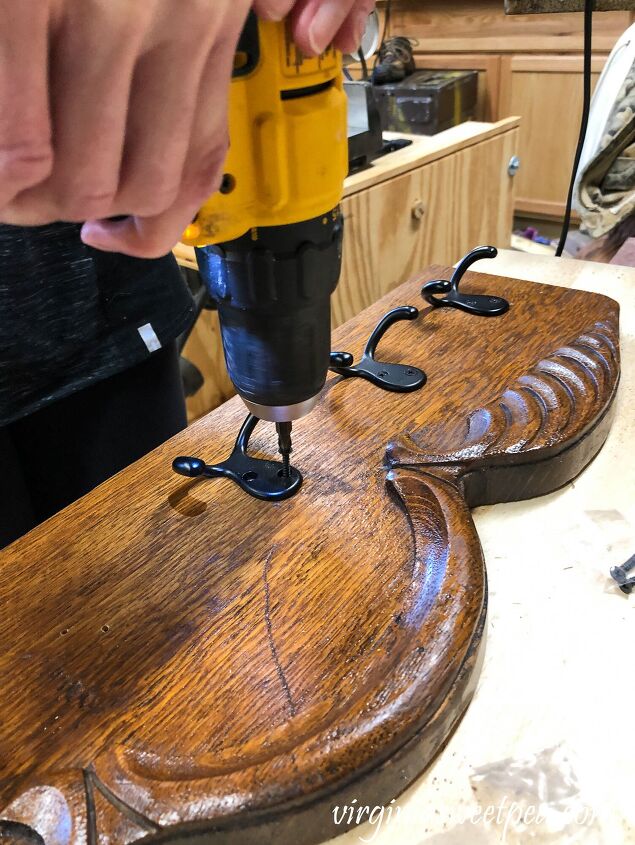
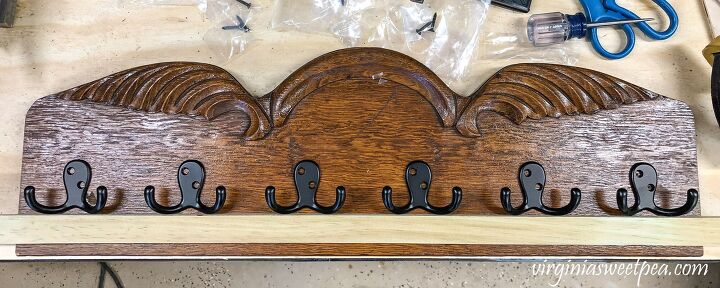
Attach hooks with screws.
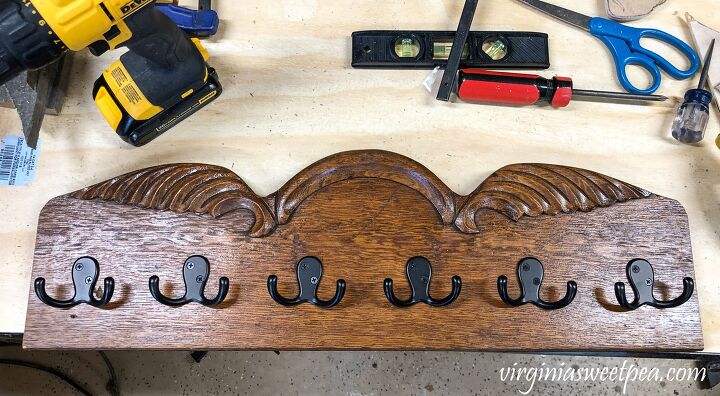
Done! This is a quick and easy project.
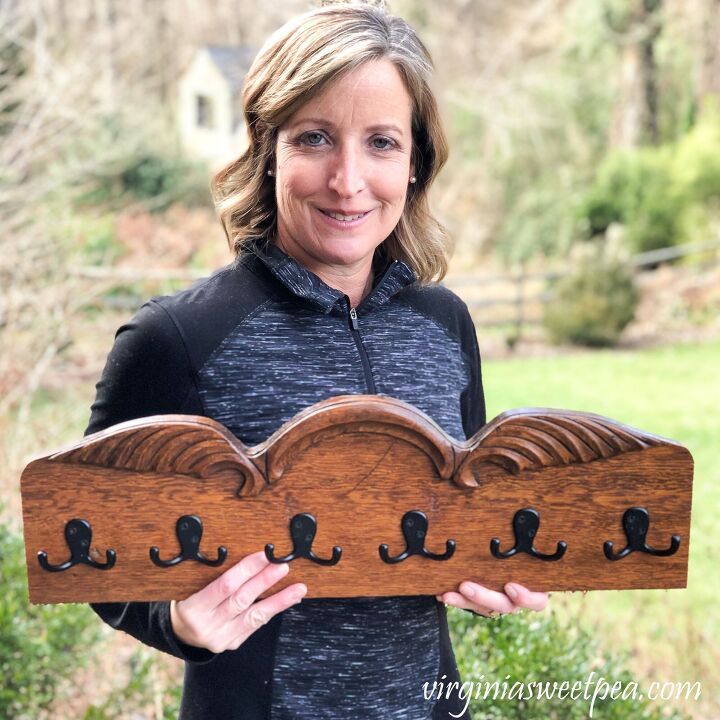
I love that I found a use for this beautiful old furniture piece. If I ever get tired of using it for jewelry, it also could be used to organize scarves or belts.
Resources for this project:
See all materials


Comments
Join the conversation
-
Such a beautiful piece of wood and so many possibilities for using your lovely idea💕
-
Great idea!!!


Frequently asked questions
Have a question about this project?