


Little Vintage Jewelry Box Makeover

by
Pam Smith
3 Materials
$10
1 Hour
Easy
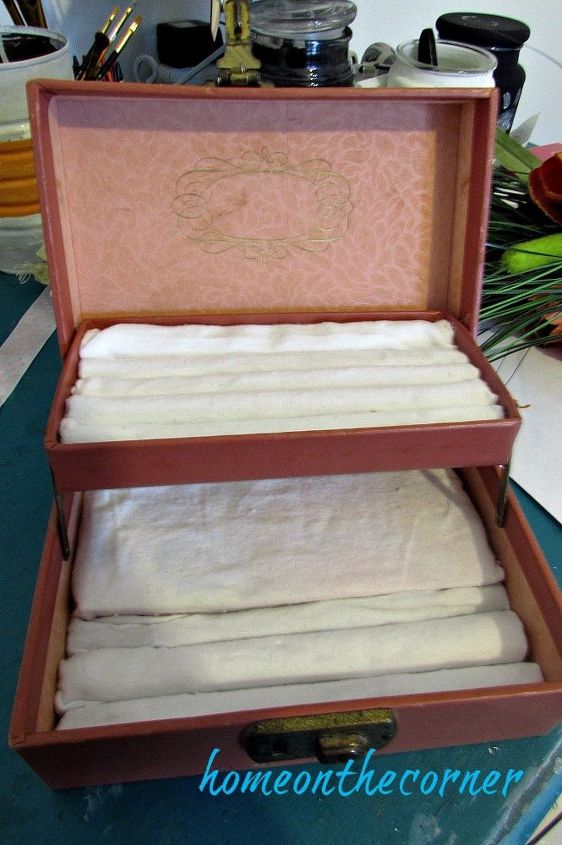
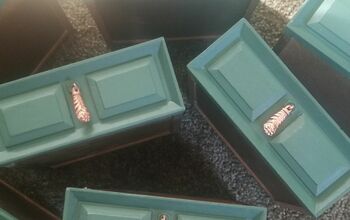
I received this jewelry box from my mom. It had been hers. I have had it for quite a while and finally decided what I was going to do with it. It always takes me the longest time to decide. There are just too many choices! But as I was going through my jewelry, I realized I had quite a few costume jewelry rings. I had them all in a small bowl, but it was hard to see what I had, so I decided to make this box a ring holder.
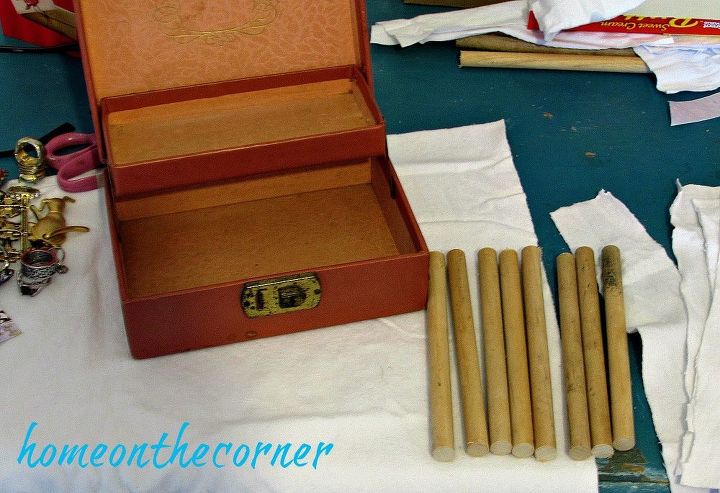
I started by cutting dowels the length of the top and bottom shelf. The fabric I used is white flannel, but I think a vintage material would look really nice. I just didn’t have any on hand when I started this project.
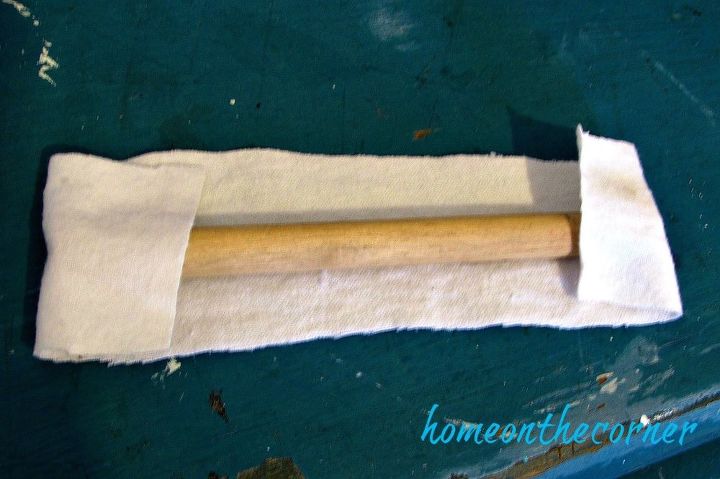
I cut strips of flannel long and wide enough to roll the dowel up in. I folded in the ends and then rolled the dowel up in the flannel. I didn’t glue mine, but you certainly could. Mine ended up having a tight enough fit that I didn’t need any glue to keep them in place.
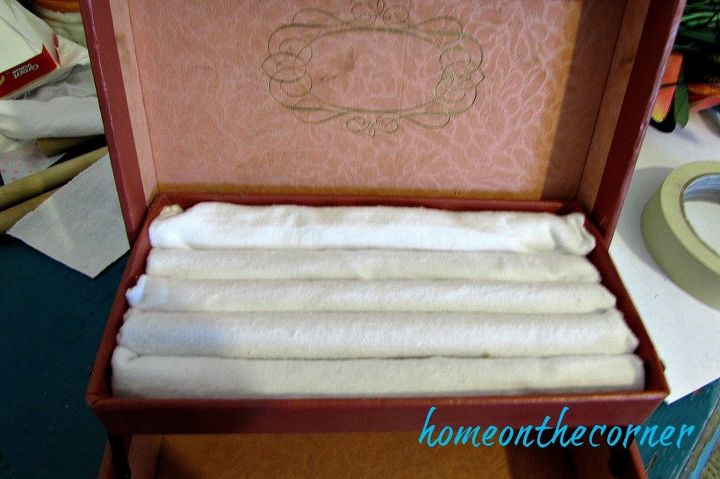
Once your pieces are rolled up, place them in your box. I used the edge of a scissor to tuck the edges in.
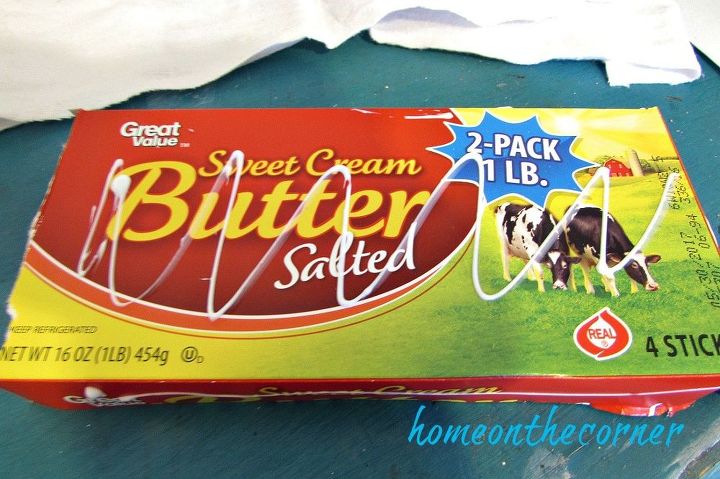
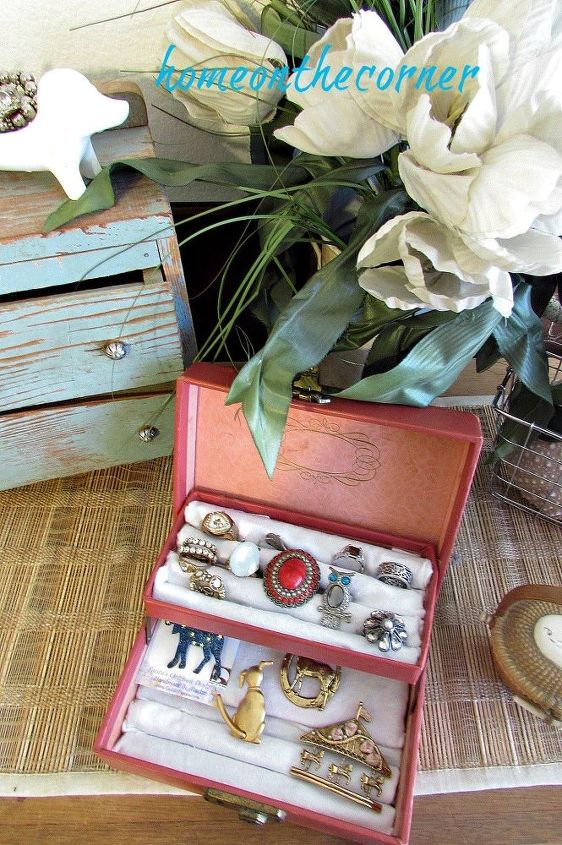
For the bottom, I wanted a small shelf to lay some of my brooches on. I found that a butter box was the perfect fit! I ran some glue on it and covered it with the same white flannel.
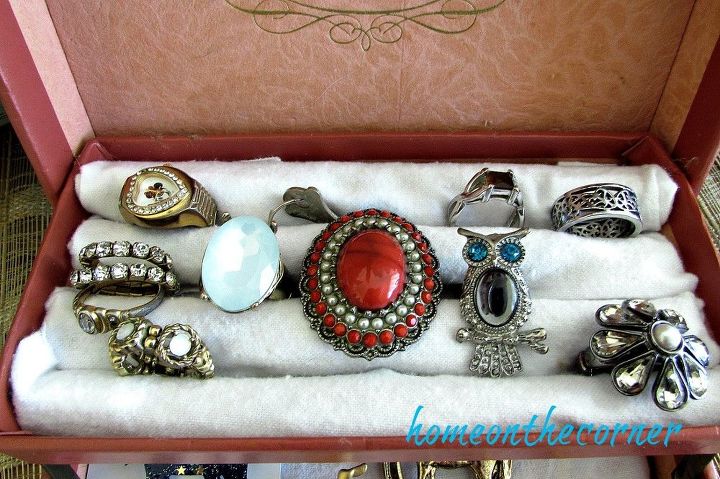
I place the butter box in the back and then added 3 more rolls in the front. Now it was time to add the bling!
Resources for this project:


Any price and availability information displayed on [relevant Amazon Site(s), as applicable] at the time of purchase will apply to the purchase of this product.
Hometalk may collect a small share of sales from the links on this page.More info
Want more details about this and other DIY projects? Check out my blog post!


Frequently asked questions
Have a question about this project?