


Organised Kids Papers

I honestly feel like I'm on my own with how many colouring books, activity books, stickers books and school supplies my children have. I've tried sorting and minimising and donating many times in the past and we are still left with LOADS. I was determined to find a way to keep it all looking better and I've finally cracked it!
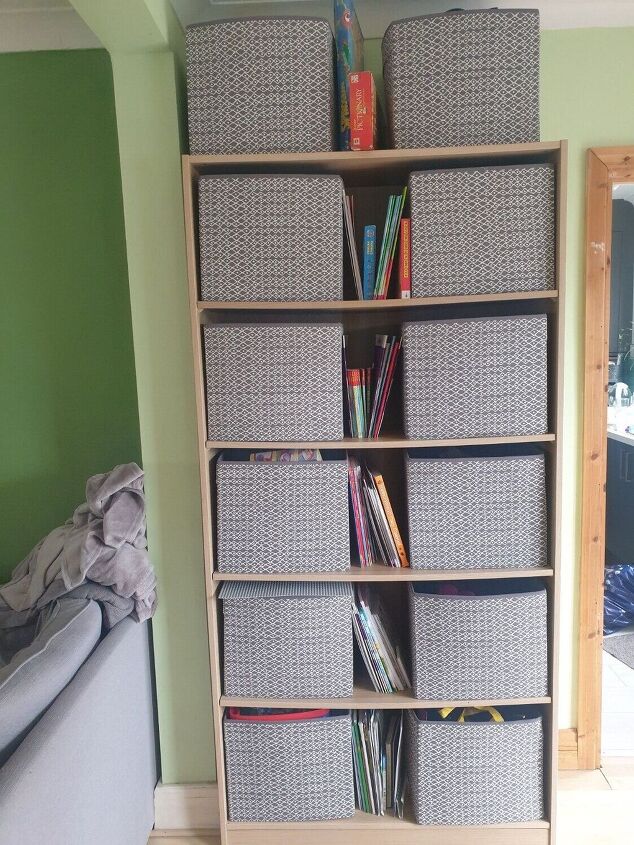
This is my before picture, and honestly, this is nothing compared to how it often gets. I hate looking at all the uneven sizes, mash of colours and lack of order. It took me ages to find anything and is a general eyesore.
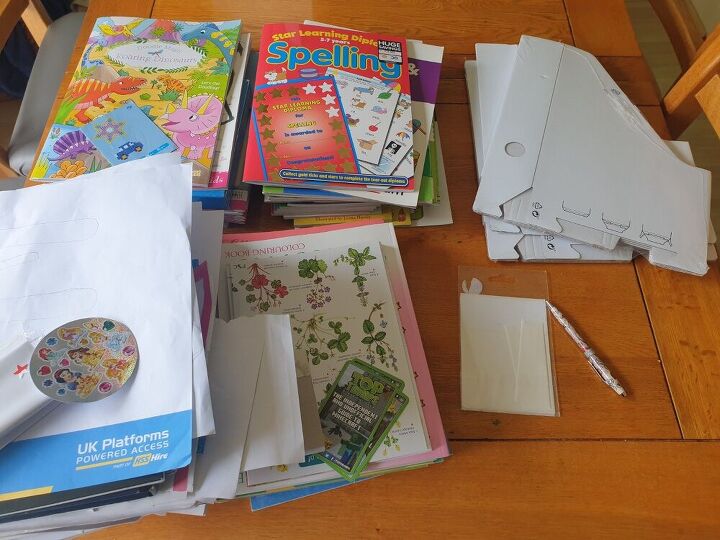
Here is everything you'll need. The contents of all the shelves/boxes/baskets/whatever your currently storing all your kids papers in. Next some sticky labels, a pen and some magazine holders. I went for cardboard because I wanted to be sure the system worked before I invested in something more durable.
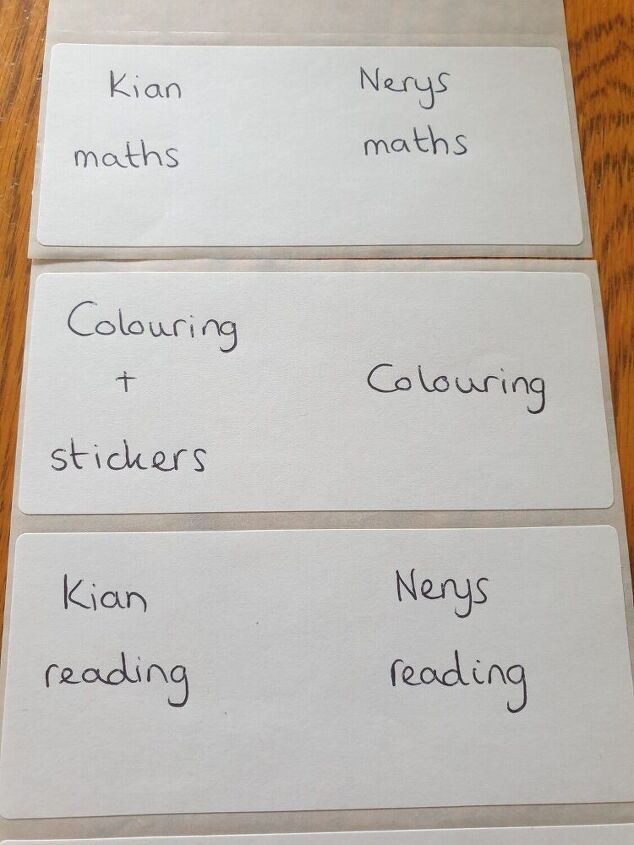
The first step is to sort through what you have. Put aside anything no longer in use either to donate or recycle. Organise into categories that suit you. Once you've decided on your categories write them onto your sticky labels. I ended up with the following categories:
Nerys maths
Kian maths
Nerys reading
Kian reading
Kian writing
Colouring and stickers
Activity books
Other
I decided on 2 boxes for colouring as my children have many colouring books that they use, and 2 "other" boxes to house any papers or books which don't fit any of the other categories.
Obviously my labels need to be cut in half before they're stuck to the files as they are large.
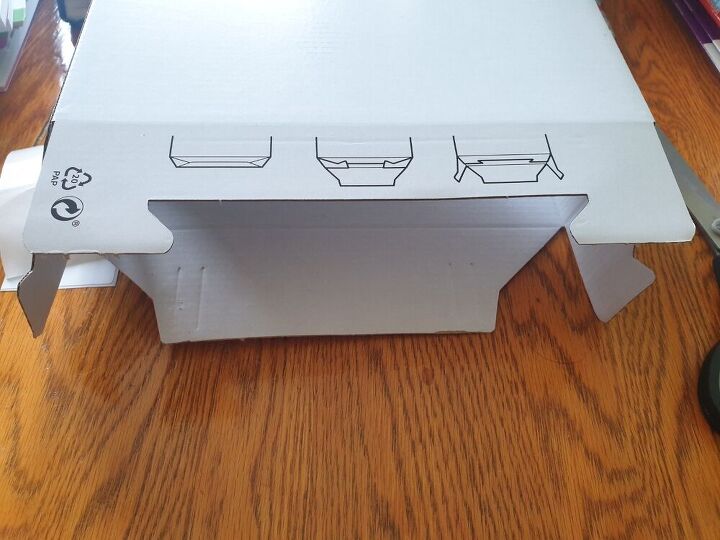
The next step is to build the files. If you've purchased more sturdy ones than I have you can obviously skip these steps. The instructions are on the base of these ones but just incase yours don't have that, here is what you need to do. This is the file in position ready for assembly.
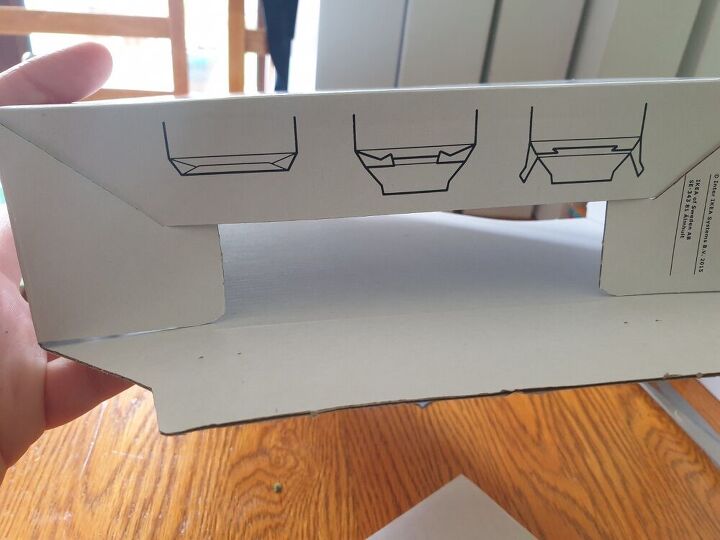
Fold the top piece down and slot the 2 small side pieces in as shown.
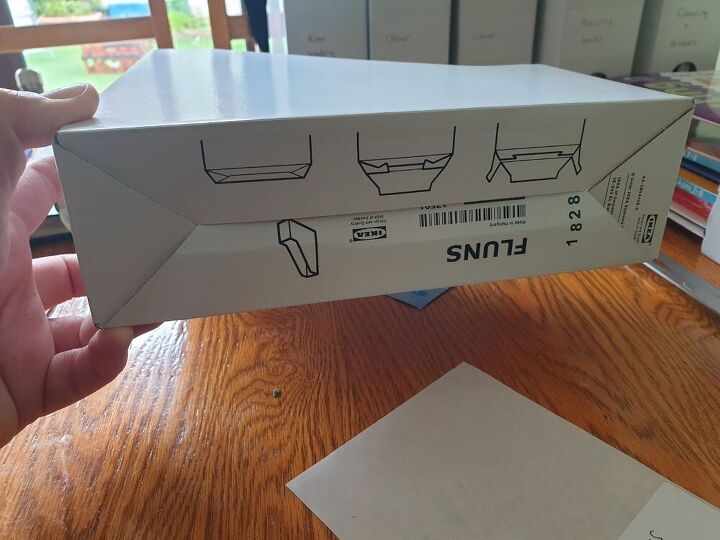
Now bend the bottom piece upwards and underneath the top piece as shown.
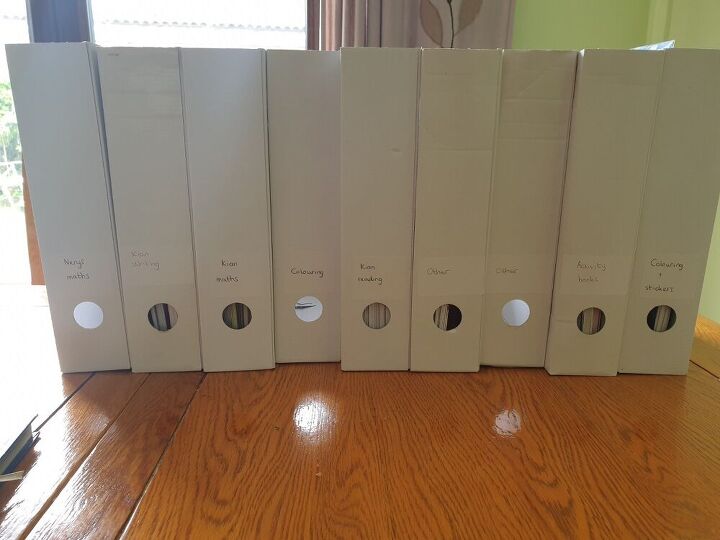
Now put all your sticky labels onto the files and fill with the corresponding contents.
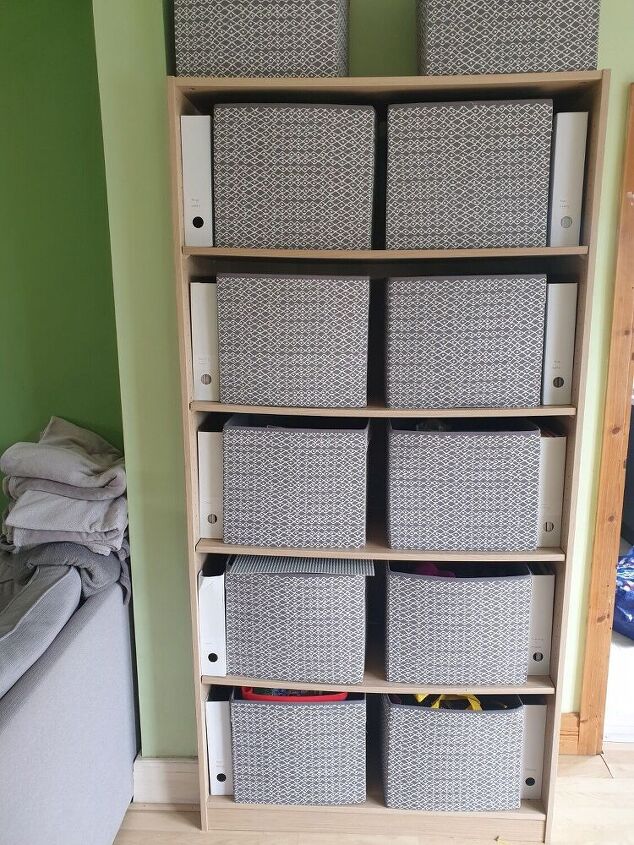
There you have it! I positioned the files one either end of each shelf of my piece of furniture and they fit almost perfectly. I have used this system for some time now and I find it totally works! My children's colouring books, activity books and school homework books stay organised and easily accessible. If and when they get too full (this usually happens to one file at any one time) I simply go through the contents of that file and without fail I can declutter it and recycle or donate anything no longer in use to get it all fitting back in easily in only 5 minutes. The maintenance is so much easier than when everything was just dumped on the shelves as whenever I felt there was too much, I had to go through the whole lot which was a lot more time consuming.
Enjoy!


Frequently asked questions
Have a question about this project?