


Space Saving Jewelry Organizer

A few years ago I sold my large house and downsized by selling off 25 years worth of "stuff" then buying & moving into a townhouse. One of the many casualties of my frenzied discarding was a large free standing jewelry case, which I knew would take up way too much real-estate in the new place. I don't regret that decision and overall have found the plastic compartment thingies I've been using to work reasonably well for rings although earrings seem to move about freely and necklaces are on a mission to become so tightly knotted that they too become rings. I think my jewelry is conspiring against me in conjunction with the socks.
I have a large walk in closet with a full length mirror inside- it's like my own personal dressing room  but my jewelry was in bins in the bathroom drawers. Then I had an epiphany to hang my jewelry in the closet so I can see my options as I'm picking out clothes AND it doesn't get tangled. The next day my honey, Jeff decided one of his paintings was "horrible" and needed to be thrown away (which is ridiculous because all of his work is fantastic). Throwing anything away that can be repurposed is really difficult for me and this was no exception, knowing the frame would be a good length from which to hang necklaces I decided to remove the canvas from the frame and use that as the starting point.

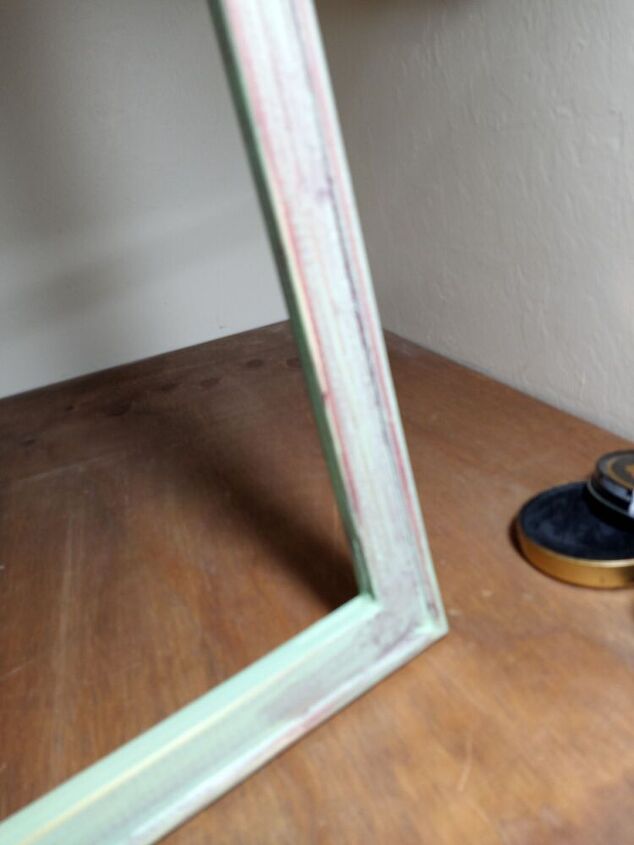
The basic frame after removing the ten billion staples.
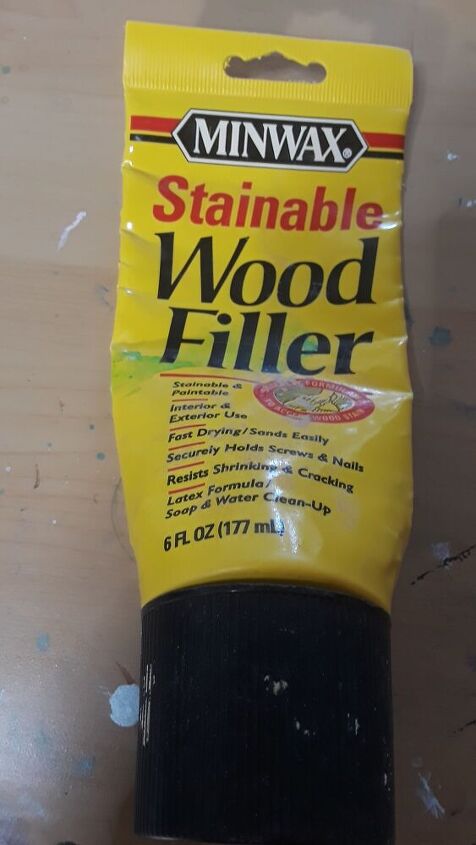
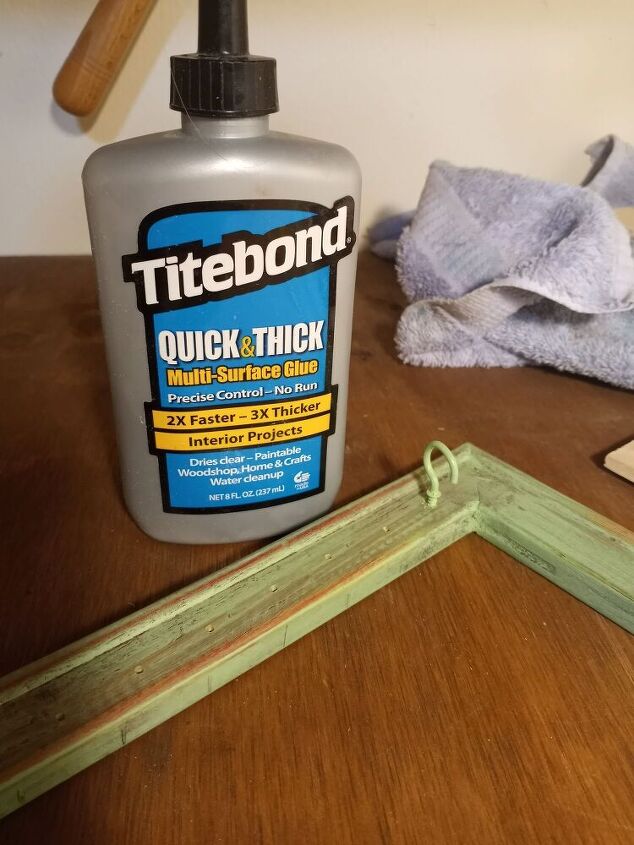
Not necessary but I want this to be appealing since I'm going to look at it daily. I use this brand often because it molds well, dries quickly and is easy to sand.
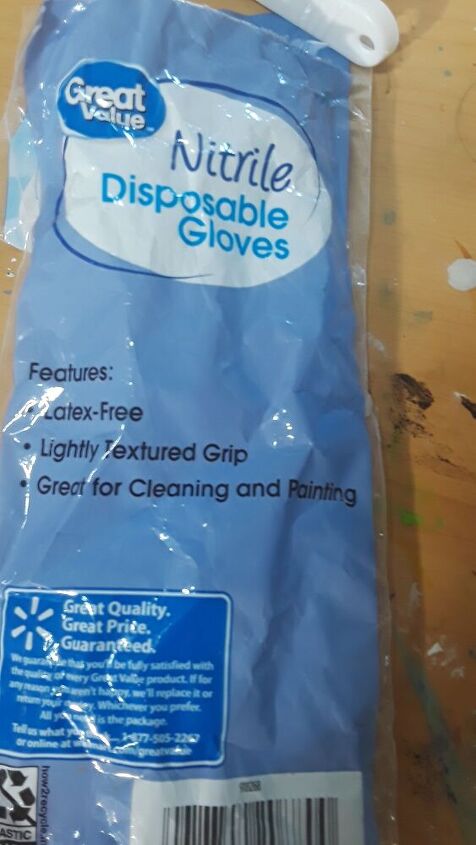
Each time I go to the store I pick up at least one package of gloves. They help keep my hands from drying out, and getting splinters in addition to saving my manicure sorta.
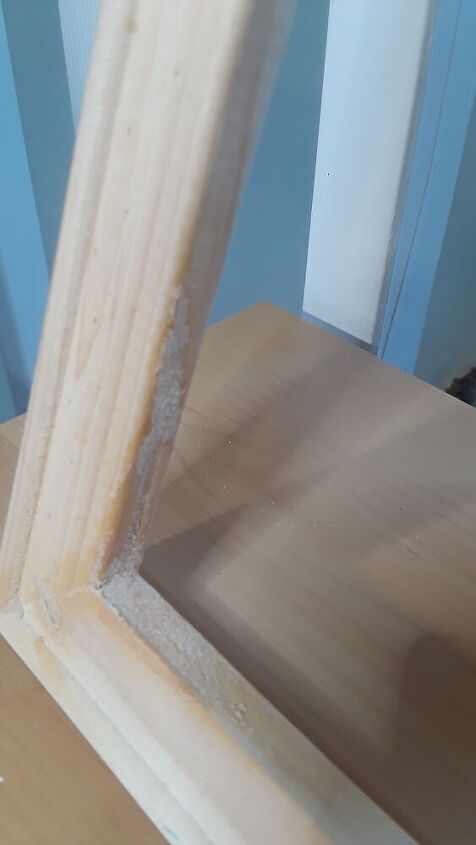
The inside corners are hollow so I filled and sanded them
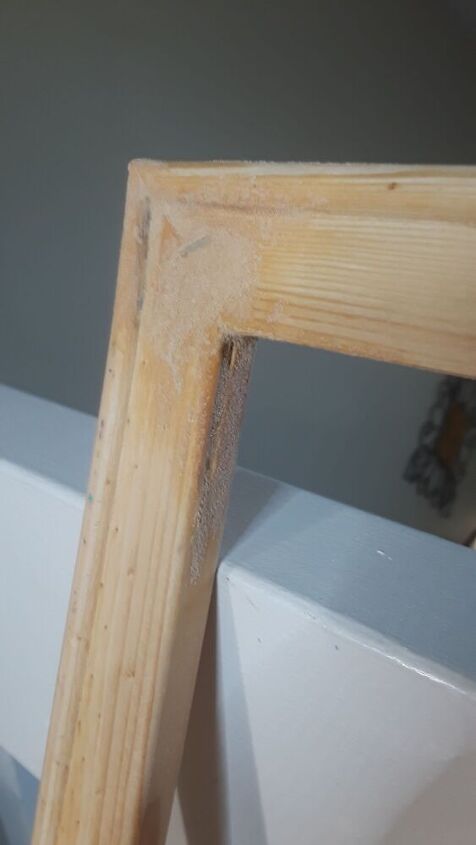
This area needed more because the staples were exposed too.
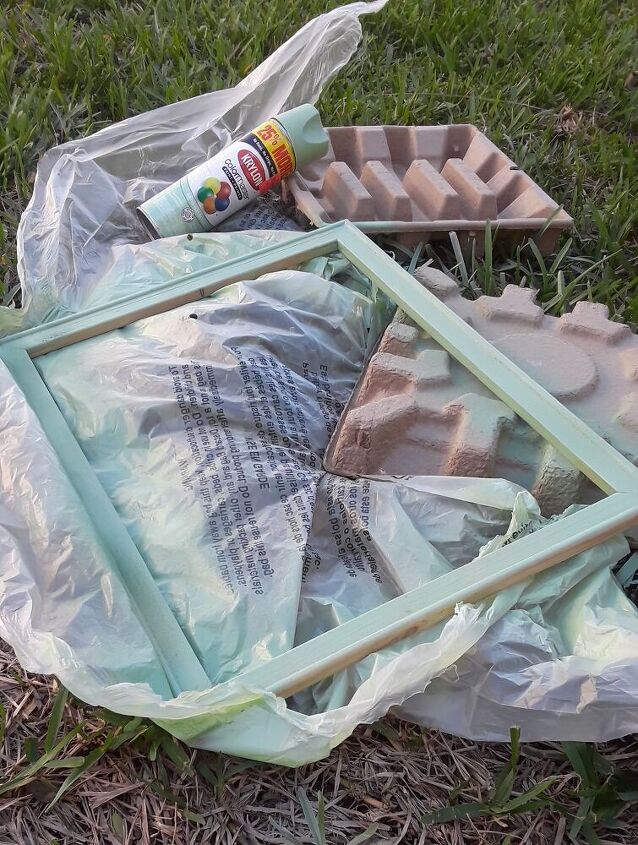
I love to shop at Ollies!! When I found this pretty color pistachio I had to have it. I'm so glad I finally found a use for it.
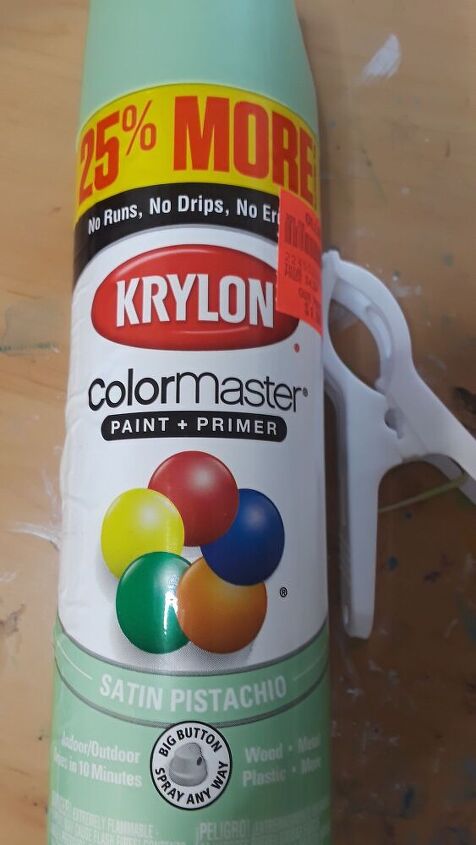
Paint and Primer in a pretty color at a discount. Now we're talking!
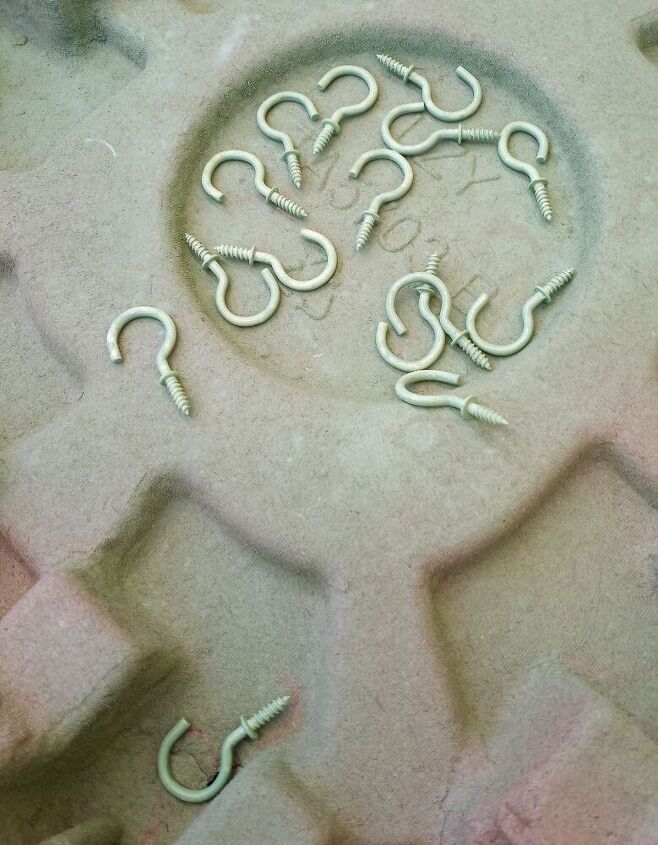
These are "cup hooks" from a multi pack I bought specifically for this project. They were originally gold but I decided to paint them too.
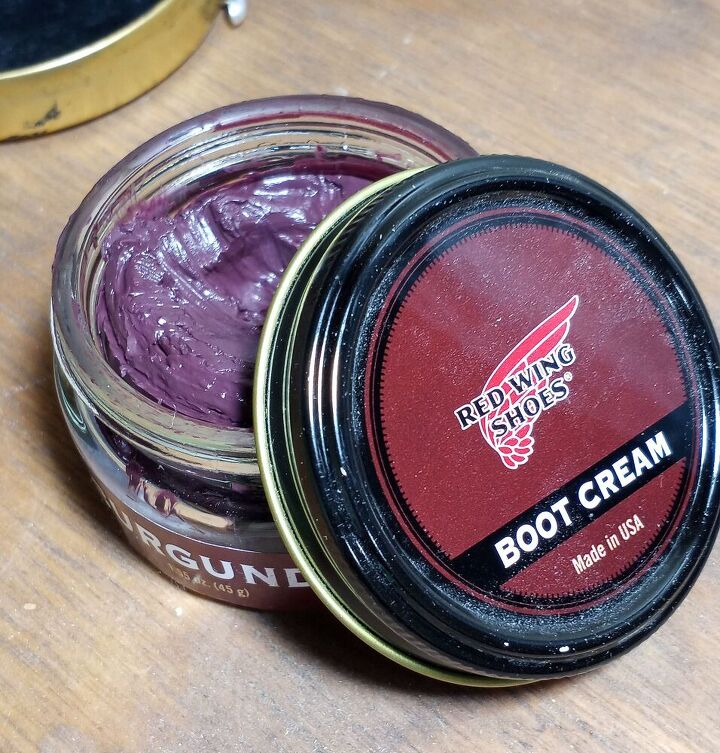
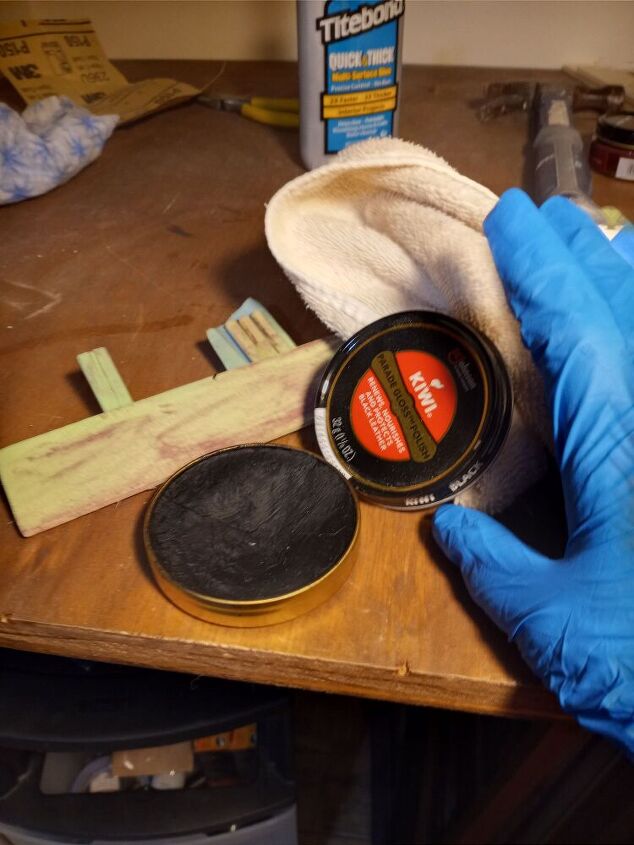
I use shoe polish on wood fairly often. I learned this technique a very long time ago from an importer of Balinese and Haitian art, which I collect. Since so many people of these countries are poor art is created from what is accessible, it seems shoe polish (not likely quite like ours) is available so the shoes of those in authority can have their shoes shined. Artisans found that rubbing browns and blacks on areas of their hand carved wooded sculptures was a way to add definition and depth.
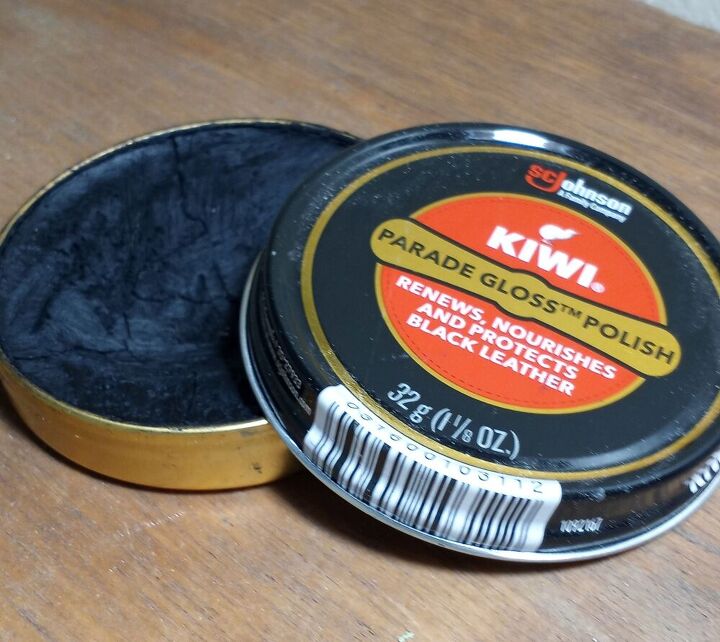
Black shoe polish for definition and because I can
I applied the shoe polish with an old clean, dry wash cloth
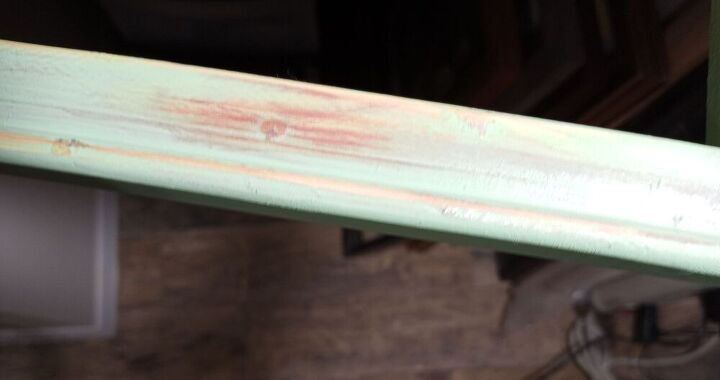
I let the polish dry a few minutes then gave it a good rub with the clean part of my cloth to make sure it was dry then distressed it with medium grit sand paper.
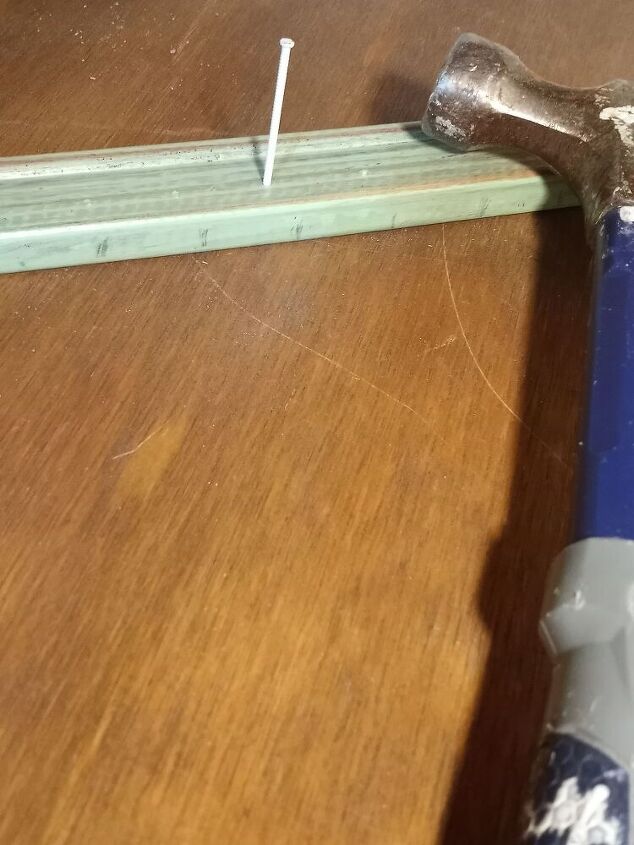
I used our handy dandy Dollar Tree L shaped ruler to mark out where I wanted my hooks placed
- I made starter holes with a hammer and nail
- put a small amount of clear wood glue in the holes for extra reinforcement
- screwed the hooks in.

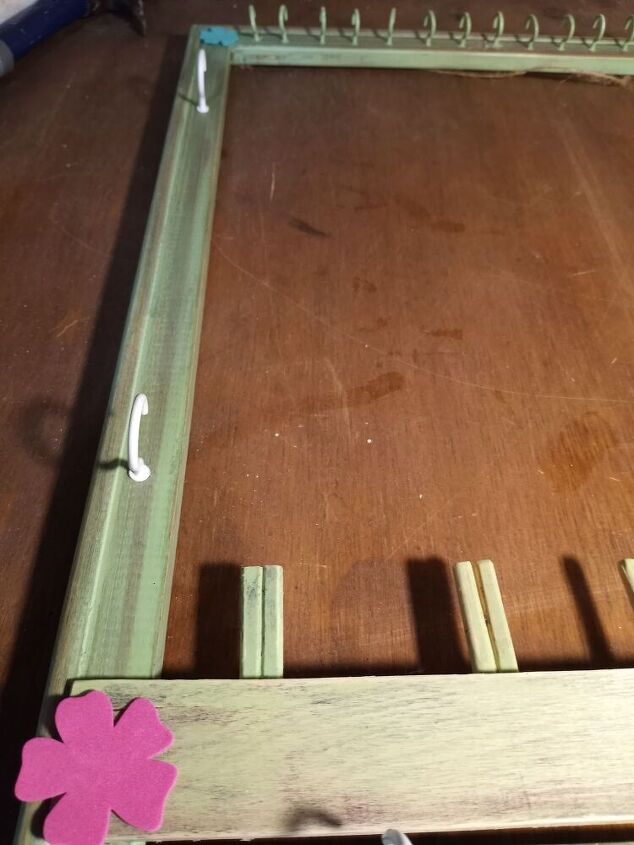
My necklaces had plenty of hanging room so I decided to add another row of hooks. To create it I cut down a paint stick.
- Using my Dollar Tree L ruler I determined the length and marked it in pencil
- Used my Xacto Knife to score the line
- Cut the wood using my miter box and saw
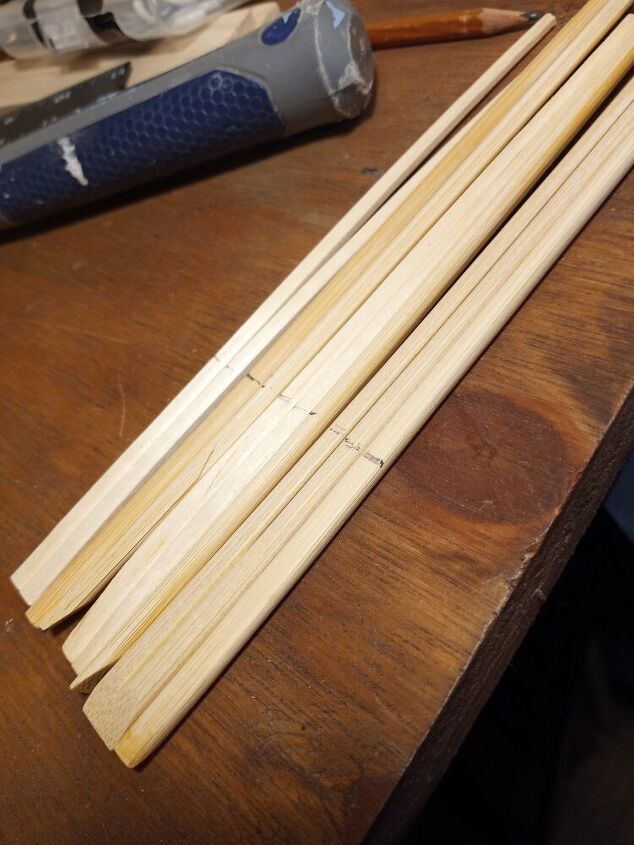
I wanted my rings to be visible and knew they wouldn't if I was to use a hook. I decided to cut down some chop sticks to make sturdy pegs for them. I measured the length I wanted & marked where I wanted them to be cut.
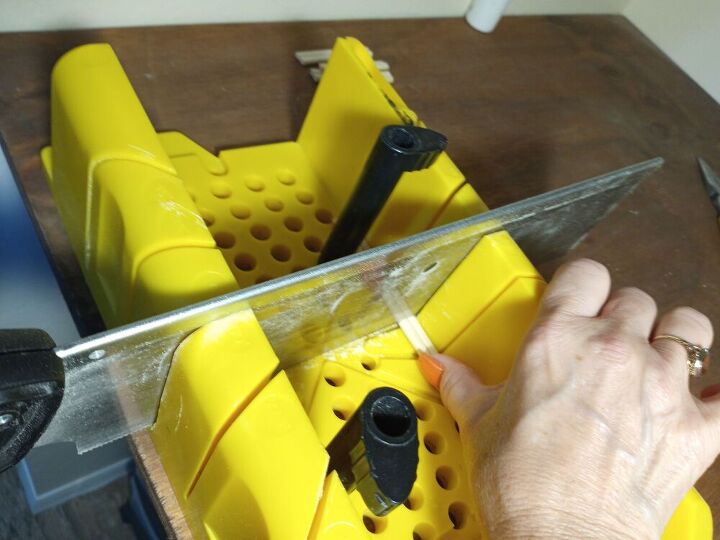
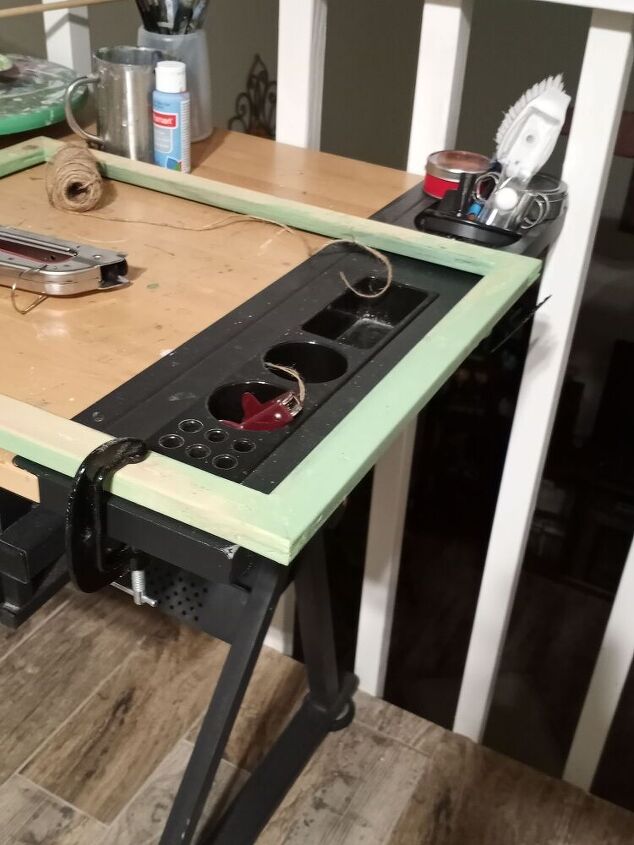
I secured the miter box to my work station with a C clamp. It's important that the box not slide around while I'm using a saw.
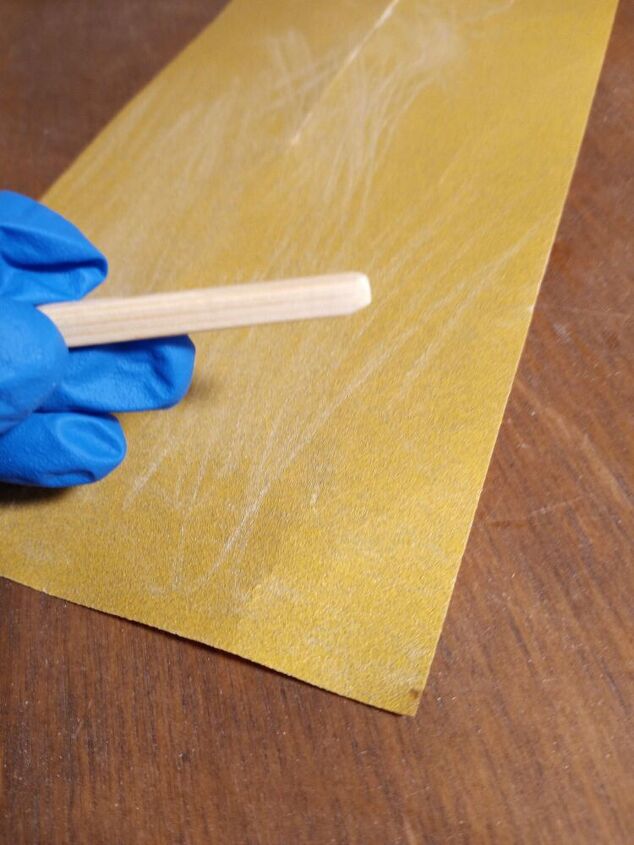
After my chop sticks were cut I sanded them down so they were smooth
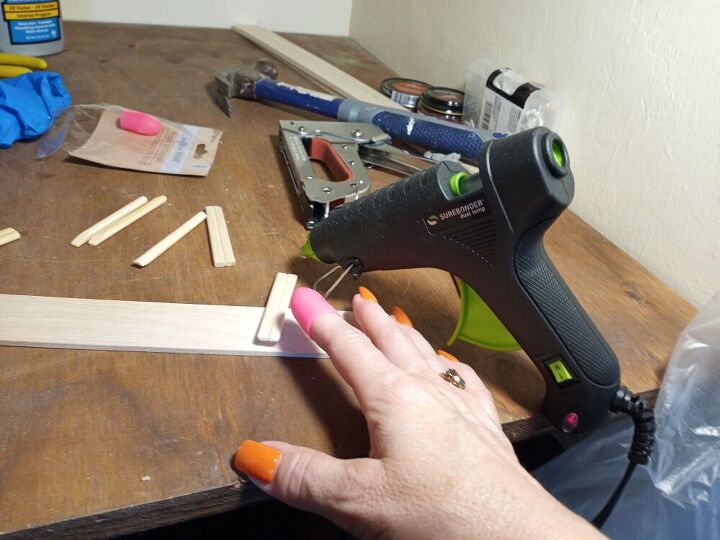
I secured the chopstick pegs to my second row with hot glue
After my pegs were applied I spray painted it to match then applied both color shoe polish
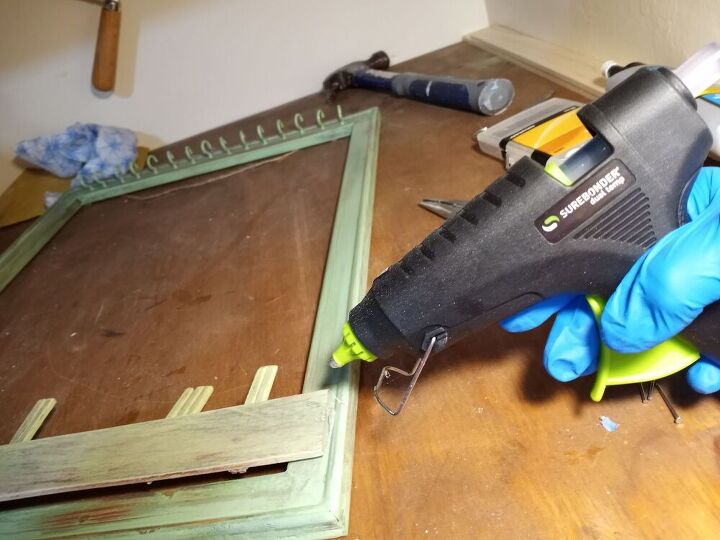
Step 1, attach with hot glue
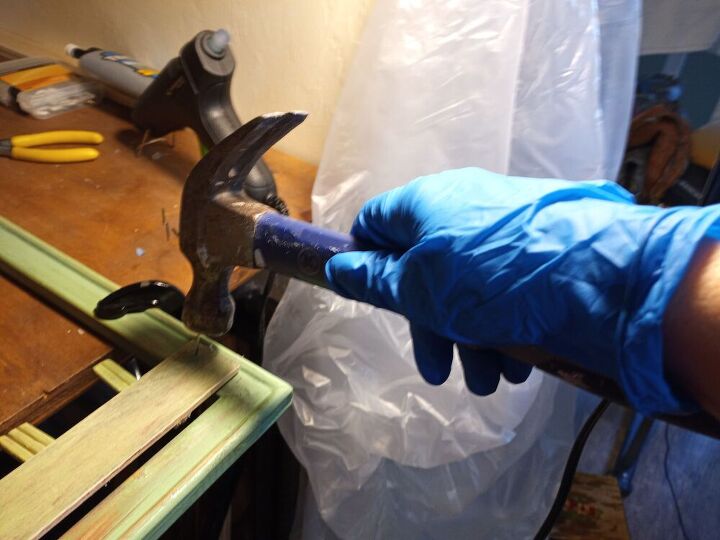
Step 2, holding the frame down with C Clamps I added nails because I wasn't certain the hot glue would be strong enough
I added additional hooks along both the sides and bottom in addition to some decor to cover the staples
I secured the frame so the back side was up and stapled the wire on
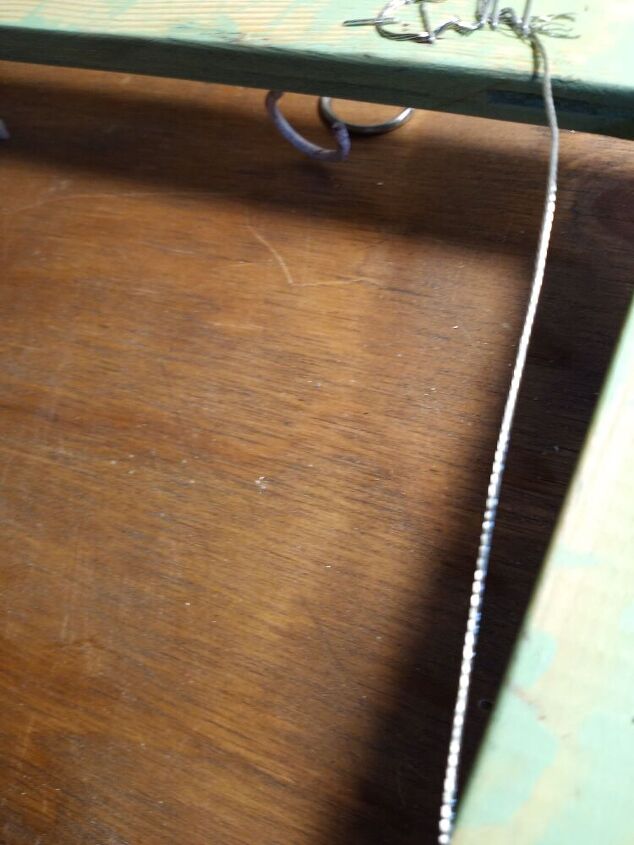
I originally planned to use jute cord to hang this, but decided wire was a safer bet.
*** The only item I purchased for this project were the hooks, I already had everything else. ***
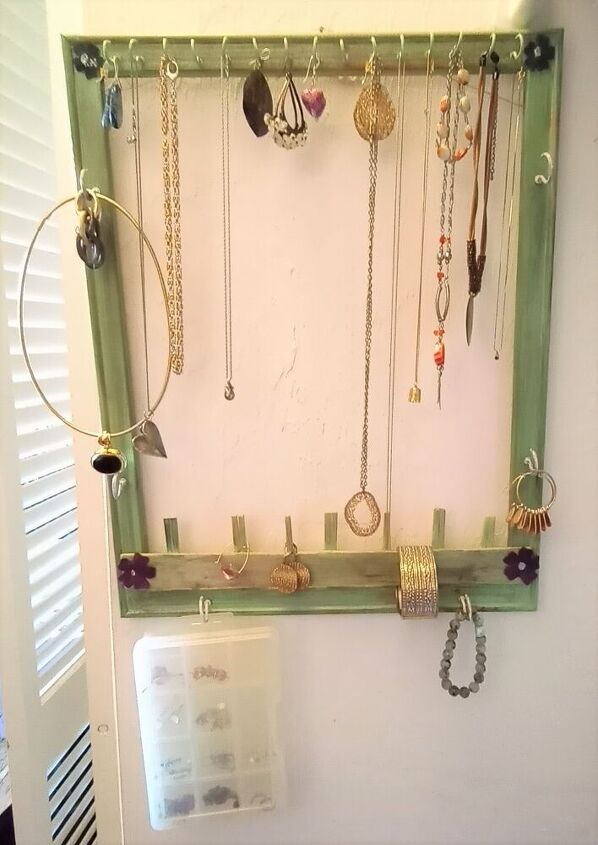
This is it. I smile every time I see it because it's pretty and boy does it make life easier.
Resources for this project:
See all materials


Comments
Join the conversation
-
Yes I'm going to do this I already have something similar but I need another one
-
That's great! Please share when you do


Frequently asked questions
Have a question about this project?