


Custom Window Frames and Sills
Before I start on this project tutorial, I have a confession to make. I'm the type of person who leaves projects, or portions of projects undone.... sometimes for YEARS! 🤦♀️ Anyone else?? Hopefully not just me! Anyways, almost 3 years ago, my husband and I did a wood plank feature wall and I finally got the windows on that wall trimmed out!
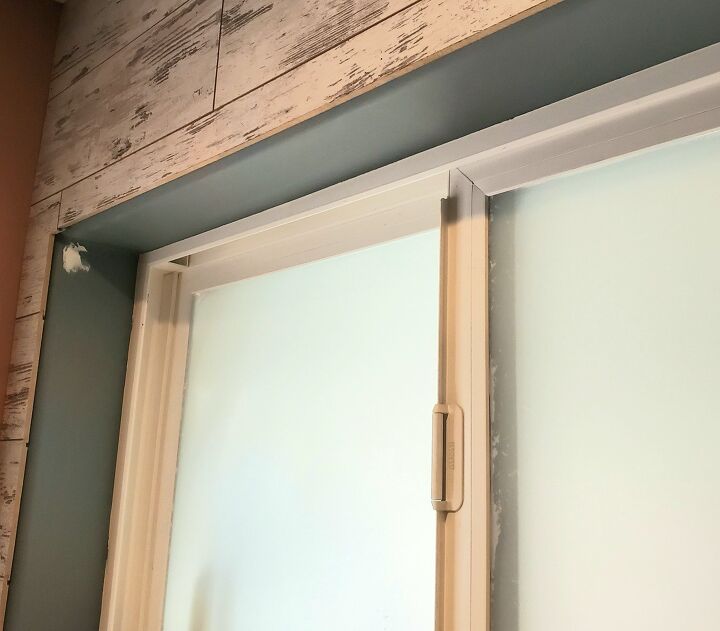
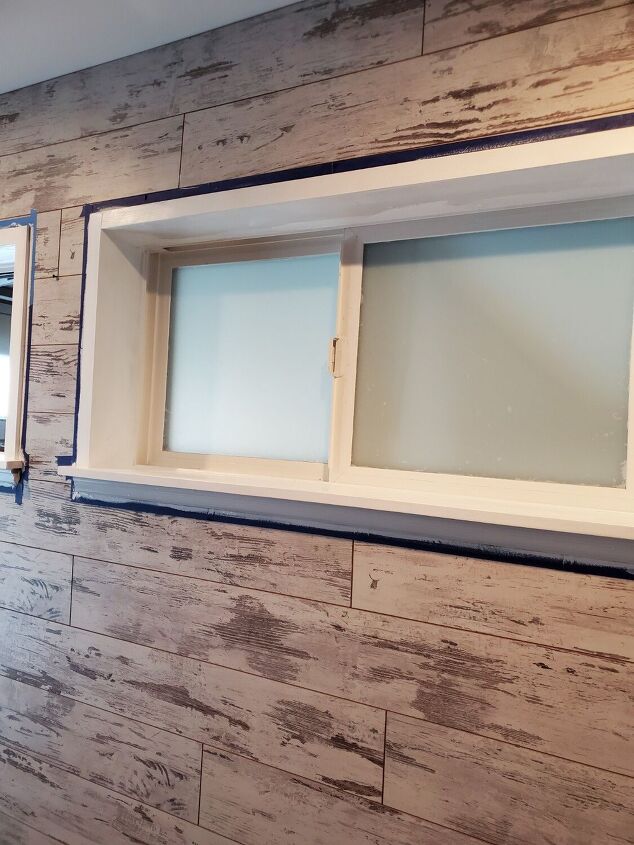
This is what we've been living with since we installed the plank wall! I just got so used to it but I finally decided not to put it off any longer lol.
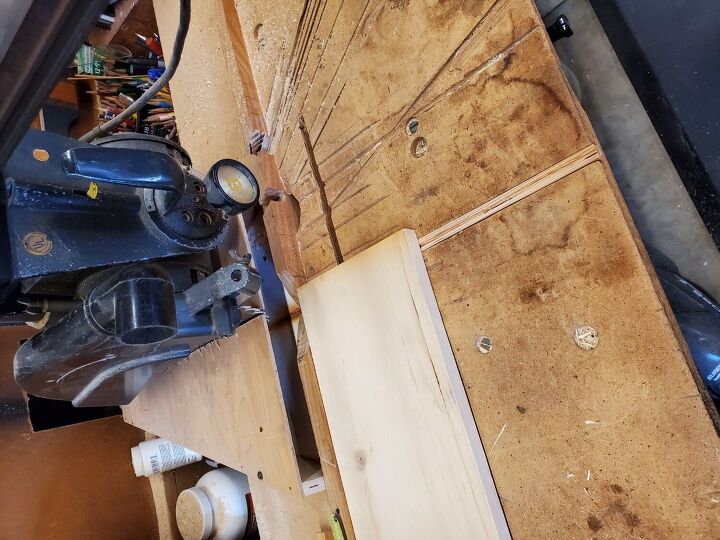
I started by measuring everything and deciding how I wanted the windows to look. I decided to have the pieces at the bottom of the windows stick out a bit to create a small shelf. I happened to have a long pine board that was the perfect width so I cut my pieces to length using a radial arm saw.
I wanted the shelves to extend a little bit past the sides of the window so I laid out where I would have to cut out the notches and I cut those using a band saw.
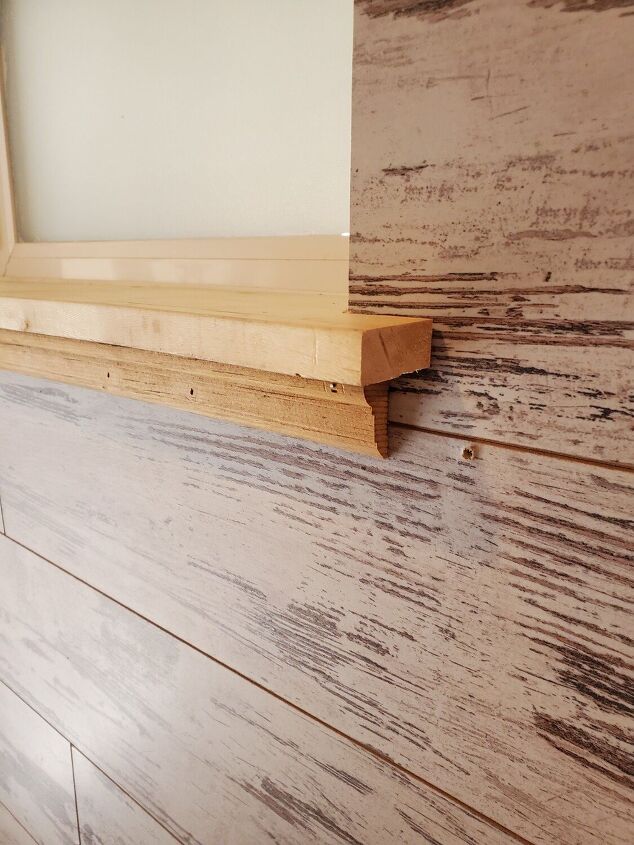
After a couple small adjustments, they fit nice and snug. I nailed them down in the back to hold them in place.

There is a gap underneath the sill so I will use a piece of molding to cover that up. My windows also slant down a bit so I'll be pushing the molding and shelf up until it is nice and level and then securing both pieces.
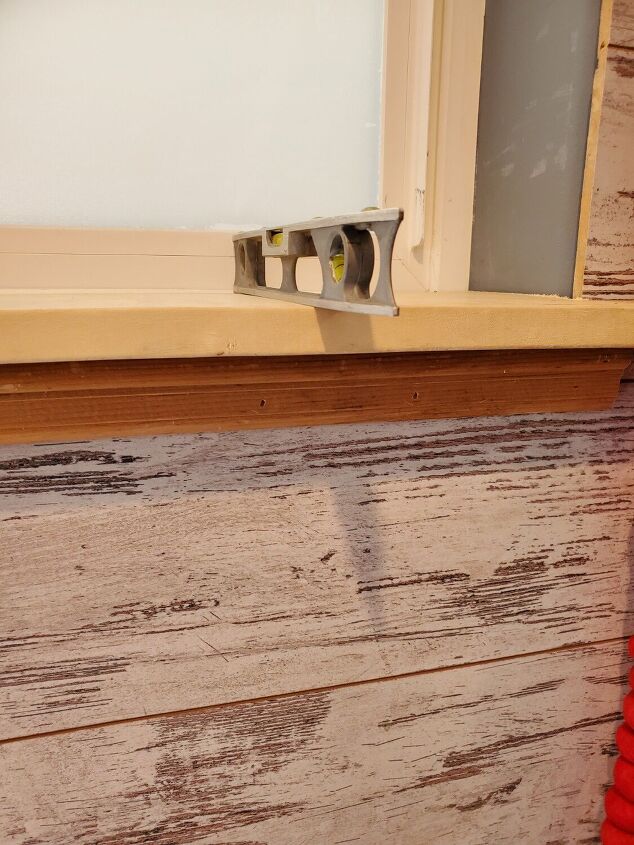
I also could have used some shims or a strip to hold up the shelf but the molding worked just fine.
Here's a view from another angle.
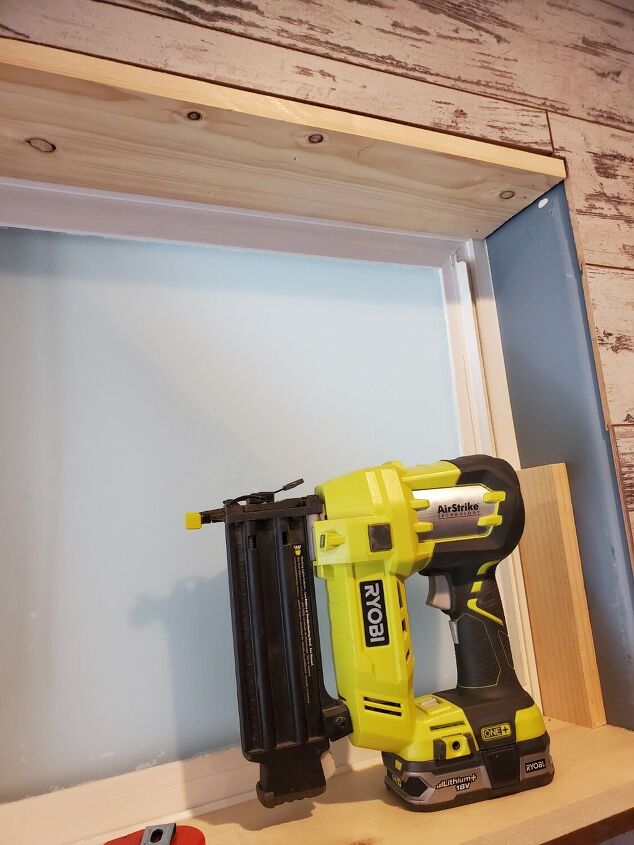
Next, I measured and cut my boards for the top pieces and nailed those into place.

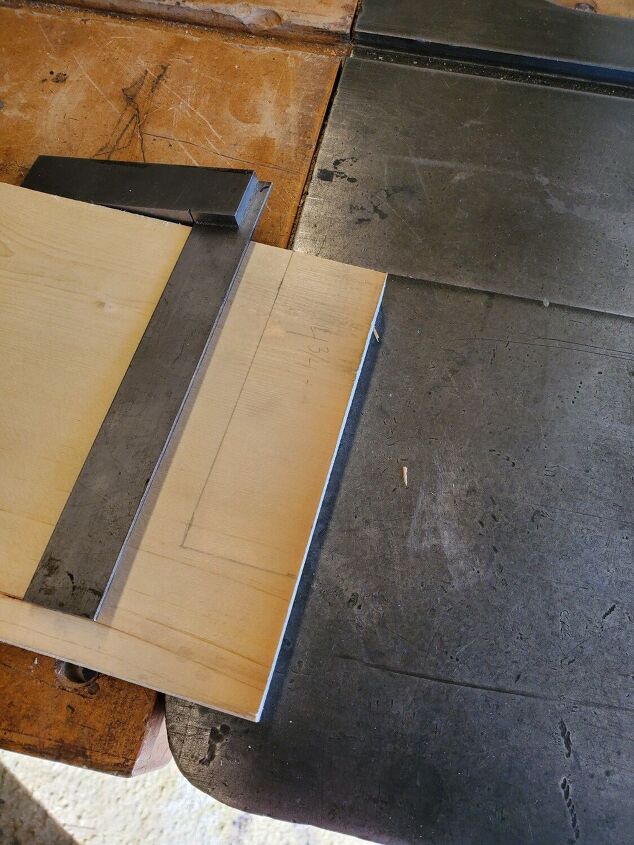
Then I cut the side pieces and nailed those in as well. Using a table saw, I cut a pine board in half down the center to create thin pieces of trim to use on the outsides to cover the seam where the inner pine boards and the plank boards meet. You can also use pre-cut trim for this in any style you like. I wanted something clean and simple so I just made my own and broke the sharp edges with a sanding sponge.
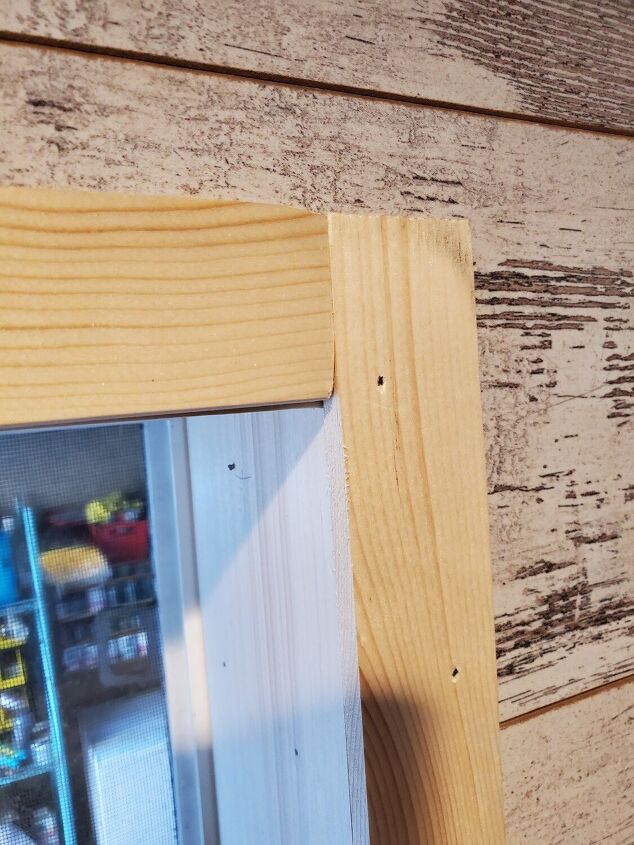
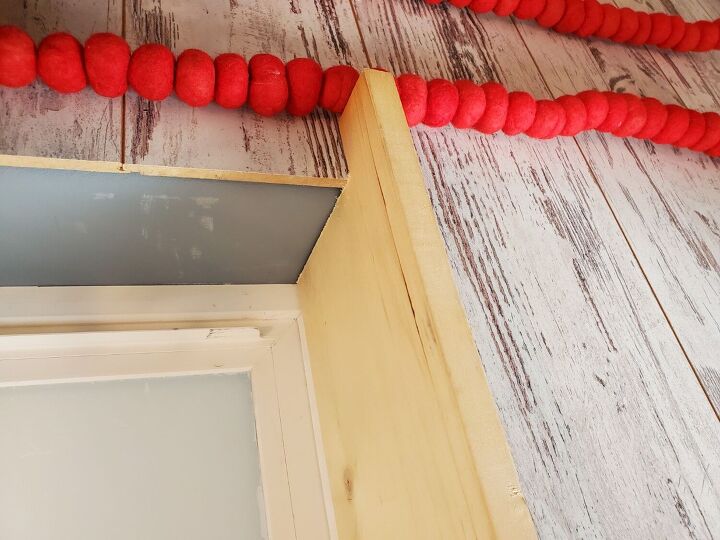
I didn't bother to miter the corners since I will be patching and painting everything but you could do that for a bit of a cleaner look, especially if you will be staining the wood.

I used a nail set to set any nails that were sticking out.
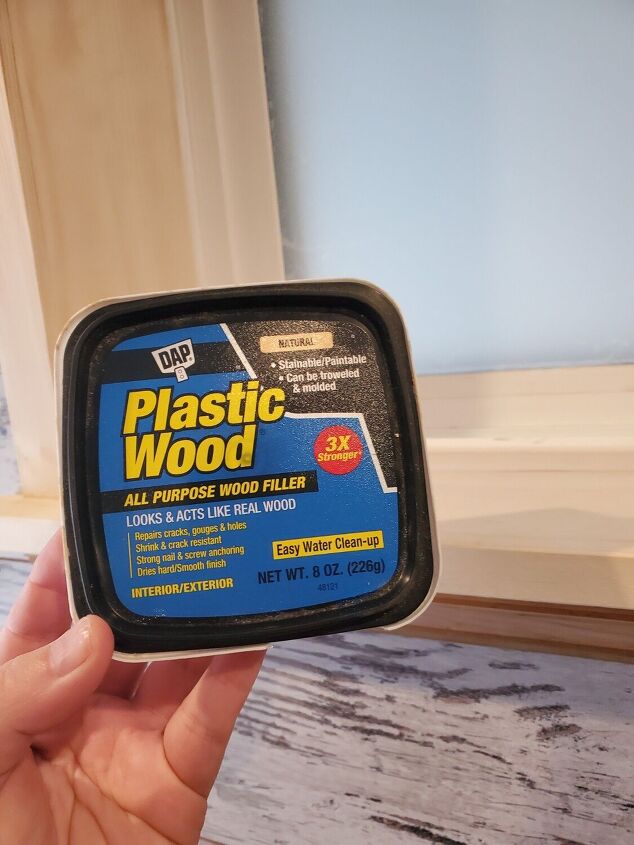
Next, I filled all of the holes with wood putty.
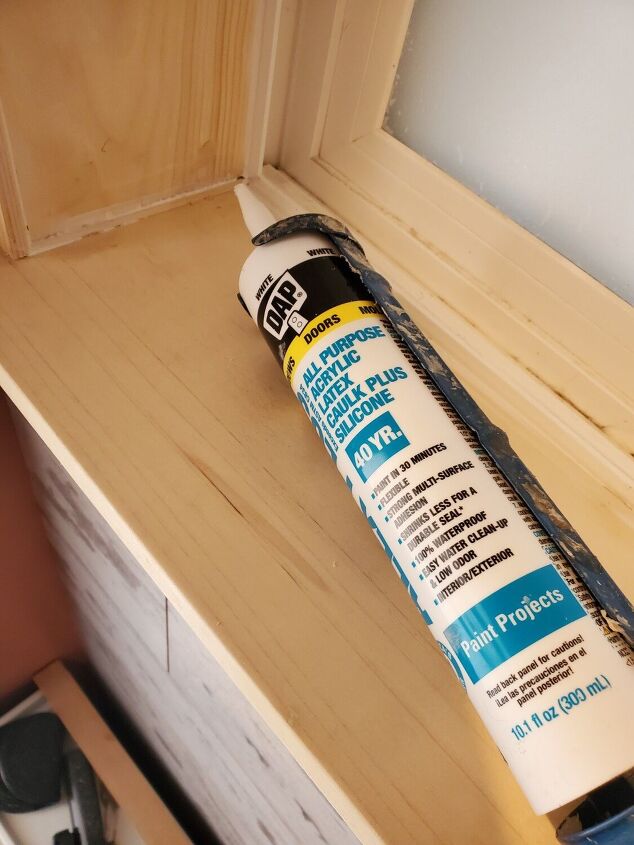
I also caulked along all of the seams and cracks to get a cleaner look once I painted everything.
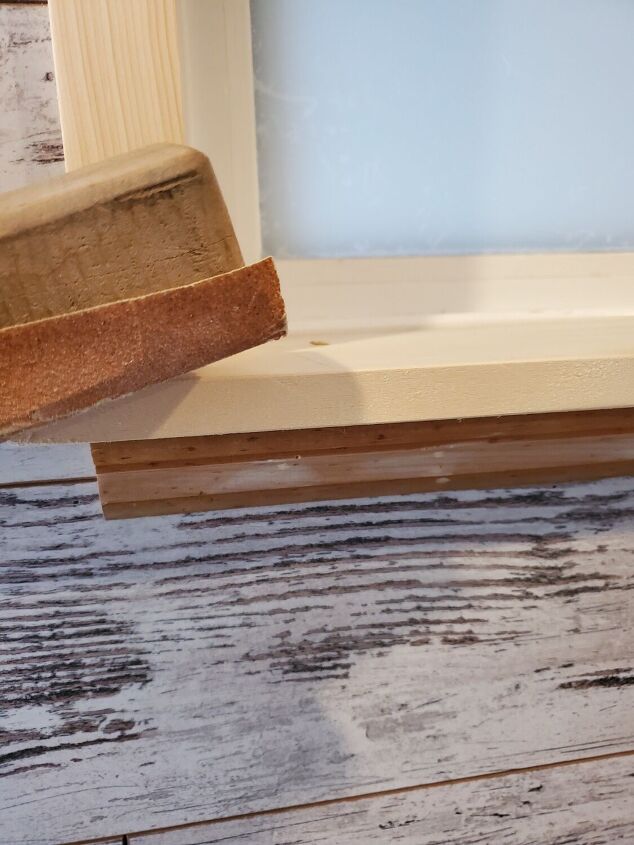
I gave everything a good sanding and made sure all of the sawdust was vacuumed up.
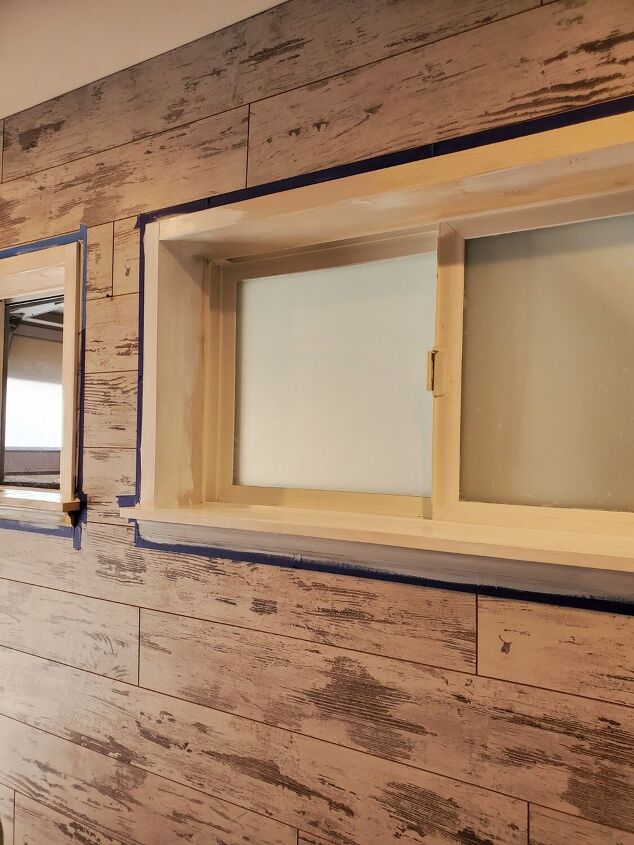
Lastly, I taped everything off with painters tape and primed and painted. I decided to go with a bright white to match the vinyl windows and the other trim we have around the house.
I painted three good coats and sanded and re-puttied any areas that needed it before the final coat.

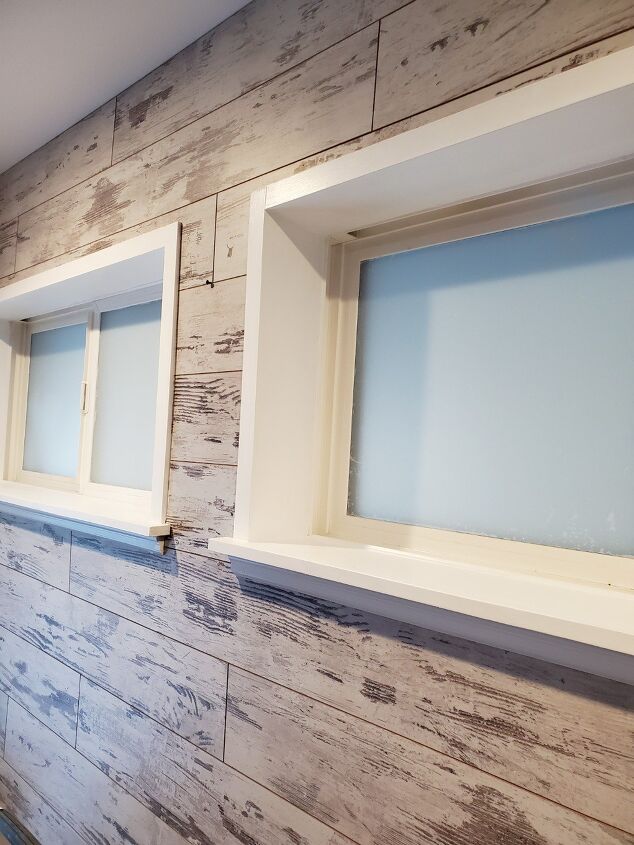
All done!! There are still a couple small areas that I'm not 100% happy with so I'll see if they bother me after a week or so and fix them if they do. Thanks for following along and I hope this inspires you to tackle a project that may have been on your to do list for a while!
Comments
Join the conversation
-
Night and Day! Looks great!
-
Outstanding job! I Often put off finishing touches and am so glad when I finally get it done. Your trim work looks amazing!!


Frequently asked questions
Have a question about this project?