


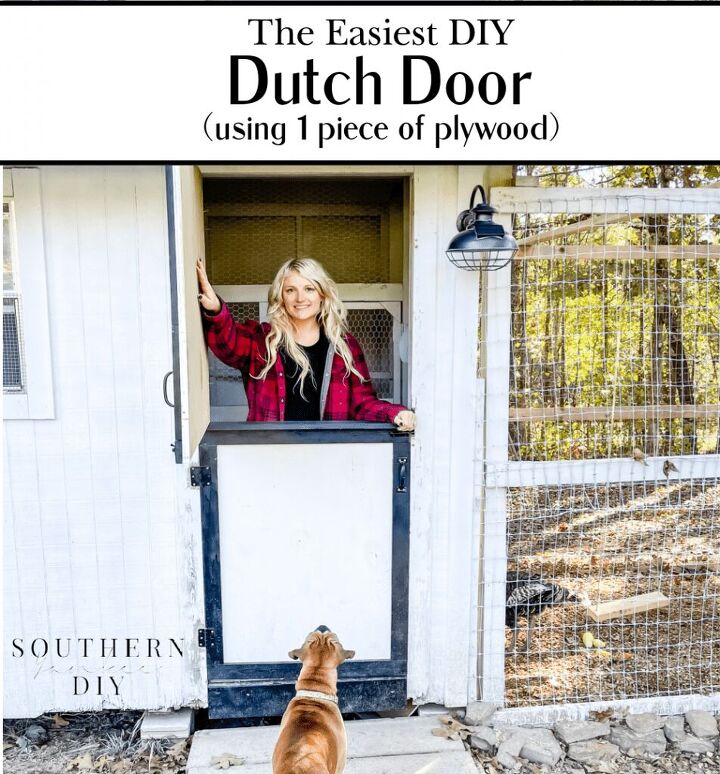
How To Build An Easy & Cheap Dutch Door
How To Build An Easy & Cheap Dutch Door
Build a dutch door easily & cheaply with this simple method
Well we are back to working on the chicken coop y’all!

This renovation has been so fun but also so very hot… Alabama summer.
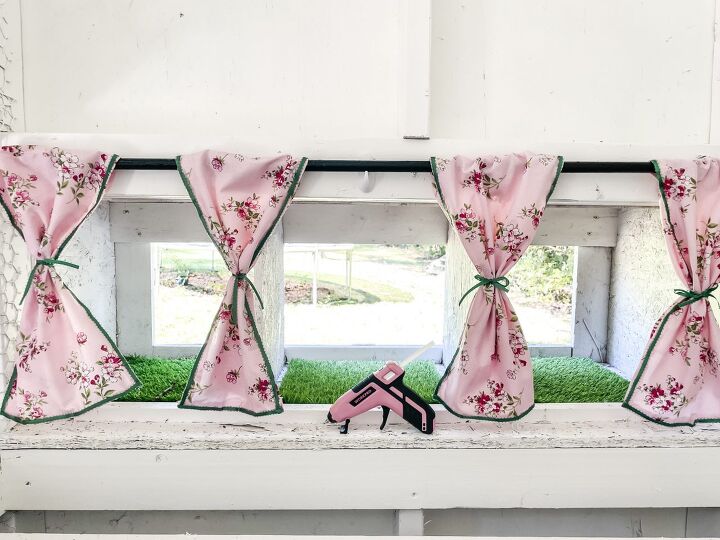
If you have been following along on our Instagram you know I just added super cute no-sew curtains to the inside of the coop.
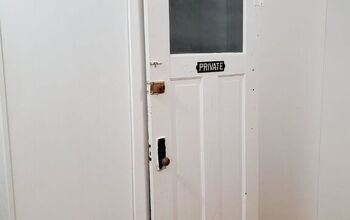
Now it’s time to handle the rotting door situation on the outside!
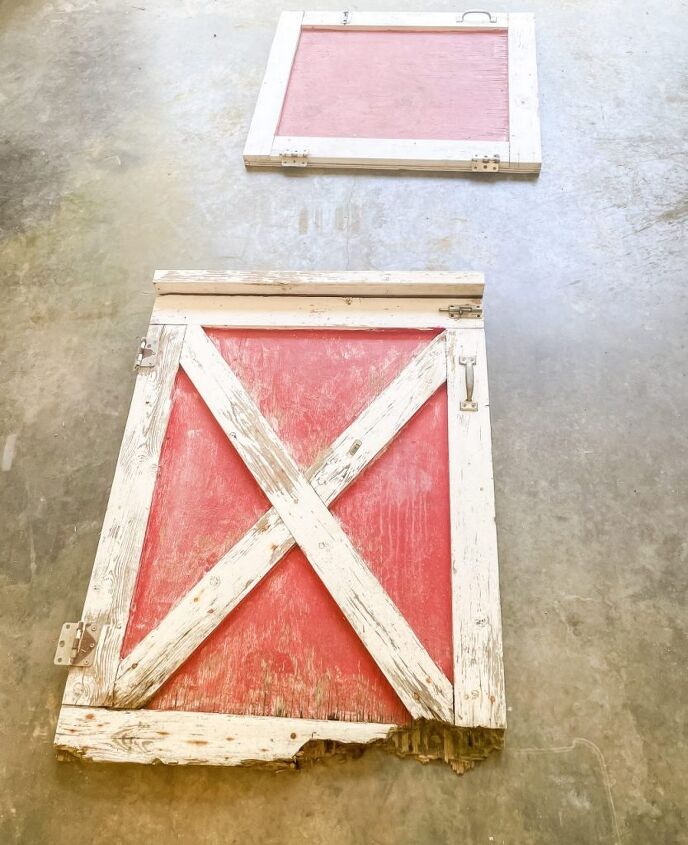
It was in rough shape & basically just needed to be redone completely.
Supplies:
- 3/4″ Plywood
- 1×3 Pine Boards
- 1×4 Pine Board
- 1-1/2″ Brad Nails
- Black Spray Paint
- Handles
- Latches
- Hinges
Procedure:
Getting the measurements for the door was very easy because I just copied what they already had. If you do not already have a door built measure the space & subtract 1/2″
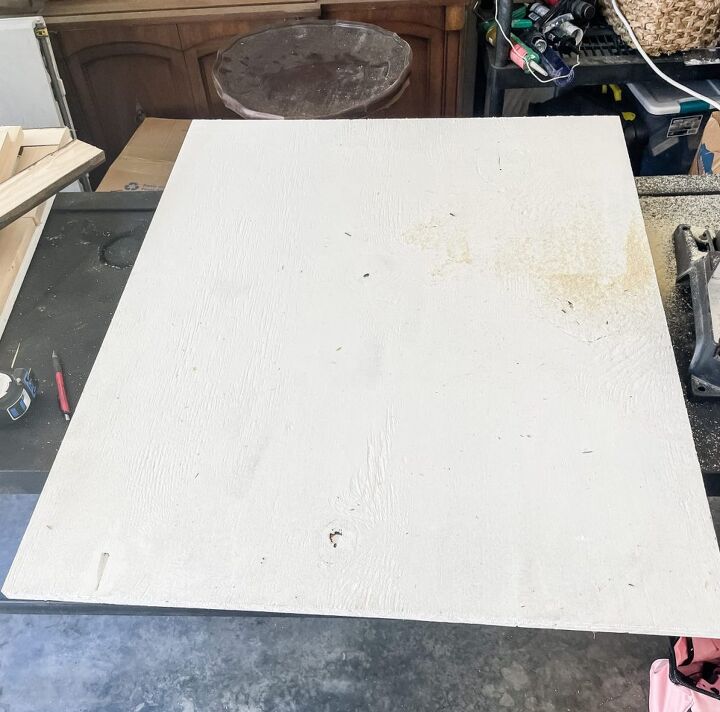
- Once you have the measurements needed for the door, rip the plywood down to size using a table saw or circular saw.

2. Next, frame the plywood with the 1×3″ pieces. Glue & nail them down using a brad nailer & 1 1/2″ nails.
TIP: If you are painting the trim a different color than the door, paint the pieces before you attach them
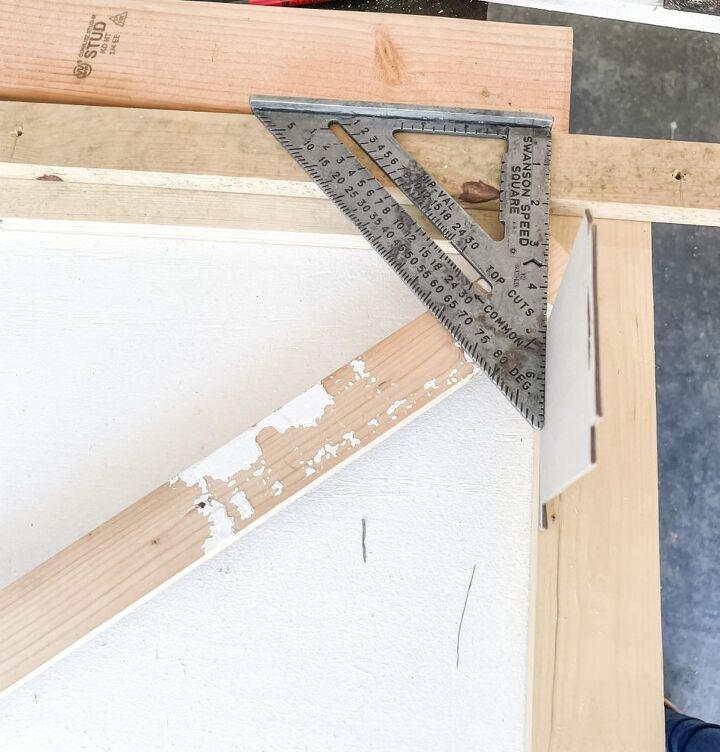
3. Now it’s time for the X. I use a no math trick for this part: Line up the corner of the board with the inside corner frame & use a straight edge to mark the angle that needs to be cut.
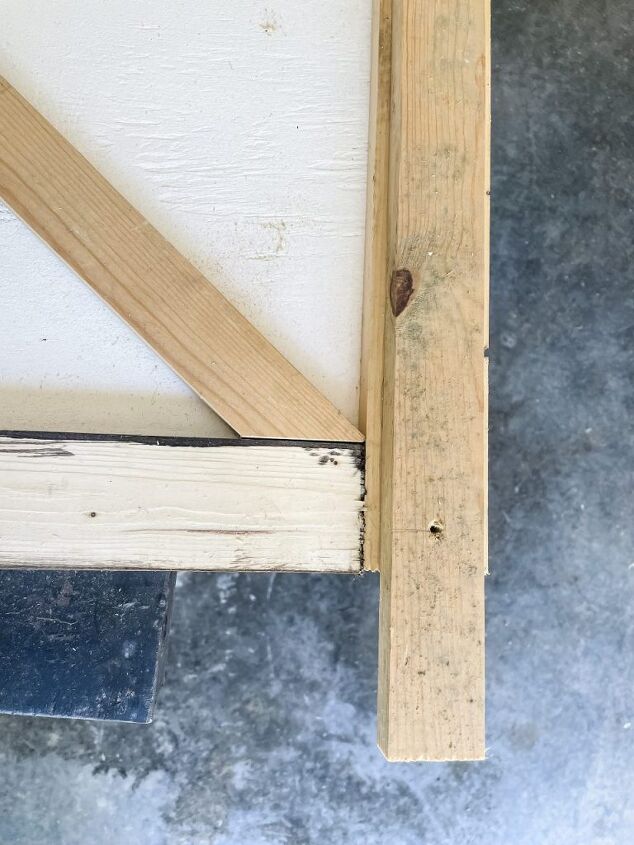
One side will only need one angled cut.

The other side will have to angled cuts. If there are small gaps, you can use wood filler to fill them.
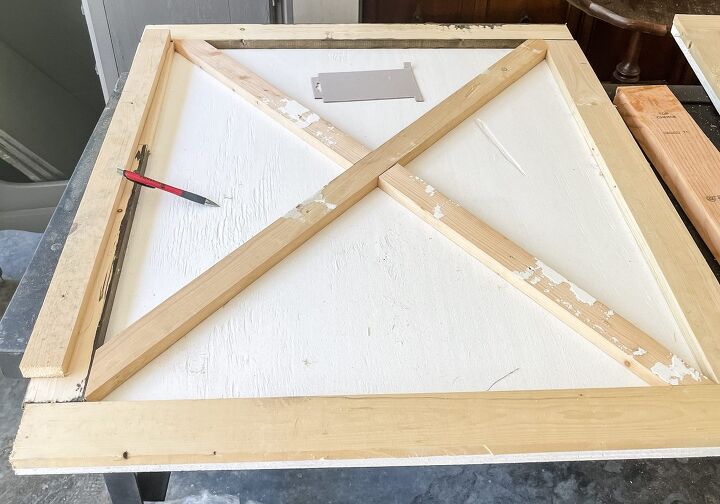
4. Once all the cuts were made I laid out all the pieces to make sure everything fit, then painted the trim with black spray paint.
5. After all the pieces were painted & dried I attached them to the plywood using wood glue & brad nails.
Attaching The Doors To The Coop:
To save us a little money I spray painted the old hinges & handles black.
6. First, I attached the hinges to the door frame, then we leveled the door & attached the other side of the hinge to the door itself.
There are so many methods to do this but this seemed like the most simple.
7. Once both doors were attached I added the 1×4 piece to the bottom door to create a ledge.
8. The rest of the hardware was then attached.
9. The bottom of the coop is pretty damaged from rot but replacing all the wood was not in this tiny chicken coop budget, so I simply added a 2×6 piece of wood to the bottom of the door. It acts as a kick plate for the door & I think ties it all together nicely.
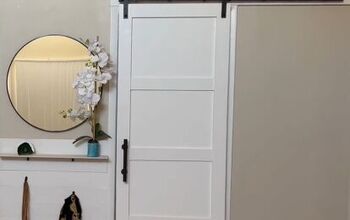
So much better right?!?!?
This was definitely the simplest update we have made to the chicken coop!
It’s starting to look just like I envisioned in my design board!
Here’s whats left on the To-Do List:
- Paint Interior
- Paint Exterior
- Exterior Trim Paint
- Rebuild Outside Run
- Nesting Boxes
- Install Flooring
- Make Chicken Coop Run Steps
- DIY Swing
- DIY Shutters & Flower Box
- Landscape
The list is getting smaller but I’ll probably just keep adding projects to it 😉
Stay update with our progress on Instagram & by joining our email list!
Resources for this project:
See all materials


Comments
Join the conversation
-
Nice straightforward instructions; may copy this for my shed! Thanks for sharing
-
Curtains in a chicken coop? I love it! I also like the way you staged the photo with the pink glue gun in front of the curtains. My kind of projects.


Frequently asked questions
Have a question about this project?