


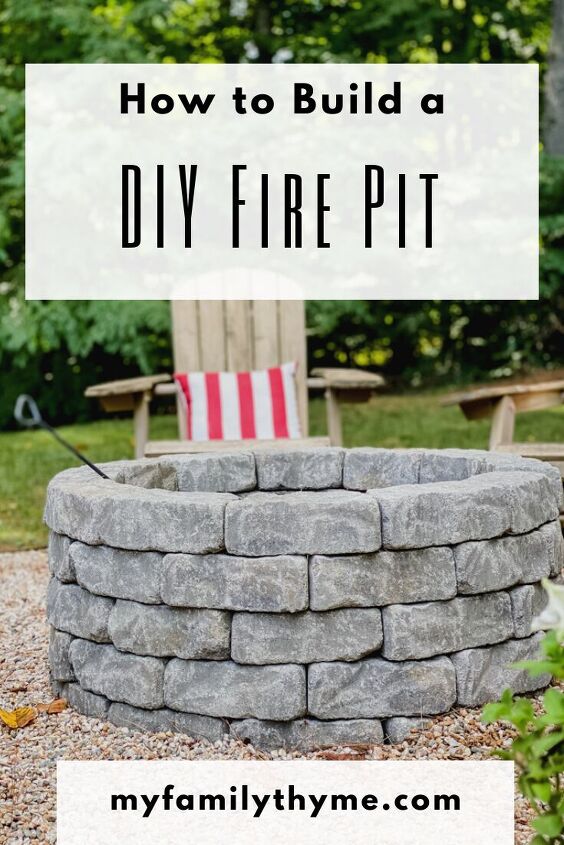
How to Build a DIY Fire Pit
Transform your outdoor space with this complete tutorial on how to build your own DIY fire pit. This easy and inexpensive outdoor DIY project will bring years of enjoyment.
This post contains affiliate links. If you click on an affiliate link and purchase something, I may receive a small commission, at NO additional cost to you.
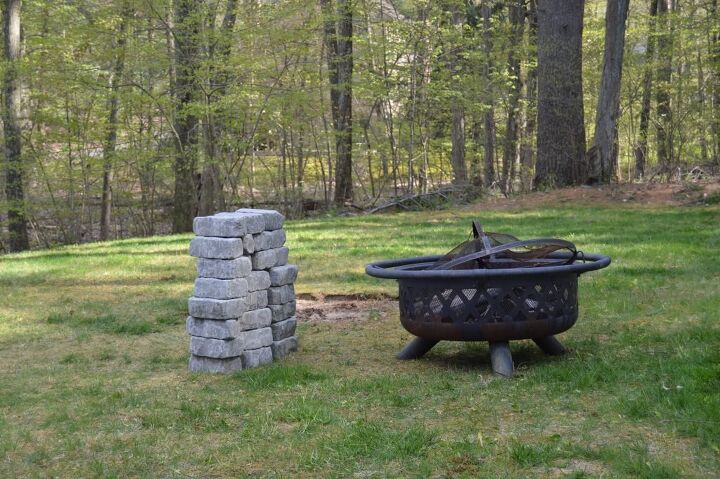
Who doesn’t love the idea of summer nights around a fire, roasting marshmallows for s’mores? For years, we’ve had a portable fire pit from our local hardware store, that we had sitting on pavers in our backyard. But this past spring, we decided to say goodbye to our rusty, old fire pit and build a new one with pavers.
Doesn’t this look so sad?
After researching some ideas for our DIY fire pit, my husband and I measured our space, came up with a plan, and headed to our local Home Depot and Ace Hardware to get everything we needed. (I have linked a couple of the products here for your convenience.)
Supplies:
- Concrete retaining wall blocks (60)
- paver leveling sand (2 bags)
- landscape edging
- weed block fabric
- galvanized landscape staples
- pea gravel
Tools that we used:
- measuring tape
- stake (we used an old reflector)
- string
- spray paint
- shovel
- metal rake
- level
- dirt tamper
- rubber mallet
Process:
1. Create a circle for your fire pit.
After measuring, we placed a stake (we used a reflector stick that we had in the garage) in the center of what would become our circle. We tied a string to the stake and then the other end to a can of spray paint. My husband held the stake while I pulled the string tight and walked around to create a circle.
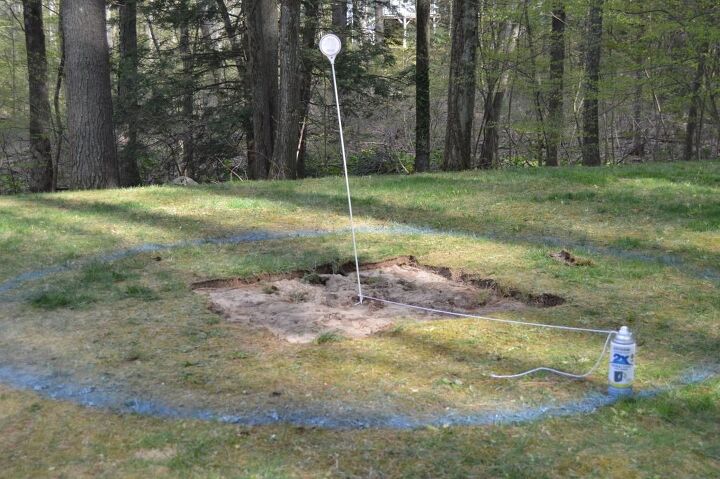
2. Dig out the circle.
This step was much easier said than done! There were so many rocks and tree roots! We used the paint marks as our guide to dig out our circle. We went just a few inches deep…so our edging would fit snugly. This was a family project and with all four of us pitching in, we were able to do it in an afternoon.
You can see that I stacked the pavers on the side of our circle. I was so excited and wanted to see how it would take shape!
3. Prepare the area for the fire pit.
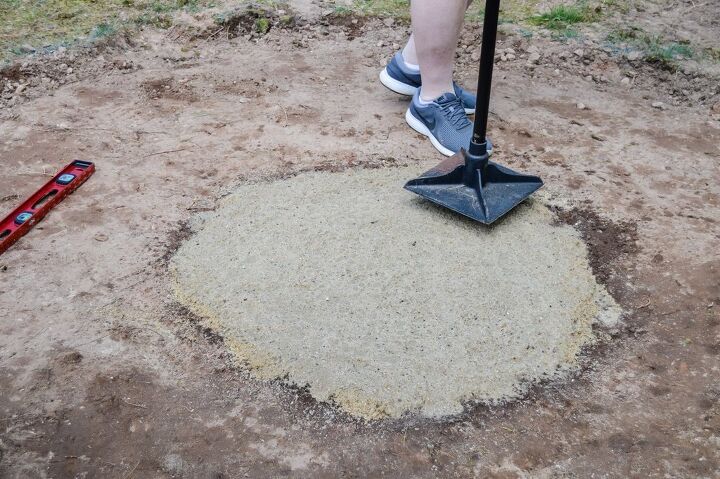
Leveling sand was placed in the area where we would be building the actual fire pit. We used two bags to create a depth of about 1/2 inch. You could make it deeper, if you would like.
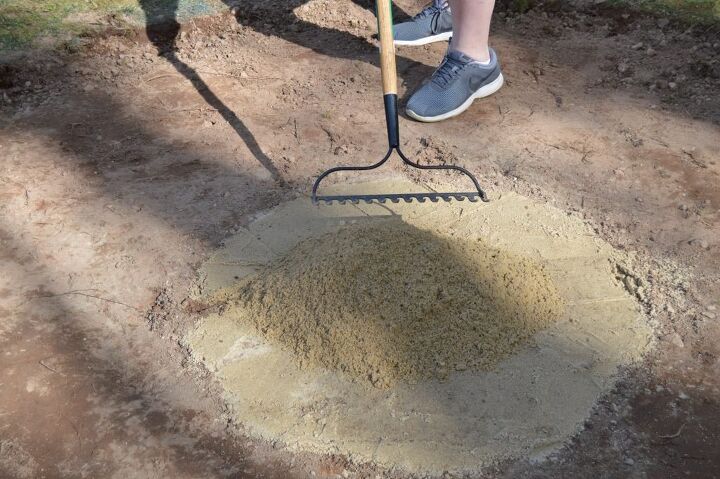
Then my husband, Andy, used the tamper to make it level.
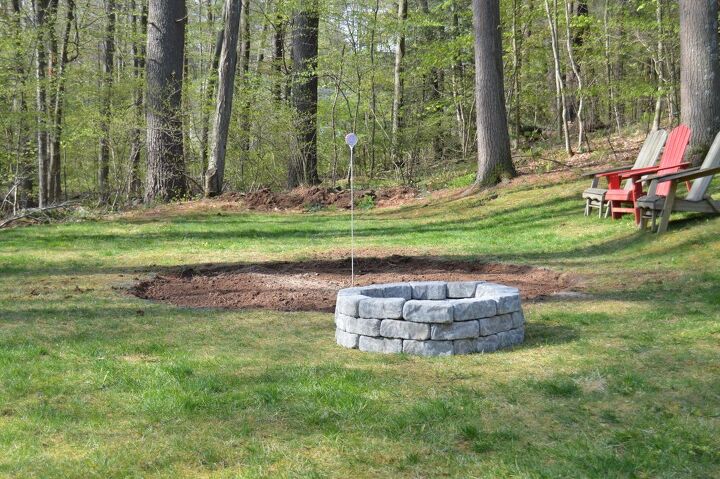
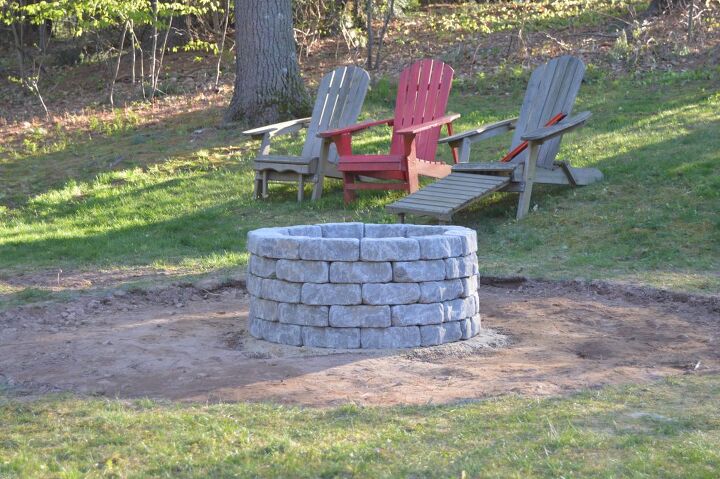
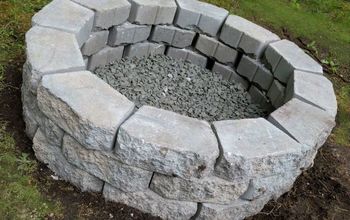
4. Build the fire pit with paver stones.
Now the fun part! This was actually the easiest step and the part where we could really see it start to come together. We originally purchased thirty-six pavers, but then we decided we wanted it a bit taller. My husband went back to Home Depot and purchased twenty-four more pavers. In total, we used sixty pavers for five layers.
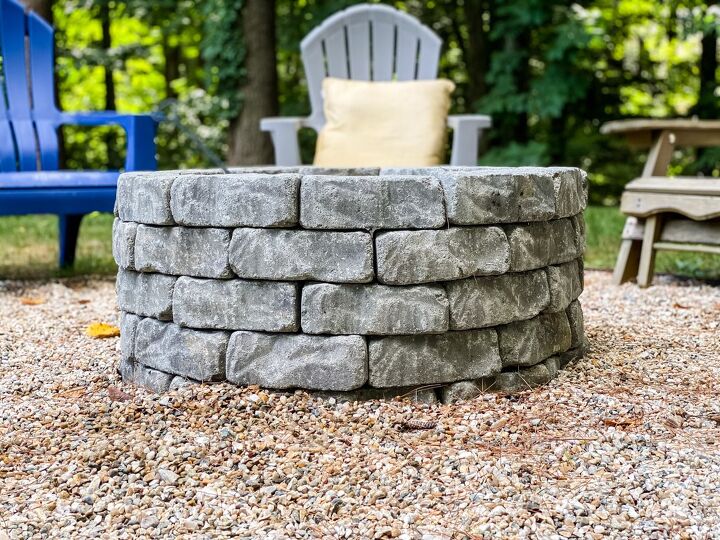
5. Finishing the fire pit circle.
We’re almost done! To finish off this space, we added edging around the outside of the circle. My husband used a rubber mallet to secure it while I started laying the weed block fabric and securing it with galvanized landscape staples. Lastly, we filled in the exterior edges with all purpose soil and the entire circle in with pea gravel. We ended up using more than 20 bags to cover and provide some depth to the space.

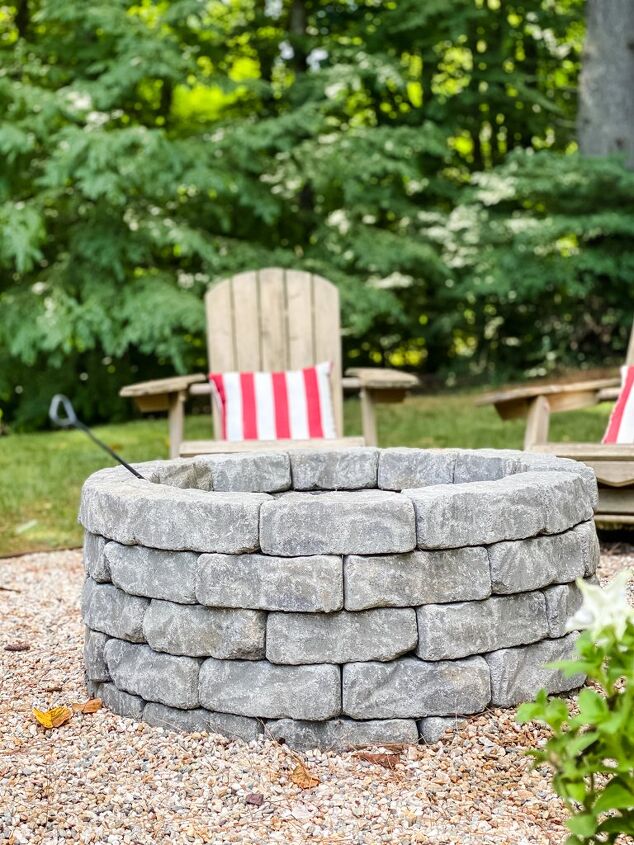
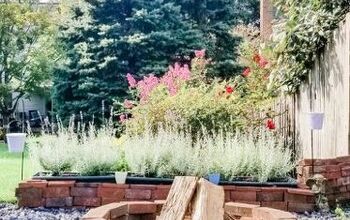
It’s done!! We added a few Adirondack chairs and a planter for this summer. In the fall, I may begin to add some perennials to the perimeter of the pea gravel to complete the space.
This DIY fire pit is a great place for summer nights and s’mores with friends and family. We really enjoyed building this little fire pit and hope you feel inspired to build one too! We’re all looking forward to enjoying this space this fall and for many years to come.

If you would like to save this post for later, pin it here!
Resources for this project:
See all materials


Comments
Join the conversation
-
Very nice but...regular stone can explode from the heat due to moisture in the bricks. That's why you should use firebricks. They're not as attractive as what you used, but way safer.
-
Looks great. I was able to make me a fire pit. It still needs some work but my husband and I have used it many times. Every time I say " I need to do more work on it". My husband tells me to stop because it works and he doesn't care of anyone else likes it because he does. Thank you for sharing.


Frequently asked questions
Have a question about this project?
Well done...looks great! Did you cement the bricks down or is it layed down so that they are firmly in place and the bricks will not fall if a log accidentally knocks a brick (or two) down? I didn't see any type of cement in supply list. Thanks!