


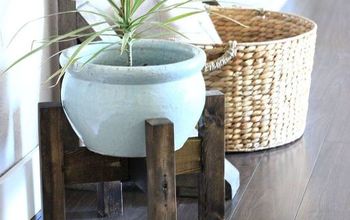
10 Easy Steps to Build Your Own DIY Outdoor Plant Stands

If you're looking for a unique and practical way to display your plants, then look no further than this creative project idea! It's the perfect way to upgrade your outdoor decor and so simple to make.
In this tutorial, I'll show you how to build your own DIY outdoor plant stand using a few basic materials and some easy-to-follow steps. By the end of this guide, you'll have a stylish and functional concrete planter stand to display your plant pots.
This post was transcribed by a member of the Hometalk editorial team from the original HometalkTV episode.
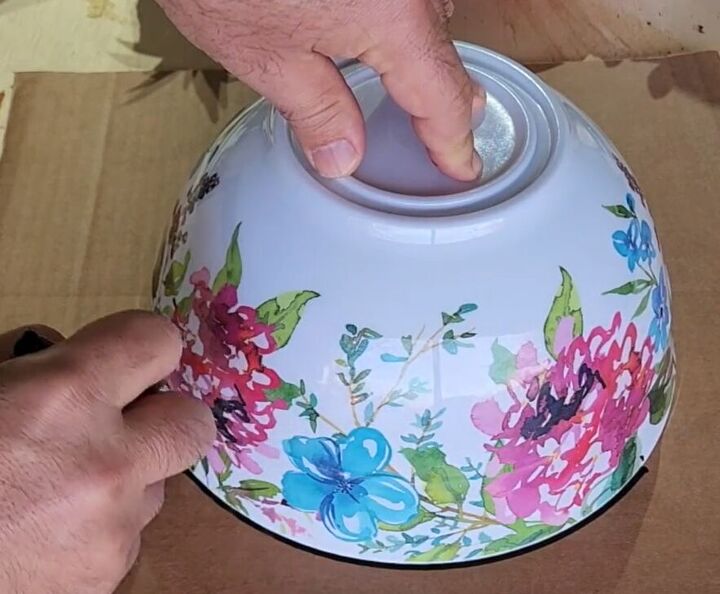
Run down to your local baker and grab a big container of cookies. But even though those cookies are yummy, what we want is that decorative lid. It is perfect for this concrete craft project.

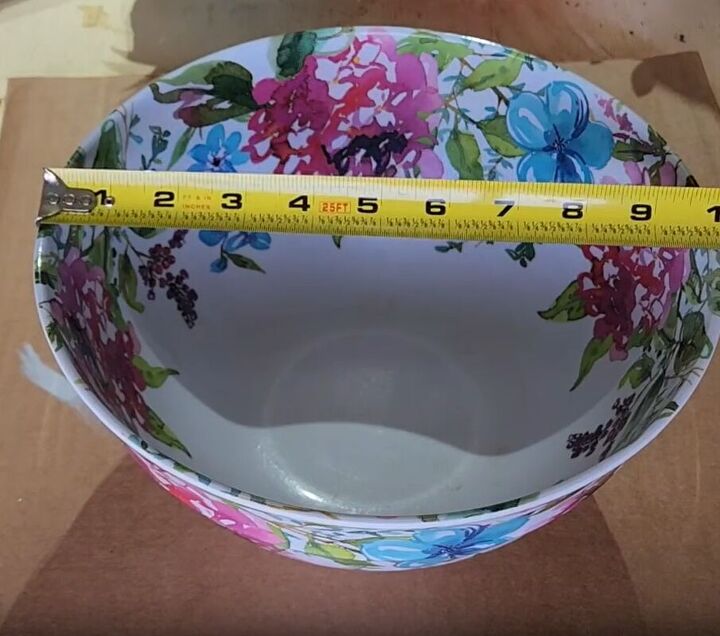
1. Gather Materials and Measure Lid
The first step in making our rolling plant caddy is to gather all the necessary materials, including a container of cookies with a decorative lid.
Measure the lid straight across. My cookie box lid was about ten inches.
2. Mark Circle on Cardboard
Next, lay out some cardboard and choose a round bowl that has the same diameter as the cookie lid that you measured.
Lay the bowl upside down on top of the cardboard and use it as a stencil to trace a perfect circle on the cardboard.
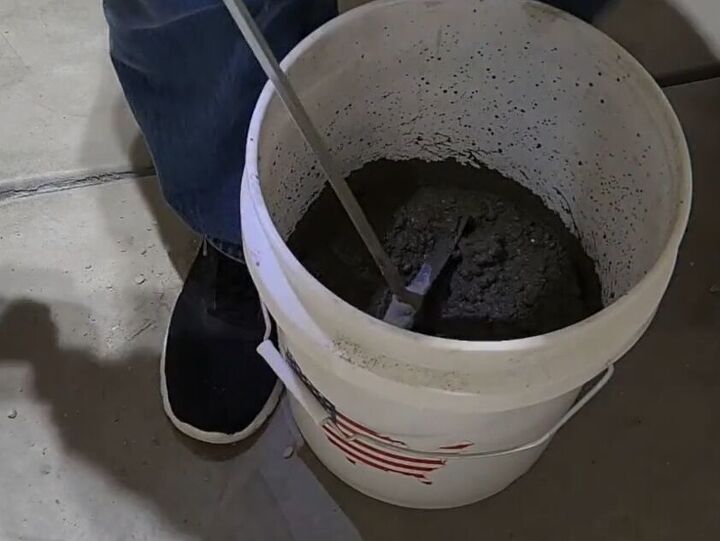
3. Mix Concrete
The next step in this DIY project is to mix up the cement. Pour a little bit of water into your mixing bucket first, and then add your concrete mix. Do this in a well-ventilated area to avoid inhaling the dust.
Mix the concrete with a drill and a mixing accessory or by hand until the consistency is like good pudding.
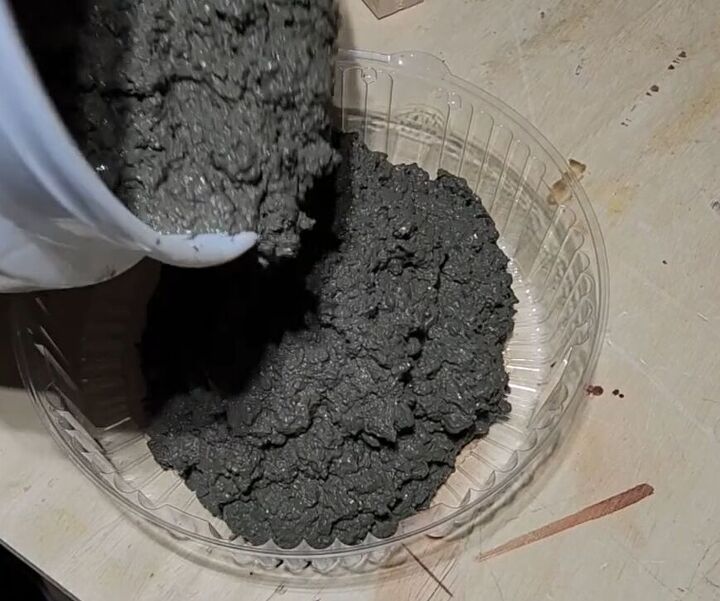
4. Pour Concrete into Lid
Once the concrete is mixed, slowly and carefully pour it inside the plastic lid.
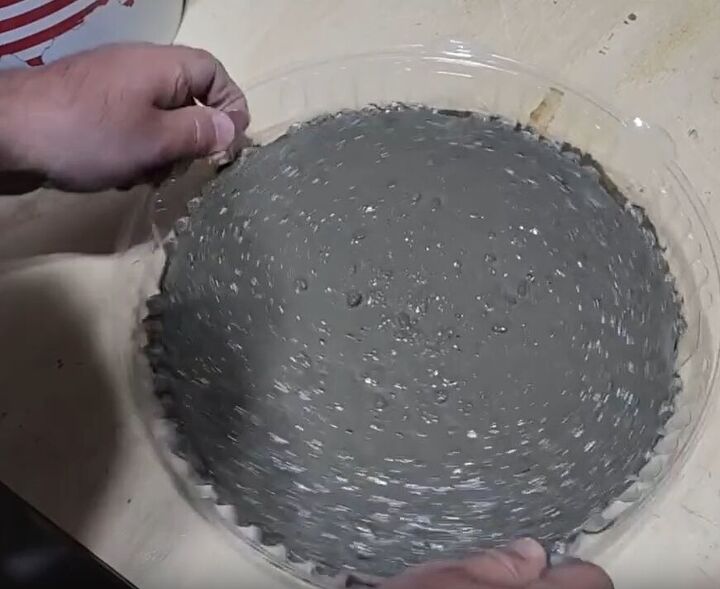
Shake the lid back and forth to allow the concrete to spread and fill all the little gaps. If you need to add a little bit more concrete, remember to shake the container again.
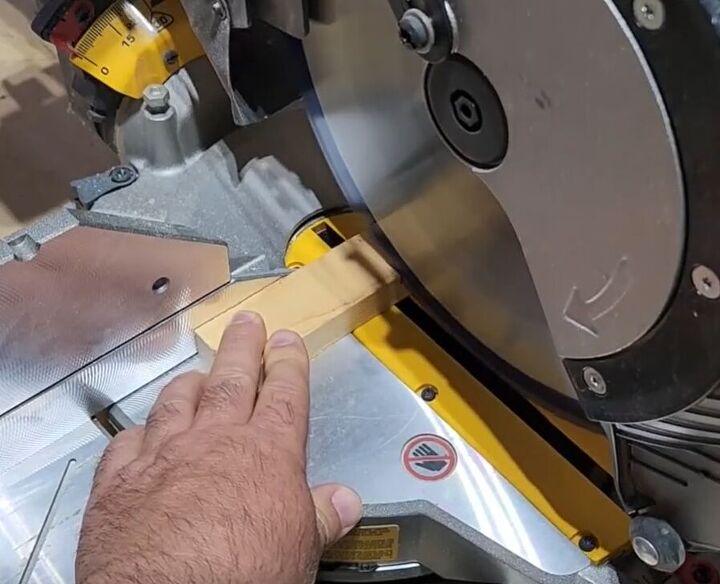
5. Glue Wood Strips Together
Now, you need to cut some strips of scrap wood so we can make the base of our plant stand. According to the measurements of my container, I needed to cut a larger piece that was ten inches across, and two other four inches pieces.
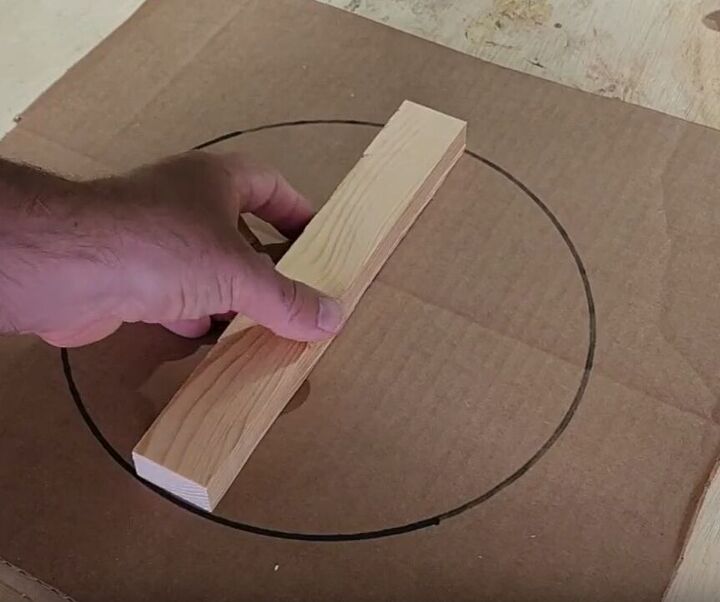
Using the cardboard circle as your guide, lay the larger wooden piece in the middle.
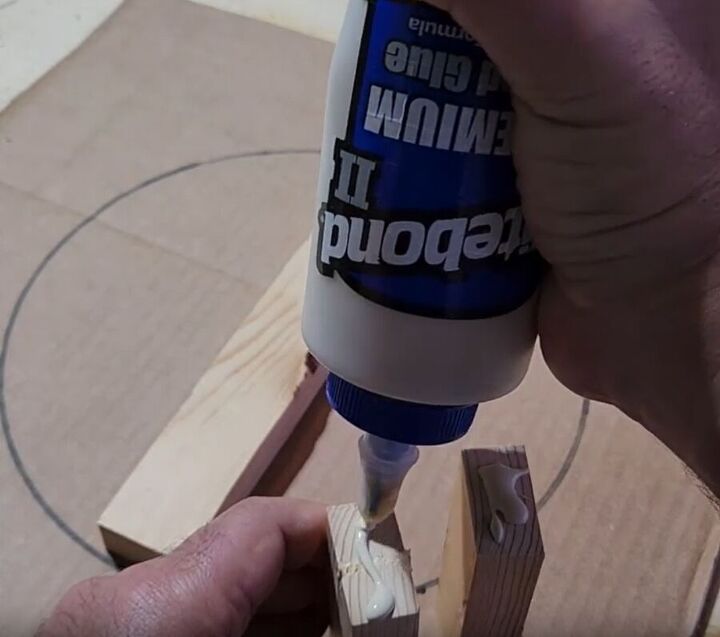
Then, glue up the ends of the other two pieces with wood glue (you can just use your fingers to spread the glue around)
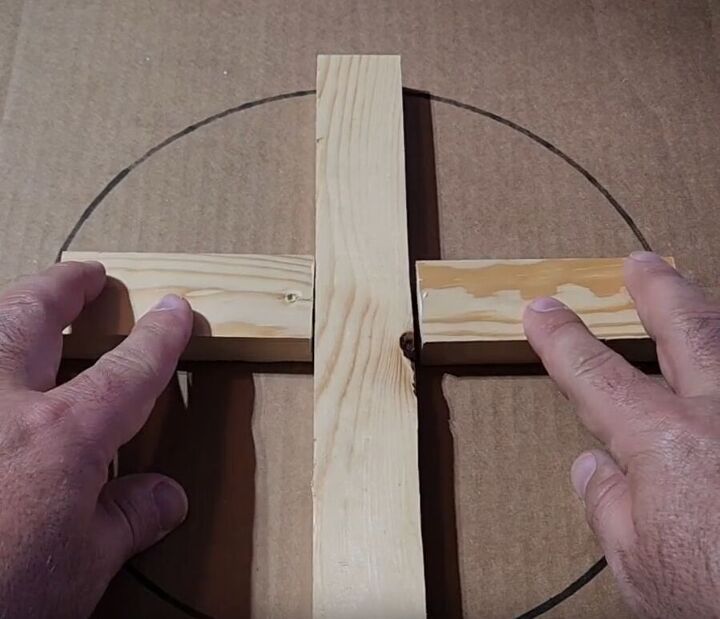
Stick them to either side of the 10-inch piece so that they fit nicely in the center of the circle.
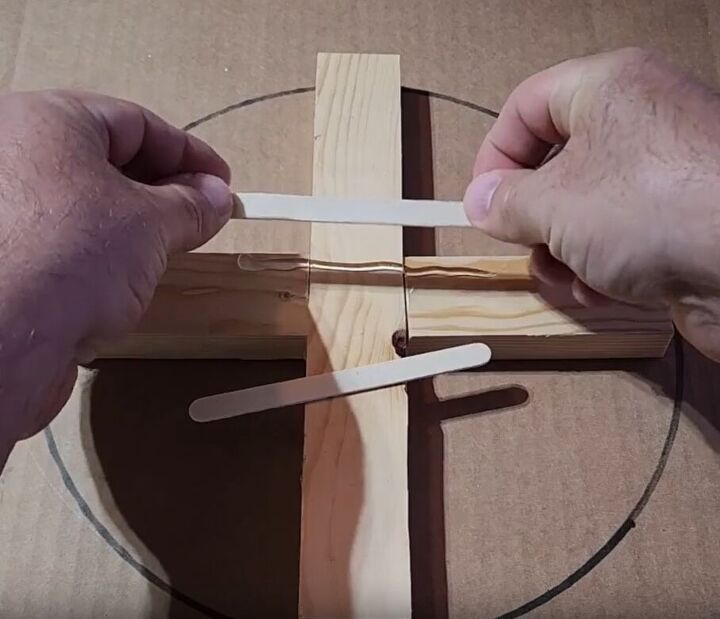
6. Attach Popsicle Sticks and Hot Glue
We want to make sure this wooden base dries securely so we are going to hot glue popsicle sticks on both sides of the base to act as a clamp and give it the stability it needs while the glue sets.
All we need to do is lay two popsicle sticks across the center of one side of our wood base and secure them both with a strip of hot glue.
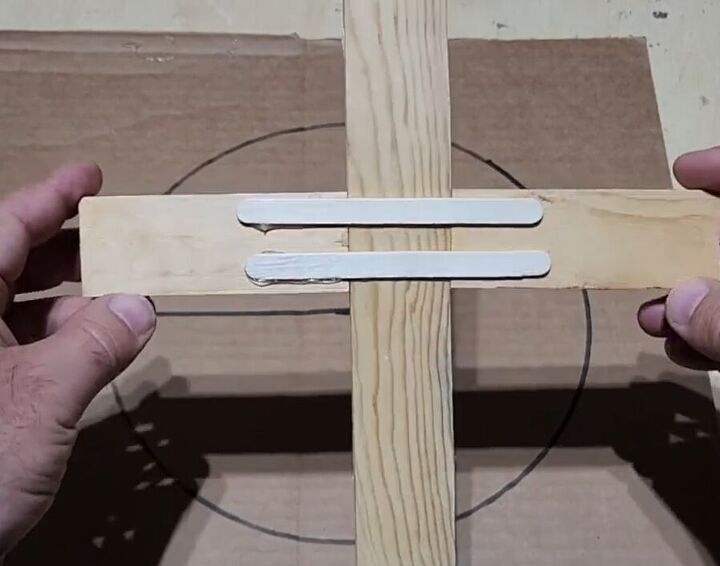
Then, flip it over and repeat the process on the other side.
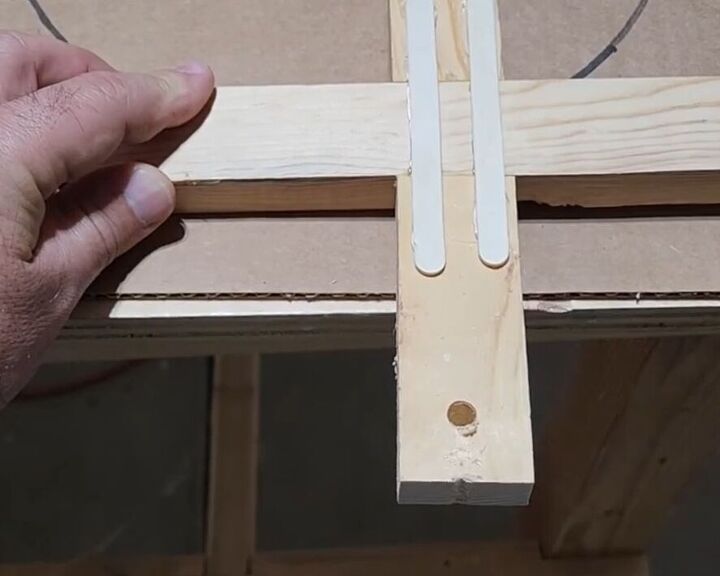
7. Drill Holes for Caster Wheels
Drill holes in the wood strips for the caster wheels. Make sure the drill allows the wheels to go right inside and drill all the way through.
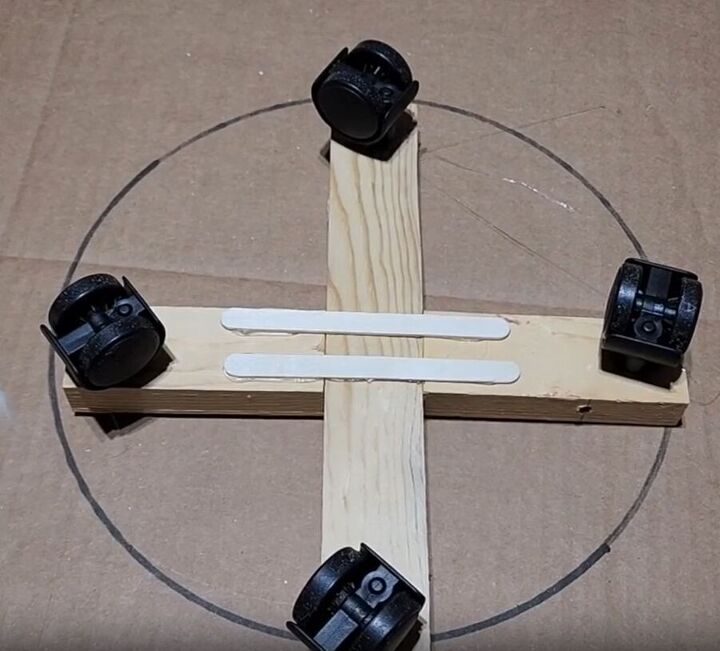
Attach the caster wheels with hot glue.
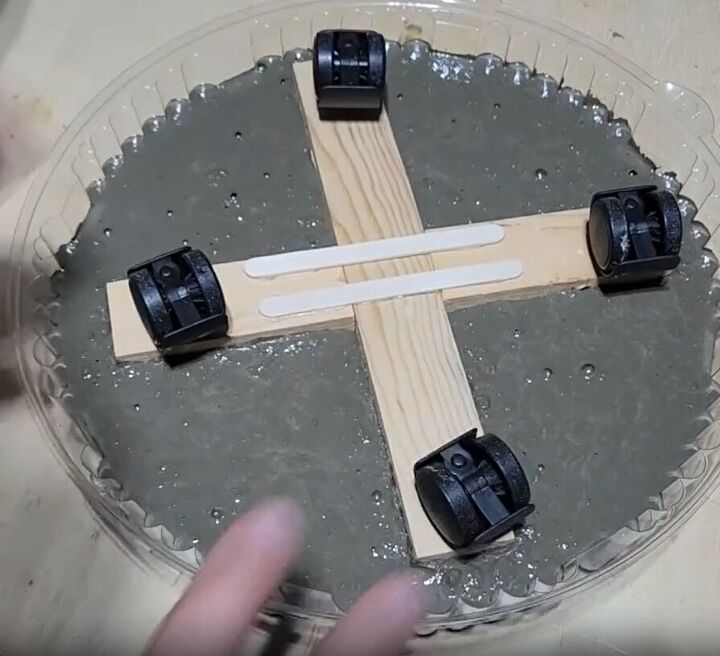
8. Shake the Base into the Concrete
Shake the base back and forth to let it sink right into the concrete. This will hold everything together. Keep shaking until the wood and wheels are submerged enough. Let it dry for about 24 hours.
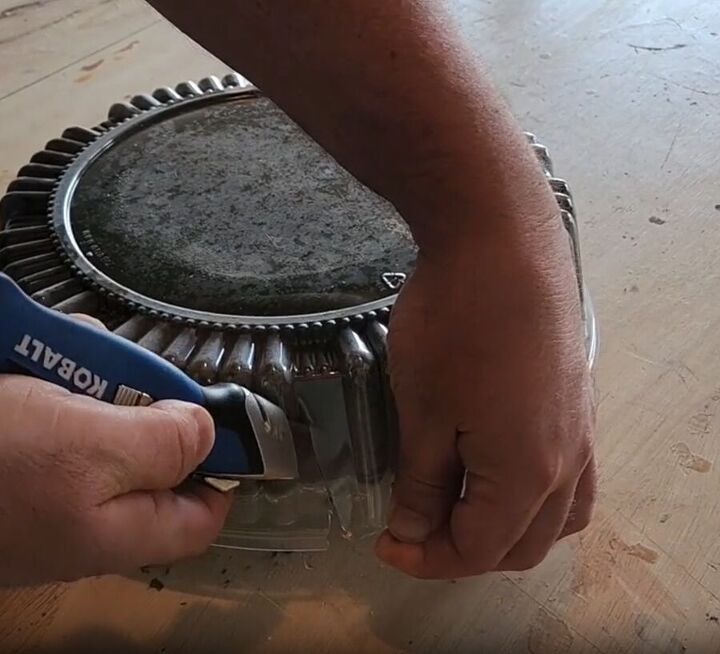
9. Cut Away Plastic
After 24 hours this easy DIY project is ready to be revealed, use a knife to cut away the plastic. Be careful not to cut the side of the concrete. Cut all the way around to release the mold from the concrete.
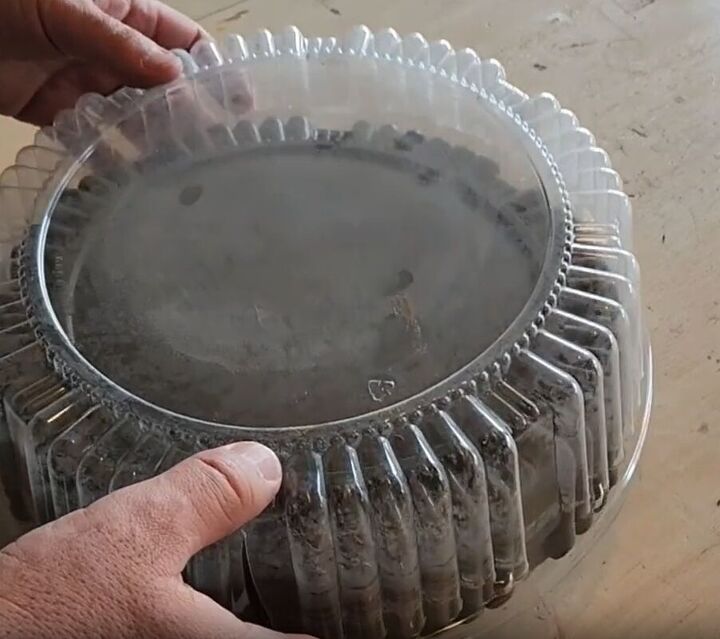
What you are trying to do is get air inside the mold so the plant stand unmolds easily.
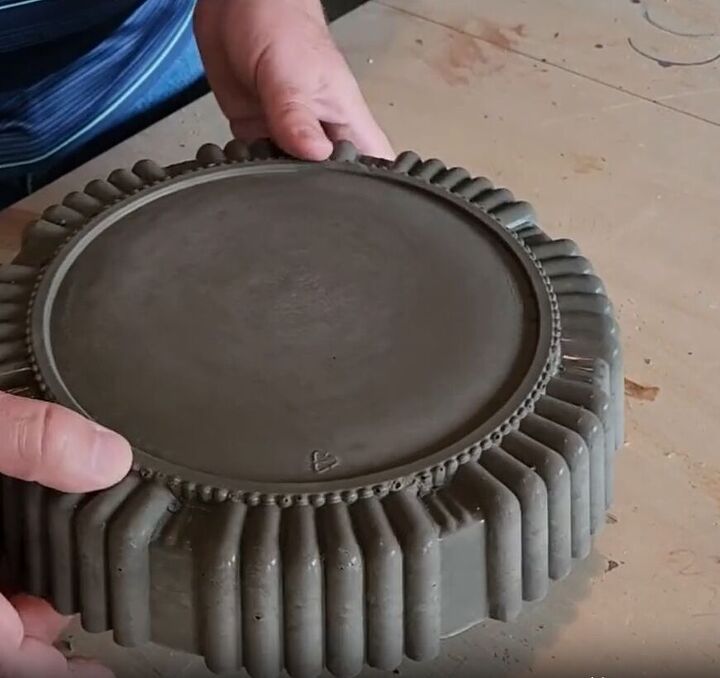
10. Test and Enjoy
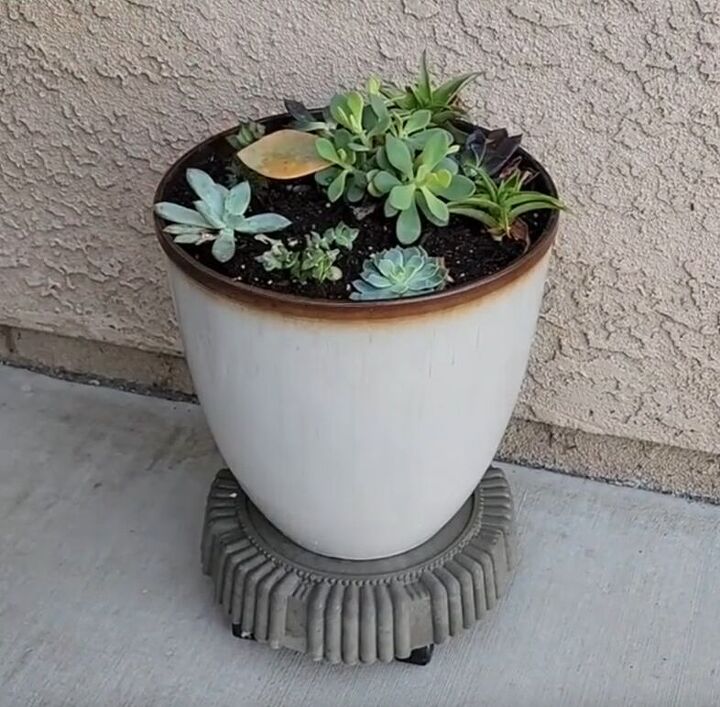
Turn the homemade plant stand over and test it to make sure it spins on the caster wheels. You now have a functional and decorative concrete DIY rolling plant stand to display your garden planters.
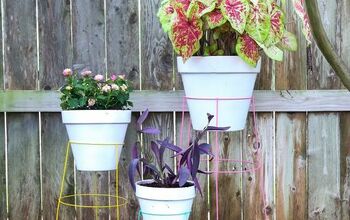
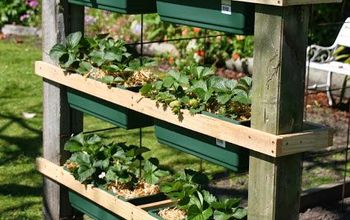
More Exciting Outdoor Projects
Build Your Own DIY Outdoor Plant Stands
This DIY plant stand idea is an easy and rewarding project that can add both beauty and functionality to your outdoor space. With just a few simple materials and tools, you can create a stylish and practical piece of decor that you'll be proud to show off.
Plus, the convenience of the wheels means you can easily move heavy outdoor planters around as needed.
So why not give it a try and make your own homemade plant stand? Don't forget to share your results and any tips you have in the comments below!
Resources for this project:
See all materials


Comments
Join the conversation
-
This is just way too cute.
I'm trying to think of ways to fill in the recycle triangle so it doesn't leave that mark raised up on the concrete. Hitting a blank on that.
- See 1 previous
-
What a creative idea! Would love to see some color added to it.


Frequently asked questions
Have a question about this project?
That is a brilliant idea. I save plastic fruit containers and reuse them. I will have to look around the bakery and find a cute container. I have large ceramic pots that I would love to easily move around. Thank you for sharing.