


$20 DIY Easy Rustic Farmhouse Bench
You can build a beautiful bench for your home for under $25 using our free tutorial and cut list. Best of all, it only takes 3 boards!! Our contributor, Mindi, from MyLove2Create shows us how. Where might you use this bench in your home?
Our video tutorial will show you each step and gives you tips and tricks for making your project easy, fun, and successful! Be sure to check out the free printable plans at Remodelaholic.com.
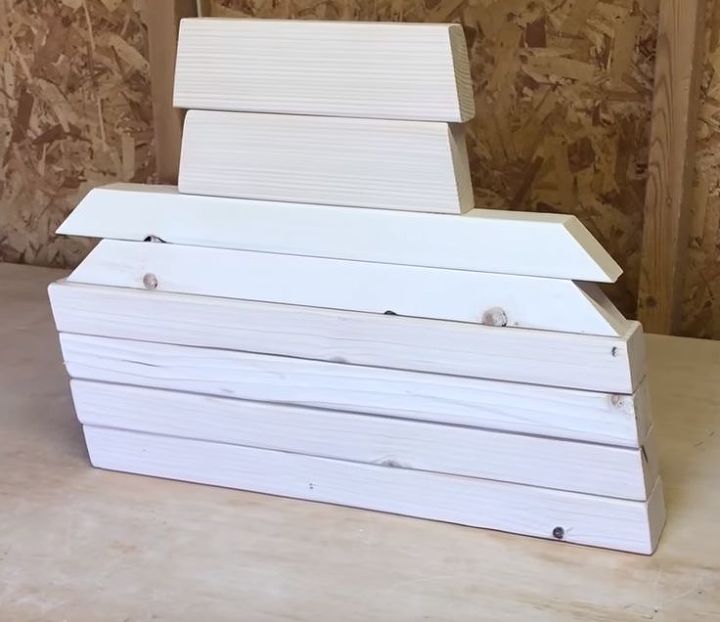
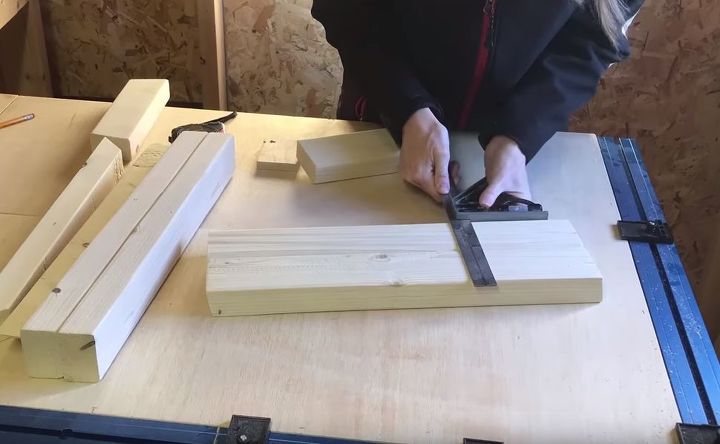
Print out that free cut list and using a miter saw, cut each piece to length, paying attention to angles. Now, sand each piece.
Build the leg sets by marking correct location and using a small board to inset the center support correctly. Assemble legs. It is most helpful to pre-drill the holes here to avoid wood splits. Glue and attach with screws
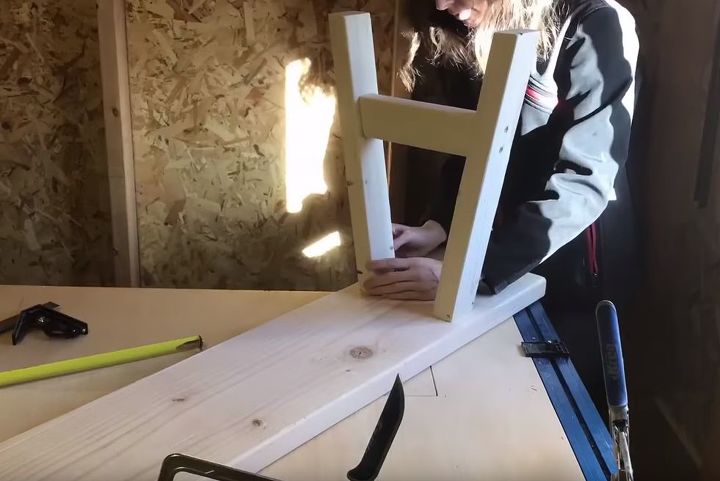
Then, mark locations and attach legs to bench top, pre-drilling holes, gluing and then adding screws. Add center supports using the same method.
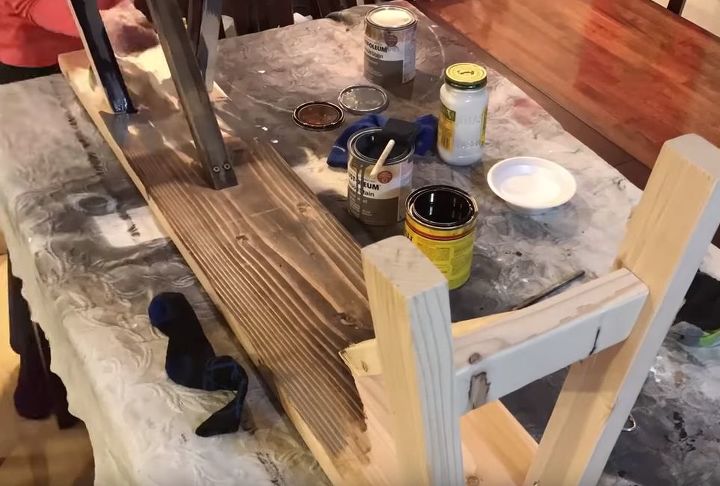
Now, your creativity can shine through! You can stain or paint your bench. Be sure to check out the video and blog post to see how Mindi created her aged design. For extra durability, finish it off with a coat or two of polyurethane.
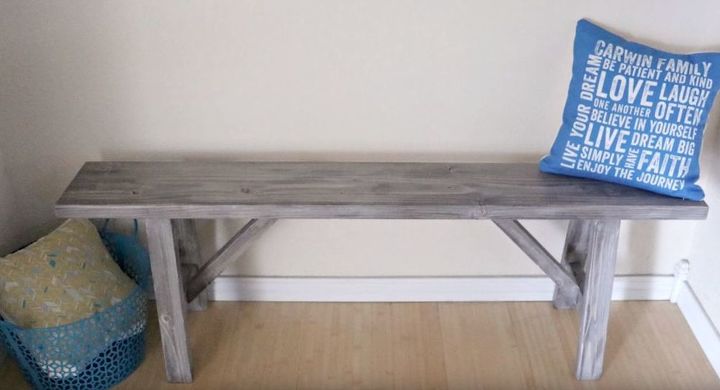
Where will you use your beautiful new bench in your home? We hope you loved this project!


Frequently asked questions
Have a question about this project?