


48 Hour Flip - Backyard Swinging Bed

This project is sponsored by Kreg Tool.
With summer weather upon us, I wanted to transform a dull spot in my backyard into a place for the family to hang out and enjoy the cool afternoon air.
My idea was to build a swinging bed, utilizing common wood and hardware from the local store, and be simple enough to build in one weekend. Since I couldn't find any designs online that fit my needs, I designed my own backyard swing that others would be able to replicate.
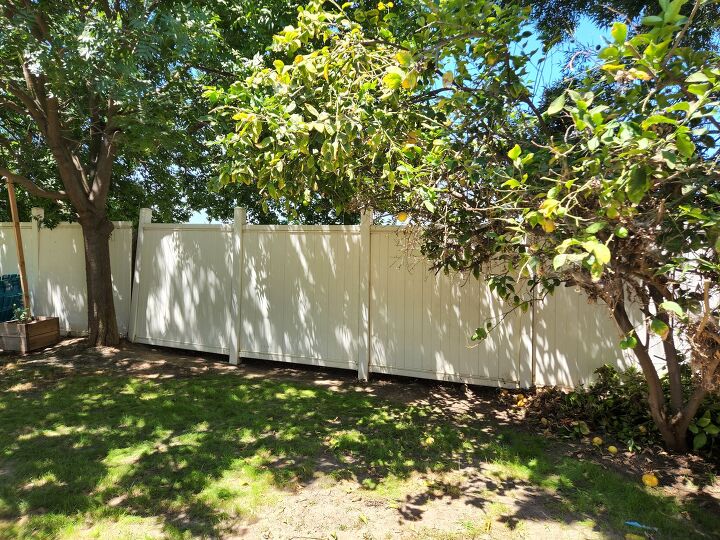
Perfect spot for a beautiful outdoor swinging bed.
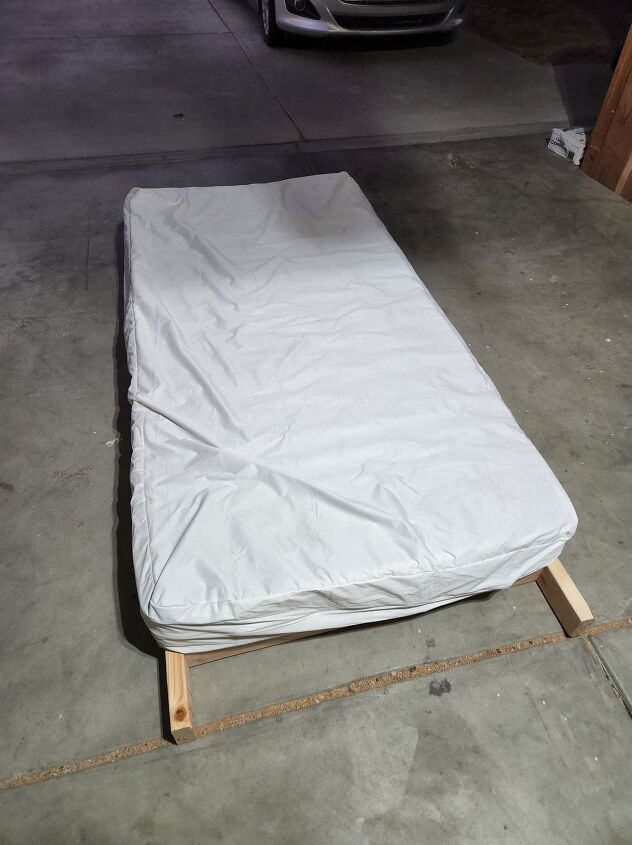
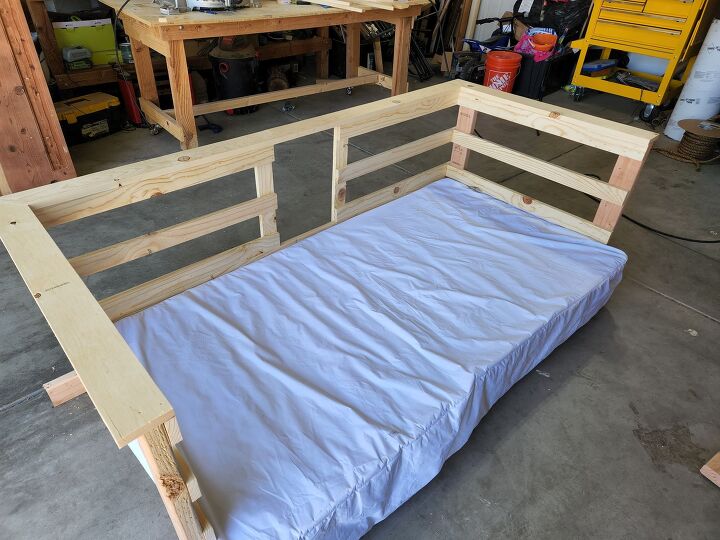
The first part of this build was finding an old twin-size mattress to use. Since it was time for my son to get a new bed, his old mattress worked out great. I bought an outdoor mattress cover off Amazon and put the mattress inside.
The basic design for the frame was simple. I wanted to use common-sized boards from Home Depot that were easy to find. This frame was built entirely from 2x4 boards. I measured the mattress and came up with a size of 85x36 inches. The two longer support boards were cut longer than the 85 inches, so I could attach the rope to the ends without it rubbing on the mattress or railing. I added 6 inches to each end for the two support boards that came out to 97 inches.

Next, I knew I wanted a frame that didn't have exposed screws that could be seen. The frame also had to be strong to hold at least two people. That's why I got out my brand new Kreg Jig Pocket-Hole guide. This tool is fantastic and allows me to drill pocket holes easily and accurately.
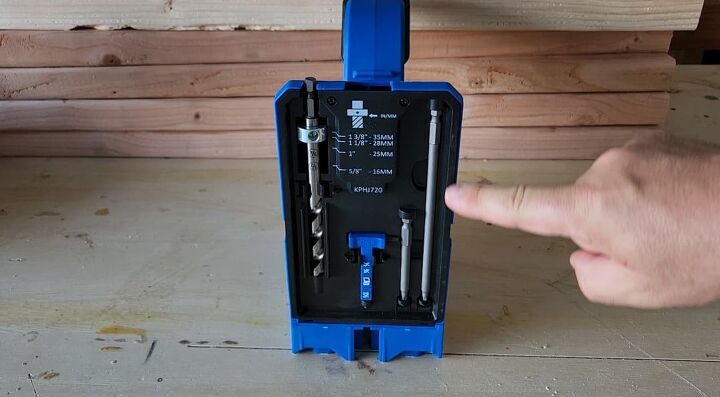
On the back end of the Kreg Jig, you can find all of the drivers and drill bits needed to complete the project.
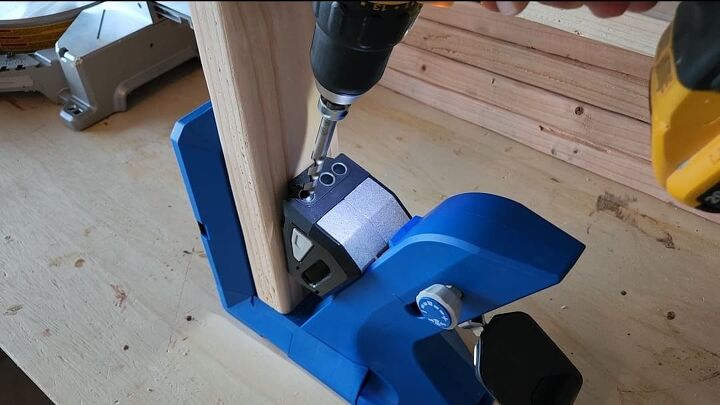
All I have to do is insert the end of the board I want to drill the pocket holes, and lower the clamp. After adjusting the collar for the drill bit, I just insert the drill into the metal guides and let it do its job. As you can see, the Kreg Jig gave me a perfect pocket hole to set the screws. I couldn't have been happier at how fast and easy this was to do.
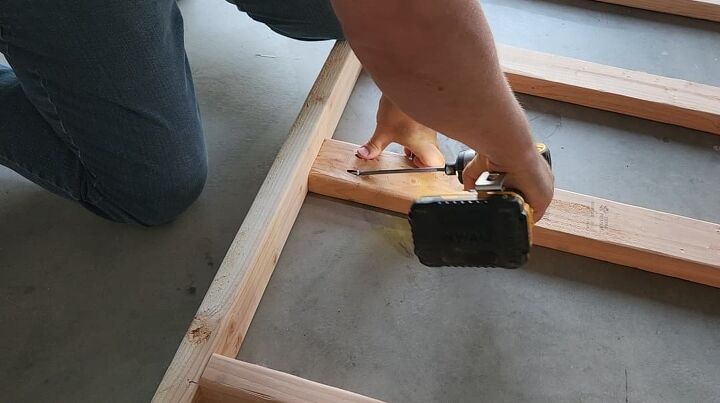
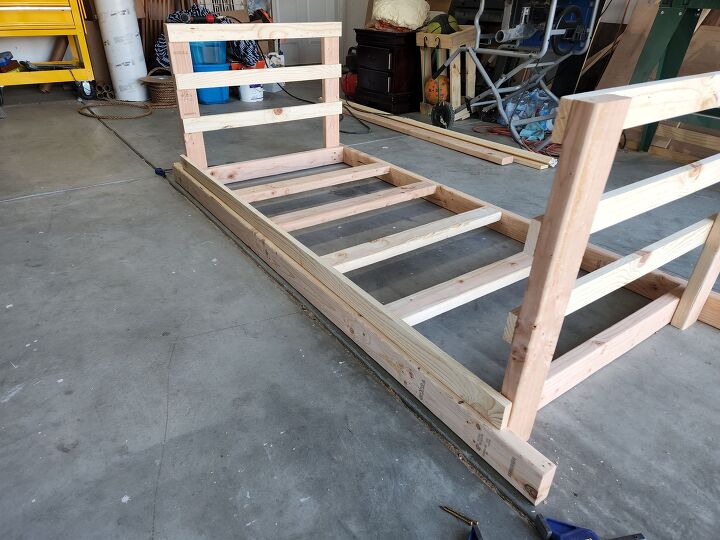
After I got all the 2x4s cut into the proper sizes for the frame, I laid them out on my garage floor and screwed them into the two support boards. The cross boards will be spaced evenly down the two main support boards to carry the weight of the mattress and occupants.
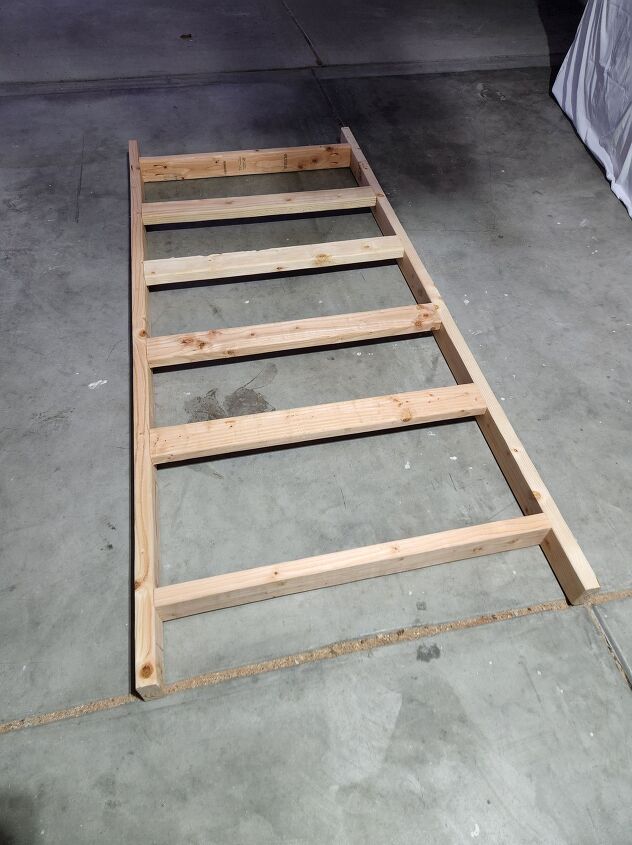
Once the cross boards are installed, you have your basic frame. A quick test of placing the mattress on the frame is recommended. Now, it is time to install the railing.
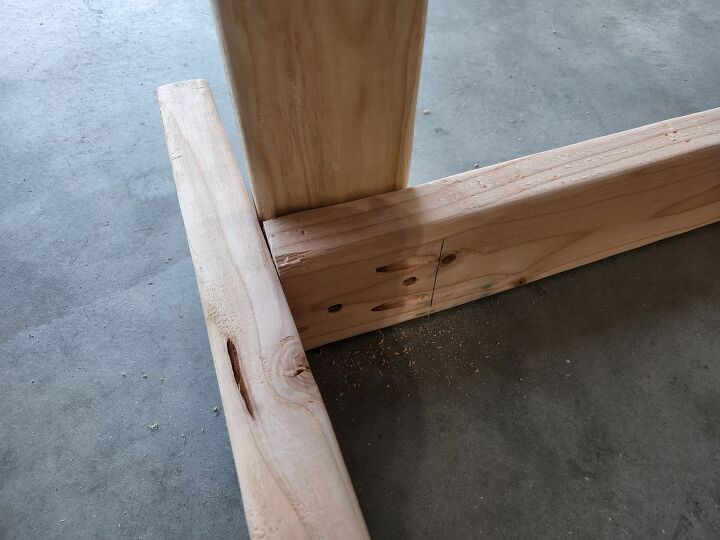
Using some of the scrap boards from cutting the frame, I made four posts for the corners of the frame. These are also 2x4s, and I screwed them in from the inside of the frame, thus allowing me to again hide the screws from being seen on the outside.
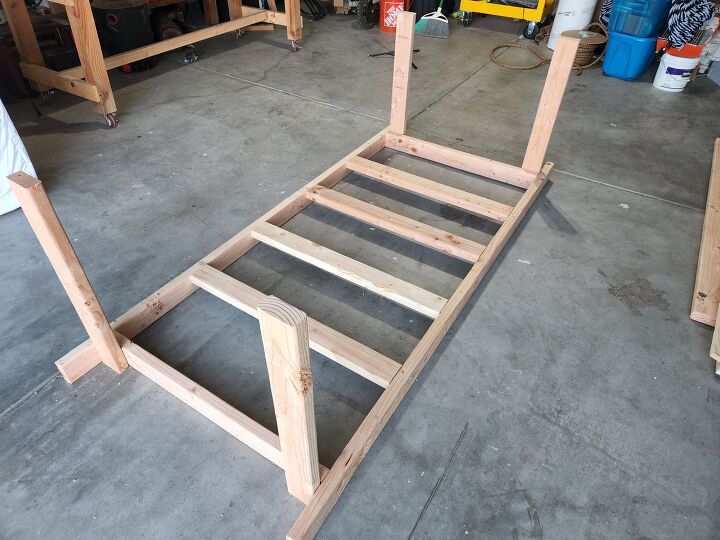
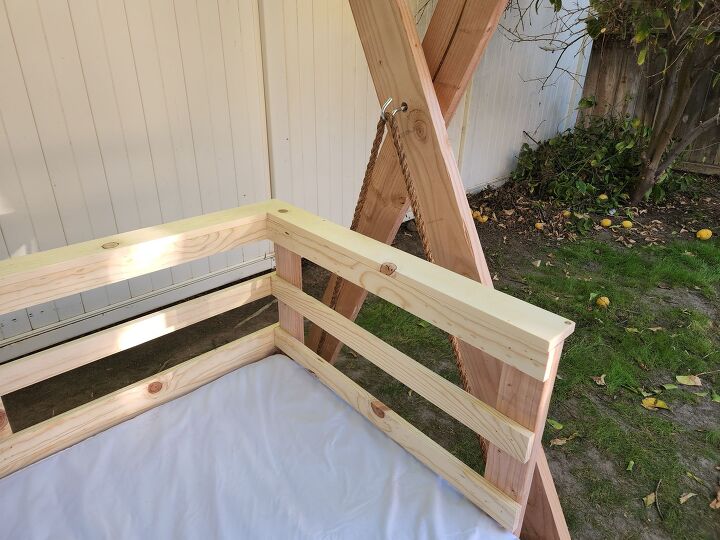
Here are all four posts secured to the frame. As you can see, the two support boards for the frame are still longer than the total frame, which will be needed once we get ready to hand the bed. Now it is time to install the rails.
I used 1x4 common boards for the railing. They are inexpensive and easy to work with. I decide on three railings. If you want the railings to be tighter, then add a fourth board on each side and space accordingly. On the back of the bed frame, I added one extra 1x4 at the bottom. This will hold the mattress in place, so it doesn't slide out while being used.
Here is the completed bed frame, including the railings. I added a top railing where we can hang cushions for an armrest. Now, you might wonder what the middle opening is in the back of the frame. This was a cool concept I came up with to add some unique ability to the frame. Below you will see what I used it for.
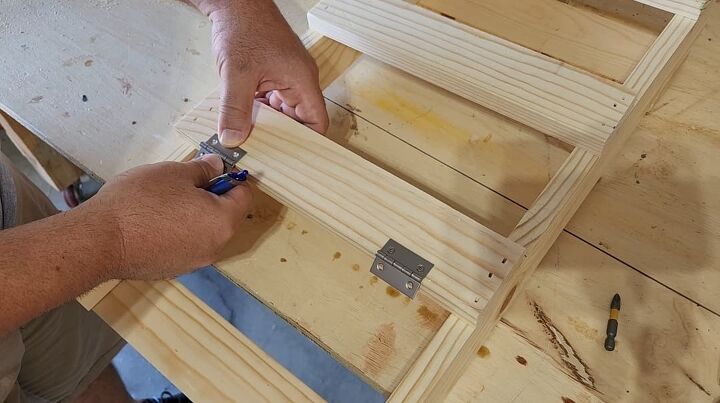
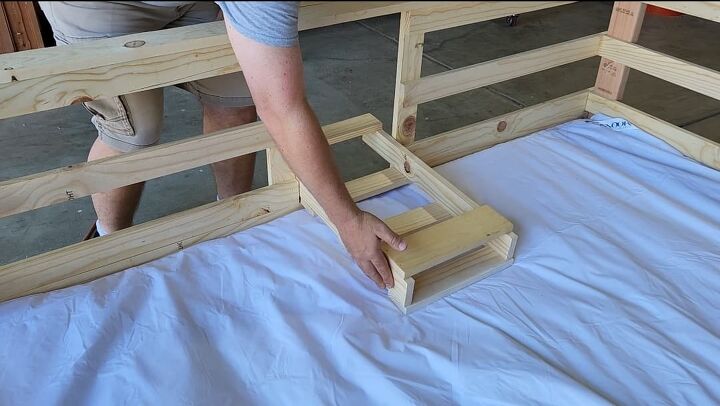
The opening in the back of the frame was 12 inches wide. I constructed a folding shelf that matched the back railing, so we had something to hold our treats and drinks. I used scrap wood from the 1x4s for the railing to complete this section. I installed some small hinges in the back and did a little sanding on the edges.
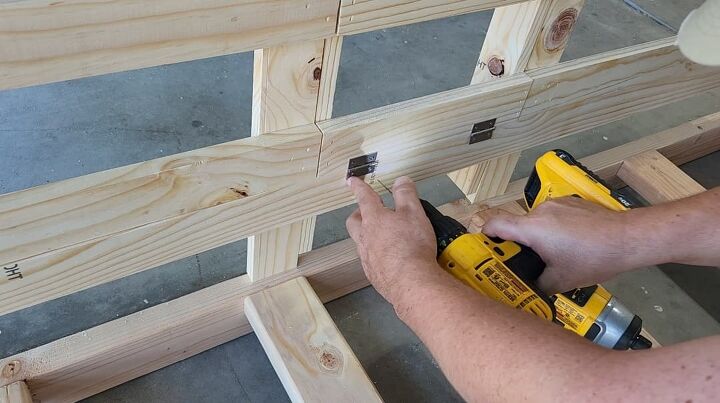
Here I am installing the little shelf on the back of the railing where the 12-inch opening was. Once it is installed, time to see how it looks.
It worked perfectly! The shelf folds down precisely at the same level as the mattress. With the bed frame completed, it is time to move onto the main support structure.

Again, I wanted this project to be easy and affordable. The main frame uses 2x6s, which are more robust than the 2x4s. Placing two of the 2x6s in an "X" pattern, I laid them out and cut the bottoms and tops to match the angle they will be when set up on the ground.
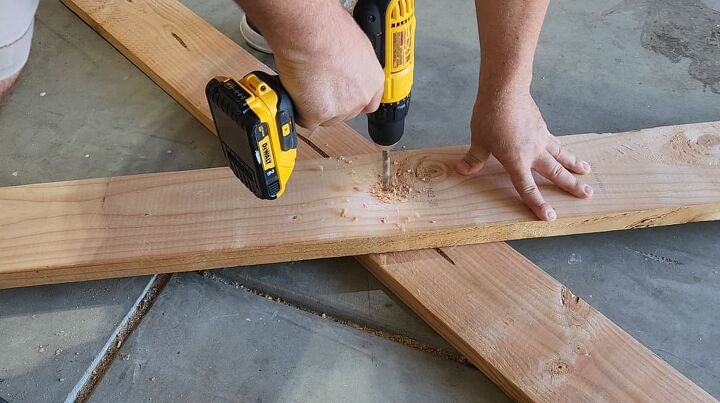
Right where the two boards cross in an X, I drilled a hole in the middle to place the steel hook. Make sure your drill is just big enough to slide the 1/2-inch-sized hook into.
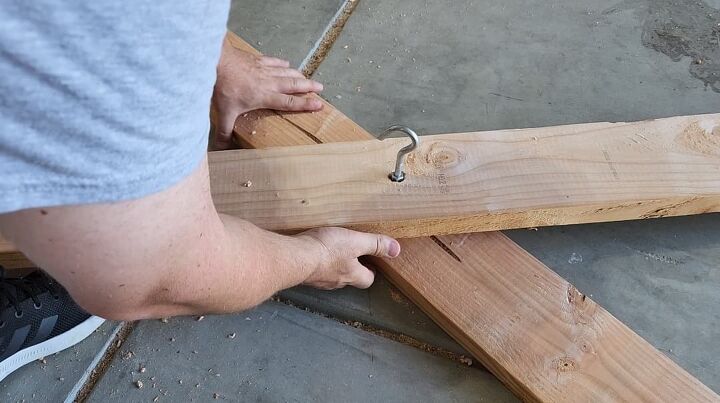
Insert the steel hook through the tow boards, put a washer and nut on the back end and tighten them up.
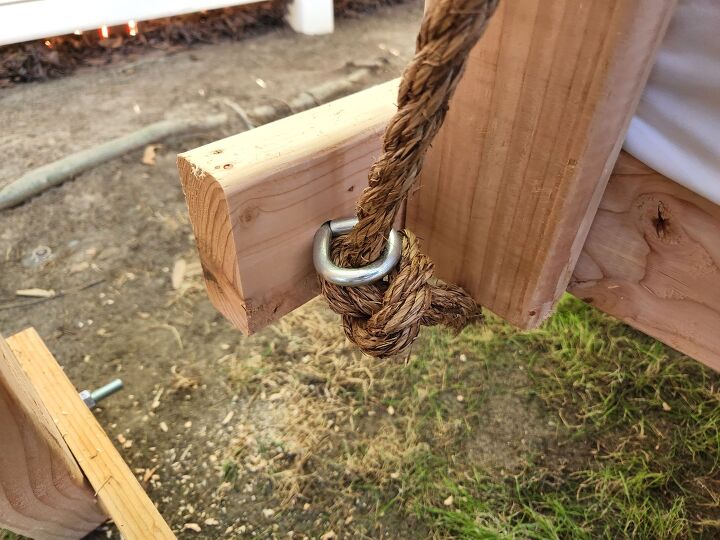
Once the two X frames were made, I moved the project outside and drilled a hole through the bed frame on each end to put in the eye bolts. There will be a total of four eye bolts to install. Once I drilled and inserted the hardware, I used a 3/4 inch rope, slid it through the eye bolt, and tied a knot at each end. All you need is one knot since the friction will keep the knot from untying. Make sure each rope on both sides is equal in length.
Once you have the rope equal in length and tied on both ends, time to hang the bed. It was easy to hang by lifting one side at a time.
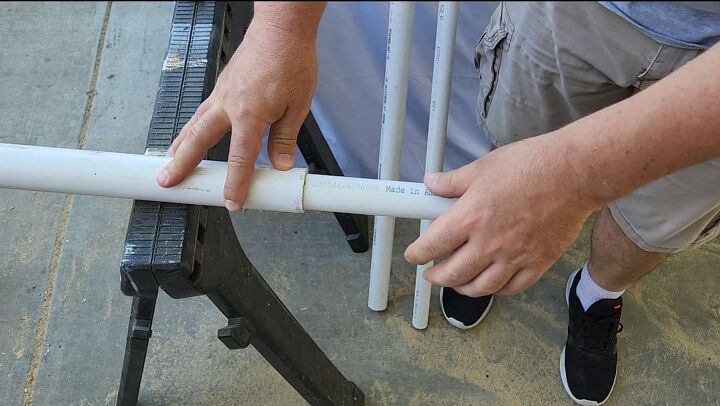
The final part of this project was installing the canopy, for some shade in the California sun. I used thick PVC pipe as the frame of the overhang and using different sizes, I could slide the pipes inside each other. I also used a 9x12 painter's tarp for the fabric for the overhang.

Here, I'm installing the PVC pipe frame for the canopy and cutting it to length. The second day's afternoon build was coming to an end, so I was in a bit of a hurry to finish. Once I got the last pipes connected I dropped the canopy on top. I made this from an inexpensive 9x12 painter's cotton drop cloth from the paint store.
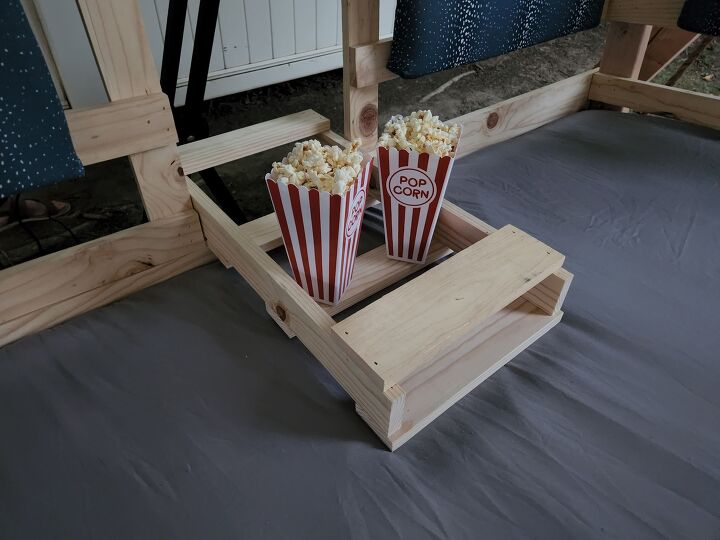
After I had the frame, bed, and canopy together, I got ready for the afternoon with some popcorn and treats. The folding shelf worked great!
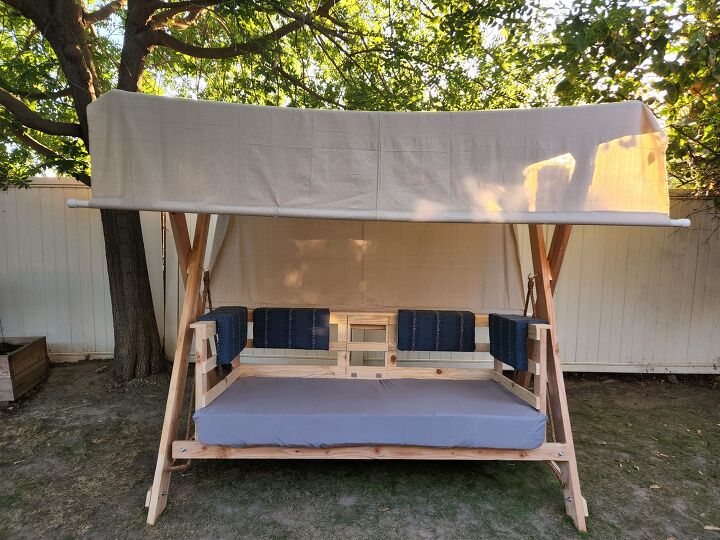
Here you can see the final project, with the canopy installed and ready for use. I hung some custom cushions I made on the back of the railings. By now I'm a little tired so I'm ready to enjoy my creation.
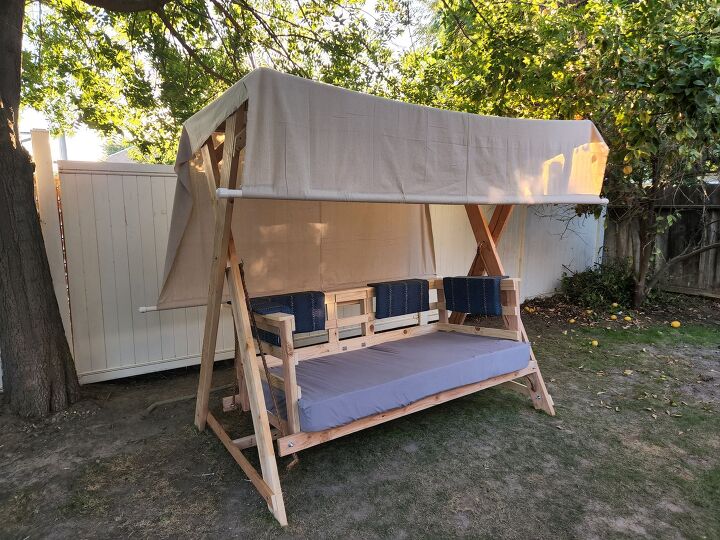
Here is a side profile of the completed swinging bed. As you can see, the canopy is much longer in the back, to help keep the sun off the back of our heads in the afternoon.
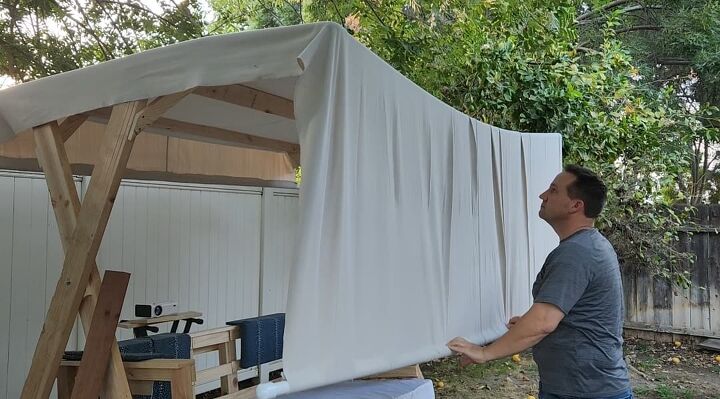
The coolest part of this project is that the canopy is movable and can be pulled down in the front. The reason for this is to make a movie screen on which we can play movies from a projector that I set up at the back of the bed.
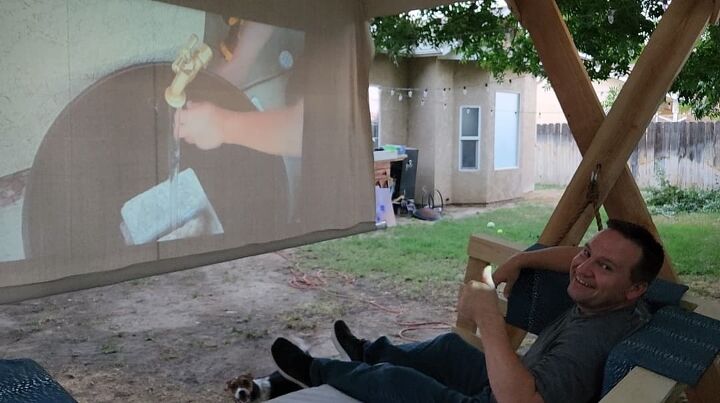
Here I am enjoying the fruits of my labor. The sun is setting here in California, and after putting up the projector, I watch my favorite Hometalk videos outside. I can't wait to bring the family out and surprise them with our new swinging bed—what a perfect way to enjoy the afternoons and watch movies.
Resources for this project:
See all materials


Comments
Join the conversation
-
Awesome!!!!
-
Brilliant!


Frequently asked questions
Have a question about this project?
Like this, is the canopy water proof? We get normal get rain a few times a week, the mattress wouldn’t last a summer. I could see myself napping on this.
Your 'afternoon nap time' swing is calling my name! 🙂
Are you going to list it on airBnB? 😴