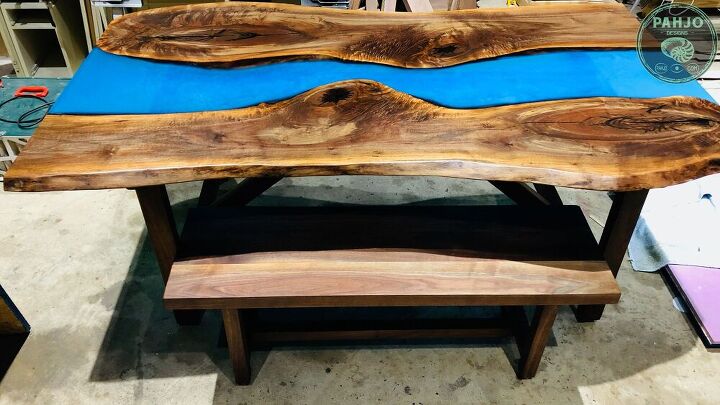
Best Wood Sanding Technique

2 Materials
$75
2 Hours
Easy
In this HT post, I show you the best wood sanding technique for a smooth surface. Even if you don't work with rough wood, the techniques covered in this project can be directly translated toward other furniture or floor refinishing projects. Also, I show you an easy way to fix sanding mistakes such as swirl marks and pigtails.
Project Details - Video Tutorial
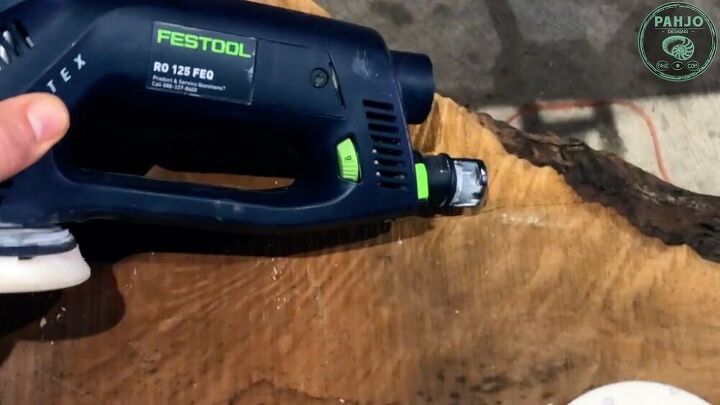

First, There are several things that will be difficult to explain with words and images, so be sure to check out the video above!Also, be sure to  subscribe to my YouTube channel for more DIY project tutorials.
Choose a Sander


Let’s face the facts. Most people, including myself, don’t enjoy sanding wood.It is monotonous, boring, time consuming, and severely disappointing when the end result contains swirl marks or pigtails.With that said, wood sanding can be an enjoyable experience with the right sander, sandpaper grit sequence, and sanding technique.SanderYou don't need to use the sander or dust collection system I used in this project. A quality orbital sander will work just fine, but just make sure you TAKE YOUR TIME and let the sander do its job.If the wood surface you are sanding is in rough shape, you may want to consider using a belt sander for the lower grits (40 and 60 grit).
Sandpaper Grits


In order to achieve a smooth surface, you need to use the following sandpaper grits: 40, 60, 80, 100, 120, 150, 180, 220, & 320.To make things easy, I segmented this procedure into 2 starting points.
  1. If you are sanding rough wood slabs or lumber, use the sandpaper grit sequence mentioned above.
  2. If you are refinishing a wood surface, start skip the first 2 grits and start at 120 grit. 120 grit sandpaper will remove the existing finish and expose the bare wood. If you find it does not, I recommend backing down to 100 and then to 80 if needed.
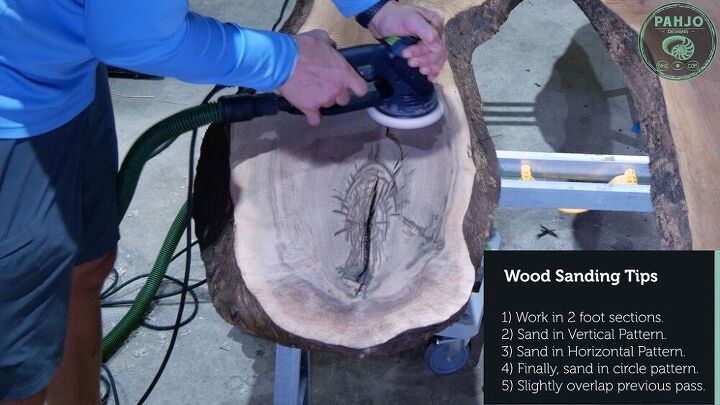
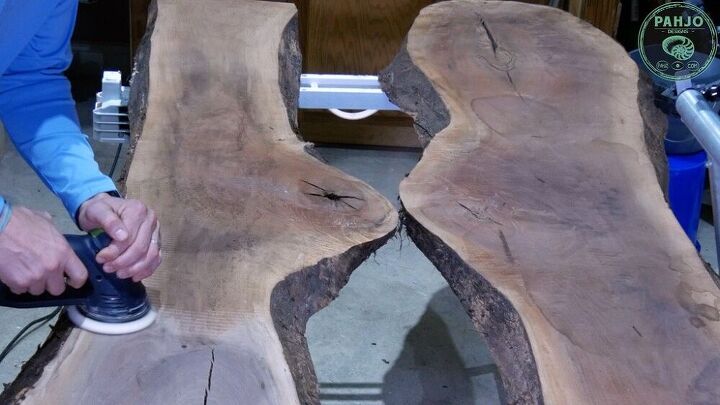
Sand in 2'x2' sections
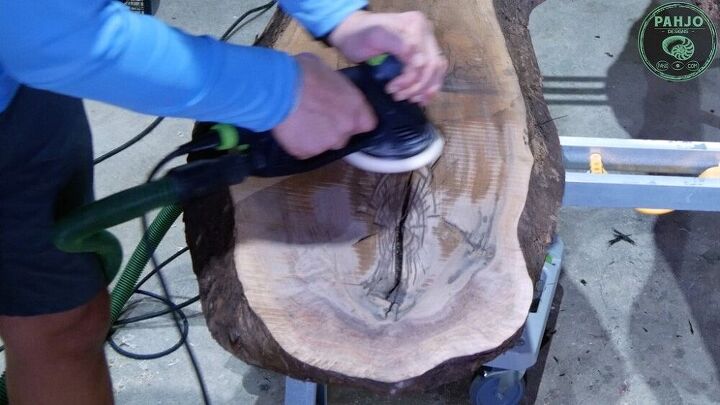

First, work in 2' x 2' sections rather than the entire surface. This allows you to monitor the result and change your technique quickly if needed.
Sanding Pattern


Next, sand in a tic-tac-toe pattern then a circle pattern and overlap each pass. In other words, sand horizontally (across the wood grain, sand vertically with the wood grain, and then in an overlapping circle pattern. Repeat this step for each grit and 2'x2' section.
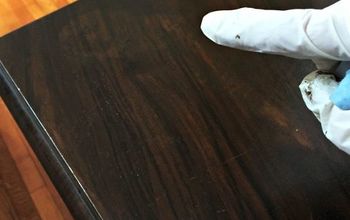
Monitor and Fix Sanding Mistakes


Most sanding mistakes are caused by applying too much pressure on the sander. Too much pressure traps particles between the sandpaper and wood which produces unfavorable results.As a result, swirl marks and pigtails form on the wood surface.Golden RuleUltimately, the following golden rule applies to all sanding mistakes: Sanding mistakes, such as swirl marks and pigtails, can only be removed by the sanding grit from which they were formed.
Sanding Mistake Example


For example, if you sand with 120 grit and notice a few swirl marks. According to the golden rule, you know 150 grit will not remove the swirl marks, so you need to sand with 120 grit again.After you sand with 120 grit for the second time and if you still notice the swirl mark. You need to back down a grit and sand with 100 grit sandpaper.If 100 grit removes the swirl mark, you know it was caused by this grit and you can proceed back to 120, 150, and so on.
Conclusion


Whether you are sanding rough cut wood or refinishing an existing table - using this sanding technique works really well.In closing, I hope this HT tutorial provided you with value. Please leave a comment down below if you have any questions.
Resources for this project:
Any price and availability information displayed on [relevant Amazon Site(s), as applicable] at the time of purchase will apply to the purchase of this product.
Hometalk may collect a small share of sales from the links on this page.More info
Jeremy Hoffpauir
Want more details about this and other DIY projects? Check out my blog post!
Go
Frequently asked questions
Have a question about this project?
Comments
Join the conversation
 1 comment
Next