


Butcher Block Wash Tub Table
Recently I had the pleasure of exploring an abandoned Italian restaurant. Plaster was falling off the walls and the ceiling, there was a dead rat in the stairwell. It was super creepy exploring with only flashlights and an occasional window...but it was awesome.
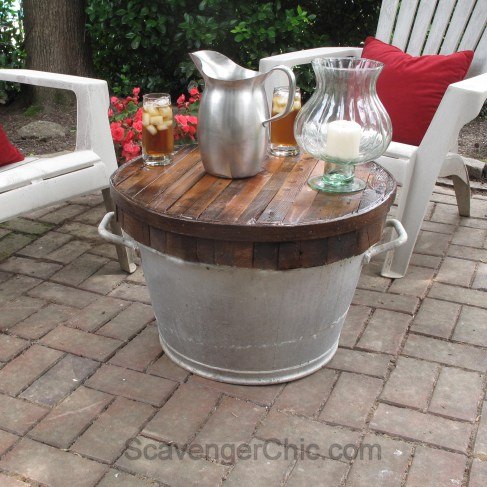
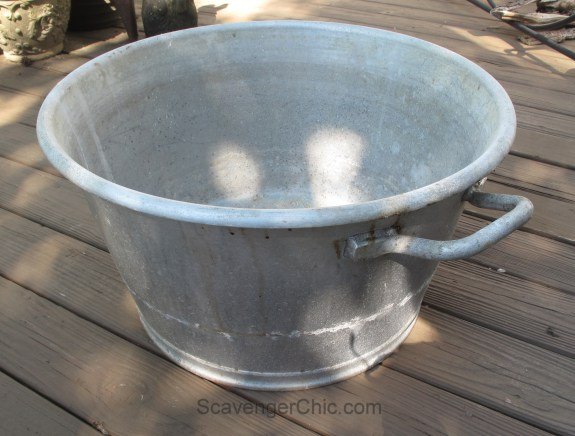
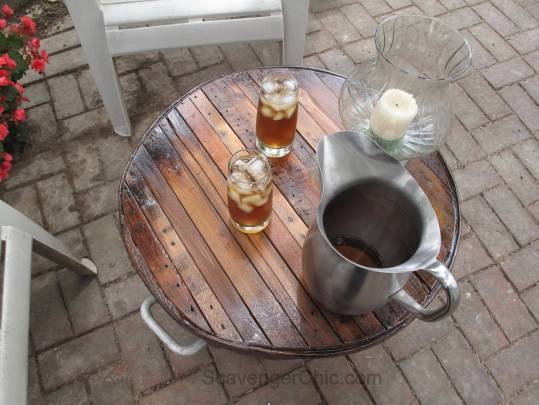
In the restaurant I fell in love with this old wash tub. It's perfect for parties, a bag of ice, add your sodas and beer, and it's the perfect cooler.
Or if you don't have a piece of glass, how about a pallet wood top?
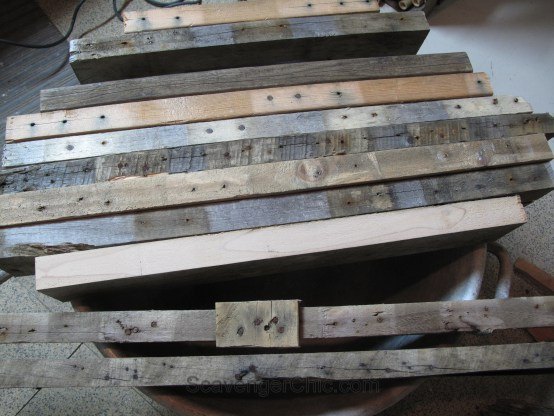
This project makes use of all those side pieces of the pallets that are usually discarded...the pieces with all the nails.
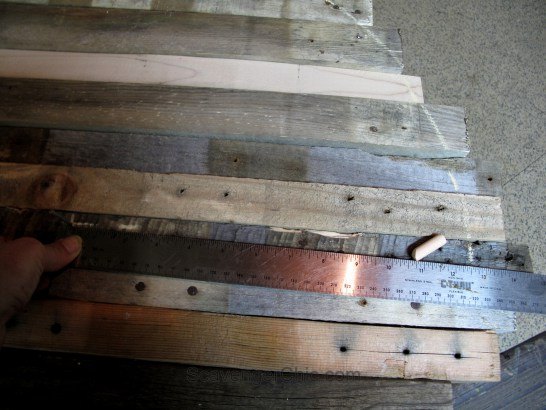
Mark the center of your tabletop and mark an equal distance on all sides with chalk to create a circle.
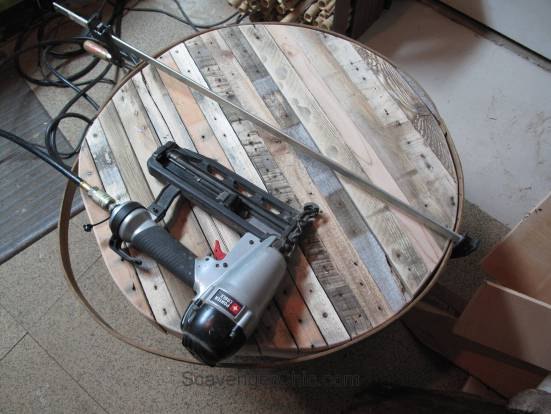
Because the wood is so thick, I cut the pieces individually with a chop saw.

Since my circle wasn't exactly perfect, I used paintable/stainable caulk to fill in the gaps between the wooden hoop and the pallet wood. Before finishing, the caulk got a bit of dark walnut stain.
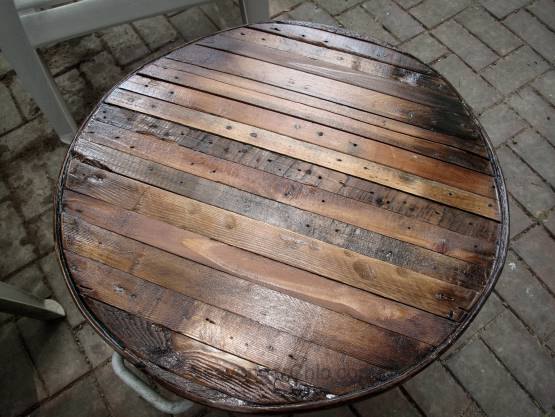
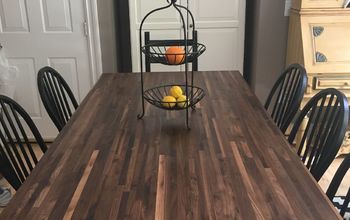
The entire top was painted with a coat of light walnut varathane. That's the finish with the stain and polyurethane in one step. While the light walnut was still wet, I added a coat of the dark walnut varathane to the edge areas, blending it in with the center.
As always, if you would like to see even more step by step pictures make sure you click on the link below.

Want more details about this and other DIY projects? Check out my blog post!
Comments
Join the conversation
2 of 11 comments
-
Gorgeous... I'd add a handle and use the bucket as an ice bucket for drinks...
-
very cool.


Frequently asked questions
Have a question about this project?