


Companion Wine and Wine Glass Rack/Shelf

by
Kim Oliver
7 Materials
$50
5 Hours
Easy
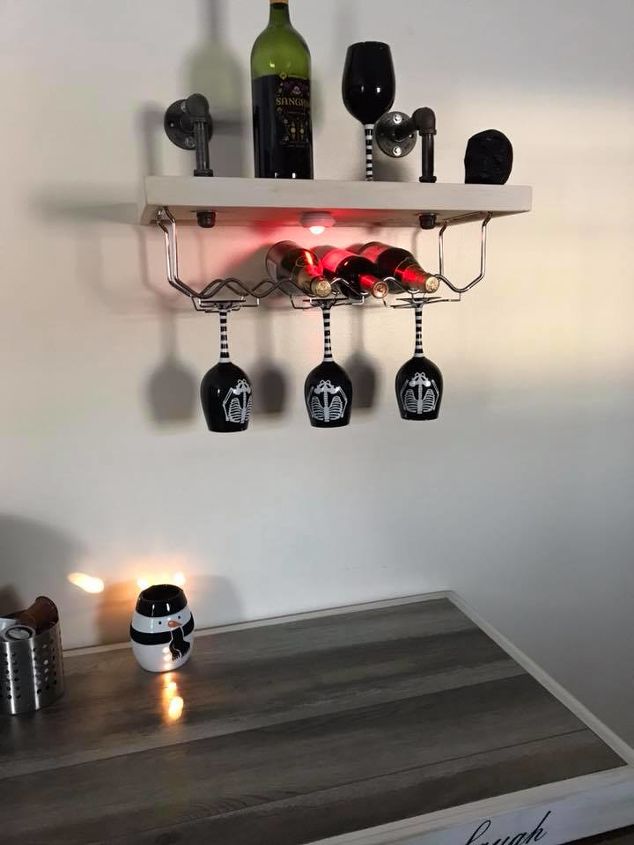
I added this shelf/wine glass rack for the folding table that I made for my daughter for Christmas.
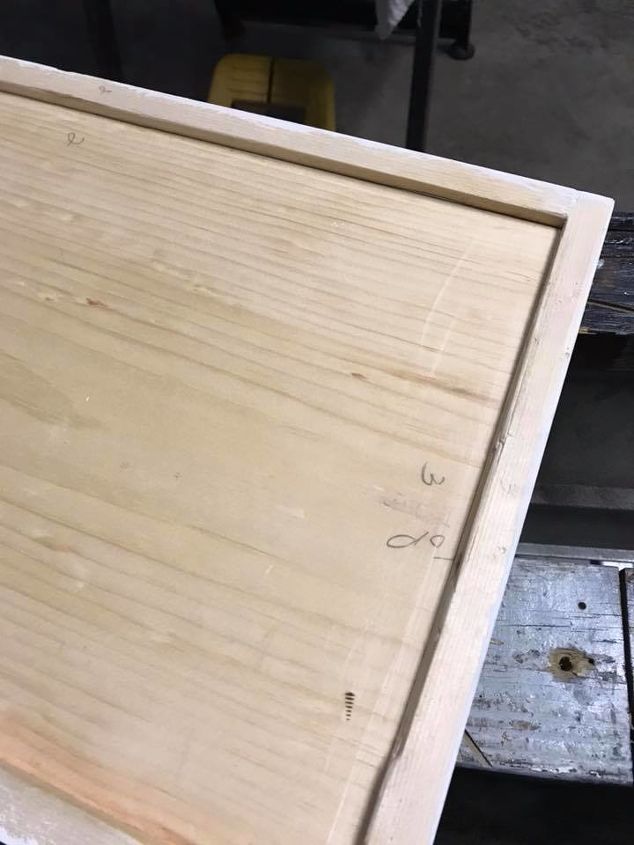
Framing up the shelf. Same materials that I used for the table that I made for her as a Christmas gift. 1" x 12" pine board framed with 1" x 2" pine trim, screwed to the board. Covered with laminate flooring, glued down and screwed from the sides. 1 1/2" trim screws were used for the frame and to side screw into the laminate. Pre-drilling is highly recommended to keep the laminate from splitting.
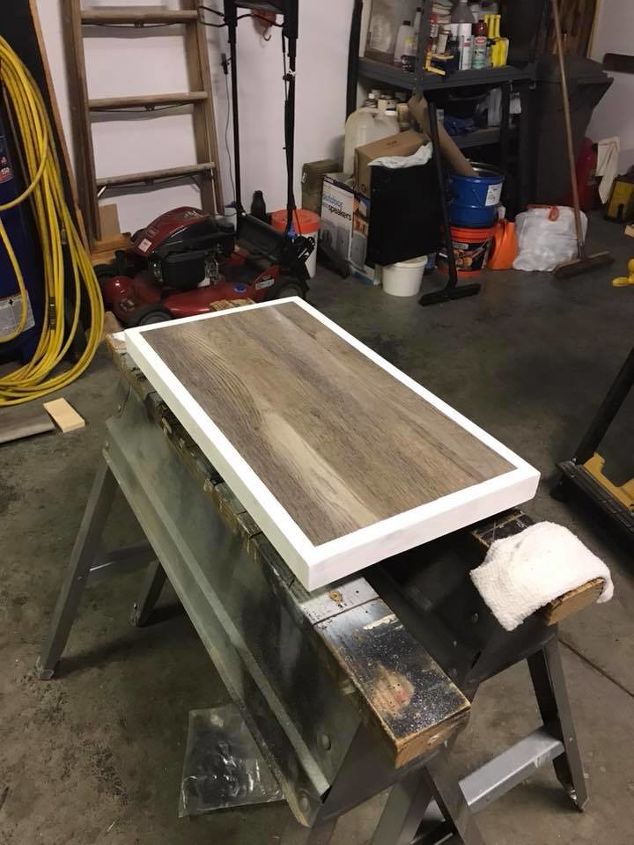
Finished side of the shelf, measurements are 13" x 24" including the frame.
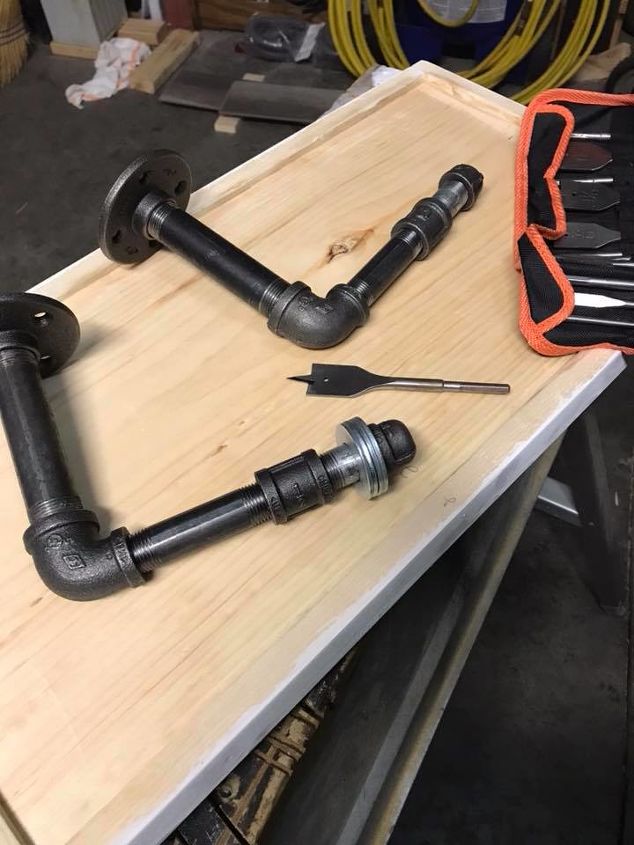
Mounting hardware was 3/4" black pipe flanges (2), 3/4" x 5" black pipe nipples (2), 3/4" x 1/2" reducing 90 degree black pipe elbow (2), 1/2" x 4" black pipe nipple (2), 1/2" black pipe coupling (2), 1/2" x 2 1/2" galvanized nipple (2), 1/2" black pipe cap (2), 5/8" opening washer drilled out to 7/8" (2) I made four of them but only used two.
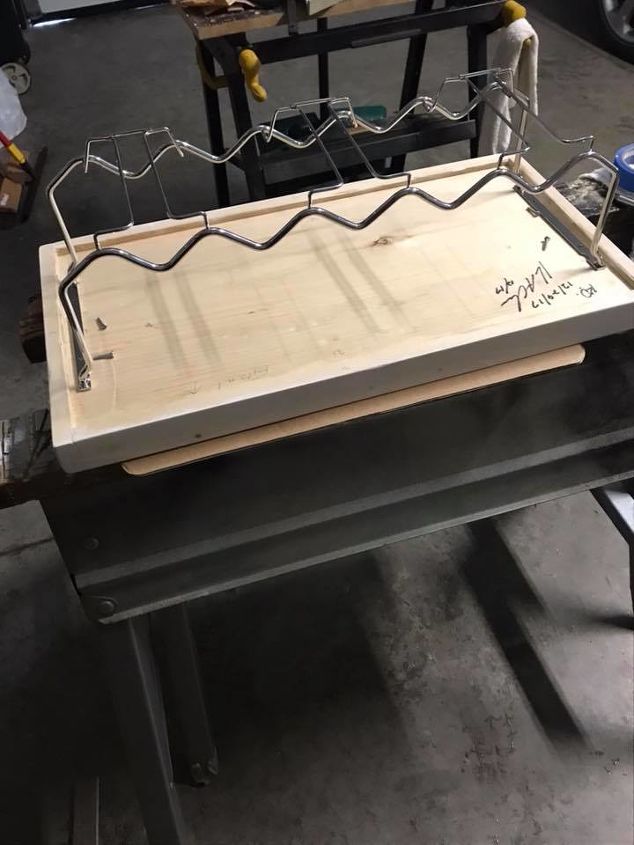
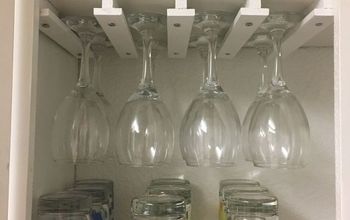
Adding the chrome wine and wine glass rack purchased from Bed Bath and Beyond to the underside of the shelf. The finish on the trim is a 50/50 mix of white satin latex paint and water. I painted it, rubbed some off, let it dry, sanded some of it off to make it look old, then repeated the process a second time.
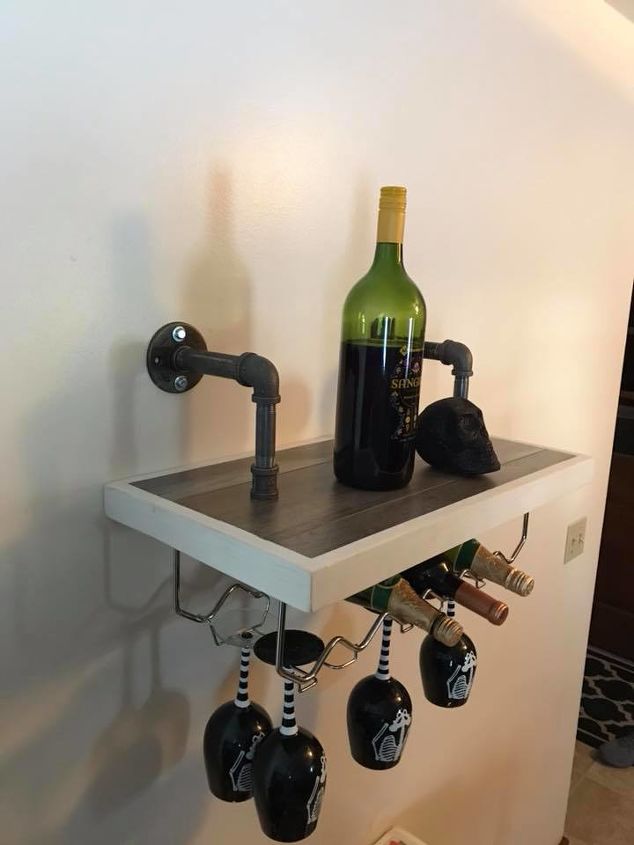
Once I had the flanges leveled and screwed into the studs I assembled the black pipe and plumbed them straight up and down, I held the shelf up to the 1/2" x 2 1/2" galvanized nipples, centered the shelf, made the marks for the holes. I used a 7/8" spade bit to drill the holes, also it is a good idea to put clear packing tape over the area to be drilled to keep from chipping the laminate when the spade bit starts cutting into it.

With the shelf in place, I placed a washer and a cap on each of the nipples coming through the bottom of the shelf. Fortunately the shelf was level after I tightened the caps. You could use additional washers on one side to level it if you needed to.
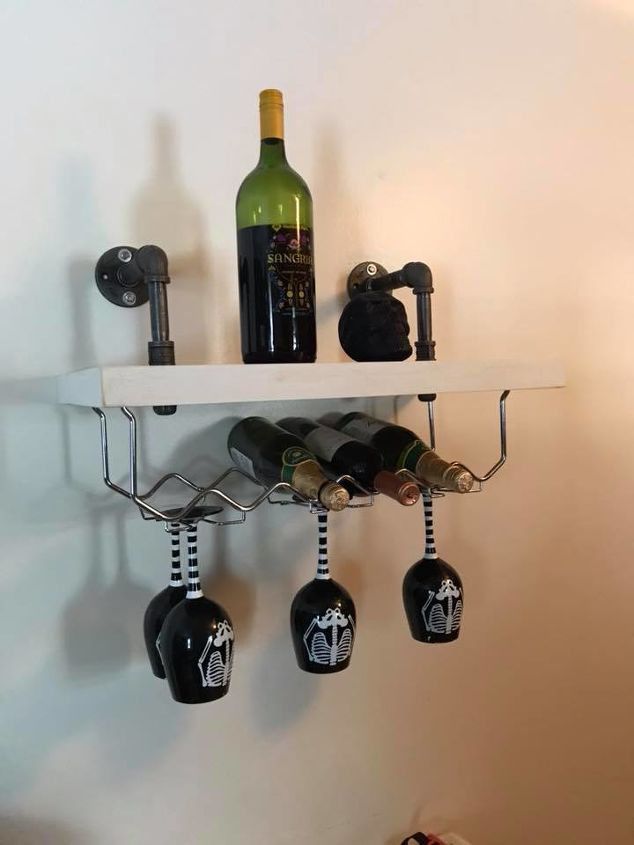
Completed shelf hung up.
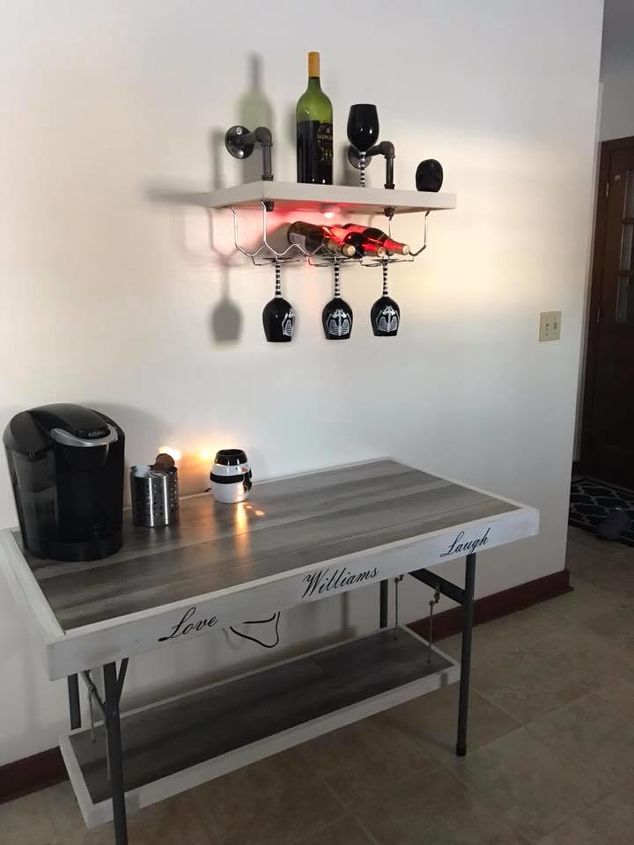
My daughter added the remote controlled LED puck for effect.


Any price and availability information displayed on [relevant Amazon Site(s), as applicable] at the time of purchase will apply to the purchase of this product.
Hometalk may collect a small share of sales from the links on this page.More info
Comments
Join the conversation
2 of 10 comments
-
Bed Bath & Beyond online
-
Cute...Love the glasses too !!!


Frequently asked questions
Have a question about this project?
I LOVE the wine glasses...where did you get them!