


DIY Ana White Farmhouse Table

by
Zest it Up
11 Materials
$100
2 Days
Medium
If you have had the chance to visit us in our shop, or have followed along on the blog as we have transformed the shop, then you know our space is riddled with DIY projects of every size. One of my favorite pieces that I wanted to share with you is our gorgeous farmhouse table. It is a great share, not just because it turned out so beautiful, but because it was a project made possible by the incredible work of another inspiring lady-boss and woodworker: Ana White. If this name is new to you, I might have just pulled back the curtain on something that will rock your world. I have been inspired by Ana and her story for years now. Living in Alaska and not having easy access to stores like Pottery Barn for furnishing the home her hubby was building for them, she started a personal mission to problem solve. It’s so empowering, because she went from pretty much no power tool experience to becoming an avid woodworker. Not only did she manage to completely furnish her beautiful home with her handmade gems that you would normally shell out big bucks for at Pottery Barn or Restoration Hardware, but she learned how to share her projects in such a simple and approachable way for all of us!
Admittedly, with most of my woodworking projects, I just feel my way much as I do when I play legos with my kids. However, if I am ready to tackle a big project that I want to make sure is super sturdy and sound, I usually start by scrolling through Ana White’s amazing library of gorgeous plans. It is a virtual treasure trove that I am sure you will have fun exploring, too. As you will see with my little farmhouse table reveal, following her plans is a cinch and the results are drop-dead-gorgeous!
Photo Cred: Anya McInroy
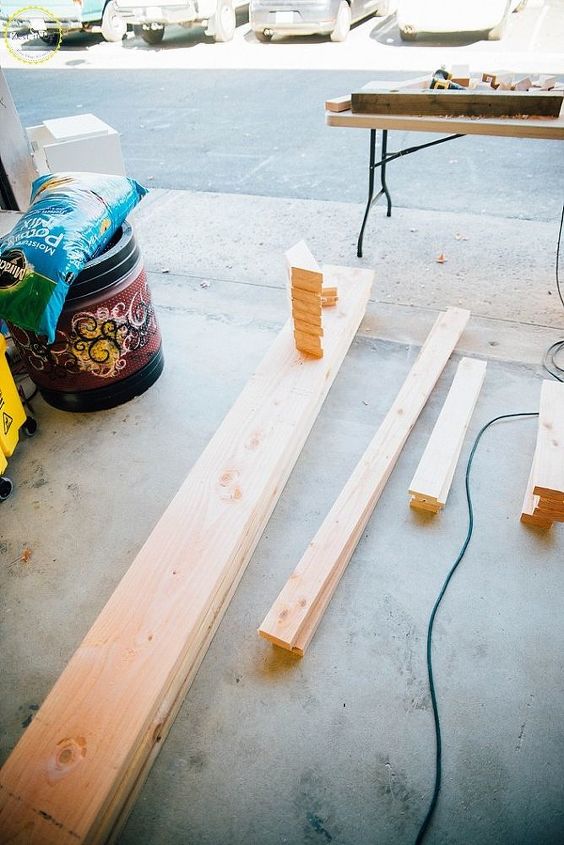
Shopping List:
- 4 – 2×10 @ 8 feet long
- 7 – 2×4 @ 8 feet long
- 1 – 1×4 @ 12 feet long
- 3” screws, 2 ½” PH screws, 2” finish nails
Tools Needed:
- chop saw
- sander (with coarse and fine grain paper)
- drill
- hammer
- wood glue
- stain
- Verathane
(Note: To get Ana’s incredible full plans for this beautiful table, you can scroll to the bottom of this post…but I have included her cut list for a quick reference, so you know how easy this is!)
Cut List:
ENDS
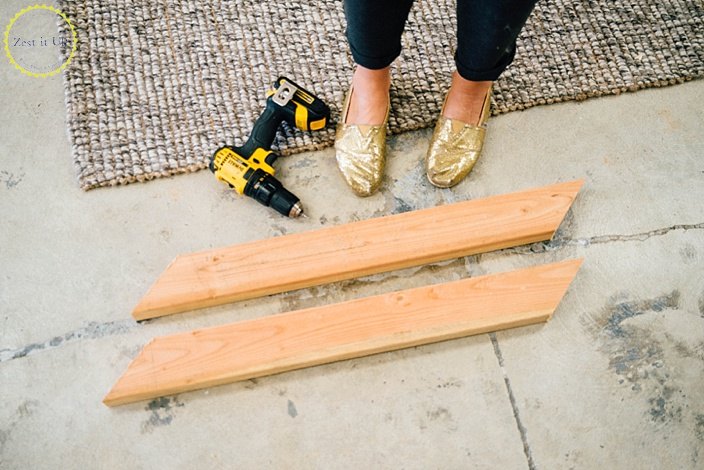
- 8 – 2×4 @ 11 3/8” (ends cut at 45 degrees off square, longest point measurement, NOT parallel)
- 4 – 2×4 @ 20”
- 4 – 1×4 @ 28 3/8” **
- 8 – 2×4 @ 32 5/8” CUT TO FIT **
- 4 – 1×4 @ 3 ½”
MAIN TABLE
- 2 – 2×4 @ 65”
- 2 – 2×4 @ 30 3/8” (both ends cut parallel at 45 degrees off square)
- 4 – 2×10 @ 96”
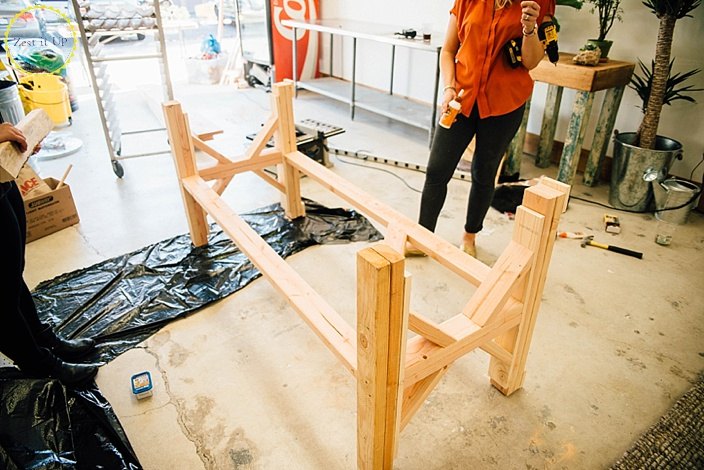
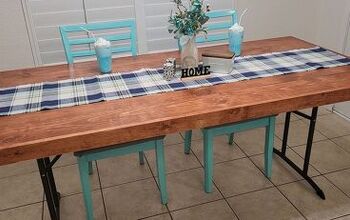
If you have a chop saw, this process is a lot like following a recipe and assembling your lego blocks LOL! It really was a lot of fun to create, and it was amazing watching a few simple boards transform into a massive piece of furniture. If you like assembling Ikea furniture, then this little wood puzzle is a perfect Saturday project for you! Yep, that’s right, this project will only take up a one day of your weekend. Ana’s diagrams a crazy easy to follow  You will go from a stack of boards to a beautiful piece of furniture pretty darn quickly.
You will go from a stack of boards to a beautiful piece of furniture pretty darn quickly.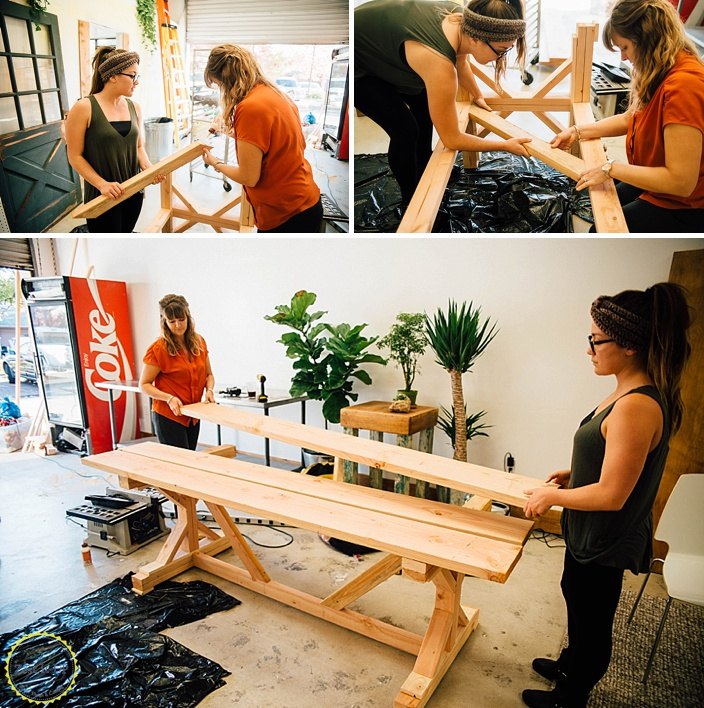
I could not believe how fast this piece came together. I will tell you that there are a few steps that are made much easier with an extra set of hands (unless you are a talented octopus).
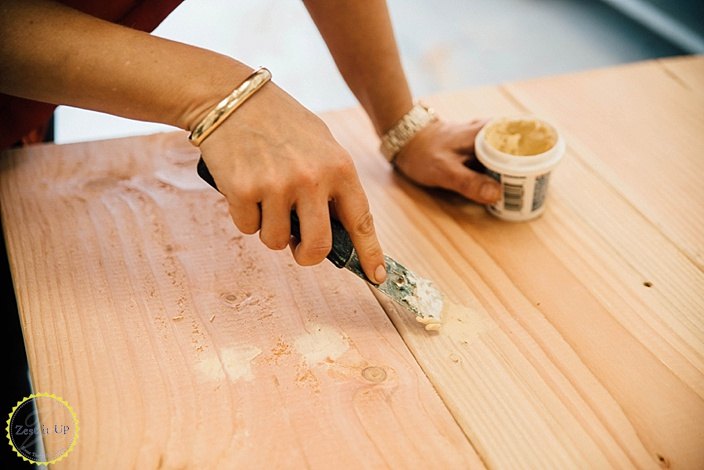
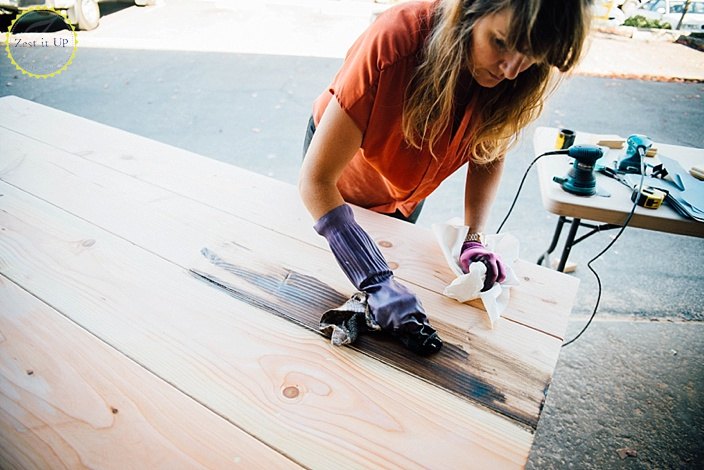
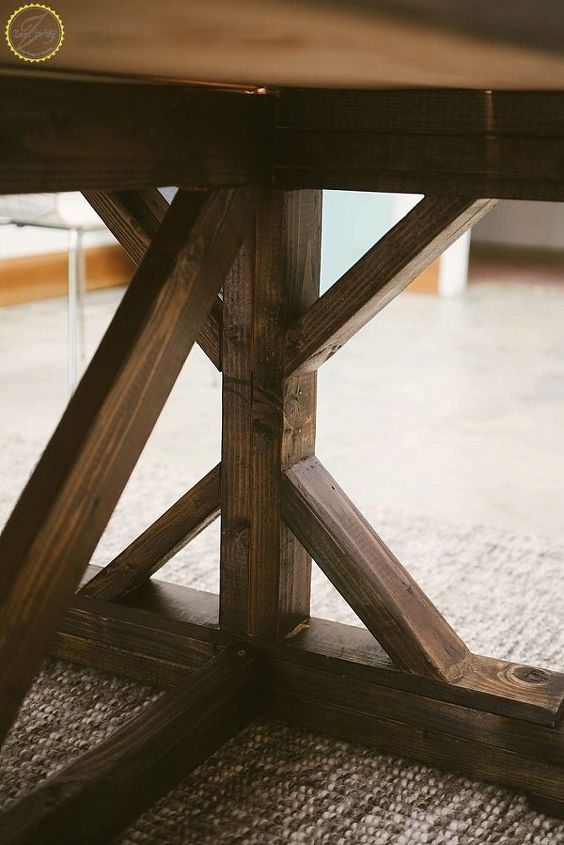
Final steps, once the assembly is complete: fill the holes left by any screws, sand everything down, stain it whatever color you like (I chose black walnut), and then seal it.
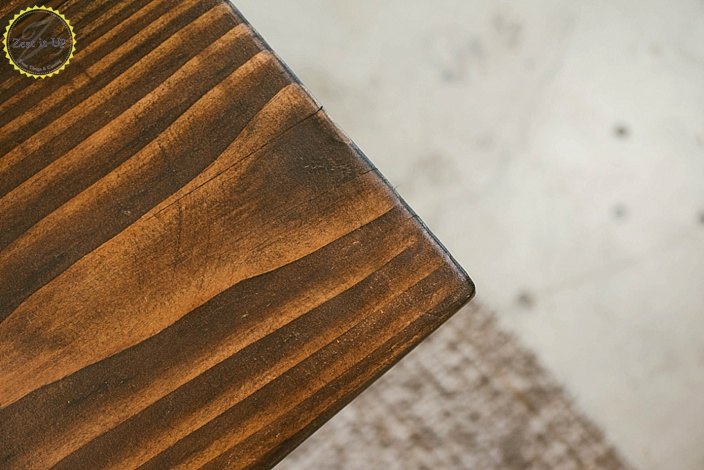
To seal, make sure that you let the coat dry for 24 hours, then lightly sand it between coats to get the smoothest finish possible. I like to use fine steel wool between coats.
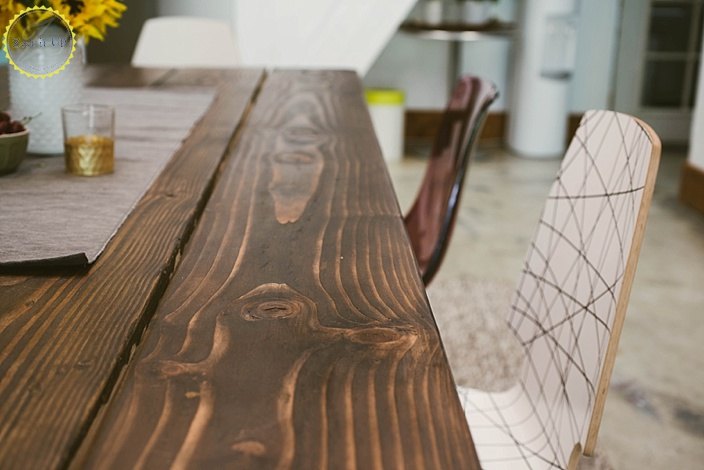
Things I would do differently next time? I would sand and stain every board before assembling. I just don’t love how I can slightly see unstained wood between the cracks on the table top. Other than that, this project was a slam dunk!
To get ahold of Ana’s full farmhouse table project plan, go here: http://www.ana-white.com/2012/06/plans/fancy-x-farmhouse-table
You will see what I mean by easy diagrams. In fact, you may just become as addicted to her story and talent as I have become. Hahaha, you may wind up with an entire farmhouse of handmade furniture if you fancy yourself a “weekend warrior!”

Have fun looking around her site!!
xoxo
Chanda
Want more details about this and other DIY projects? Check out my blog post!
Comments
Join the conversation
2 of 18 comments
-
Párabéns!
-
Great job!


Frequently asked questions
Have a question about this project?
This is something I would LOVE to have. It is just so strong, sturdy and sooooooo very beautiful. The stain is gorgeous.......YOU did a great job, Miss Carpenter!!!! Are you gonna buy some chairs or make them?
I love the table ! Good job !. One question though : do you put a tablecloth on there to eat? I can imagine all the crumbs falling in the gasps and further on the carpet if you are wiping off the table.
Stunning table! Girl power!!! When did you start building furniture? I'm really impressed! Good for you!! :-)