


DIY Footrest/little Seat

by
Carol Becker
4 Materials
$20
2 Days
Medium
I had made an ottoman for my husband and had a little extra fabric left over. My youngest daughter wanted me to make her a little foot rest with the extra fabric. So, using leftover materials, I made this cute little foot rest.
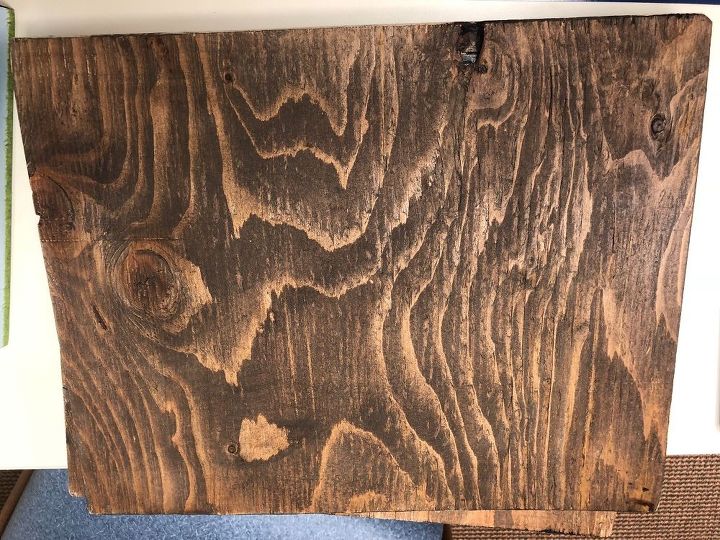
I started by cutting plywood pieces - 4 pieces of matching size.

I then stained the wood using Kona colored stain. After staining, I lightly sanded it, then restained, and then sanded it.
I then applied two coats of polyurethane.
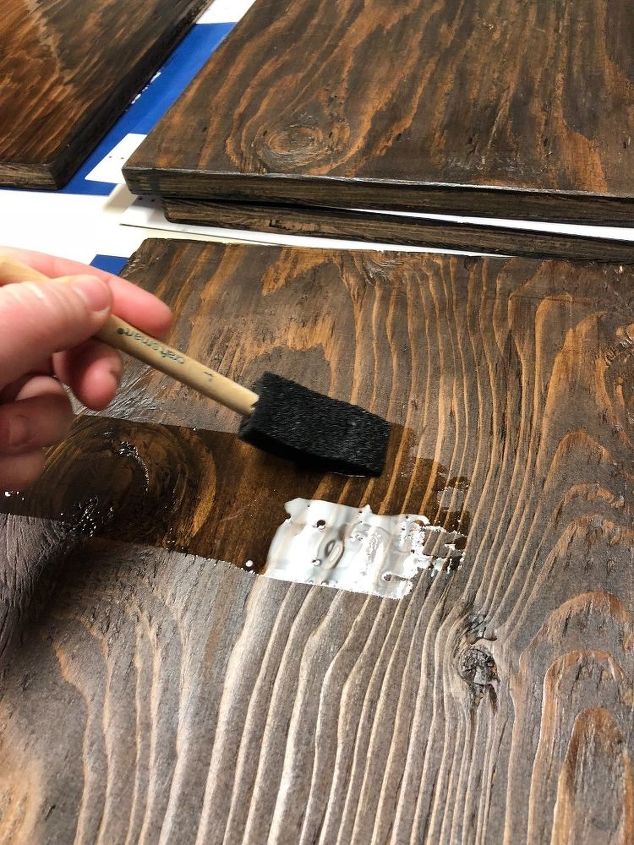
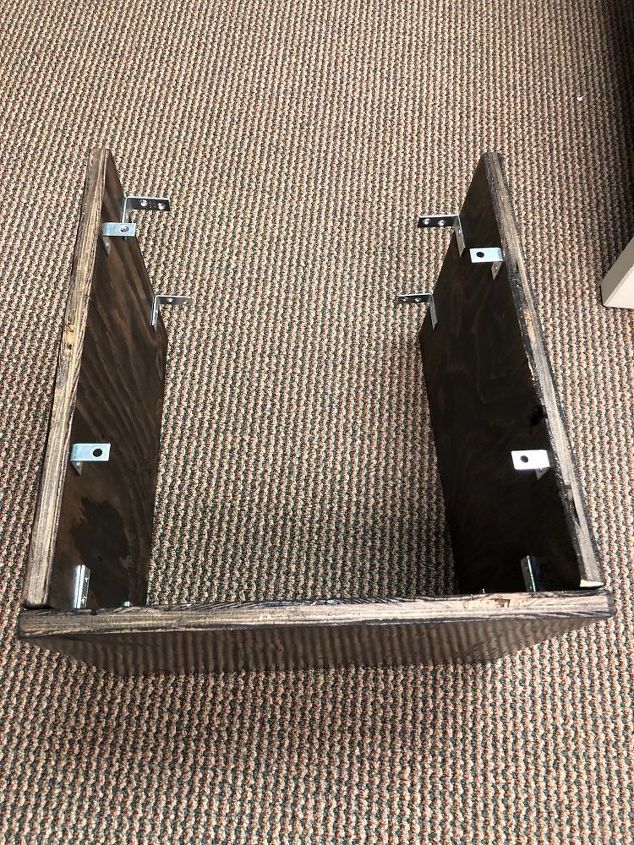
Between each coat of poly, it’s important to remember to lightly sand the wood. Then, after the final coat of poly, to let it dry for 24 hours. After that, I screwed in brackets to 2 of the 4 pieces; two on each side and 2 onto the top.
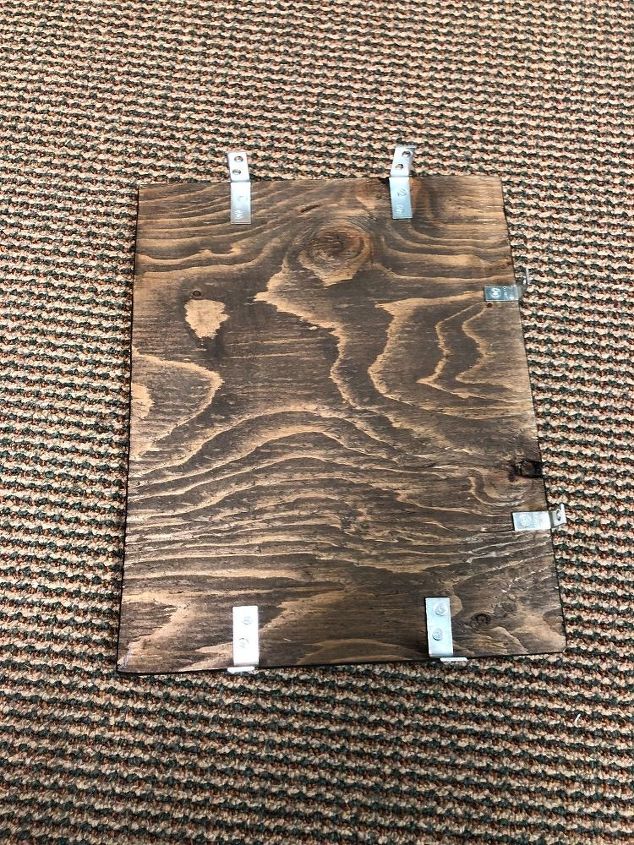
Then I screwed these sides to the other sides that didn’t have screws.
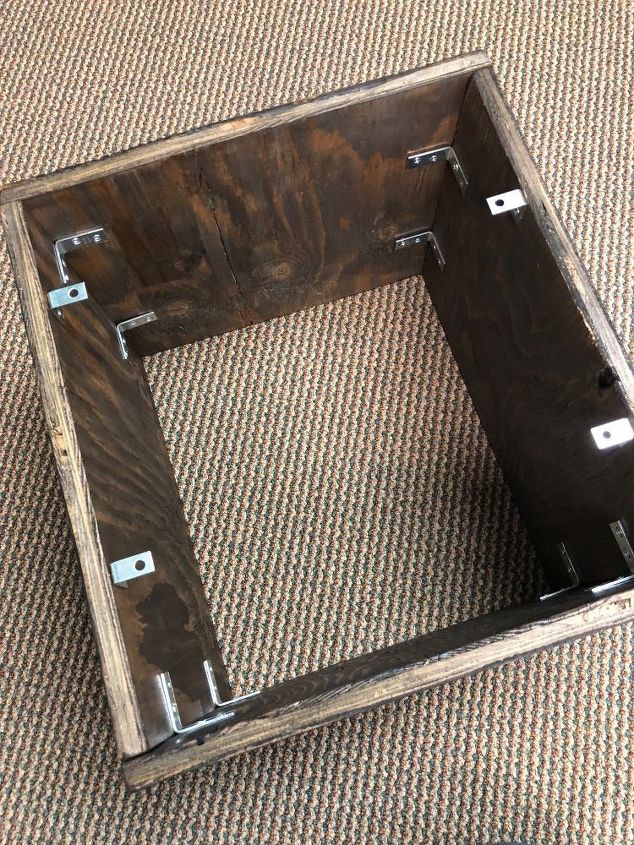
And this is what the inside looks like.
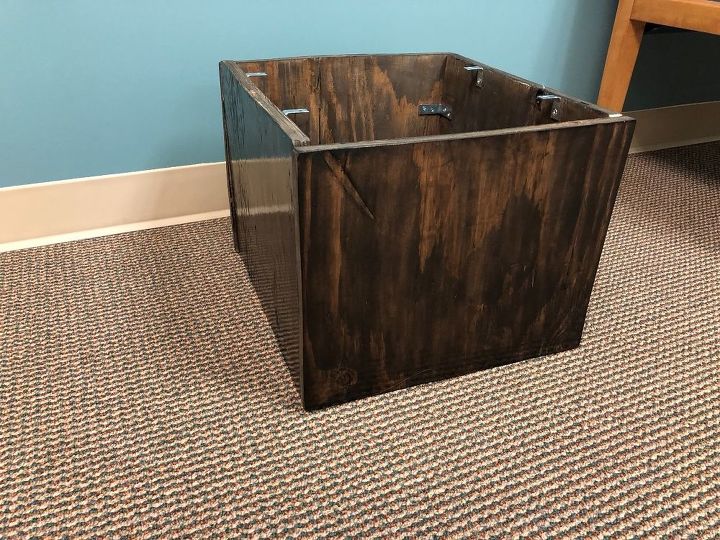
While the outside looks like this.
ive done a previous post in which I show how to do the upholstered part of the top, which you can view here:
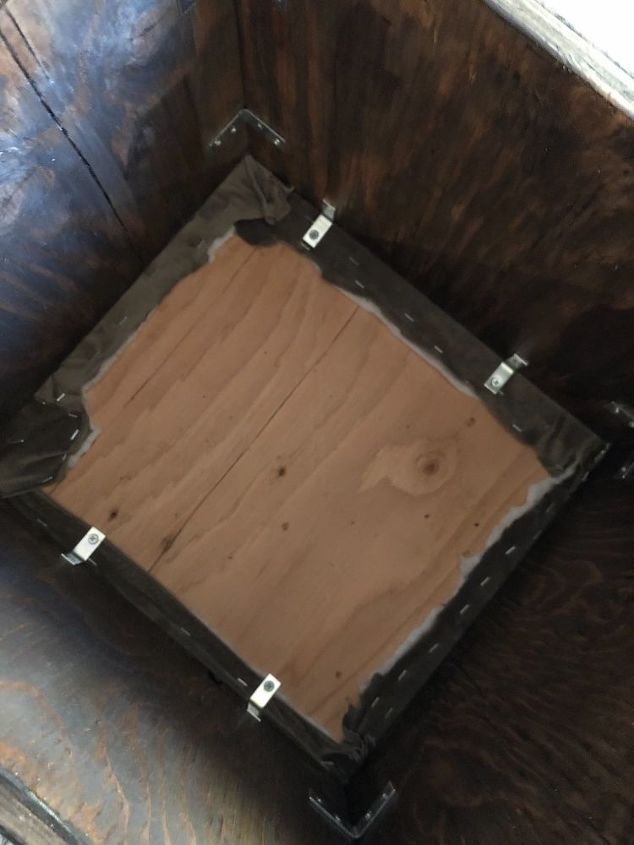
Basically, I cut a piece of plywood to squarely fit on top of my base box. Then I cut laid out a layer of fabric, batting, foam (cut to size) and the plywood. I pulled all the batting and fabric as tight as possible and stapled them down. I trimmed the extra and flipped it over. I placed my box base on top and screwed it into place.
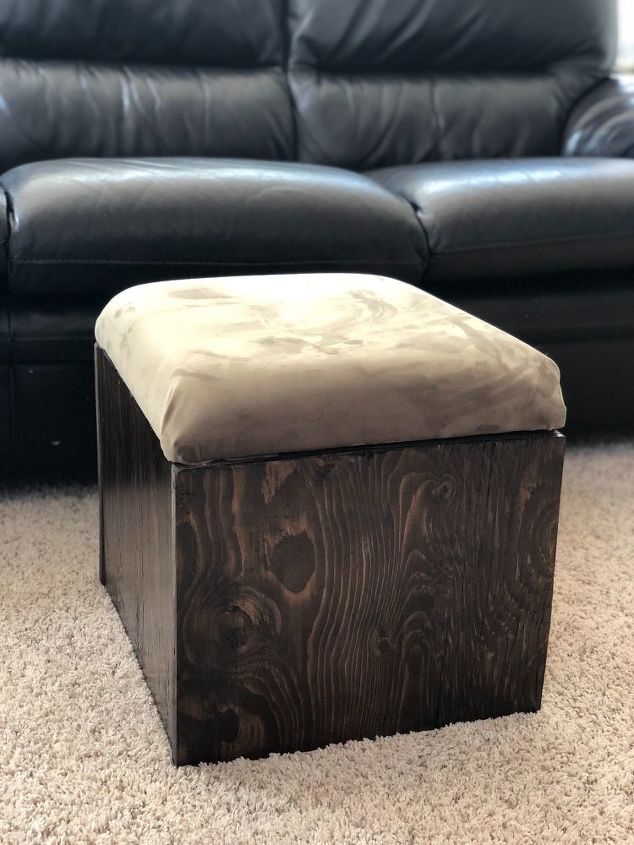
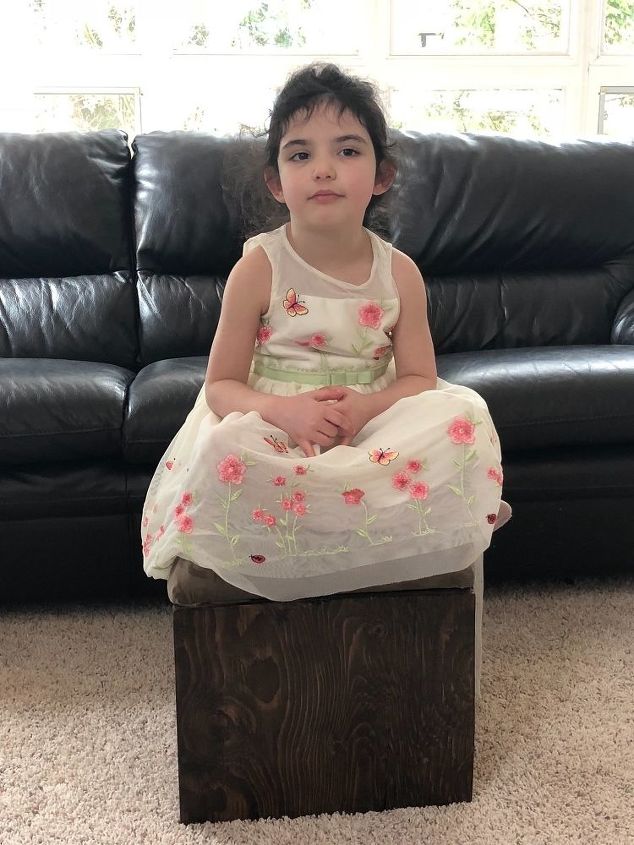
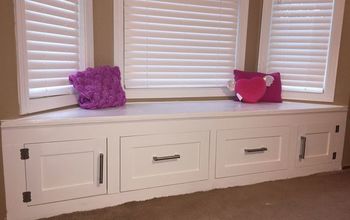
Then here is the finished result!

Since it’s so structurally sound and light weight I can move it easily around the house as a footrest or additional little seat.
So thanks Hometalk for continuing to encourage and support creative projects!

Resources for this project:
See all materials


Any price and availability information displayed on [relevant Amazon Site(s), as applicable] at the time of purchase will apply to the purchase of this product.
Hometalk may collect a small share of sales from the links on this page.More info
Comments
Join the conversation
2 of 3 comments
-
Very cute and easy!
-
I think it would look cool with brackets on the outside too. Nice simple idea!


Frequently asked questions
Have a question about this project?