


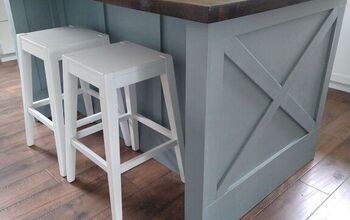
DIY Kitchen Island With Butcher Block and Beadboard

As a part of our 70s kitchen makeover, we decided to add an island. I've seen similar islands going for $1,000, and that was definitely more than we wanted to spend.
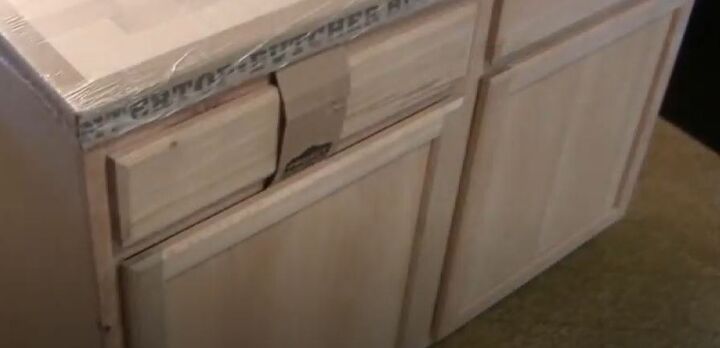
So, we took a trip to Lowes and bought 2 base cabinets and some beadboard. Then, we went to Home Depot for the butcher block, and within a few hours, we had a new custom made island!
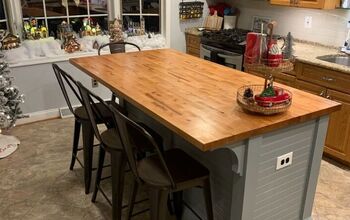
We are really happy with how it turned out. Not only is it great to have a convenient spot to drop the groceries and have more storage, but the best thing was the price tag of $360!
Here's how I did it step-by-step. I've also included the video if you'd rather watch that.
Step 1:
We bought the raw wood base cabinets, so the first thing I did was to paint them white (using the Valspar Cabinet & Furniture Paint that I used for the rest of my cabinets)
Step 2:
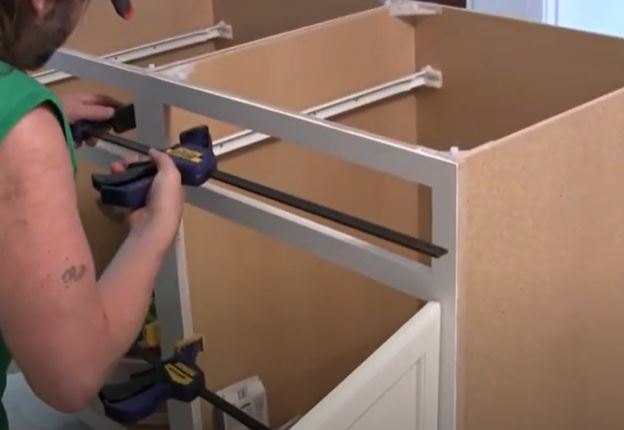
Next, I used 2 large clamps to clamp the 2 cabinets together.
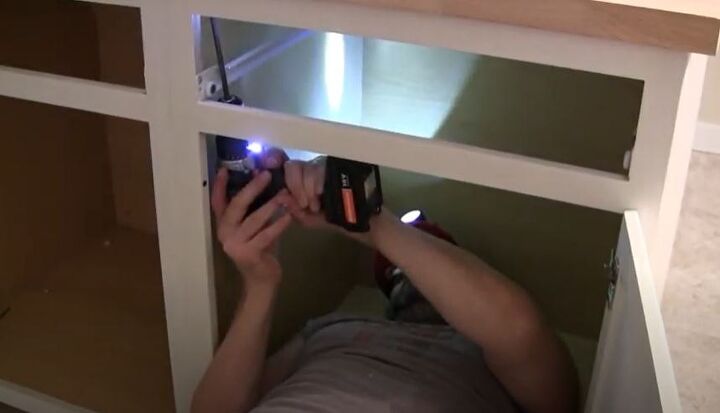
Step 3:
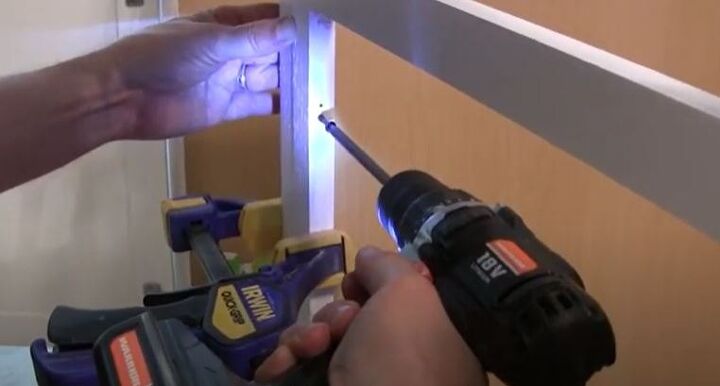
With a cordless drill, I predrilled some holes and then screwed the cabinets together.
Step 4:
Next, I cut down 3 pieces of the MDF baseboard moulding. These will be used on the back and the sides. I did 45 degree angle cuts as needed.

Step 5:
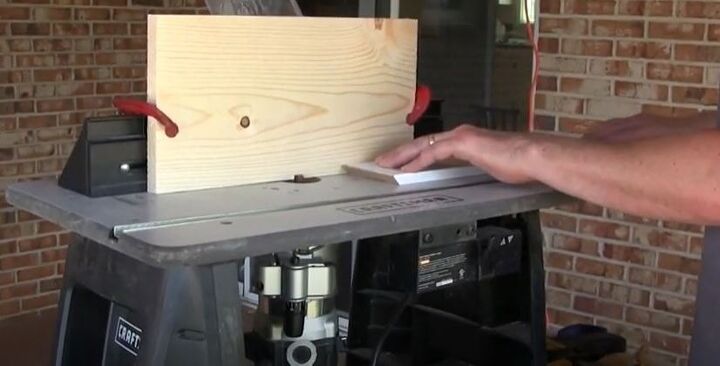
Using a router, I created a rabbet in the MDF baseboard that the beadboard will sit in.
Step 6:
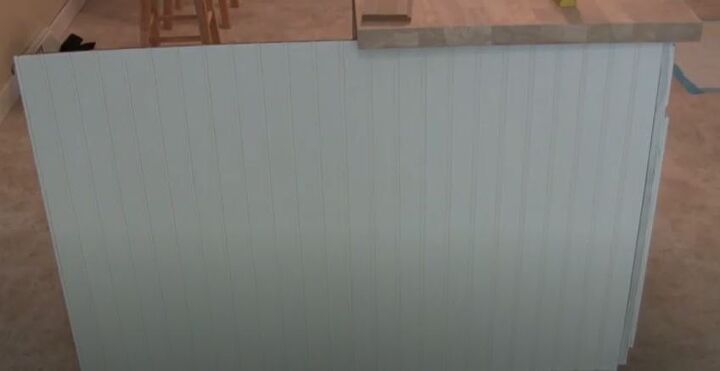
Next, I held the beadboard sheets up to the island so I could measure how much needed to be cut off. Once I marked where to cut, I used my circular saw and cut them to size.
Step 7:
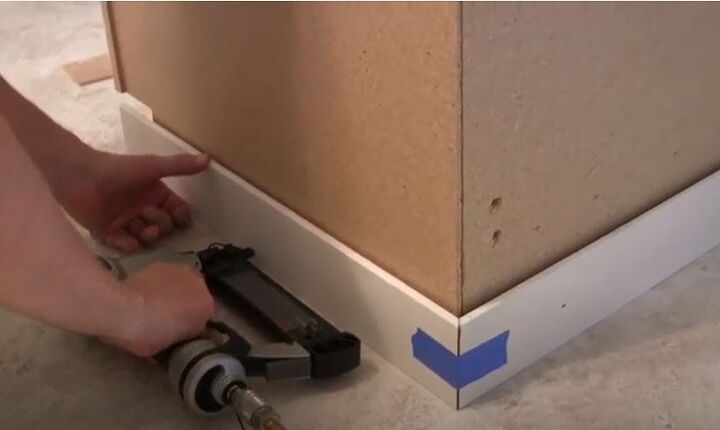
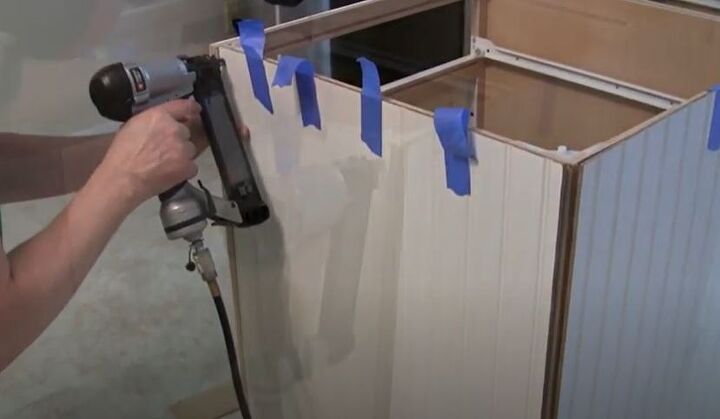
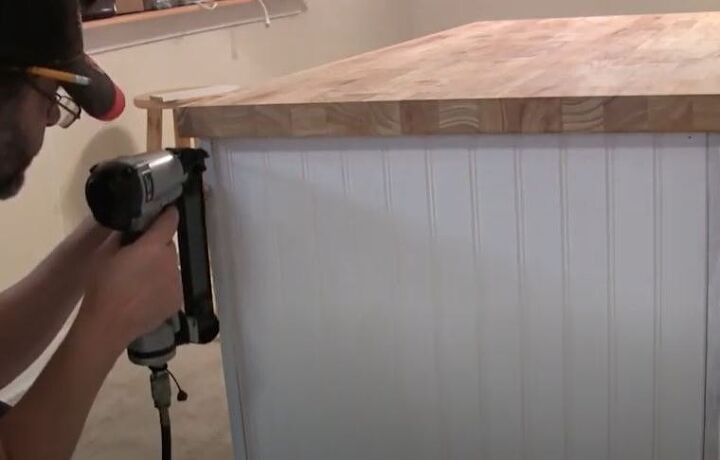
I used blue painter's tape to hold the MDF baseboard in place and then I put a brad nail in each piece.
Step 8:
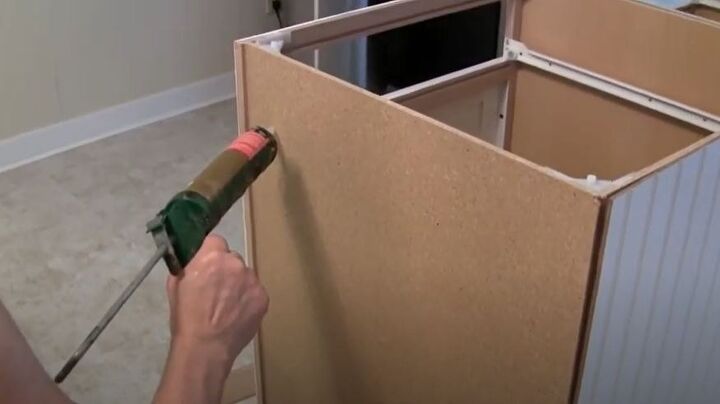
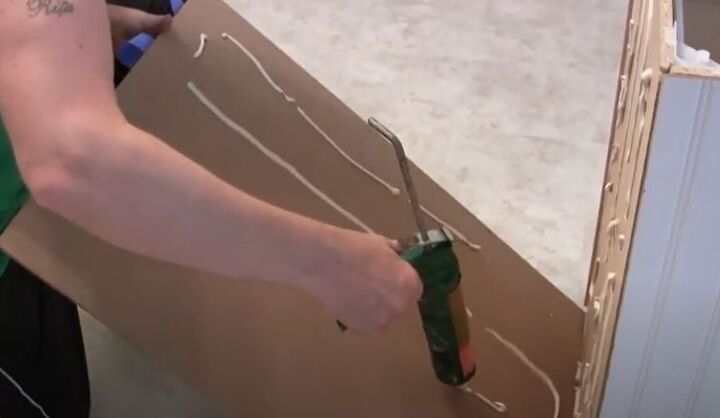
I placed the beadboard in the MDF baseboard and checked that everything fit properly. Once I was sure of this, I applied Liquid Nails Glue to one side of the island and also on the back of the beadboard. I then brad nailed the beadboard in place at the corners, and also finished brad nailing the baseboard to secure everything.
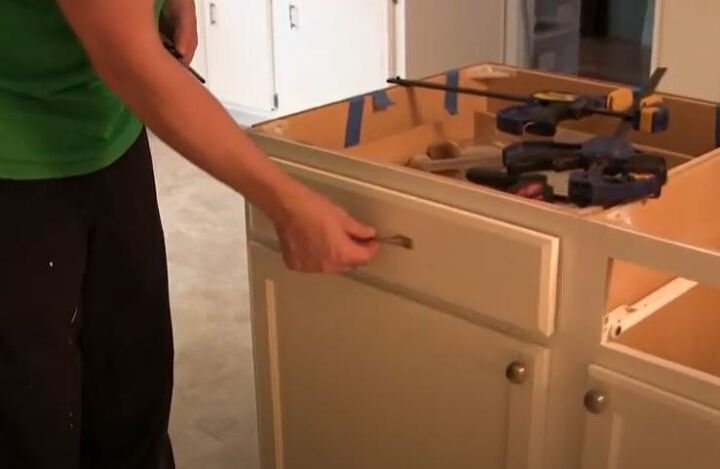
Step 9:
Next, I installed the pulls and knobs.
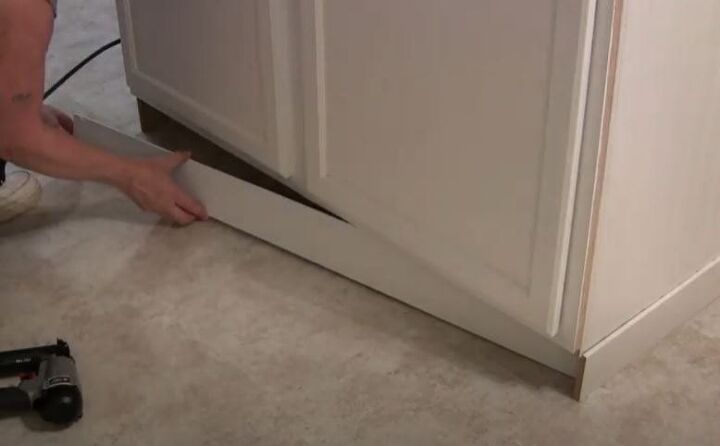
Step 10:
I added a kickplate, which was a piece of 1/4" plywood I had previously painted white and cut down to size.
Step 11:
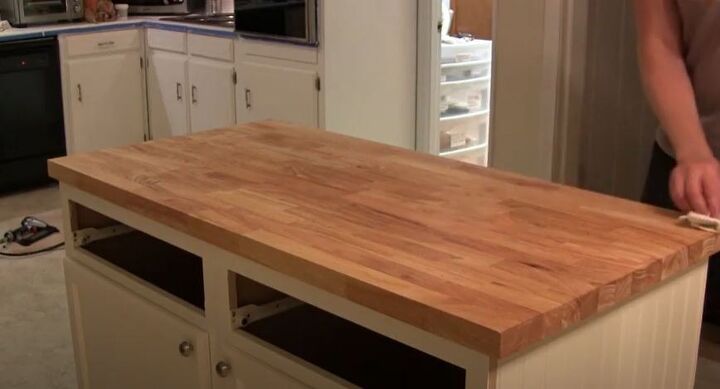
Once I made sure the butcher block top was level and was evenly spaced on all sides, I screwed in the butcher block countertop using self-drilling screws.
Step 12:
Next, using a clean rag, I applied a coat of MinWax Tung Oil to condition the butcher block.

Step 13:
I let that sit for 10 minutes, and then lightly buffed it.
Step 14:
I nailed the corner moulding on.
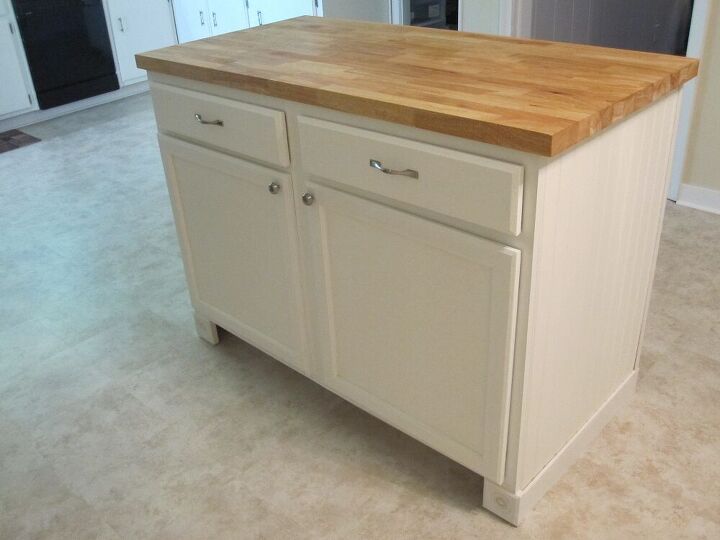
Step 15:
I'm using these rosettes as feet, so I glued those on. After that, just a few paint touch ups and the job was complete.

Step 16:
Enjoying the new kitchen island!


Frequently asked questions
Have a question about this project?