


DIY Plant Pedestal
This DIY Plant Pedestal is an easy woodworking project perfect for a rainy day! This Urban Outfitter knock off makes a cute gift or the perfect pedestal to display your succulents!
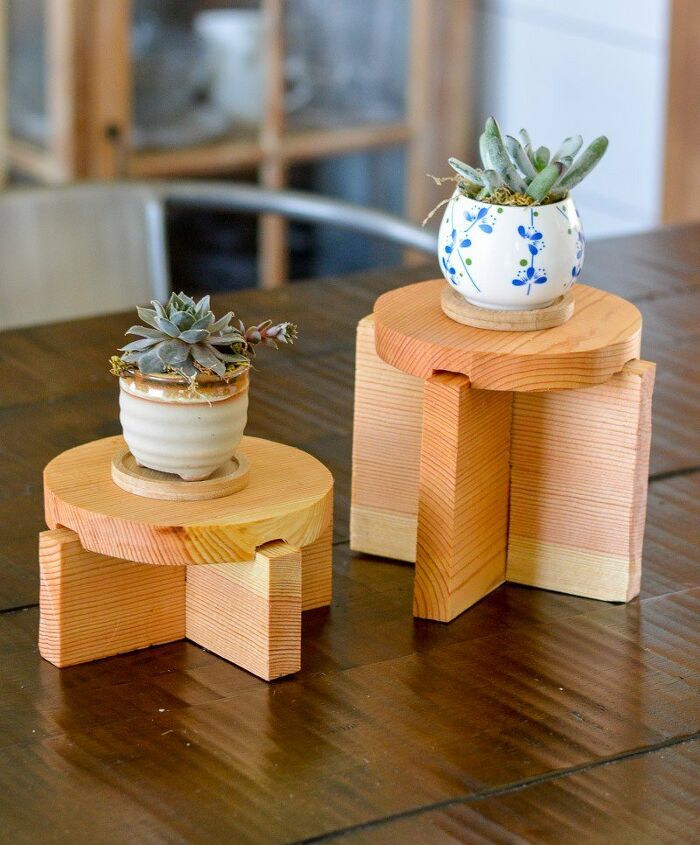
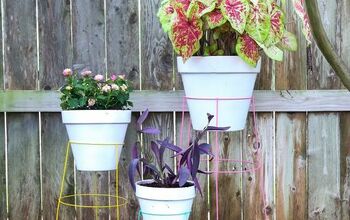
I love a challenge. Recently I spotted these Areaware Plant Pedestals and I loved the fun shape and the mix of heights. They are the perfect little plant pedestals to be used indoor or outdoor. When I took a closer look I realized these would be a great DIY project!
These little stands are composed of three pieces each. There is a round pedestal and two base sections that slide into one another to create an X shaped joint. This base fits right into grooves on the bottom side of the pedestal so the stand fits securely together. For the full tutorial please visit Farm Life DIY
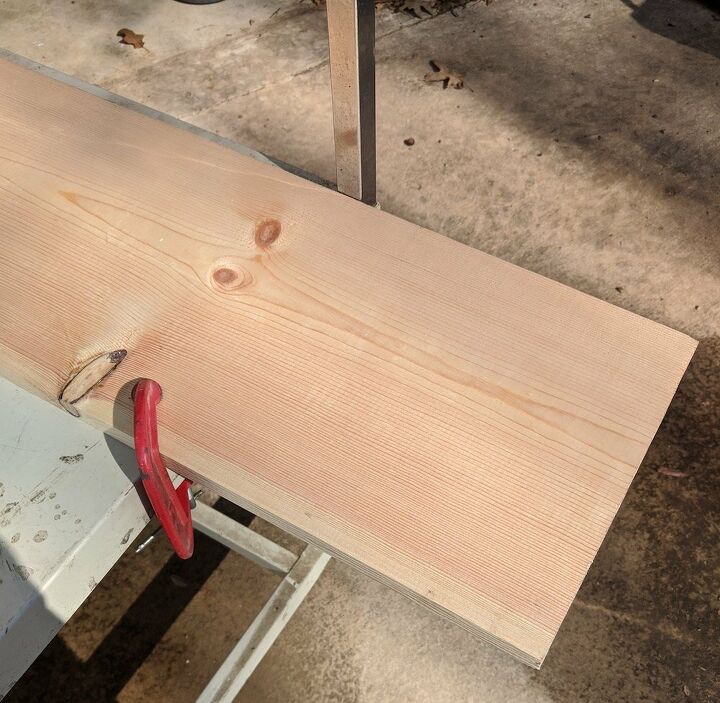
Begin by securing the board to your work table or bench.
- We begin by measuring and marking the board so we can cut the circle base of the pedestals. Now measure 3” from the end of the board make a mark with your pencil. Now we need to make an intersecting mark 3” up our from the side of the board. From the side of the board crossing the 3” marks made earlier draw a line across the board using your speed square as a straight edge, take your No.2 pencil and draw a line across the width of your board.
- You can create your circle two ways a compass or using a nail and string.
- If you chose to go with a compass, follow the instructions below
- Set the compass radius to 2.5”.
- Place the point of the compass on the 3” mark made earlier while measuring.
- Adjust the length of the pencil in the compas to the correct length to insure a 5” or smaller circle
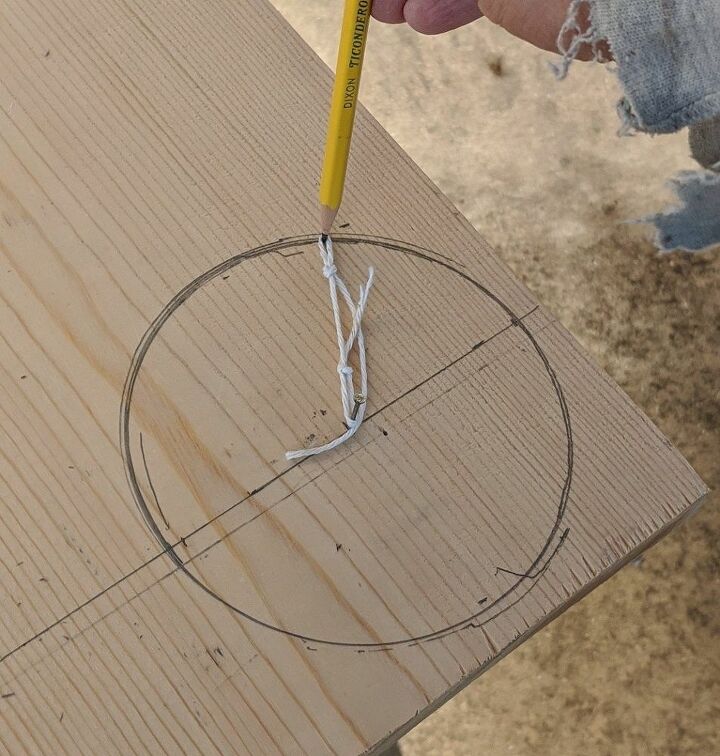
- If you choose to use a string and nail follow the instructions below.
- Place a small nail in the 3” mark you made earlier.
- Place a small loop in one end of the string. Place the loop over the nail and stretch the string out and measure it to the 2.5” length. Tie a loop in the string in such a manner that when you place a pencil in the loop you are at or just inside 2.5”.
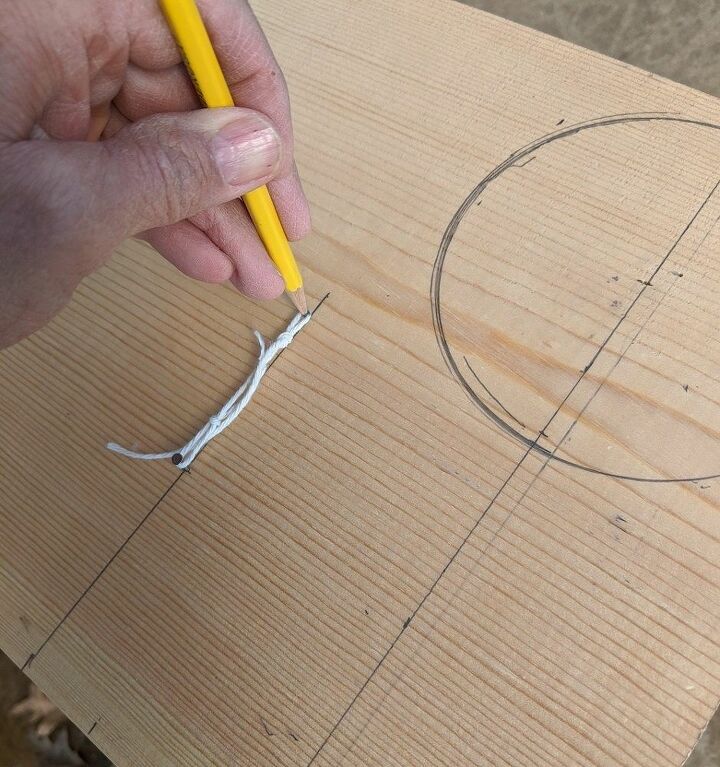
- Draw a circle with the pencil, the string needs to be fully extended to make the best circle possible.
- From the opposite side of the board measure 6 1/2” from the end of the board make a mark with your pencil. Now we need to make an intersecting mark 3” out from the side of the board. From the side of the board crossing the 6 1/2” mark made earlier draw a line across the board using your speed square as a straight edge, take your No.2 pencil and draw a line across the width of your board.
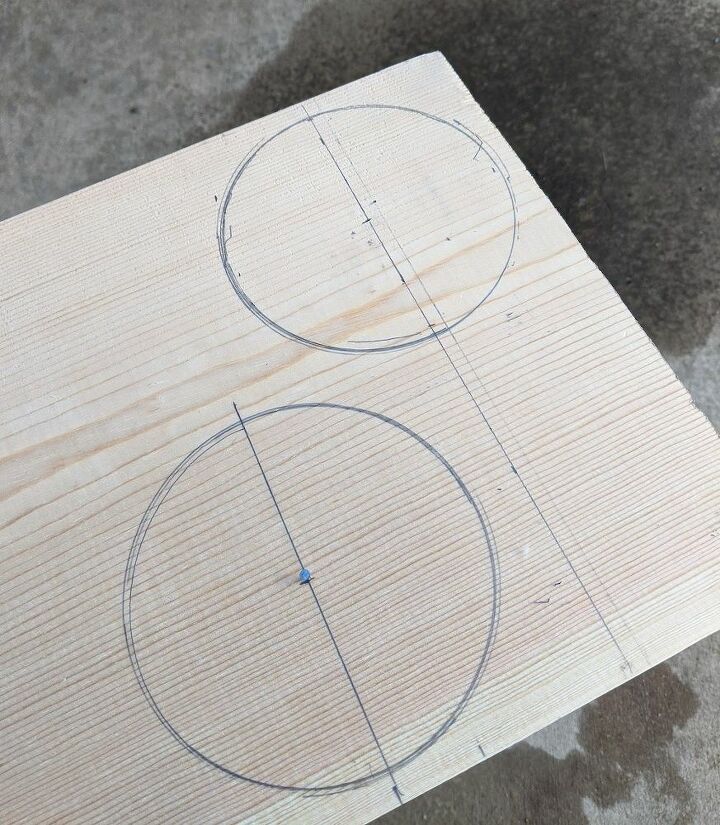
Now, on your board you have two perfect circles. Use the claw end of your hammer to remove the nail.
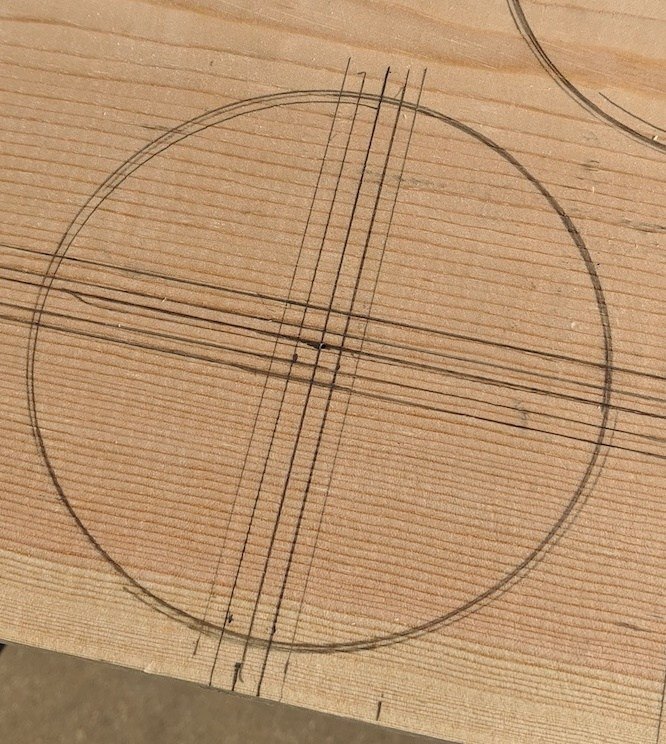
Next, we need to create grooves so the base will fit securely onto the pedestal. Using your square measure across the circles in both directions creating a crossing pattern ¾ of an inch wide.

For the full tutorial please visit Farm Life DIY
Resources for this project:


Comments
Join the conversation
-
Love these
-
Waaaaa, I just downsized and sold all my workshop stuff 😢. I’m sitting here wondering if I have enough “oompf” To make a few of these with a hand saw. LOL, nope. Here’s a link, that works, for the Areaware Plant Pedestals
https://www.amazon.com/Areaware-POTS-Pedestal-Set/dp/B01432QWV6


Frequently asked questions
Have a question about this project?