


DIY Recycling Storage

In Australia we are quite big on recycling cans and bottles. A small refund for each can/bottle is also given when taken to a recycling depot. I go there around once a month so I decided to make a good storage system to keep them tidy and organised between trips.
Best storage unit!
I started by heading to my local hardware store (Bunnings) and picked out some storage tubs that were able to slide like drawers.
Once I had my tubs I used them to determine what size to make the storage system.
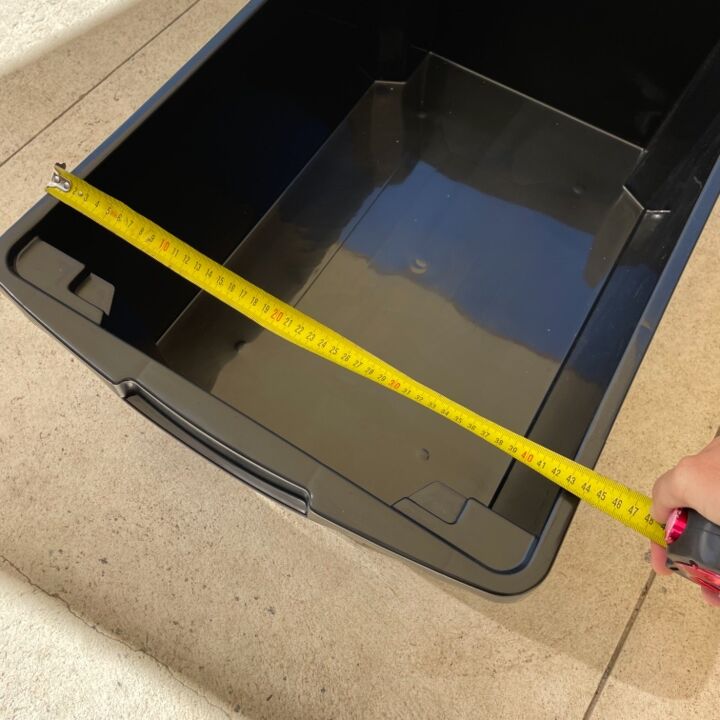
Next, using the measurement of the tub (width) I made a frame two rectangular frames using pine wood, one for the front and one for the back, making sure to allow a little extra room for the tub to slide in and out of it smoothly.
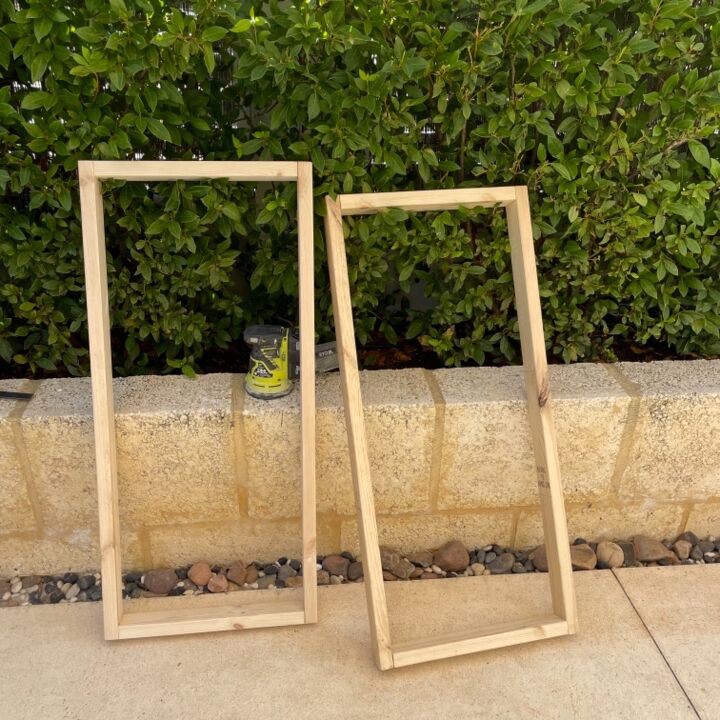
I sanded the frames and then layed them on their sides, parallel to each other and at least a tub’s length apart from eachother.
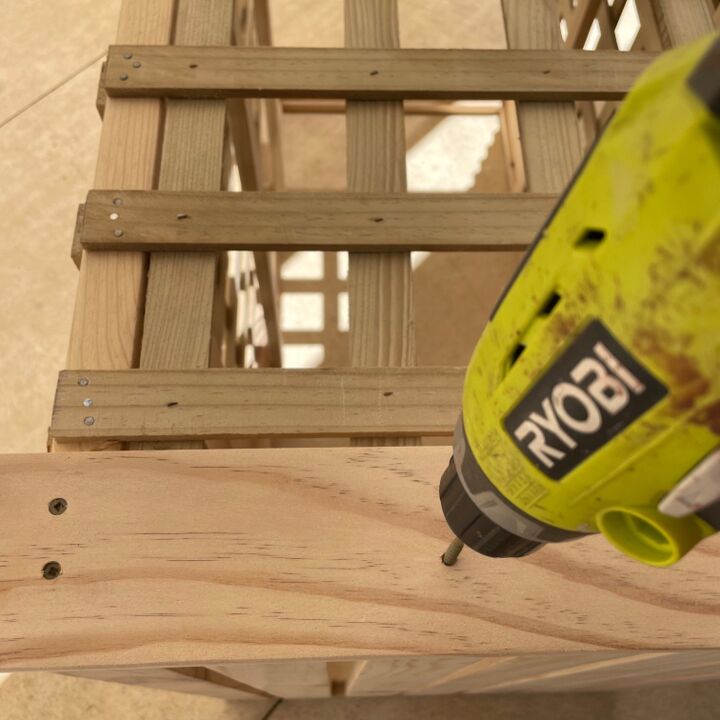
I then layed some wooden lattice on top and cut off the overhang with a saw and nailed the lattice to the frames.
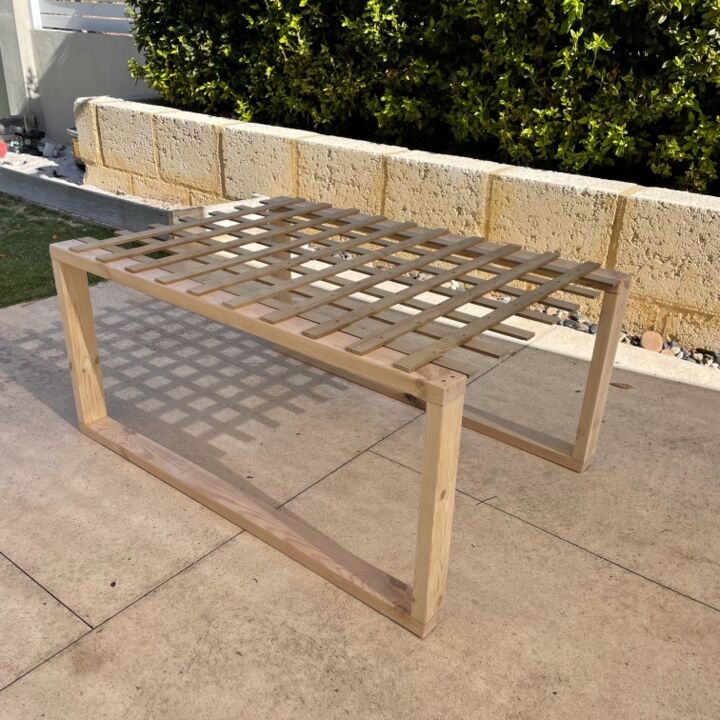
I then measured, cut and attached two pieces of pine wood to the top and bottom of the lattice, attached the two frames together and then repeated on the other side.
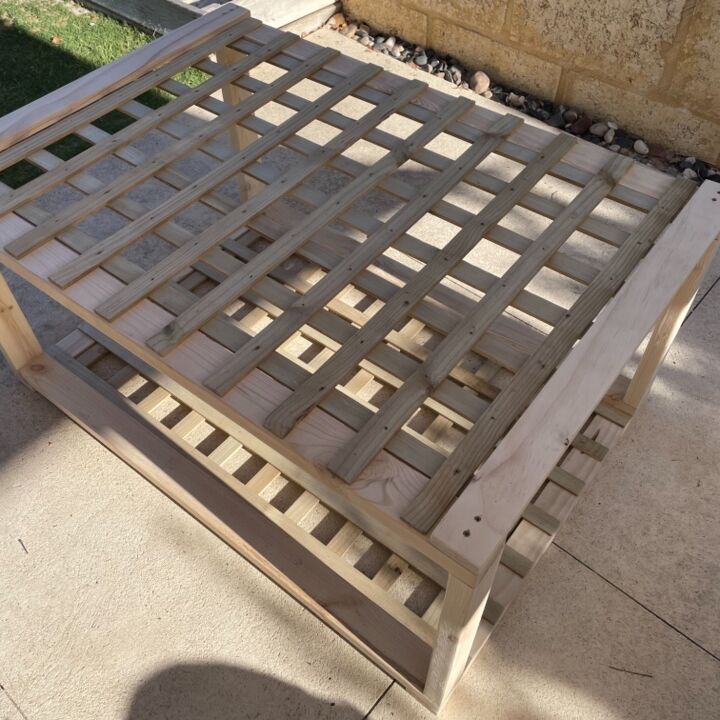
Next, I cut some more lattice to sit on the back of the storage system and I nailed it onto the back frame.
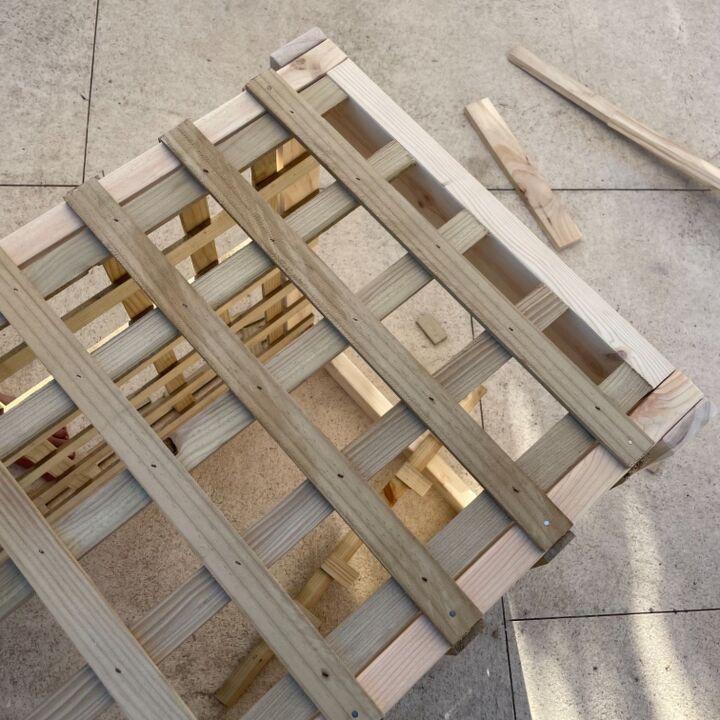

Next, I measured the depth of the inside of the storage system to determine the length of the rails.
I then cut 6 pieces of pine and attached them on the inside, evenly spread apart, 3 on each side.

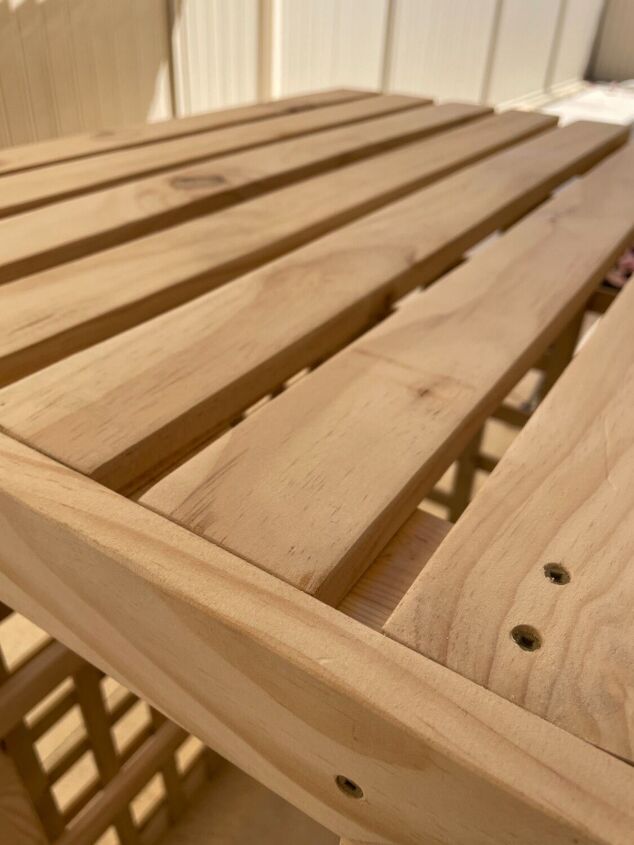
Once I added the rails I then measured & cut my pine pieces for the roof.
(Note: at this point I only attached the 2 outside pieces and finished the roof towards the end)
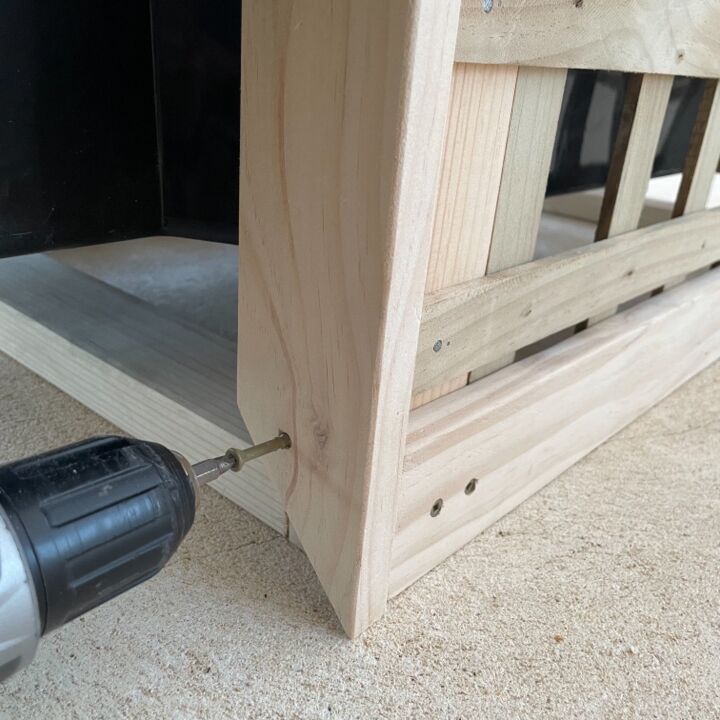
Next I made a “picture frame” from pine pieces for the front to give it a cleaner look. I used a combination square to made sure my angles were marked perfectly before cutting.
I also cut some more wood to put at the top and bottom of the back to give it more of a finished look.
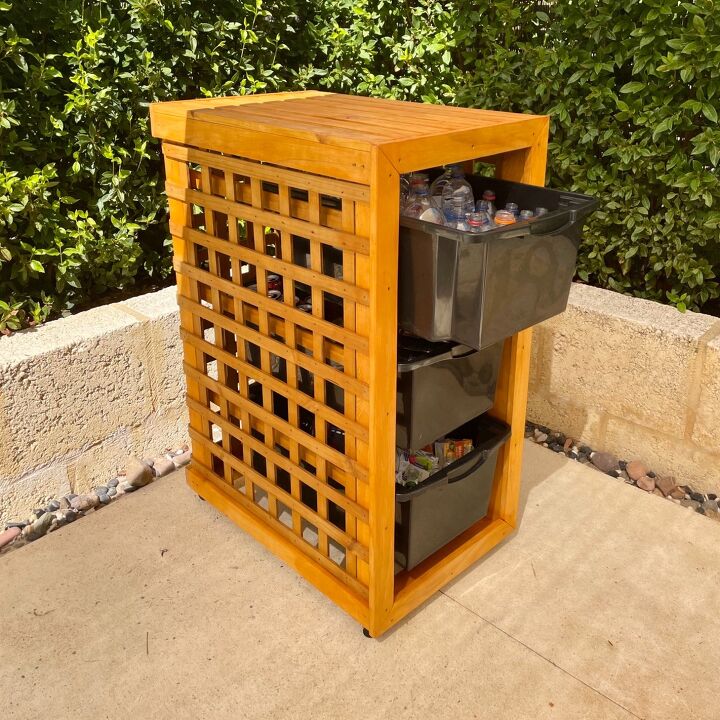
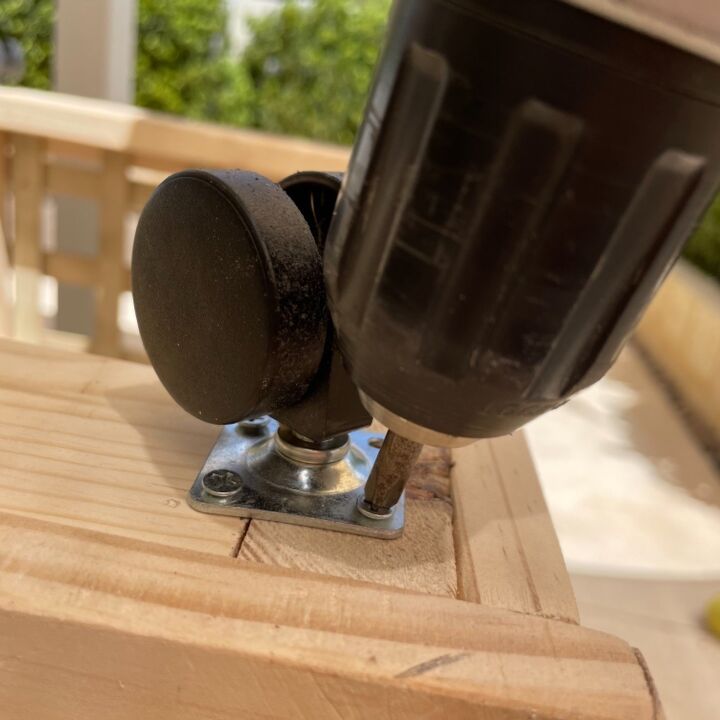
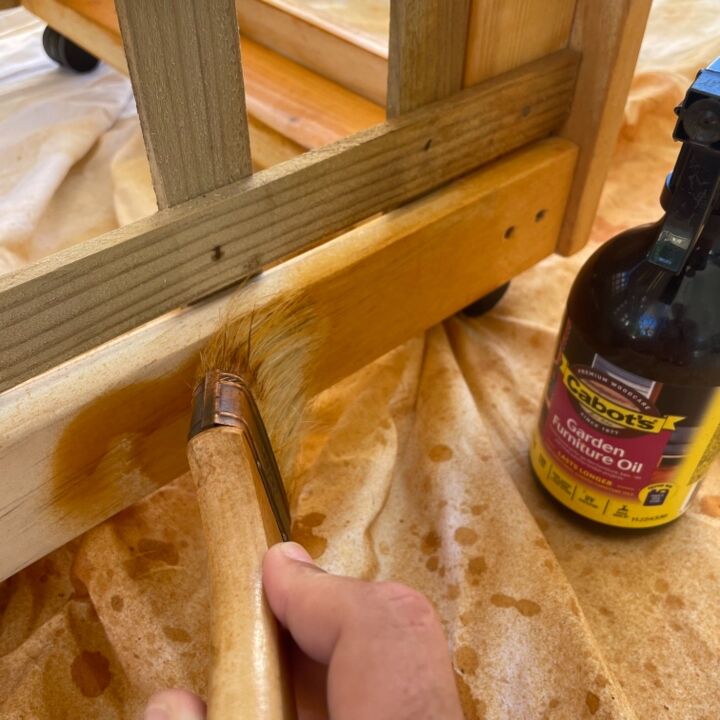
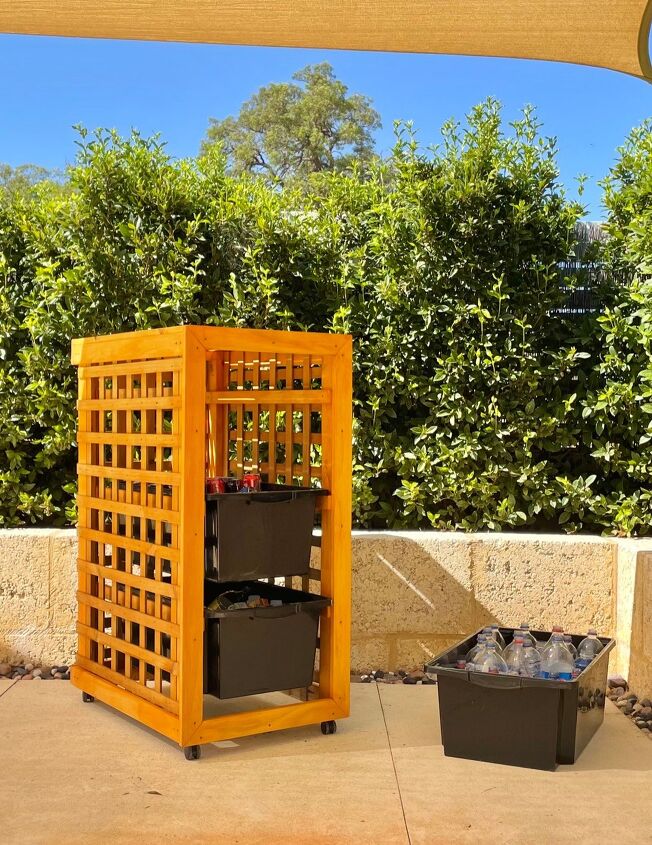
Now that it was complete, I then added some castor wheels to the bottom and gave it two coats of furniture oil to protect the wood and give it a lovely bright look.
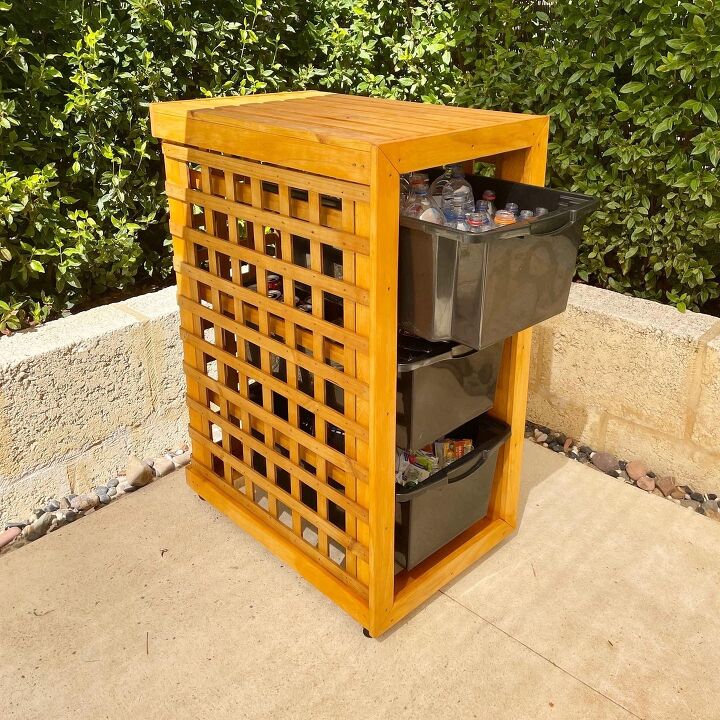
Now I have an awesome storage system for our recyclable cans & bottles, that is easy to move around and the tubs can come out and straight into my car for great convenience.
For more on this project and more of my DIYs please check out my Instagram page @_prettyliving
Comments
Join the conversation
-
You were smart to go to the extra work of installing castors, as not only does it keep the unit off the ground, but makes it so much more practical to use.
Attractive, sturdy, easy to clean, and best of all, it hides the intended function.👍️
-
This would make a great laundry sorter as well


Frequently asked questions
Have a question about this project?