


DIY Stained Plant Bench
If you are looking for a simple project to help make your plants look good, this is for you!

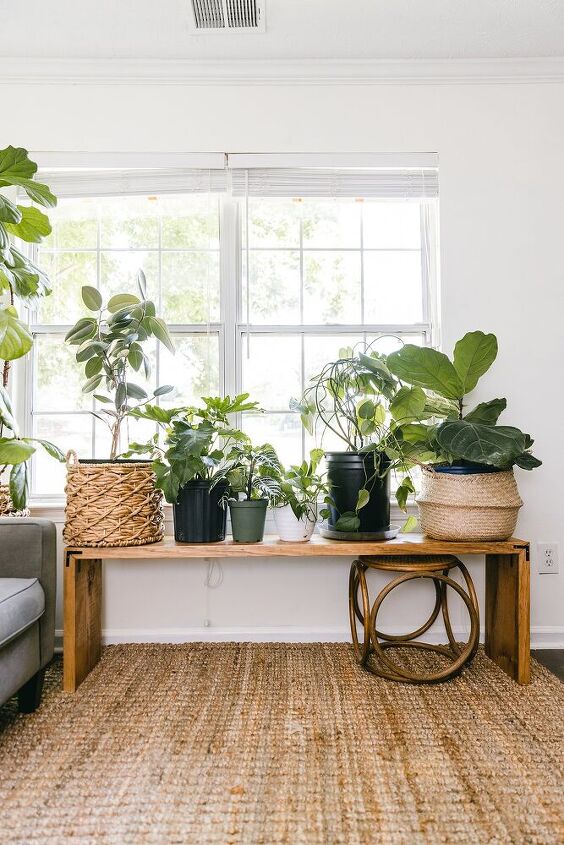
I love filling my homes with plants of all sizes and shapes. They just bring the perfect amount of life into the space. I recently had begun to accumulate so many plants in my living room, and didn’t feel like they were evenly getting the necessary amount of light needed to thrive. With this being the case, I decided to build a DIY stained plant bench so that the sunlight could be evenly distributed on my plants.
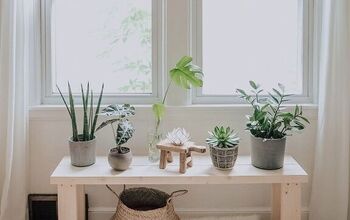
This bench that I found online was my inspiration. That price point though? Nah!
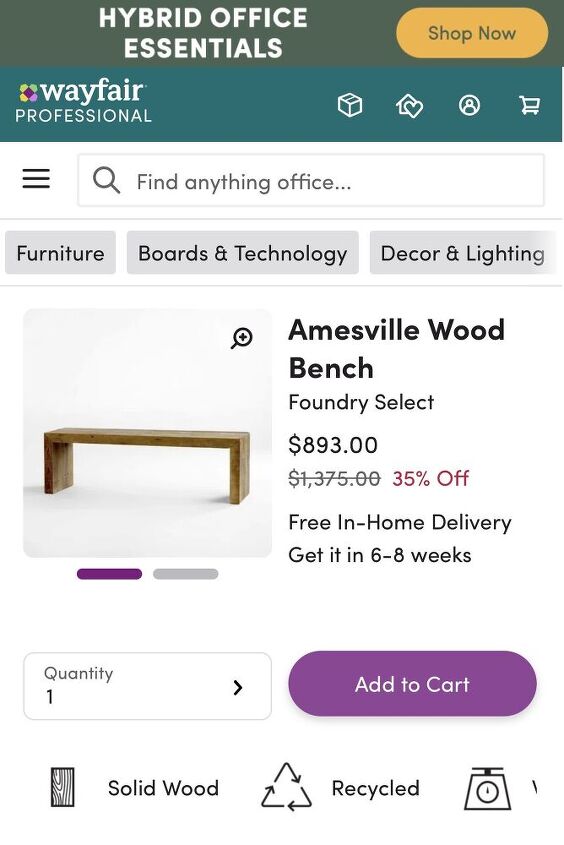
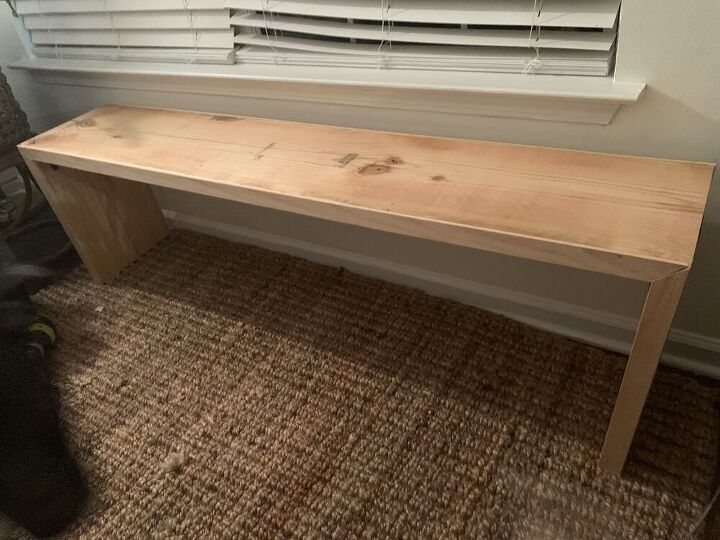
For this bench, I purchased one 8ft long 2×12, and had one piece cut to 62 inches long, and two pieces cut to 17 inches each.
Once cut, I assembled the bench using black L brackets, two on each side.

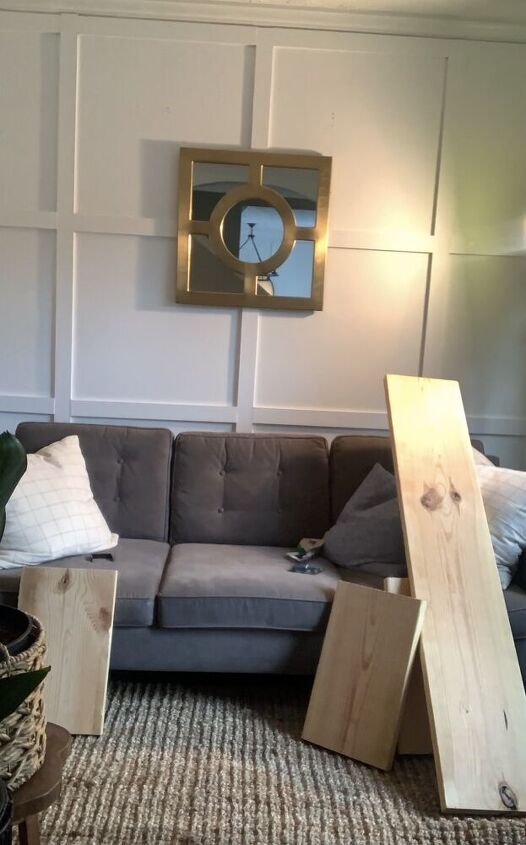
Once assembled, Here is what the bench looked like. As you can see, the angels looked a bit wonky. No worries, I have a plan for that!
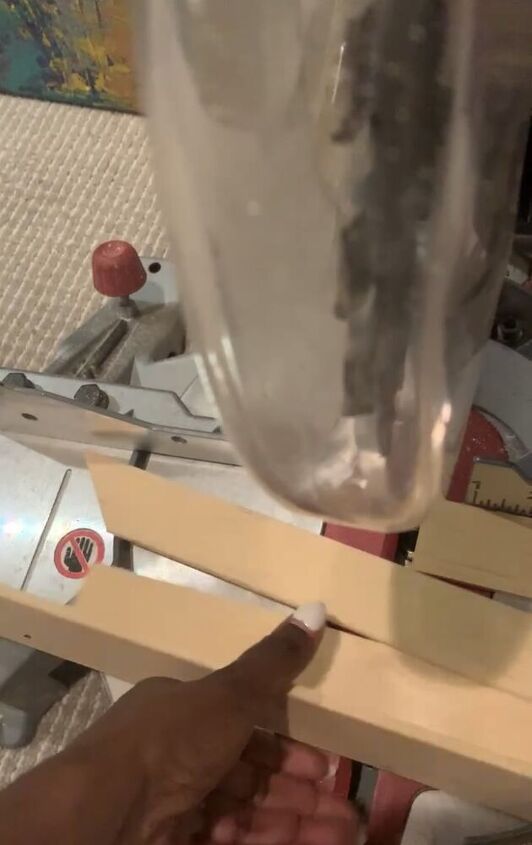
To mimic the 45 degree angles on the inspiration bench, I cut lattice strips with these angles and trimmed the bench out to give it that look. I attached the trim with my power nailer.
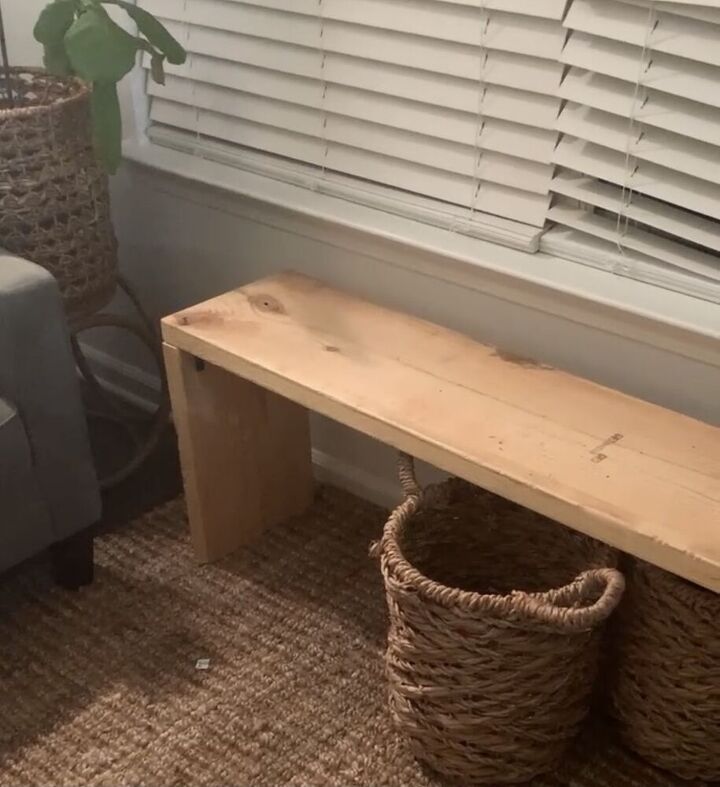
Once trimmed all around, it looked like this.
After everything was put together, it was time to stain! I was most excited about staining because this is what was going to bring everything together.
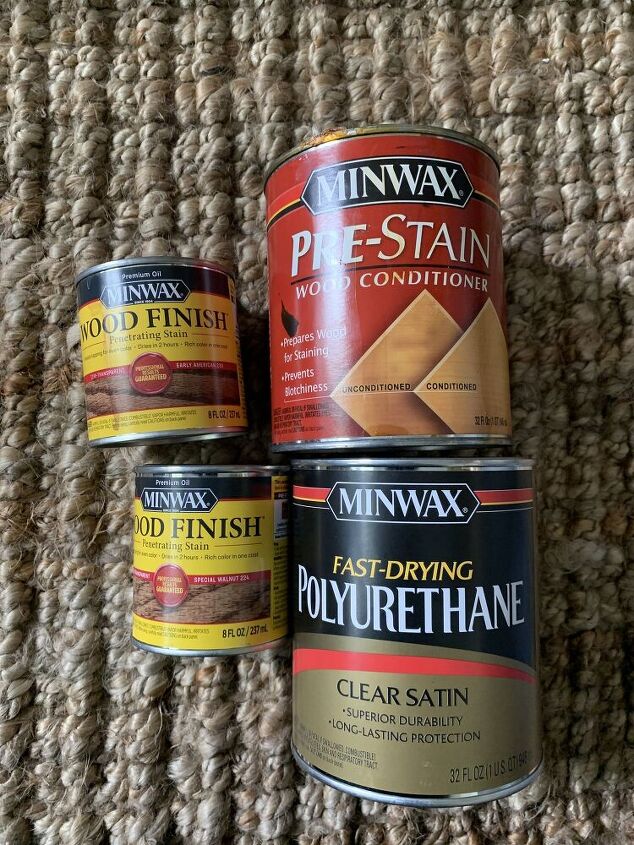
For this project, I used the Minwax Pre-Stain Wood Conditioner, Minwax Oil-Based Wood Finish Penetrating Stain in Early American, and the Minwax Fast Drying Polyurethane in Clear Satin. The wood conditioner helps to condition raw wood to avoid blotchiness, and helps to ensure that the stain goes on evenly.
To apply, I used a foam brush and applied in the direction of the grain.
To apply the wood conditioner and stain, I used a foam brush, and followed the direction of the wood grain. I let it sit for a few seconds, then wiped it with a clean paper towel. I didn’t want the stain too dark on my bench, however the longer you let the stain sit, the darker it will be.
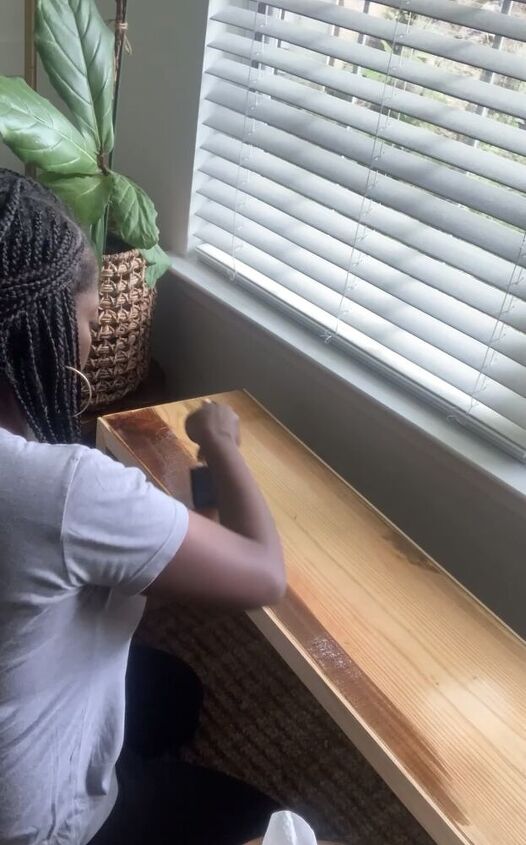
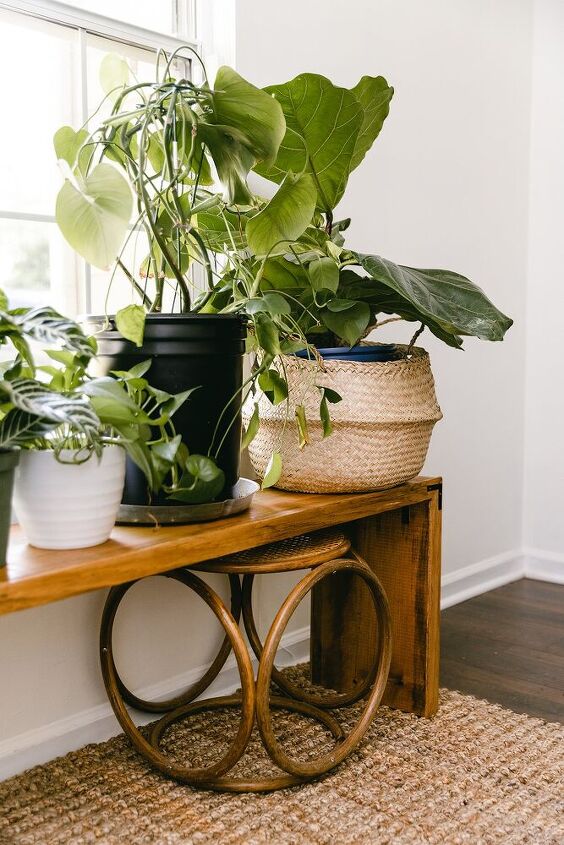
After it was stained, it looked amazing!

After letting the stain dry for 4 hours, I applied the polyurethane using a foam brush as well. I used two coats.
Once the polyurethane dried, I added flat brackets to each corner for a bit more detail.
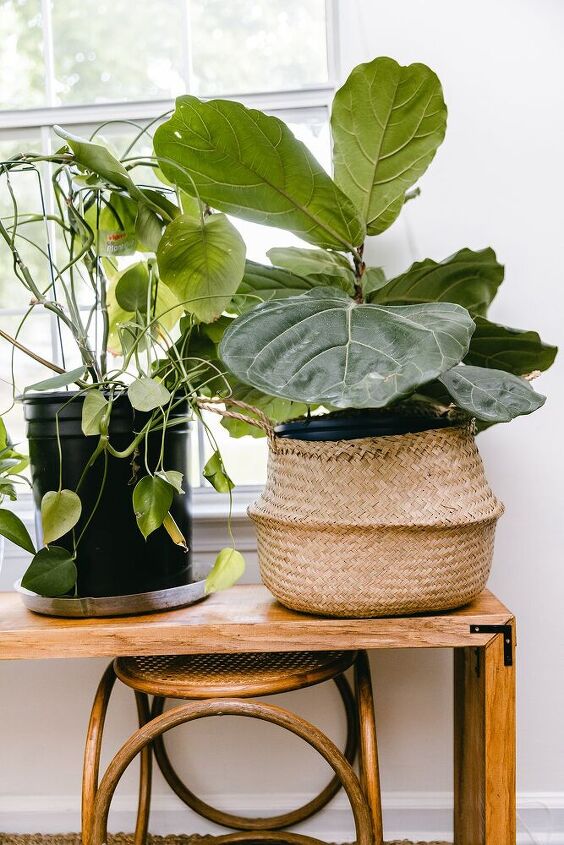
Love right? The Minwax Oil-Based system was perfect to use on this project because of how deeply penetrates the wood, in a beautiful and rich color. With this stain, a little goes a long way! I was able to use an 8oz can, with plenty left over to use on another project. This project can be completed in one day.
For more projects like this, visit my blog at www.liveprettyonapenny.com


Comments
Join the conversation
-
It looks amazing! Thanks for explaining your choice of oil based stain
-
Very beautiful, great job.


Frequently asked questions
Have a question about this project?
1,375$ for a 'real' one? That is just hair-raising mind-blowing nonsense. The very idea is just flabbergasting. Yours looks very fine indeed. Anybody can copy your project. You can even make it to any specific length you want. Cudos to you.
LOVE!!🤗🤗🤗
Absolutely fabulous. Can I ask I do see a small tray in one of your plants for water, but do all your plants have those trays? I see the one in the basket. Do you just spray water or use a bottle? I am only curious. I am jealous of folks with plants and I wish I could be like that but I always worry about getting water everywhere. Great job again!!!