


DIY Swing Bed For a Front Porch
DIY Swing Bed For a Front Porch
Build this simple DIY porch swing bed for less than $150 in just a few hours
I am swinging into the end of this front porch refresh in style y’all!
If you have been following along with this front porch makeover, you know we have been doing all the things to get it ready for all the outdoor activities.
Our latest project is this super DIY simple swing bed.
I built it for less than $150 & it only took a few hours!
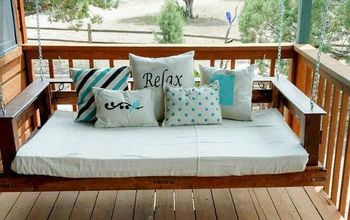
When we originally bought our home, the previous owners left us a swing bed.
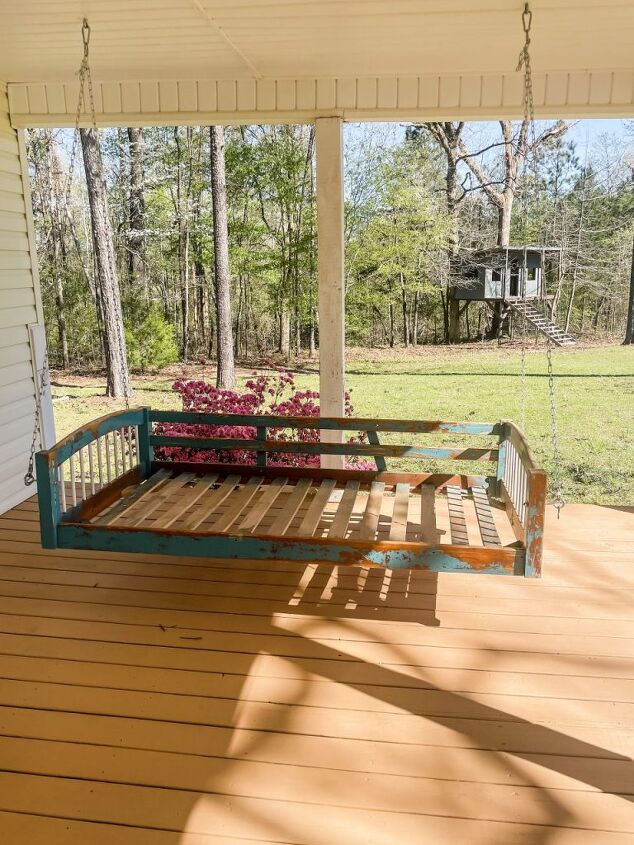
It was worn & just not really my style, so I posted it on Facebook Marketplace & used that money to build my own.
I really like Plank & Pillow’s bed swing plans so I took those & modified them to better suit my needs.
The bed is twin sized but it can be modified for any size.
DIY Swing Bed For a Front Porch
Supplies:
- (12) 1x3x8 Pine Boards
- (1) 1x4x8
- (3) 1x8x8
- (2) 2x3x8
- (1) 2x4x8
- (4) 1x6x8
- 3/8″ Eye Screws
- 1″ Rope
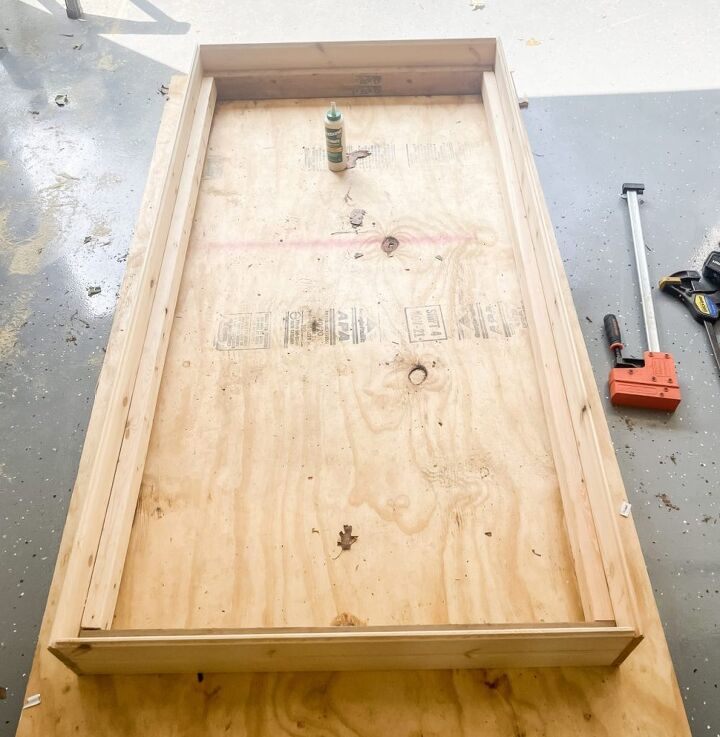
1. Start by Building the Base

I chose to use tongue & groove 1×8 boards for this because they were less than half the price than a pine 1×8 at the time.
Cut (2) pieces to 77″ & (2) pieces to 39″
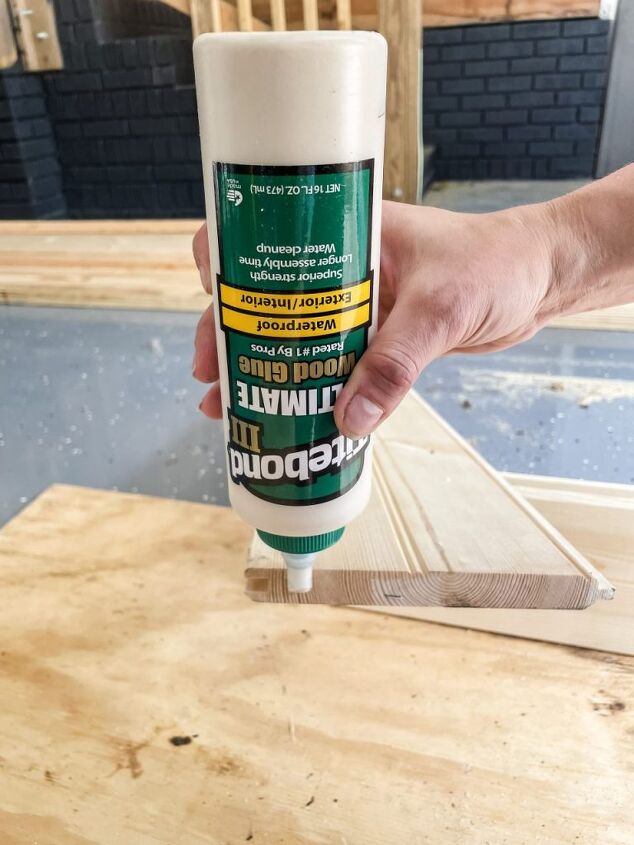
Use wood glue & 2″ nails to attach the base pieces together.
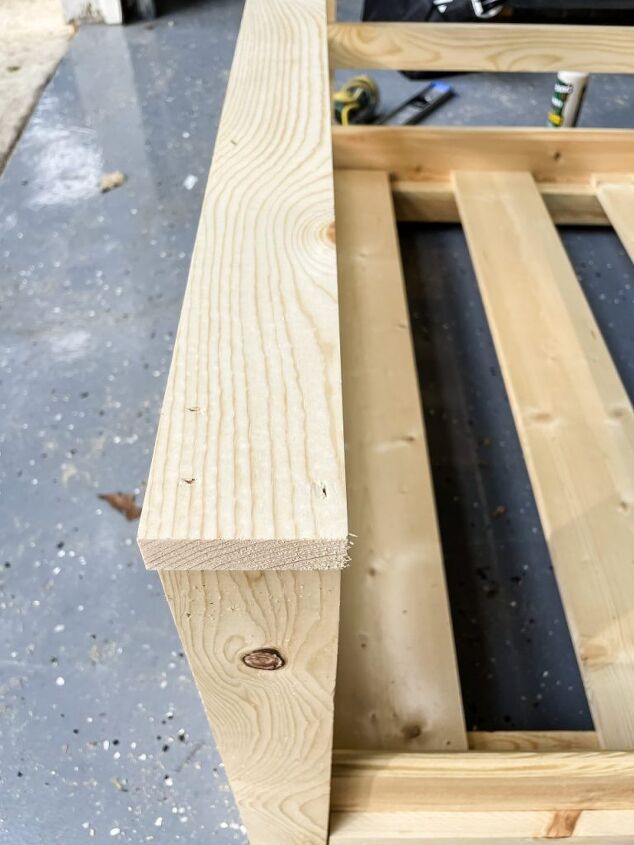
2. Attach the Mattress Ledge
After the base is done, cut 2×4 & 2×3 boards for the mattress ledge.
The 2×4 pieces will be attached on the short sides & the 2×3’s on the long side.
Make sure that the edges of the 2x3s & 2x4s are even so that the mattress will sit evenly on the swing bed.
Attache the boards with 2″ screws.
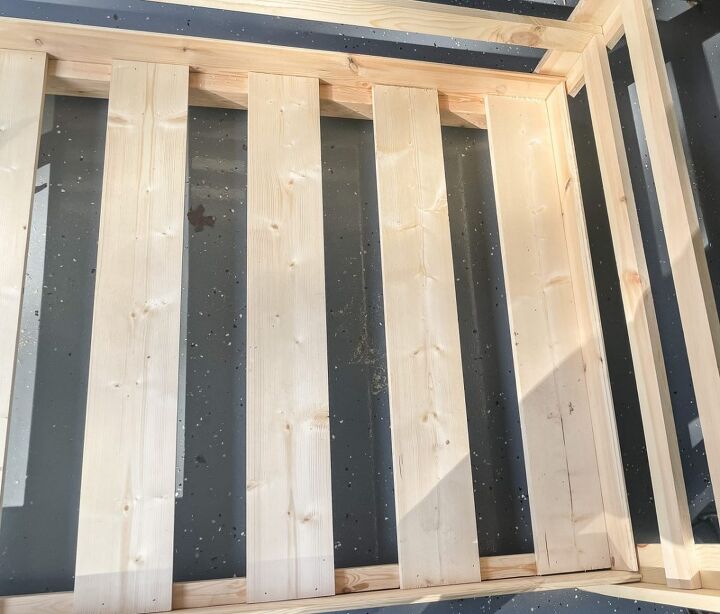
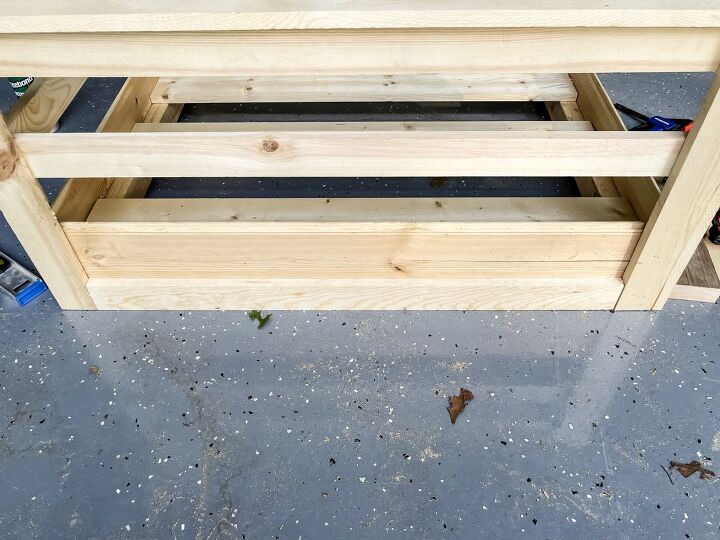
3. Cut & Attach Slats
Cut the slats out of 1×6 boards @39″ each.
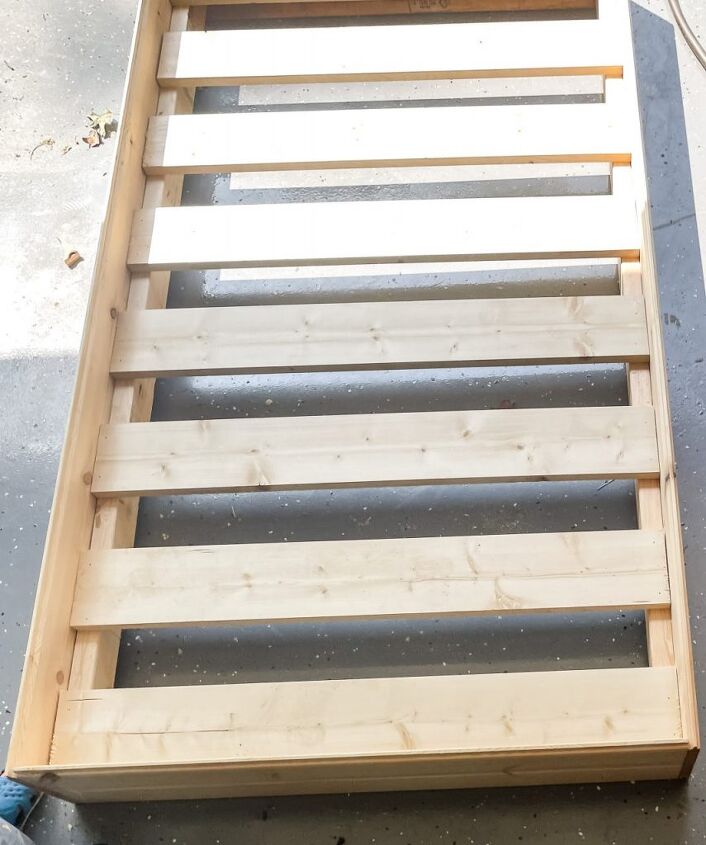
Space them easily & attach them using wood glue & nails.
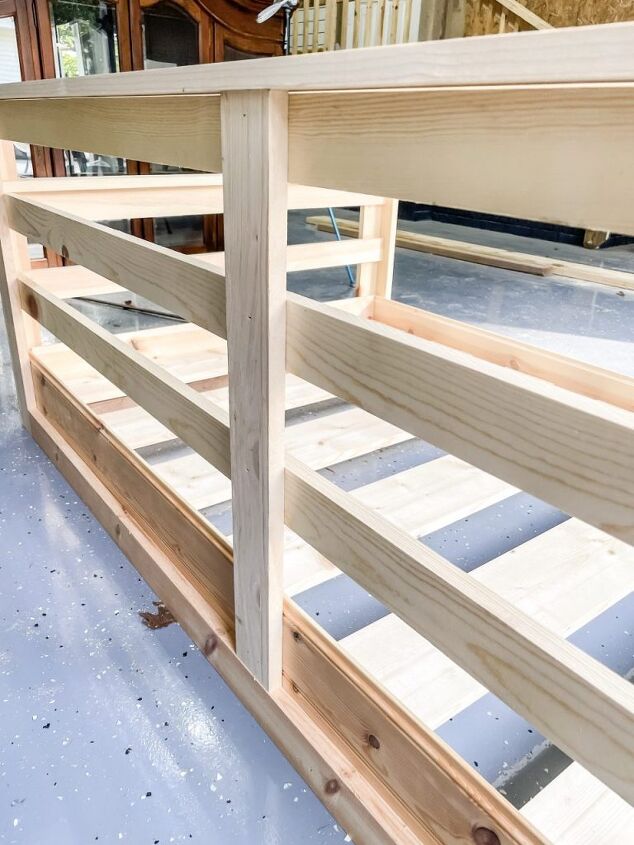
4. Building Bed Rails
The (4) bed rails will be made out of 1×3 boards.
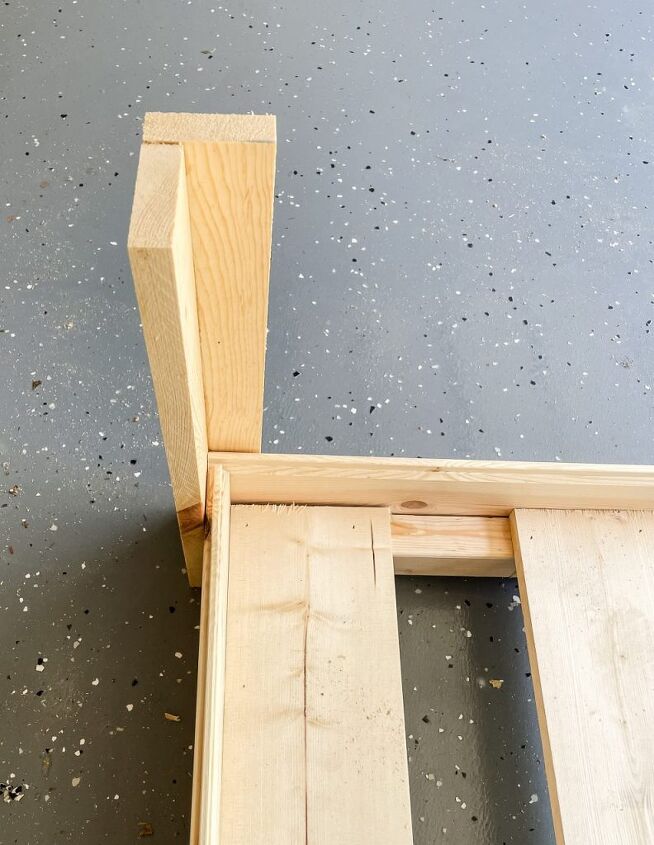
For the front rails cut (4) boards at 20″ & attach them together in an L shape.
Cut & attach the back two at 26 3/8″.
Once the (4) L’s are constructed, attach them to the corners with wood glue & 1 1/4″ nails.
5. Cut Back & Side Slats
The back & side slats are cut out of 1×3 boards.
Cut the back slats at 77″ & the side slats at 39 3/4″.
Attach them with 1 1/4″ nails & wood glue spaced at 3 3/4″.
6. Attach Arm Rests
The arm rests are first cut at 41 5/8″ & then notched out with a jigsaw to fit on the swing bed perfectly.
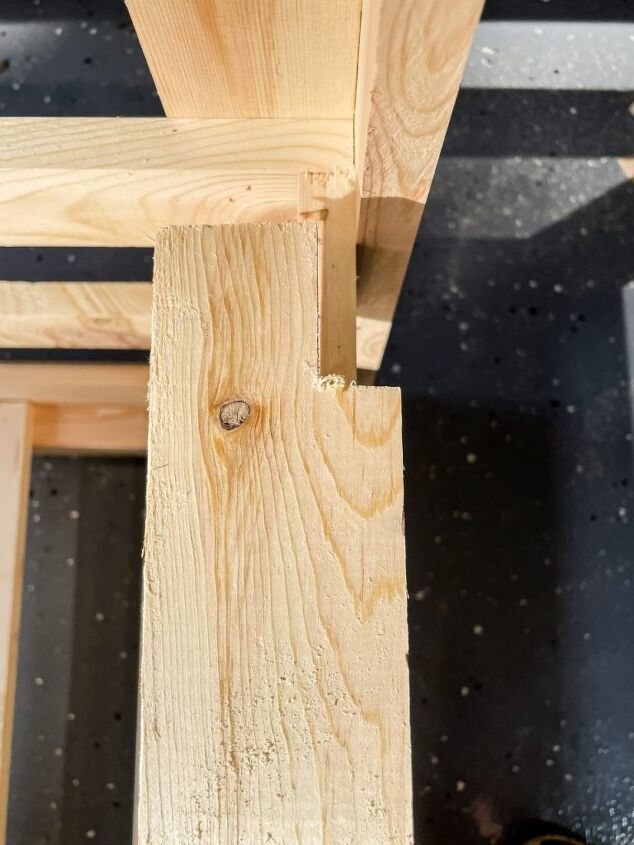
Cut the notch 3/4″ deep & 1 1/2″ long.
Attach them with wood glue & nails.
7. Add Border Around Swing Bed Base
For a little extra oomph I added 1×3’s around the base of the bed swing, all four sides.
8. Adding Top To Back
Finally, I added a 1×4 to the top back of the swing bed.
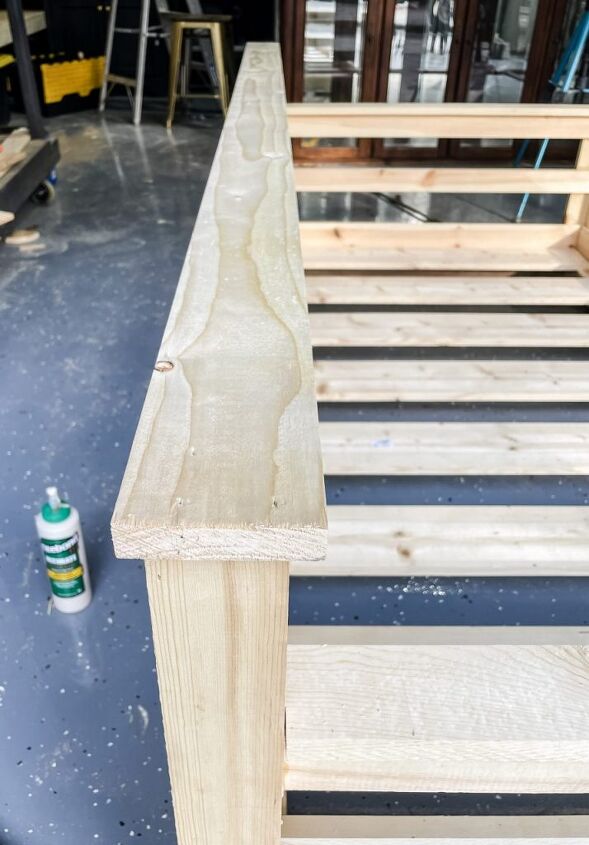
I also added a 1×3 support to the middle of the back.
9. Finishing
To finish off the swing bed I filled all the nail holes with sand-able wood filler.
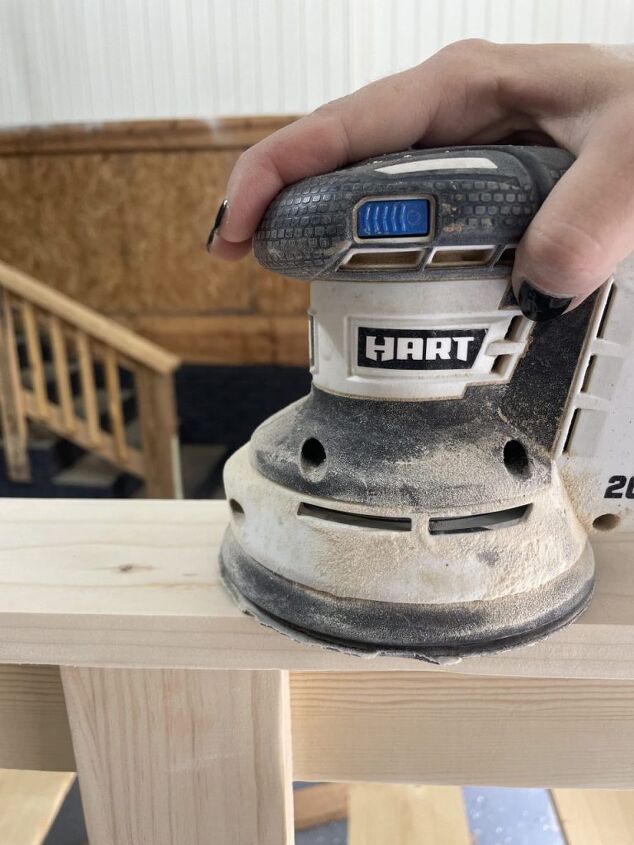
Sanded the entire swing with 120, then 220 grit sandpaper & stained it.
I used black & natural wood stain for a modern contrast.
10. Hanging The Bed Swing
This bed swing is going to hang from 3/8″ eye screws.
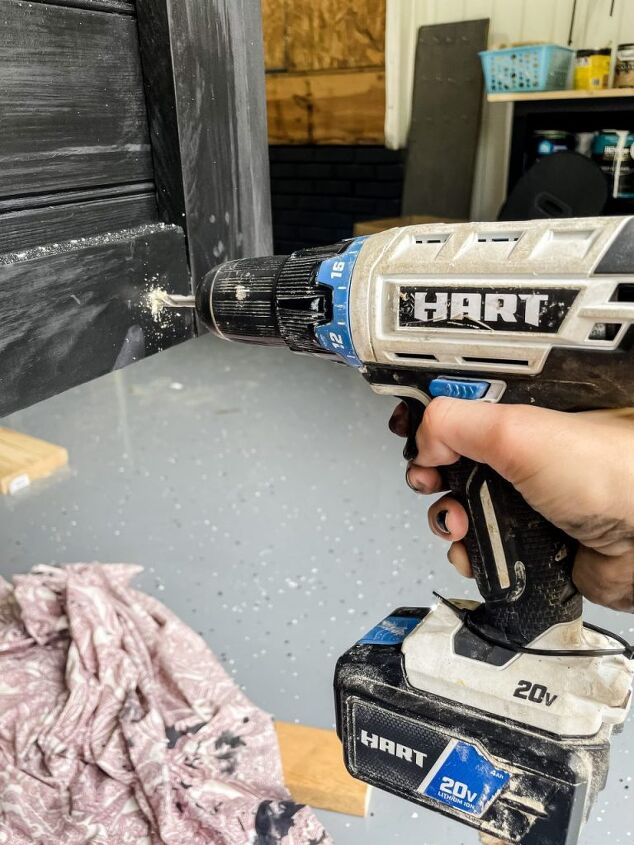
Pre-drill four holes with 1/4″ drill bit, then screw in eye bolts.
We used buckets to hold the swing bed up while we attached the rope from the bed bolts to the ceiling bolts.
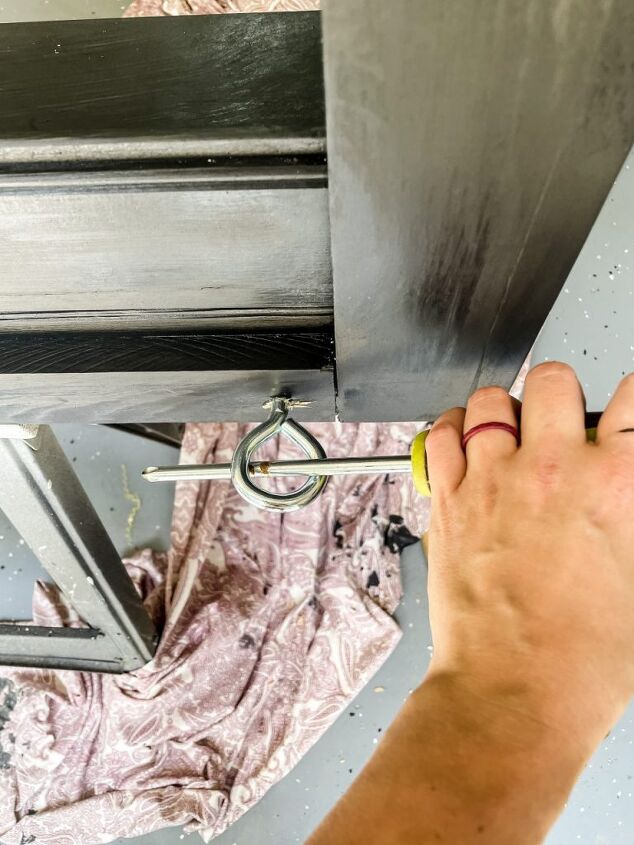
We got lucky & were able to just use the existing ceiling bolts.
If you don’t have eyebolts in the ceiling already, drill & attach them the same way as the swing bed bolts.
Just be sure to find the studs in the ceiling to attach too.
I bought 1″ rope from Lowes & had two separate pieces cut 14′ long.
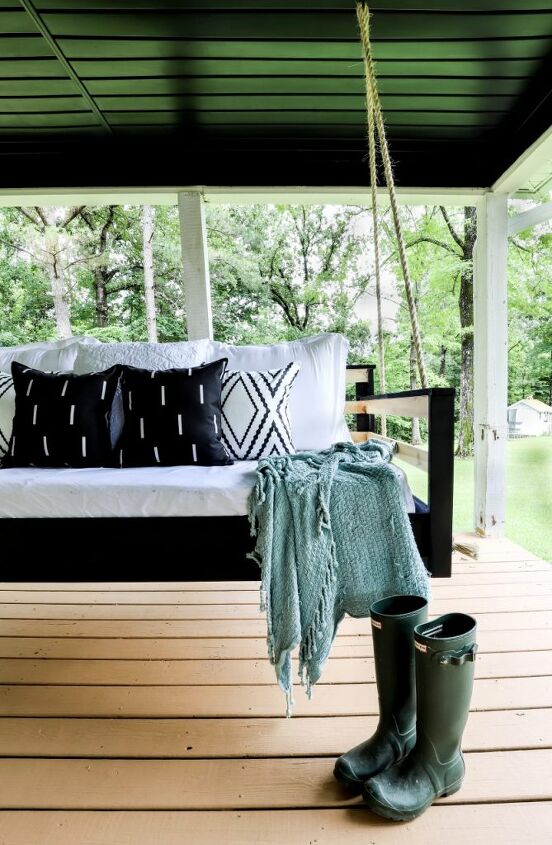
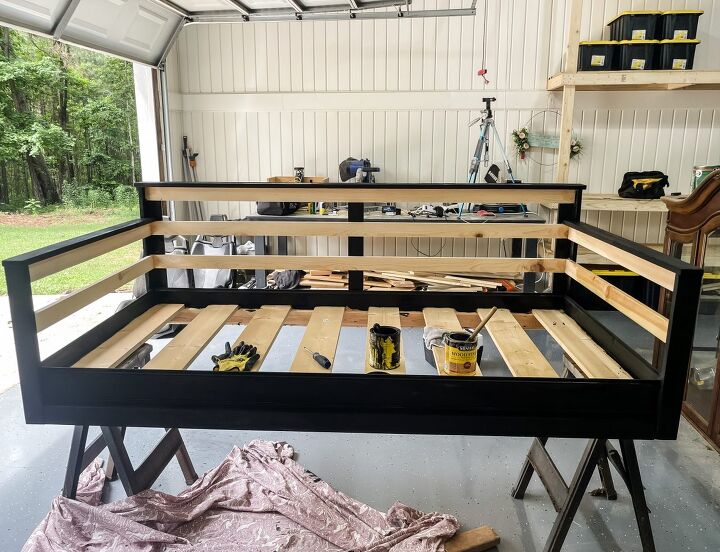
Front Porch Swing Bed Reveal
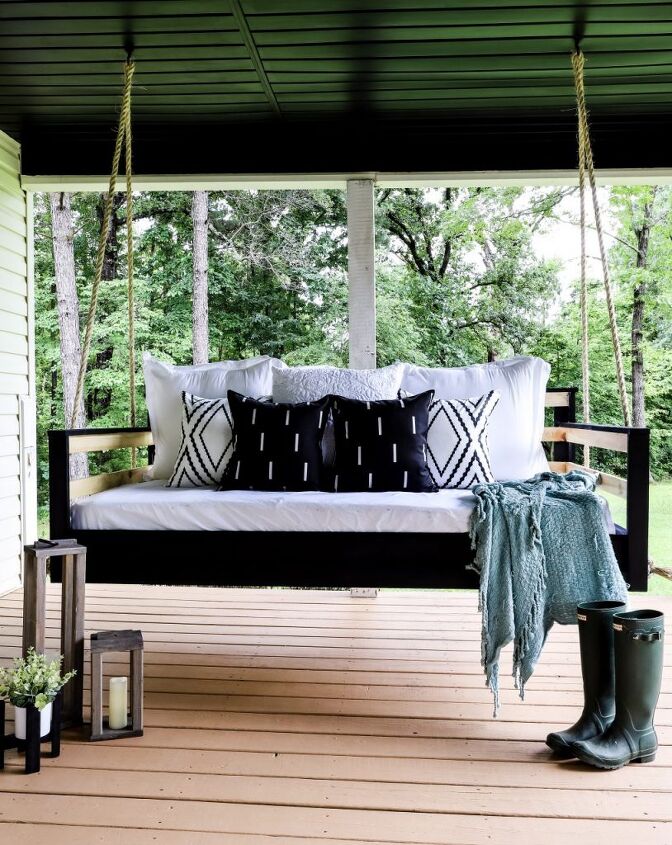
Y’all this swing bed turned out even better than I thought it would!
This was the easiest furniture build ever, & the most comfy 😉

I am in deep love with the contrasting black & neutral stain colors.
The color adds a modern & clean look that I was hoping for.

We chose to hang the rope from two points instead of four so that it would actually swing & I am so happy we did!
This is my most favorite corner, perfect for reading, entertaining, or just swinging the day away with our toddler.


Frequently asked questions
Have a question about this project?