


DIY Platform Anything!

by
Holly Prim
$60.00
1 Day
Medium
My daughter has been taking singing lessons for the last year, she loves it but has been practicing less and less as time goes on. As I work on my DIY projects I am realizing more and more that practice will make anyone improve so I decided I would build her a stage giving her a platform to practice on plus a constant reminder in her room that she needs to practice at least one or two songs everyday to improve. I was confident I had everything I would need to make a platform stage or a platform anything, bed, pet bed, step stool, etc.
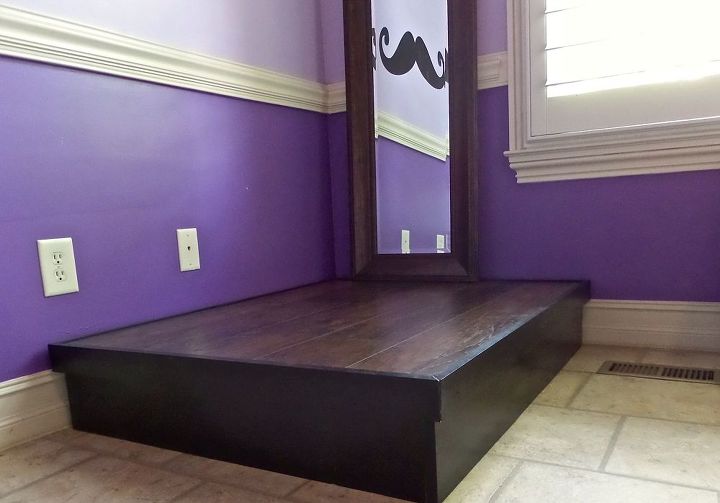
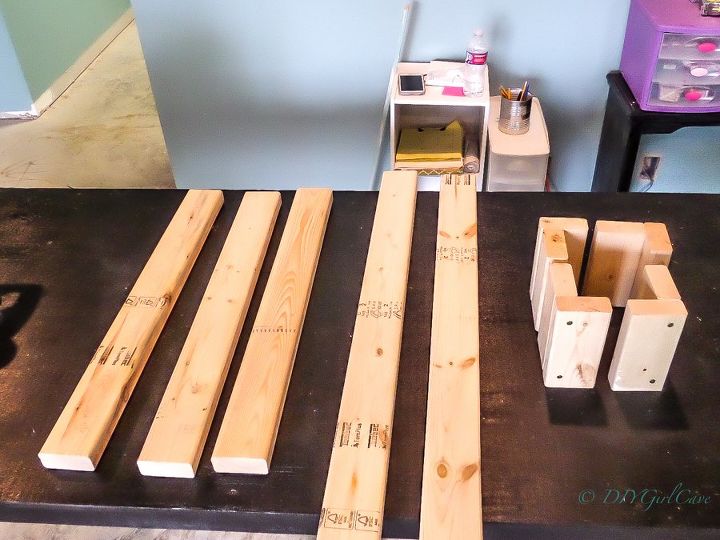
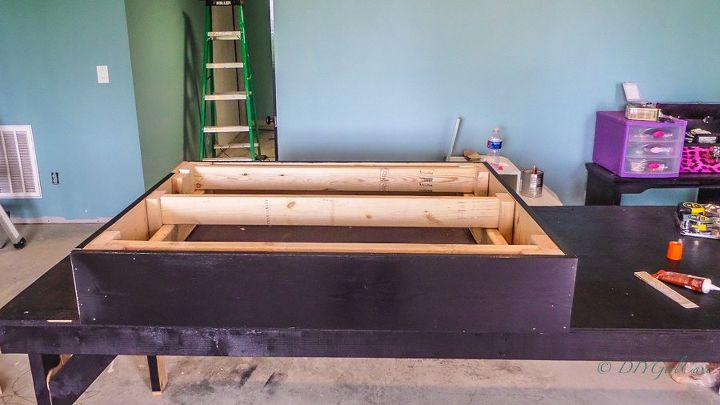
To determine the size of the stage we picked a spot in her room and measured the length and width, plus determined a good height off the floor. To avoid a lot of wasted wood I chose to make each side less than 4 feet so that I could utilize the 1x8x8 boards I already had. I also had a ton of 24's from my ceiling project. We decided on a width of 36, length of 44 with a height of 7.5
Step Two
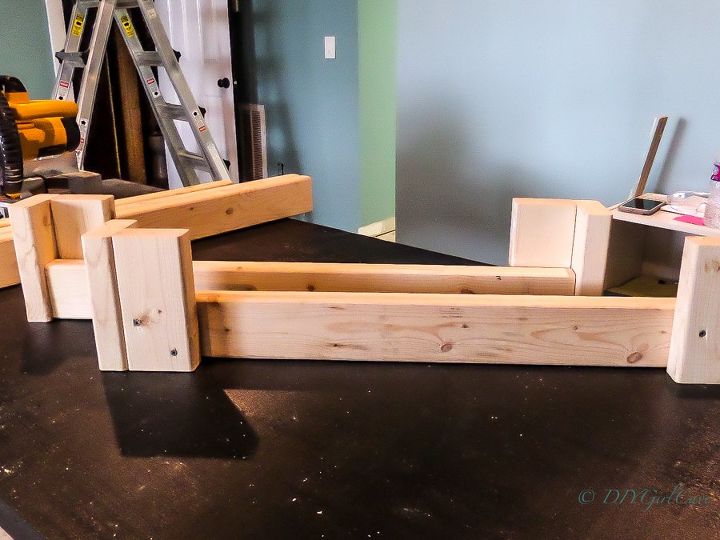
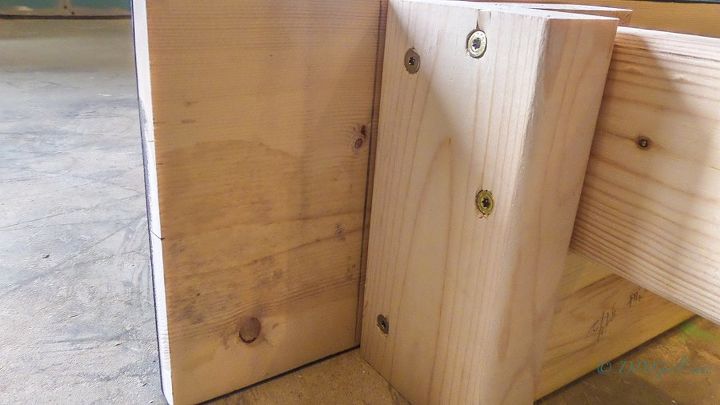
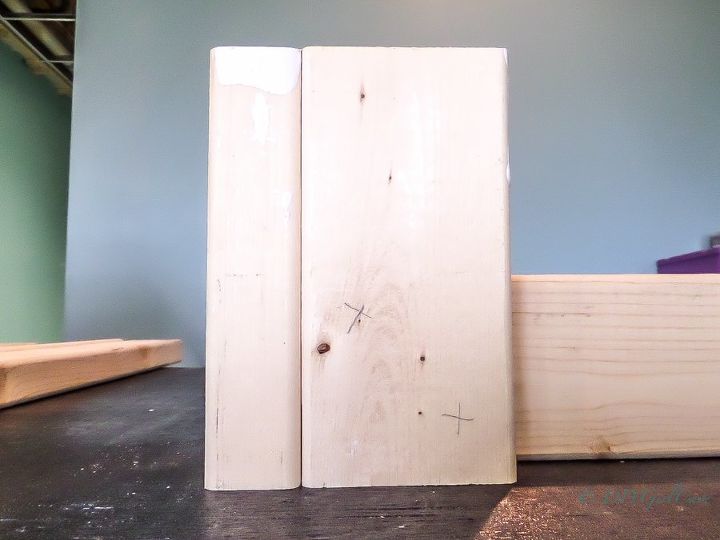
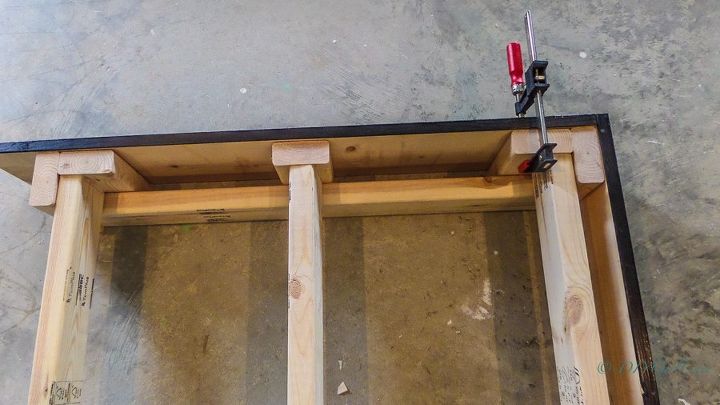
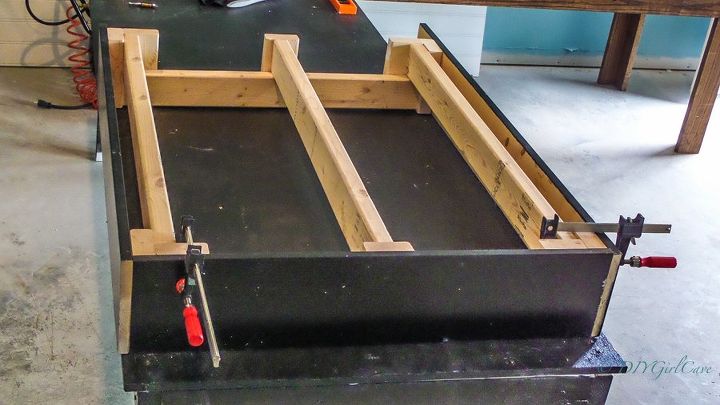
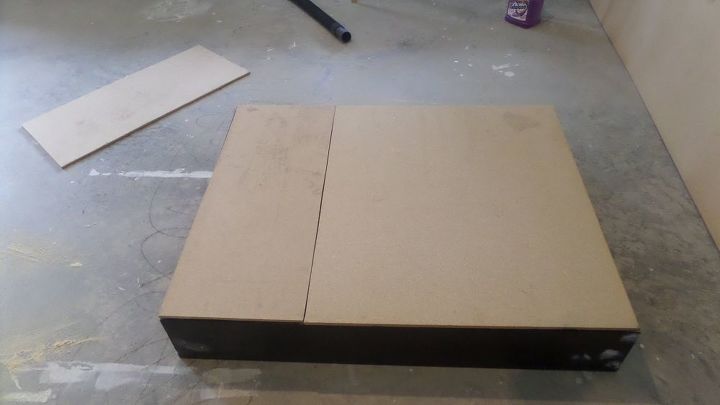
Screw the two 39 1/2 boards to each of the two corner blocks, you can use a clamp to keep them together and tight while driving in the long 3 screws. Then take the 31 1/2 boards and lay widthwise resting on top of the two longer "length" side with screws, this gives you a really strong corner joint. I added a third "width" board in the middle to make the center of the stage really strong since the idea is she will be bouncing around on this, I don't want her to fall through...
Step 4
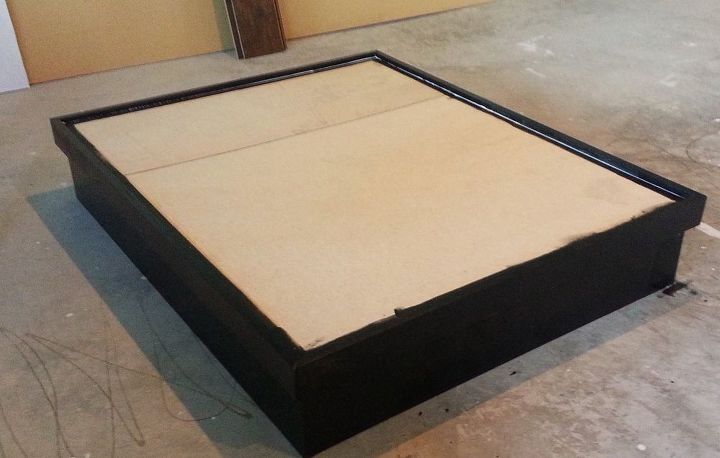
For the perimeter of the stage I wanted it to give it a platform look so I cut a 13x8 into two pieces with outside mitered cuts, longer length of the two was approximately 45 1/2 and the other 37 1/2 then make the same two cuts on your other 1x3x8. I attached with a nail gun to the 18 appearance boards. Depending on the "flooring" you use, you may be able to skip this part.
Please find Steps 5 & 6 on my blog, I have a lot more pictures, too many to load here. Thanks for checking it out!
Want more details about this and other DIY projects? Check out my blog post!
Comments
Join the conversation
3 comments
-
Awesome!
-
This is a great idea - and you could always open up the side and have drawers 'inside' it if ever she runs out of storage space.


Frequently asked questions
Have a question about this project?