


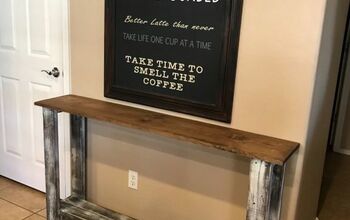
Easy DIY Console Table
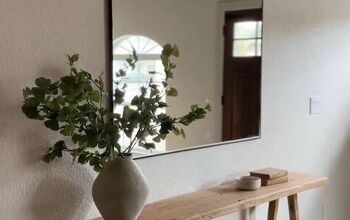
Console tables are great for entryways, foyers, behind couches and underutilized spaces in a room. They can be pricey or you can be like me and build your own Easy DIY Console Table for under $35! Yup, that’s right… UNDER $35 (minus the tools!)
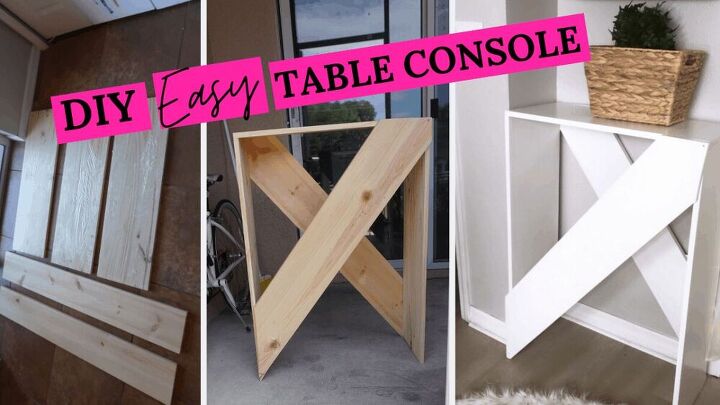
DIY Easy Table Console
Today, I'm sharing a super easy and chic console table you can create for your home!
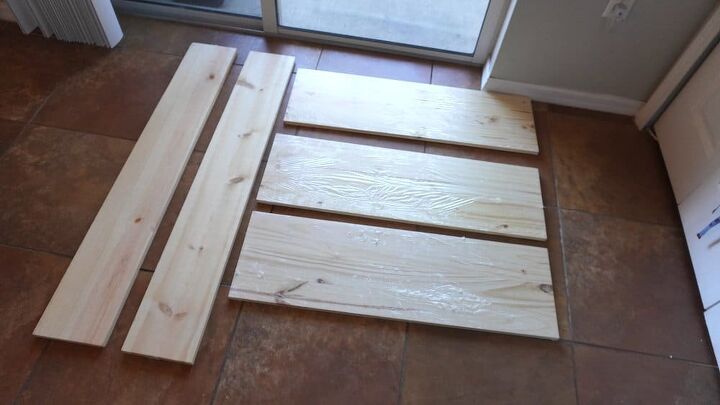
Step 1: Supplies
Make sure 2 of the pieces are longer than the table legs as these will be your front and back pieces!
Table Top Directions
First, I measured how big I wanted my console top with measuring tape. I know exactly where this console is going (in a corner in my office). Once I have my line marked, I cut with my Mini Circular Saw.
I am seriously kicking myself for waiting so long to purchase a circular saw. It’s LEGIT. It’s the right size for someone like me who isn’t that great with tools, it has 3 different blades and a laser to ensure I’m cutting a straight line. I absolutely cannot wait to use this for some more projects (I already have my DIY projects on Pinterest for it! lol).
Once you’ve cut your console top to its desired length, go ahead and sand it out so it’s smooth!
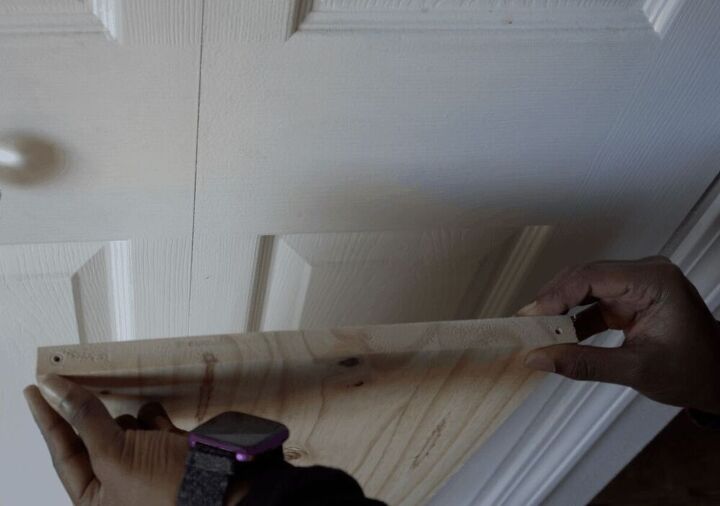
Table Legs Directions
You want to, first, predrill holes inside of the legs before drilling in your screws!
Trust me on this! If you predrill your holes first, this guarantees your screw won’t break off into the wood and that your wood won’t crack. I recommend making the predrill hole (pilot hole) slightly smaller than the actual screw size.
Every project I do, I use my power drill. It was my “first-time homeowner” gift to myself and I use it often! I decided to purchase a new electric power drill bit set since I use my drill so much!
You first want to measure where you want the screws. I recommend at least an inch out so your wood doesn’t crack off. Be sure to save those measurements where the predrilled holes are (pilot holes) as you will need those measurements to drill inside the table console!
I went ahead and added wood glue after I predrilled my holes since this adds an extra level of protection since I won’t be using table brackets!
I recommend applying the glue to the table top upside down. It’s much easer.
TIP Be sure to wipe off any excess wood glue! You do not want it to dry on the wood because it’s going to be super hard to paint on top of it and damn near impossible to stain the wood if there’s wood glue all over it!
Allow the glue to dry for about 30 minutes before going in with the screws.
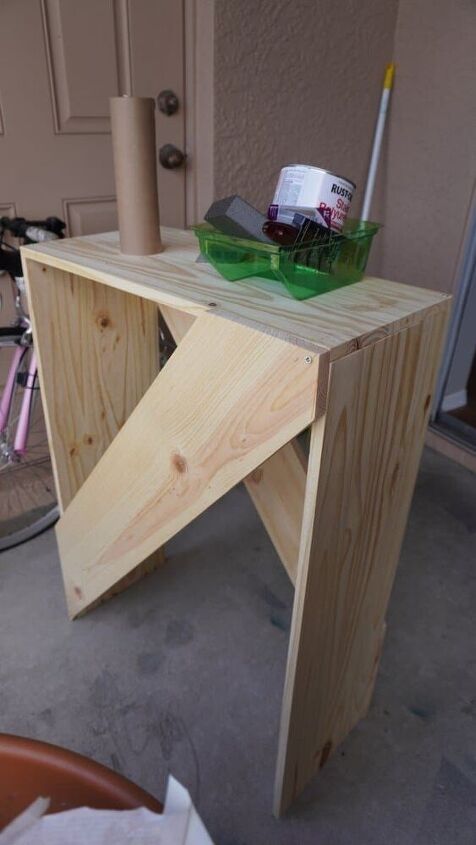
Step 2: Assemble
Take out the measurements where your pilot holes are and measure/mark that on your tabletop. Drill and add the screws on each side.
Front & Back boards
I have no idea why but this was the fun part for me (maybe because I got to use my mini circular saw and feel like Bob Bre the Builder.
Lay your table down and then lay your front piece on top. I measured where I needed to cut and went through twice with my saw. You’ll want to do this with both ends of the board and for both boards (the front board and the backboard).
I promise this part isn’t nearly as hard as it sounds! If you can measure, you can definitely do this easy DIY console table!
Step 3: Paint
Paint
I hate painting furniture. I love painting canvases but when it comes to painting rooms and furniture, I’m super messy and ehhh, just not that great at it.
Originally, I planned to stain this table antique white but I wasn’t feeling it after a few strokes and decided to just paint it white.
I did two coats and let it dry overnight. The next day, I used a wood paint sealer which is extremely important! Usually, when you paint furniture with latex paint, you need to protect the finish with a sealer or topcoat. This will prevent it from chipping and peeling. I used a glossy finish because I want my table to shine as bright as my future (and that’s bright!)?
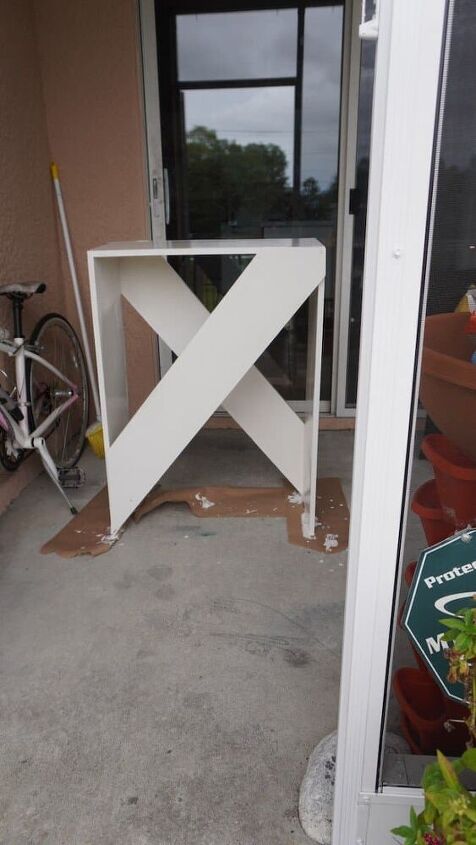
How did I do? Did I do a good job? I plan to use this table in my office/ Youtube Filming studio! You can build your own easy DIY console cable for under $35 because well, I just did! It’s sturdy, cute and I can’t wait to decorate it!
Watch the video
Resources for this project:
See all materials


Comments
Join the conversation
-
looks awesome ! great job
-
Really great table. It has a certain je ne sais quoi & I want one.
-
Saving this so that I can refer back to it. Thank you for this unique table that can be customized for any room.


Frequently asked questions
Have a question about this project?