


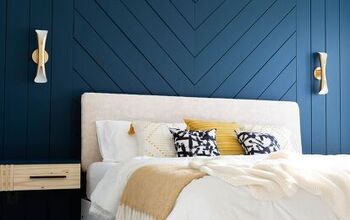
Easy DIY Upholstered Headboard for a High-end Look
This easy DIY upholstered headboard is a great project anyone can do. We made this upholstered headboard for my son’s room while participating in the bedroom makeover challenge. I am going to show you how easily it can be done for a fraction of the cost of a store-bought upholstered headboard. You’ll be able to customize it to fit your room.
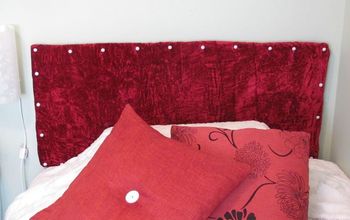
This is the second upholstered headboard we’ve made. The first DIY upholstered headboard was for our master bedroom a few years ago and it still looks great, you can see it here. I incorporated mirror panels and wood trim to the border to give it a custom look. Making the headboard was so easy I had to do it again for my son’s room. I’ve always loved upholstered headboards, there are so many options, like tufted, channel-tufted, trimmed with nailheads, french seam, and so on. You can search google to find a myriad of upholstered headboards to see the style that appeals to you. There are so many tutorials available on easy DIY upholstered headboards you’ll be able to find one that fits your style.
INEXPENSIVE, EASY DIY UPHOLSTERED HEADBOARD WITH HIGH-END LOOK
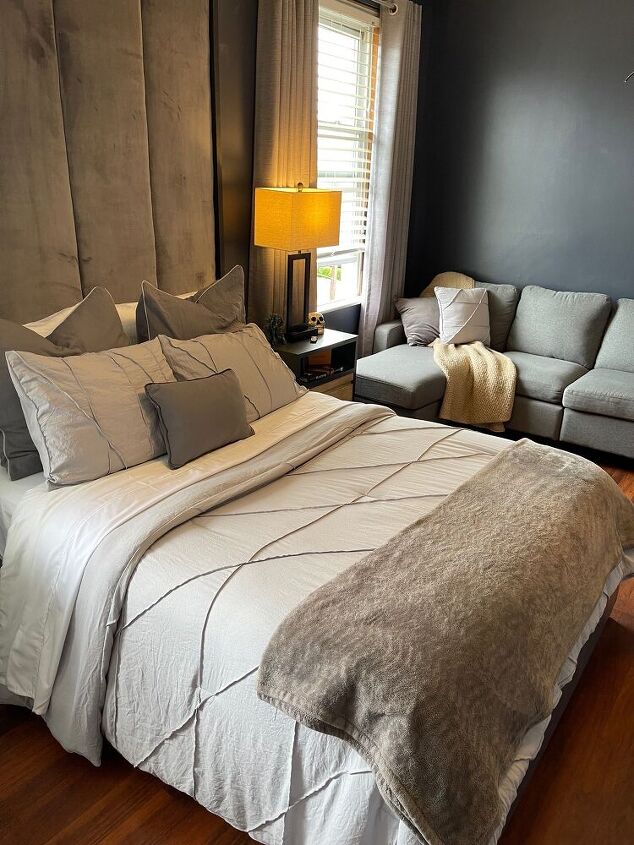
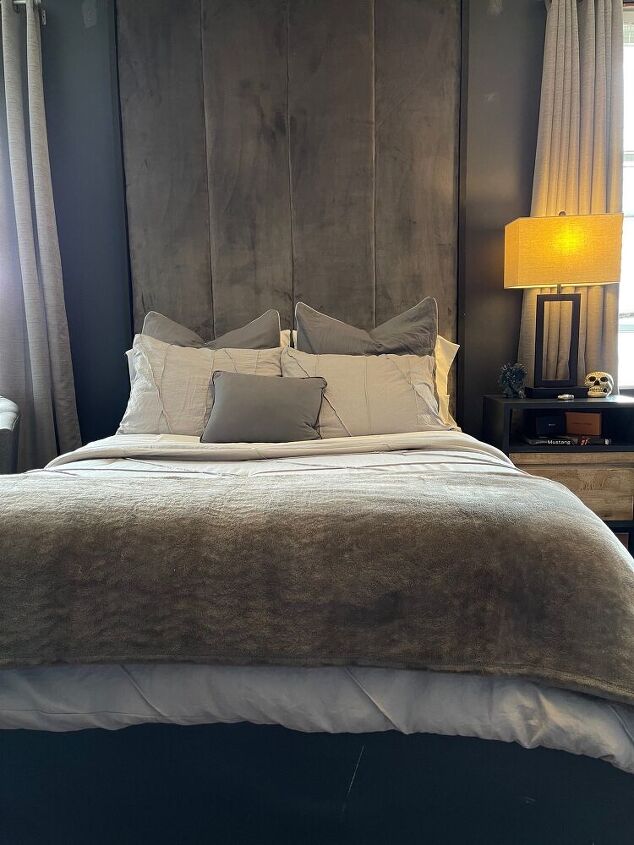
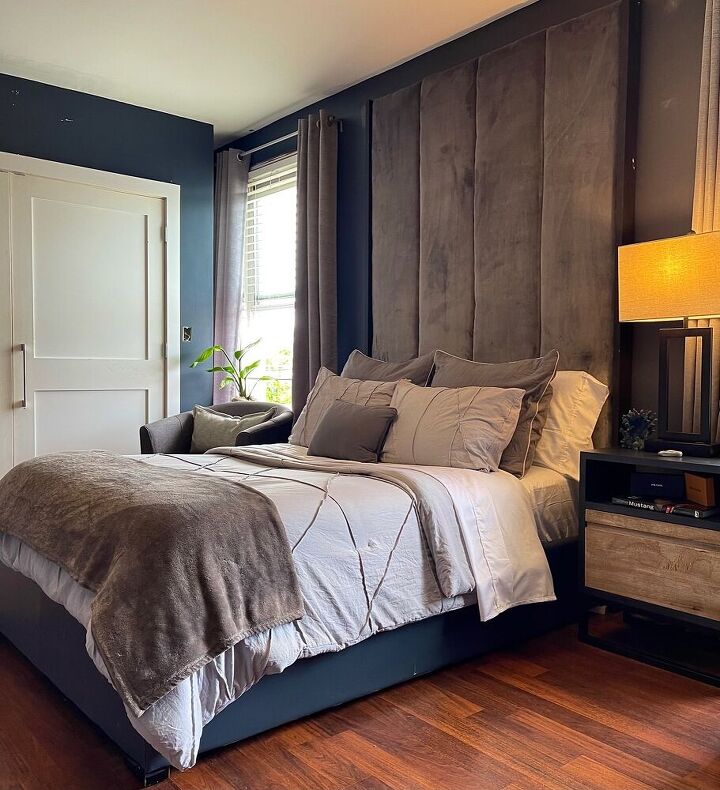
This project can work for any size bed, king, queen, full, and twin. You determine how tall and wide you want the headboard to be. I wanted to create a striking presence in the room with the headboard. So I designed a floor-to-ceiling upholstered headboard with a wood trim border flanking each side. Then I had to decide how to place it on the wall, should it rest on the floor, hang on the wall, use french cleats or secure it to the bed frame. Because of the massive size of the headboard, I decided to bolt it to the frame and secure it to the wall on top with screws into the beams.
CHOOSING FABRIC
There are an array of fabrics you can choose from like plush velvet, linen, suede, dupioni silk, cotton, vinyl, and even leather. Choices of colors and patterns are endless. It’s best to pick up a few samples from a fabric store and see what you prefer. I chose grey velvet because it worked well with the overall color scheme of the room. But, when I brought it home I realized it’s the same fabric I used for the master bedroom headboard. I must really like this fabric, haha.
WHAT YOU WILL NEED TO MAKE A CHANNEL UPHOLSTERED HEADBOARD…
Fabric of your choice
4-1/2″ Wood panels cut from a sheet of plywood
5 – 1″X 4″ select pine wood
Batting
1″ Foam
Staple gun (I used a pneumatic staple gun, electric or standard staple gun will also work)
Staples
2- 1″X 4″ 8 ft. select pine wood for the frame
Paint
Paintbrush
Drill
Screws
Wood filler
HOW TO MAKE THIS EASY DIY UPHOLSTERED HEADBOARD
I wanted to create a channel headboard with wood trim on the sides. First, we measured the height and width of the size we wanted for the headboard.
I purchased two 8ft 1″ X 4″ select pine wood pieces for the border trim and gave them two coats of black paint. Let it dry while I worked on the upholstered sections.
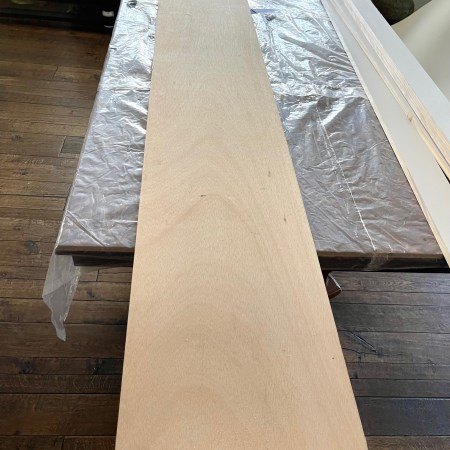
We measured for the upholstered section the width of the bed. I found the easiest way to make the channel look was to make separate panels. We cut down 1/2″ plywood into 4 -14″ panels for the full-size bed. You can have Home Depot or Lowe’s cut the wood down to size for free.
HOW TO WRAP THE WOOD PANELS
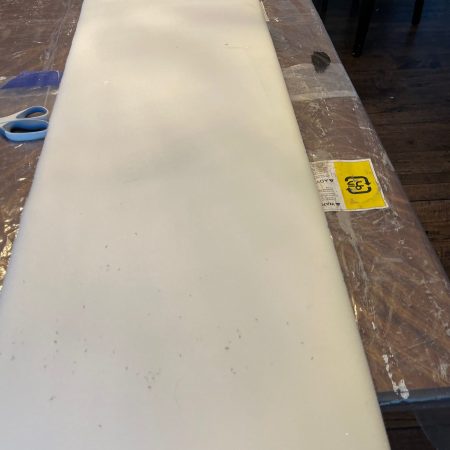
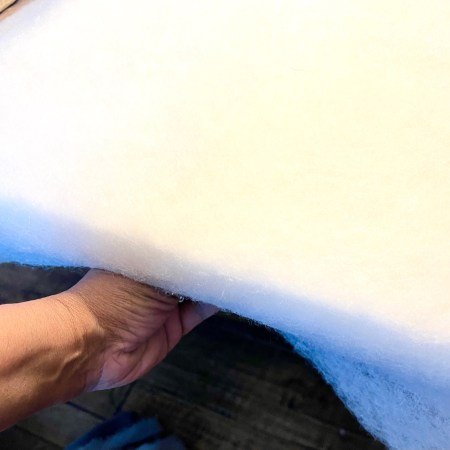

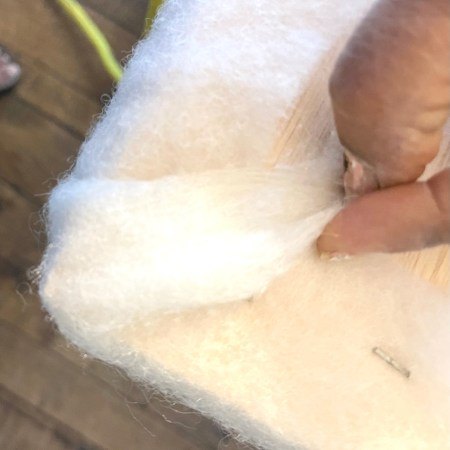
I glued the foam to the plywood with spray adhesives. Then lay the batting down on the table and placed the plywood with foam side down. Starting at the center of the board, I stapled the batting to the back of the plywood while pulling the batting taut. Do this all the way around the board. Fold the corners neatly and staple making sure not to bunch the batting. Once completed, I laid down the fabric face down and the plywood with batting face down. Starting from the center of the board I pulled the fabric taut and stapled continuing the same process as the batting. Now just three more to go…
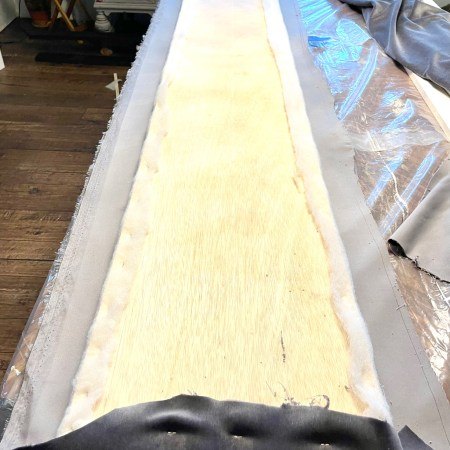
ATTACHING THE PANELS TO THE FRAME
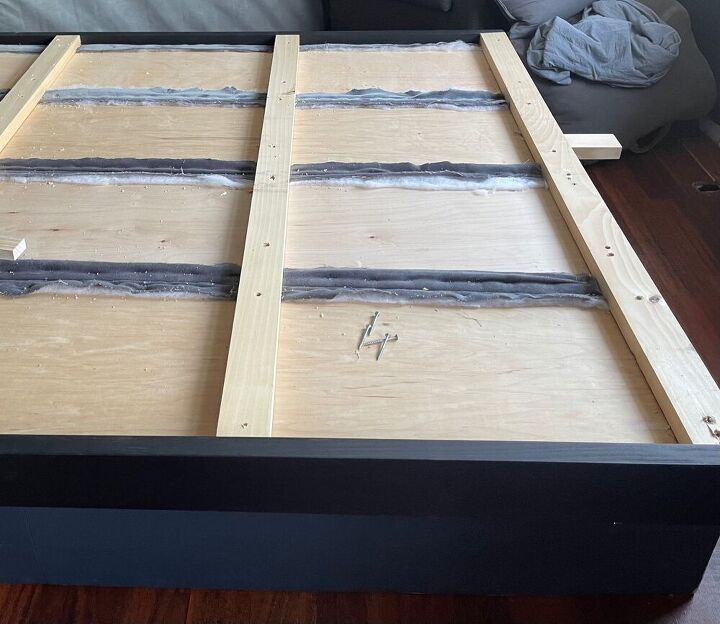
Once all the panels have been upholstered, it’s time to start attaching them to the frame.
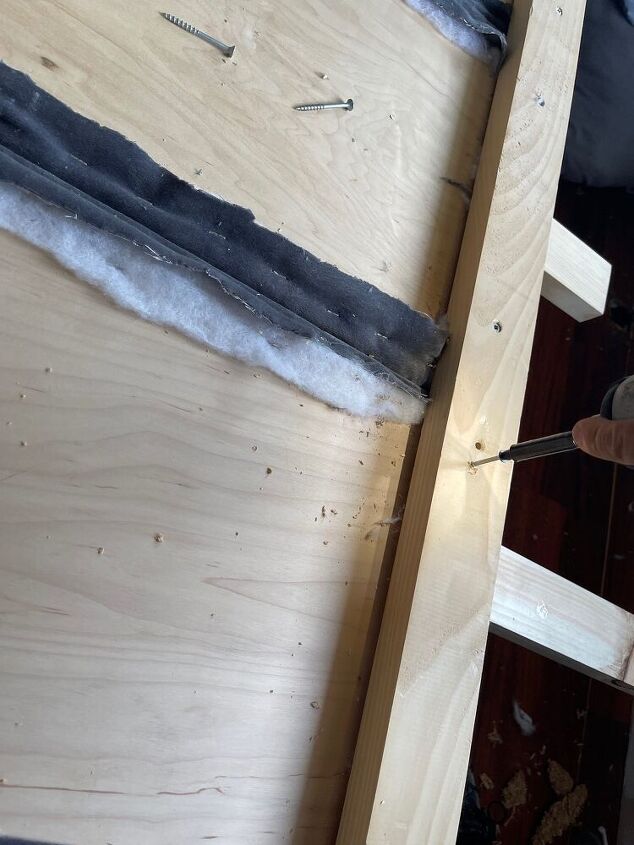
Predrill the hole onto one of the 8ft pieces painted border trim and attach the five 1″ X 4″ wood pieces across. We predrill the holes so the wood doesn’t split.
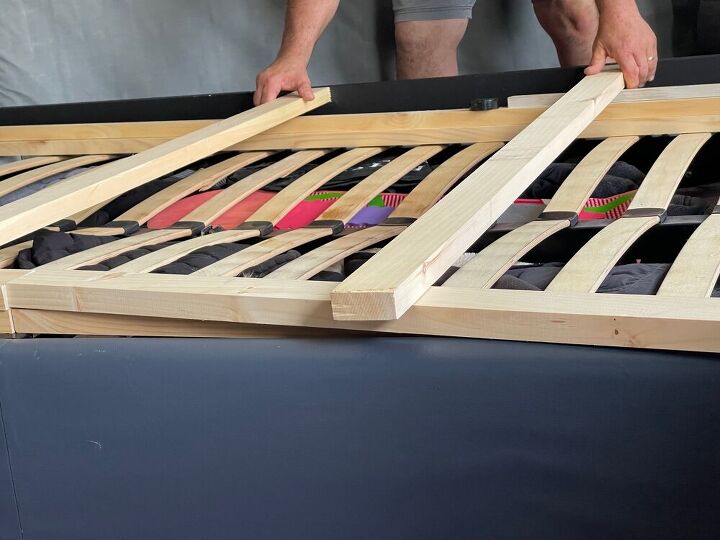
By the way, we placed the frame on top of the base of the bed frame so that it will be easier to work with. Also, it was easier to build it in place so we didn’t have to carry such a large frame.
Place the upholstered panels under the frame making sure it’s aligned properly with the frame. Then fasten it with screws, the panel will grab the screw and attach it to the frame.

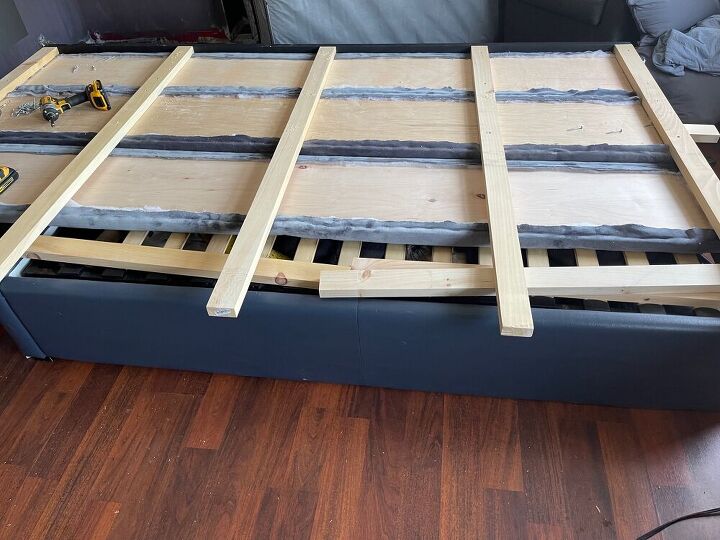
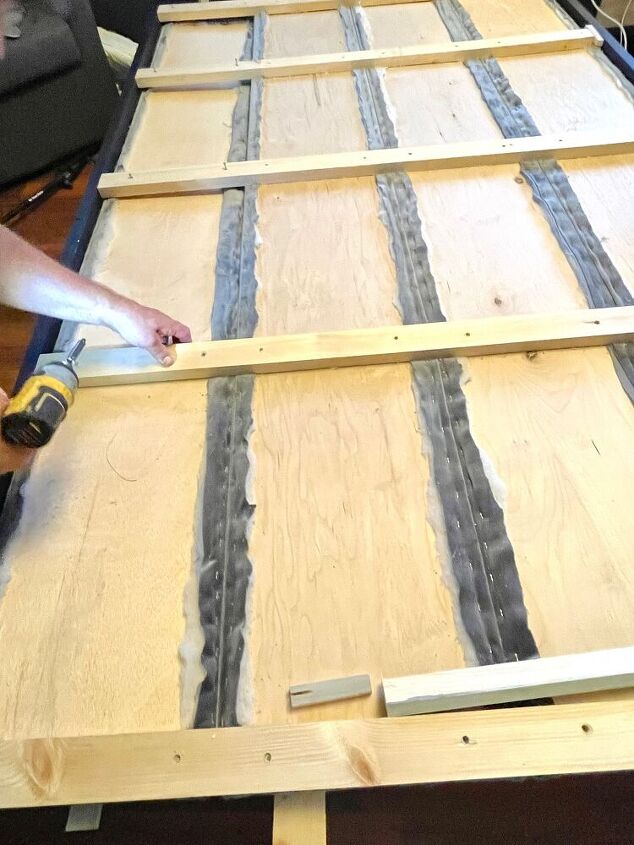
Once all the panels are screwed onto the back, attached the second painted wood border to the opposite side. You can use wood filler and paint to cover up the holes from the screws.
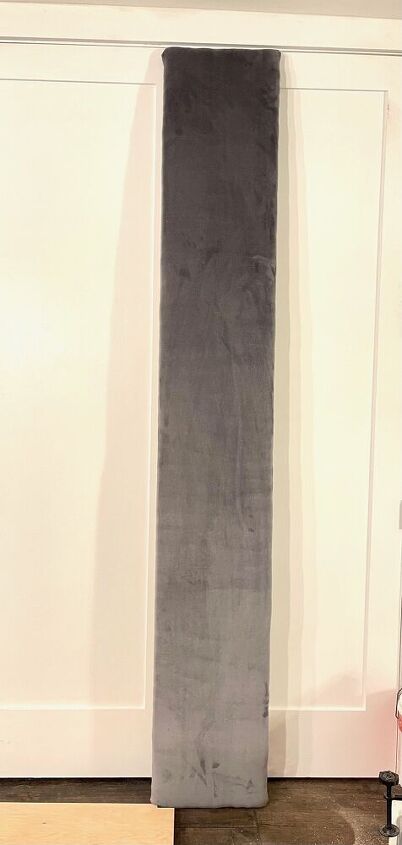
Now it’s time to hang this headboard on the wall… First, we screwed the headboard to the base of the bed and then screwed it directly onto the wall beams on top.

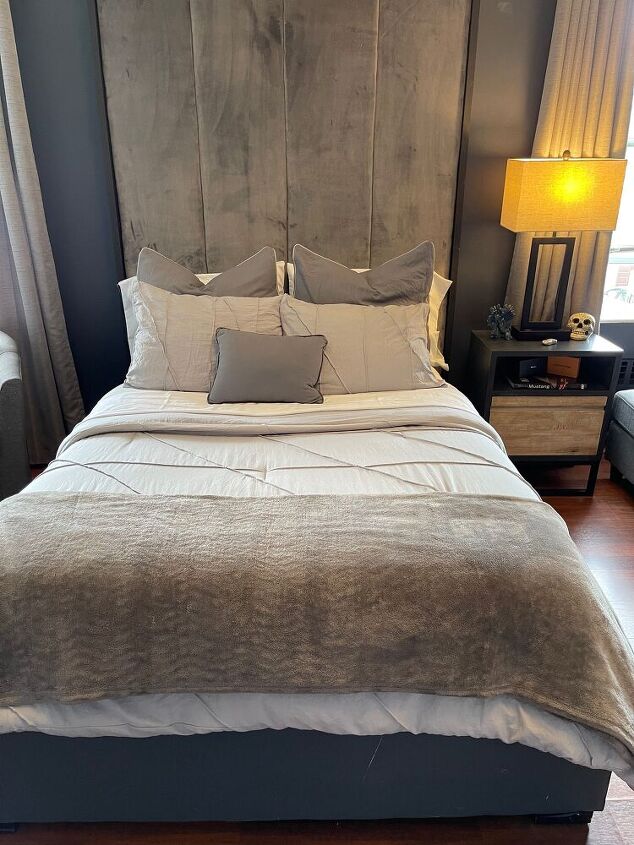
We are so thrilled with this easy DIY upholstered headboard, it turned out beyond what I expected.
Thank you for stopping by! You can see other projects like this on my blog @Houzewize.com.


Comments
Join the conversation
-
Stunning, classic look! 👏🏻👏🏻
-
Thank you so much!


Frequently asked questions
Have a question about this project?
Great idea! Love the colors. I also have those colors in our master. I would love that bedside end table. Where did you find that?