


Entryway Stand

by
Bill Kratz
2 Materials
$15
2 Weeks
Medium
My daughter needed a stand next to front door for the kids shoes, lunch boxes, bowl for keys and miscellaneous items. So this is what I came up with.
Not a penny spent on lumber, all repurposed from fences and other discarded items.
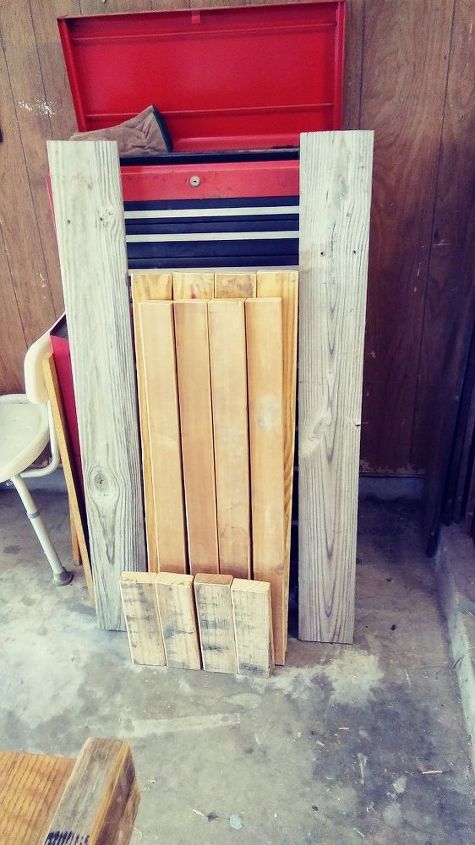
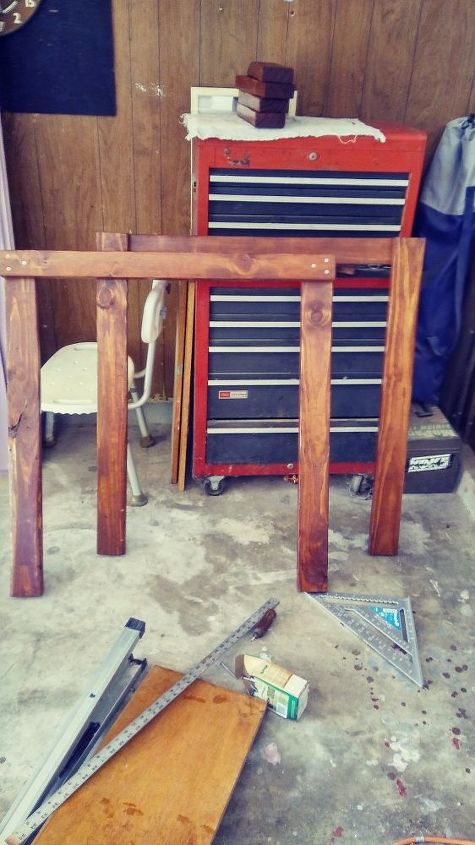
Ready to start.
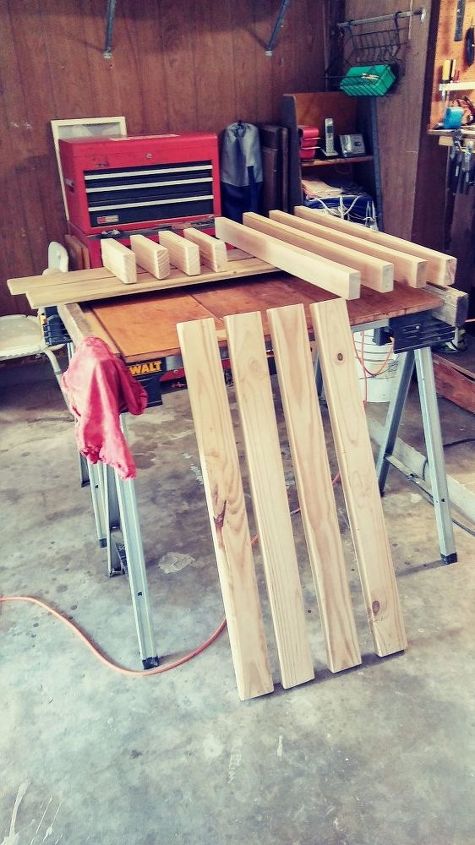
Cut all pieces to appropriate sizes.
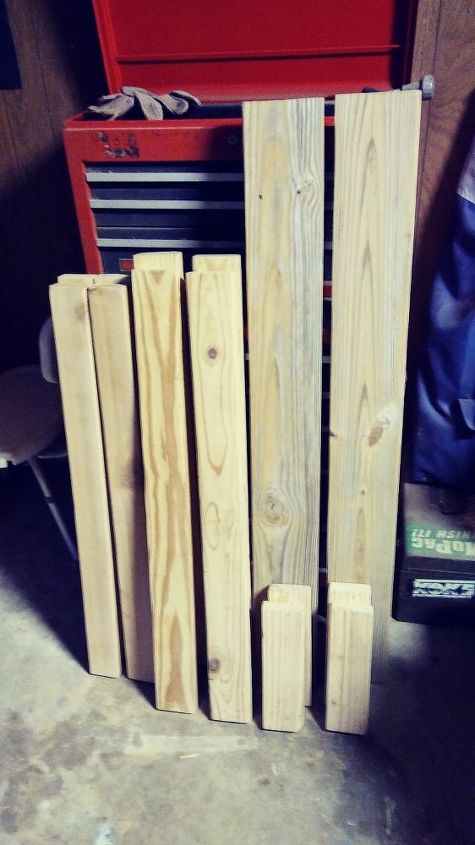
All pieces in order.
Found different sizes of wood from various sources.
2x4's from an old work bench being discarded.
2x3's from a child's bed frame laying at the curbside.
Fence slats from the neighbor next door.
Round of sides and ends of each board.
Used a Stanley Surform Shaver to round sides and ends then sand each piece. Sanded each piece with belt sander. First 80 grain, then again with 120 grain.
Finally hand sand any rough spots with 320 grain.
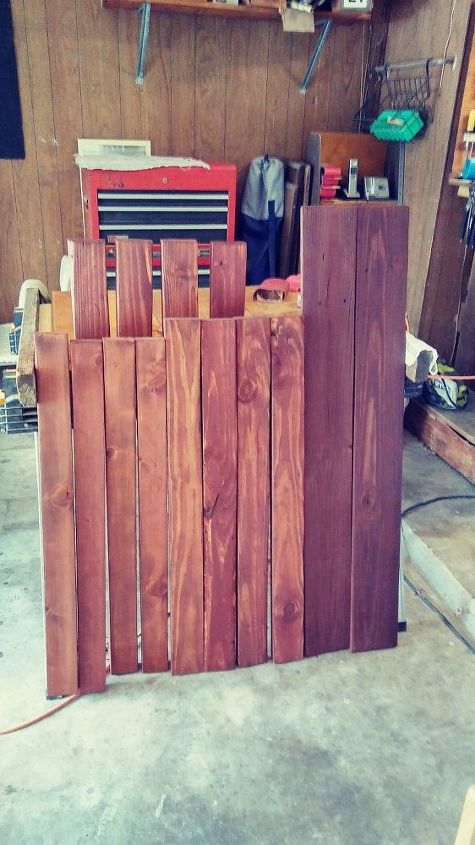
Used old cotton socks to apply coatings.
Stain with Minwax Red Chestnut and add Minwax Polyurethane to all pieces.
Use 3" Spax screws
Start front and back frame. 2x4's
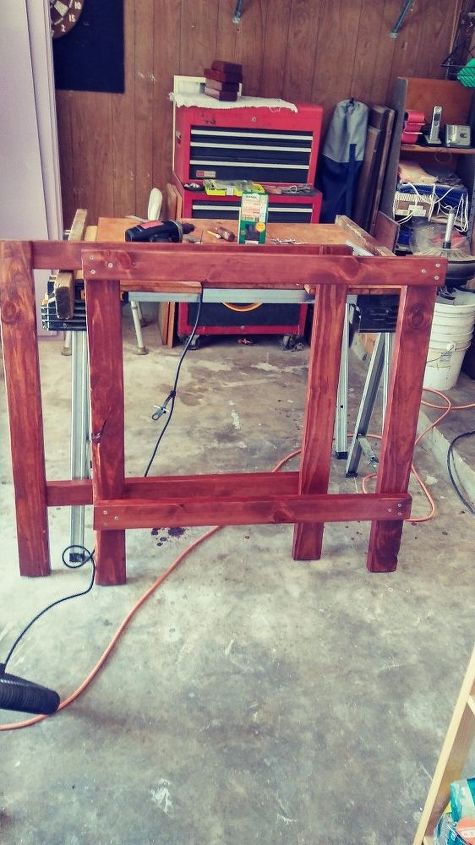
Screw in > and < patterns for stability
add bottom shelf braces. 2x3's
attach frames together with short 2x4's
Attach panels insides facing each other.
Attach frames together using short 2x4's top and bottom with 3" screws.
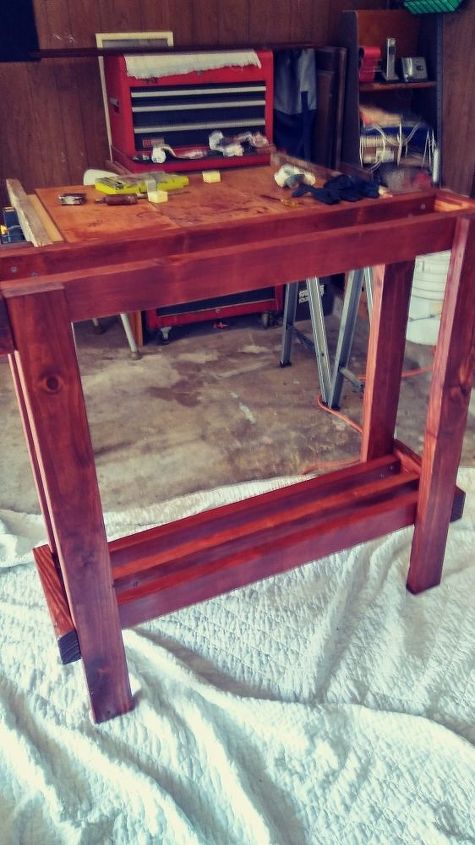
Add center 2x3 for stability and storage rack using 2" screws. (make sure all 2x3's are level.)
Measure slats overhang and leave 1/2" gap.
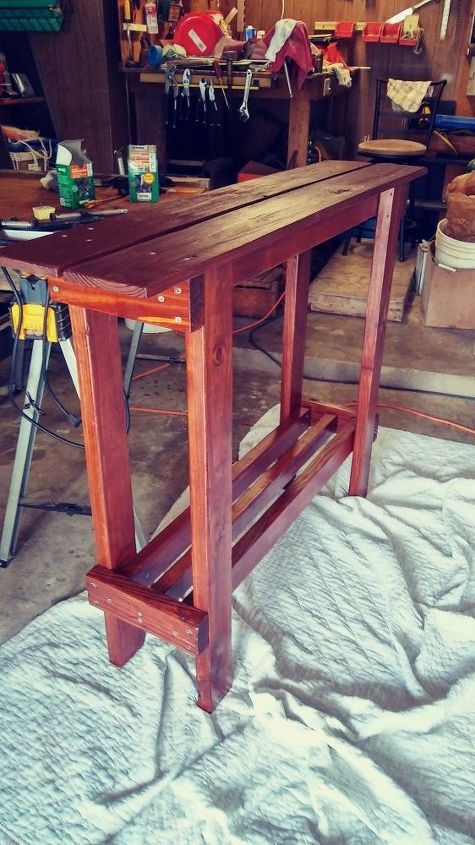
Attach slats to top using 1-1/2" screws.
Apply another coat of Minwax Polyurethane over all screws to seal any cracking caused by screws.
Done...ready for the grandkids when school reopens!!!
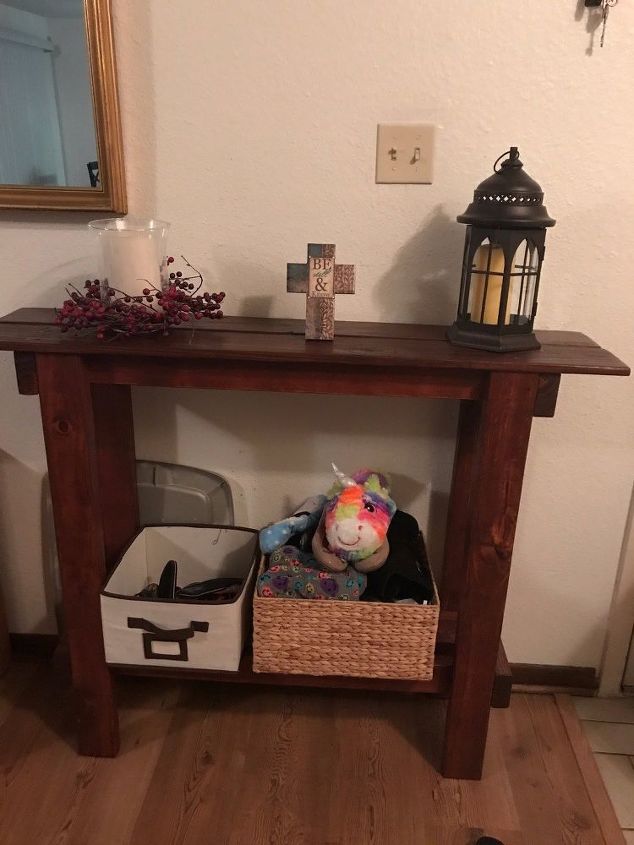
Entryway stand put to use.
Got it to my daughter's home and set in place.
Comments
Join the conversation
2 comments
-
Simple, effective, and it looks great. Good job.
-
This looks great! Beautiful!


Frequently asked questions
Have a question about this project?