


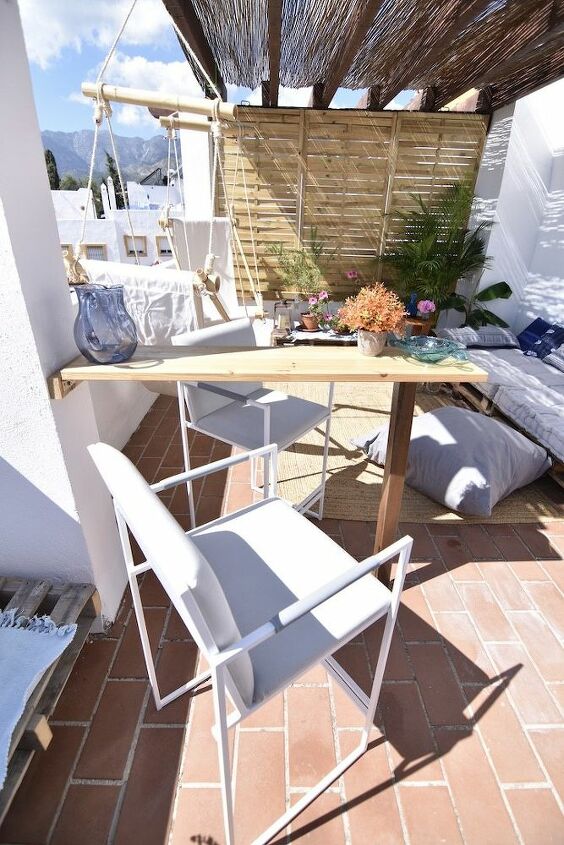
Fold Up Wall-Mounted Bar Table
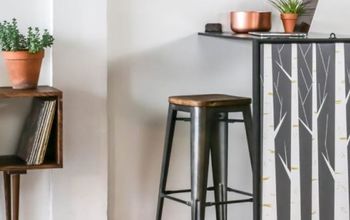
Short on space but big on style? A Wall-Mounted foldable bar table can be the new addition to your garden or terrace for this summer. They can be very useful in a small kitchen saving space while providing a breakfast area on demand.
What do I need?
The materials we need for this project are easily found in any local shop. We are looking for the following:
- A wood plank of the desired size of the bar table. We are using 120 cm (47″) long by 40 cm (16″) wide, 3 cm (1,20″) thick.
- A wood bar that matches the desired wide and it’s at least 4 cm (1,6″) thick. In our case, a 40×8×4 cm (16×3,2×1,6″) wood bar.
- A wood bar or 105 cm (41″) long, square or round shaped, with 10 cm (4″) diameter.
- 2 big, strong metal T-hinges.
- 1 medium-sized metal hinge.
- 2 large screws, at least 10 cm (4″) long, with 2 matching anchors.
- 2 medium screws, at least 5 cm (2″) long, with 2 matching anchors.
- A pack of small wood screws of 2 cm (0,80″) long. (At least 16pcs).
- 1 Open hanger screw with his matching anchor.
- 1 Closed hanger screw with his matching anchor.
- A pack of metal split ring lock washers, 1 cm (0,4″) diameter.
- 1 metal split ring lock washer, 2 cm (0,8″) diameter.
- A driller, screwdriver and a pair of pliers.
Getting started : Drilling
Once we have decided where the foldable bar will be, we have to be sure that it will not hit anything when folded up. The desired height of a bar table is 110 cm, around 43 inches.
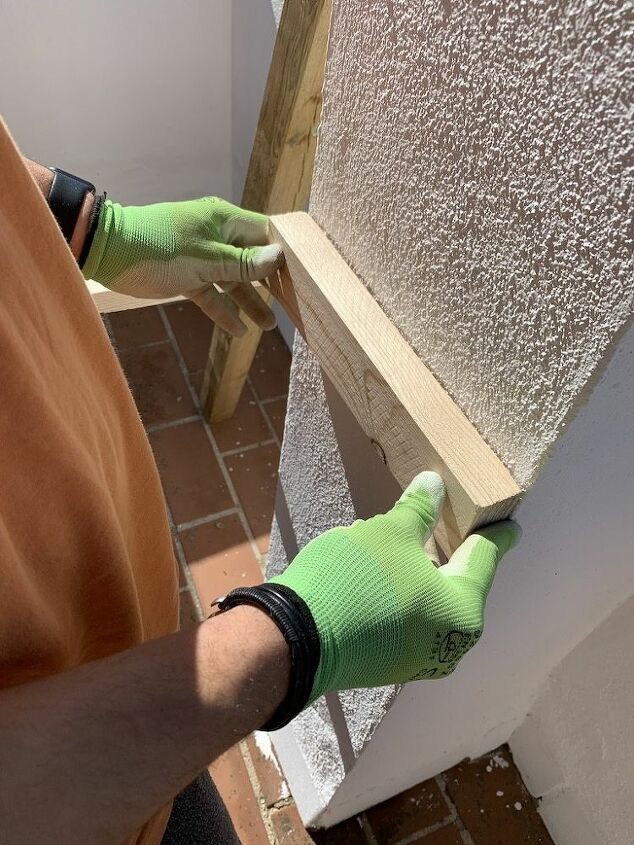
Using the wood bar and the 2 large screws, we will mark the drilling holes on the wall and proceed.
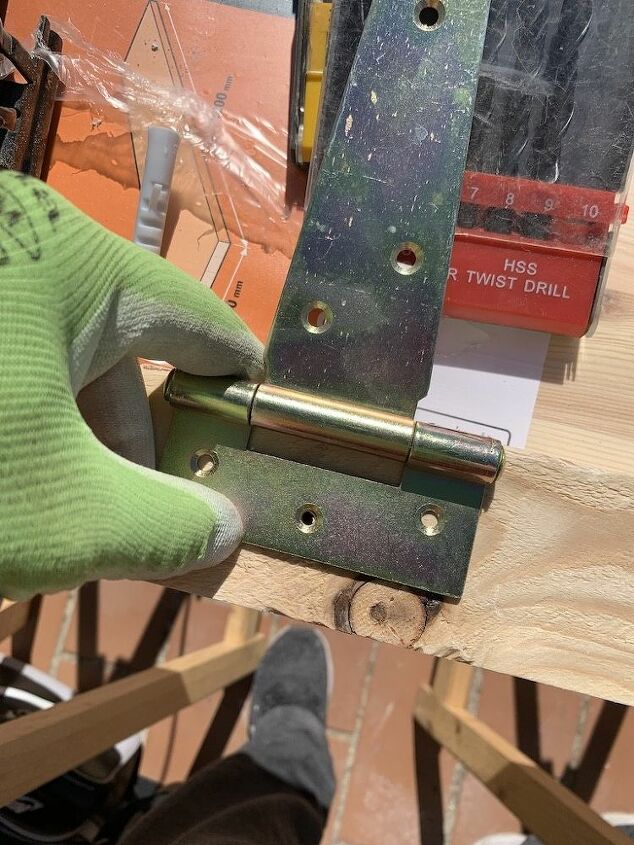
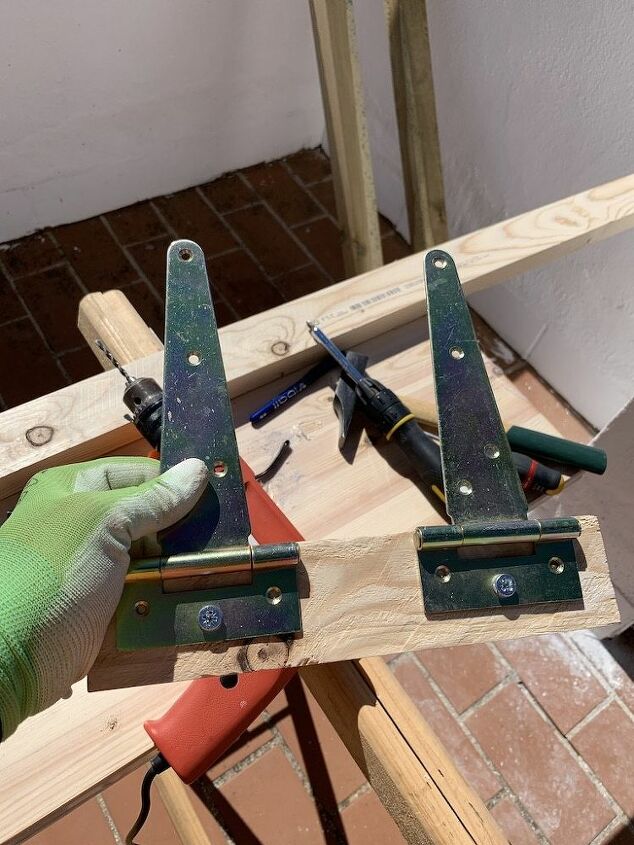
This two holes will be used to hold also the T-hinges. So be sure that the edge of the wood matches with the hinge fold as seen on this picture.
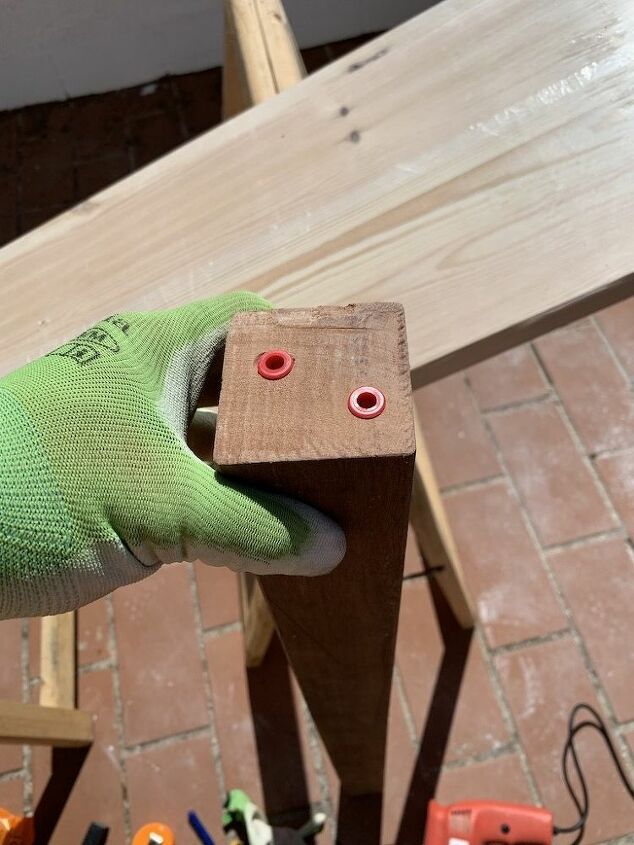
On the square (or round) wood bar, we will drill two holes to host the 2 medium screws of 5 cm (2″) long.
Assembly
We will attach both T-Hinges to the wood bar, using the long screws and then proceed to mount it to the wall.
Continue reading on L'Essenziale Blog...
Resources for this project:
See all materials


Comments
Join the conversation
-
Great space saver! You now got all you need for a maximized cozy hang out space - very inviting. Great vibe.
Add drop cloth curtains if privacy/or shade is wanted and maybe a sail on top of the beams for shade or light rain protection.


Frequently asked questions
Have a question about this project?