


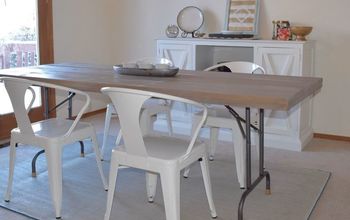
Folding Table Transformation

This post was transcribed by a member of the Hometalk editorial team from the original HometalkTV episode.
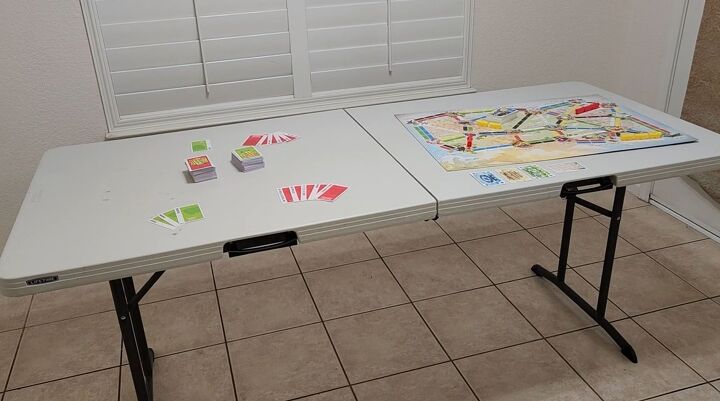
My wife has an old game table that we have in the corner of our room, and I wanted to spruce it up.
Hometalk Recommends!
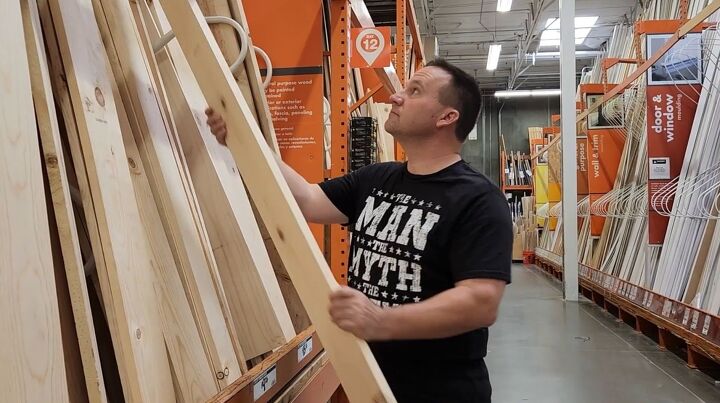
So the first thing I did was head down to the local hardware store and choose some of the inexpensive whiteboards. Want to make sure that they're as straight as possible, especially for this project.
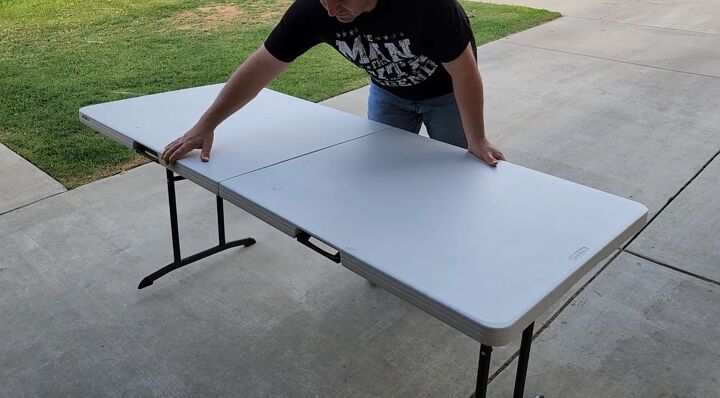
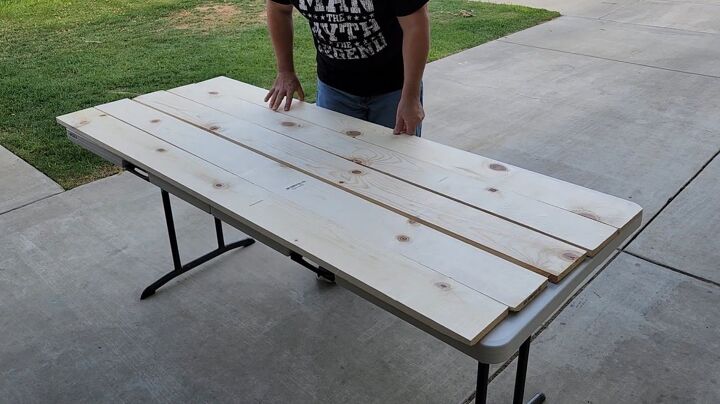
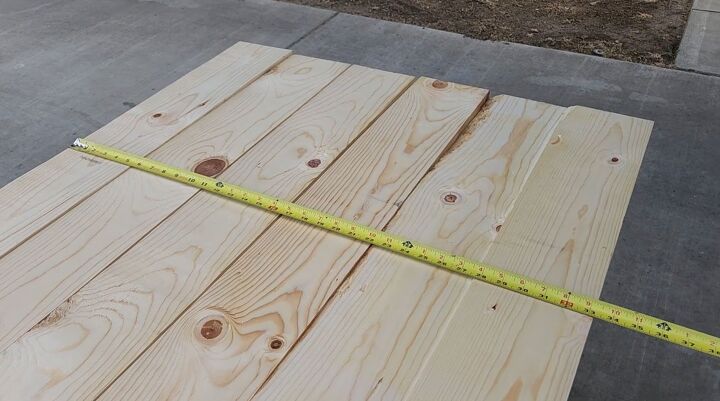
I brought the table outside and set it up. I wanted to use the tabletop to make the measurements and build the new top right on top of the table. All I had to do was take the one by sixes and lay them out. This table is about six-feet-long, so it's perfect for this length of board. The difference with this type of build is we're actually building it upside down, so you want the best looking side of each board to face downward, because then we'll turn it over.
First thing I want to do is measure the board for some of my cross
beams. I'm going to cut those a little bit short using my miter saw, and I'm going to use the same size boards as I did on the top. What I'm going to do is make sure all the boards are straight and level with each other.
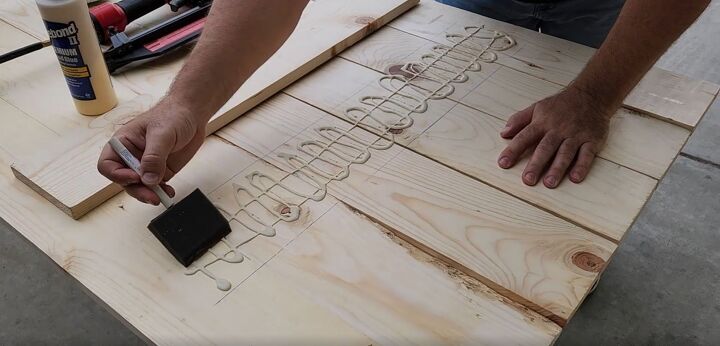
And then I'm going to mark out where I'm going to place the boards, because I need to lay some good wood glue down. People don't realize that glue is stronger than nails and screws. I’m using a foam brush to spread it everywhere, because the more area it covers, the better it's going to adhere.
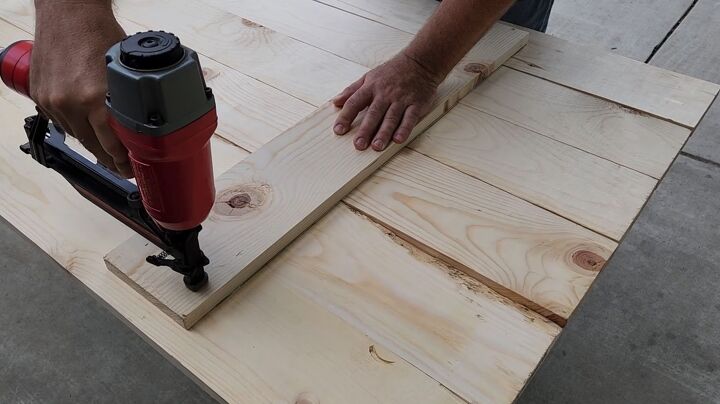
Then I'm going to take my cross-board. Remember, this table is upside down, and I'm going to put it on top of the glue and use finishing nails to put it in. These nails are only ¼ inch, so by nailing from the bottom, they won't show through the top.
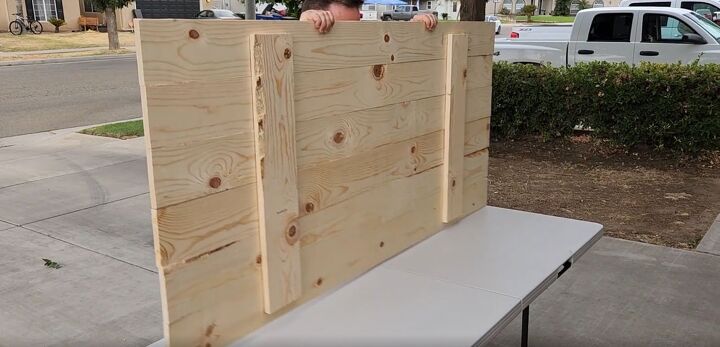
Once I’ve secured the top with my cross-boards, I'm going to flip it over, then measure it with the table, and it's time to put the side pieces on. I'm going to use some 1x3’s with miter joints. That's going to give it a nice clean look.
Next, I'm going to place it up next to the edge of the table, get it lined up, and use the nails to stick it in place. If the board drops because of warping, just go ahead and use your hand and move the board into place. Place a nail in there and it's going to give you just a nice smooth finish.
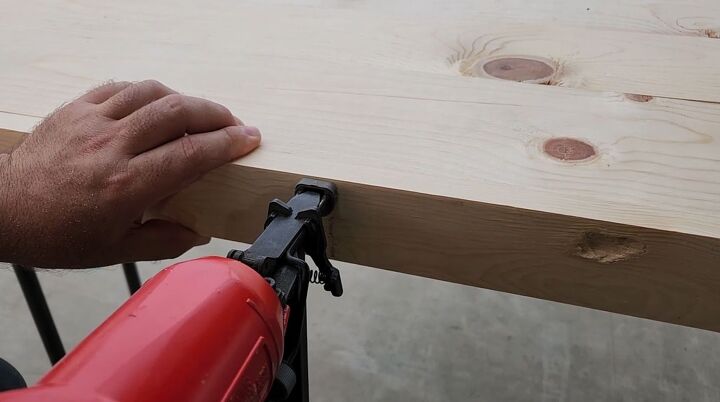
Another thing I need to mention, use that glue again, especially on the sides. We're going to put the glue on there and use the nails to put it in place.
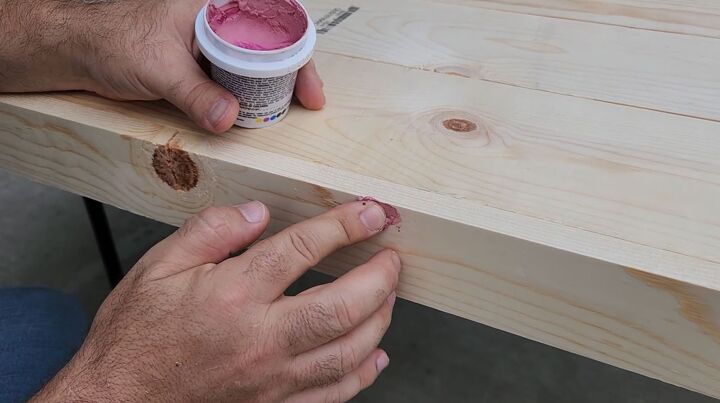
Next, we got those little holes. I'm going to go ahead and use some wood putty. This goes on pink, but it dries beige. That way you know it's ready for sanding. I went ahead and used a higher grit sandpaper, like a 220, and went ahead and sanded the whole table down.
Next, I got all the sawdust off and it was time for staining. I chose my wife's favorite color, which is gun stock. I use a towel instead of a brush. I feel like I get a lot better result when I can smear it on like this, instead of brushing it on.
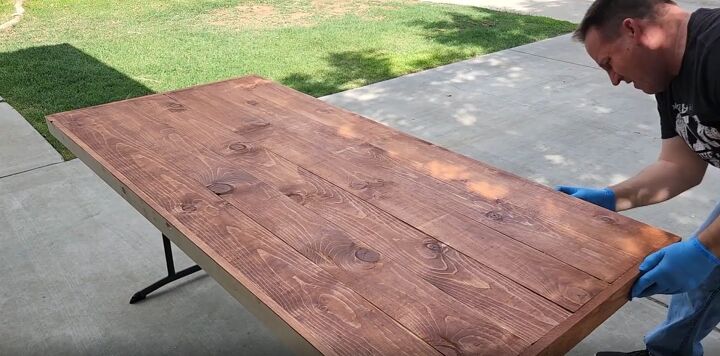
After you get the stain on, it's time for clear polyurethane. That is what's going to give it a nice factory finish. This polyurethane goes on creamy color, but it dries clear with a little sanding in between.
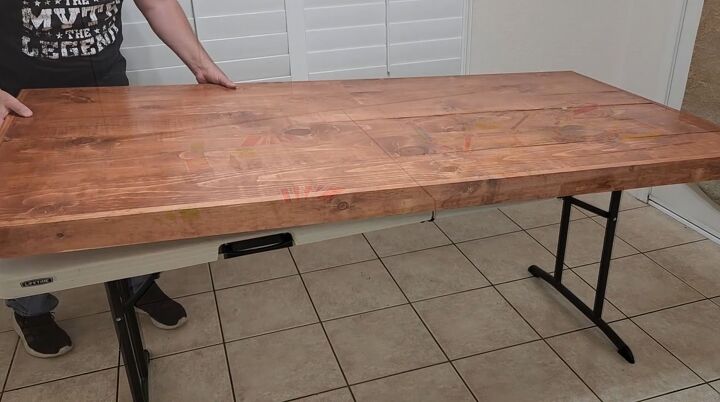
Go ahead and put the new wood table down on top and it's time to decorate.

My wife was so surprised and she loved it. I hope you enjoyed this project as much as she did!
Resources for this project:
See all materials


Comments
Join the conversation
-
This guy's a keeper!
-
After checking the prices of new tables this looks like a very good option.


Frequently asked questions
Have a question about this project?
It's the wood "cover" removable? I didn't think so, but comments state that it is. I thought it was a permanent change?
But do you know how much that tabletop weighs?. I was in the woodworking business and it weighs a lot. You would also have to find a storage space for the top when you remove it. . It looks pretty permanent to me. So I would cover the legs. It’s an option to this amazingly beautiful project.
Confused - where did he use the whiteboards??