


How To Make a Cute Tea Table!

This was a fun project I did with a fifth grade girl named Saki. Her family just bought a new house and she came over to the workshop, because she wanted a tea table for her new room. I love building and crafting with kids!
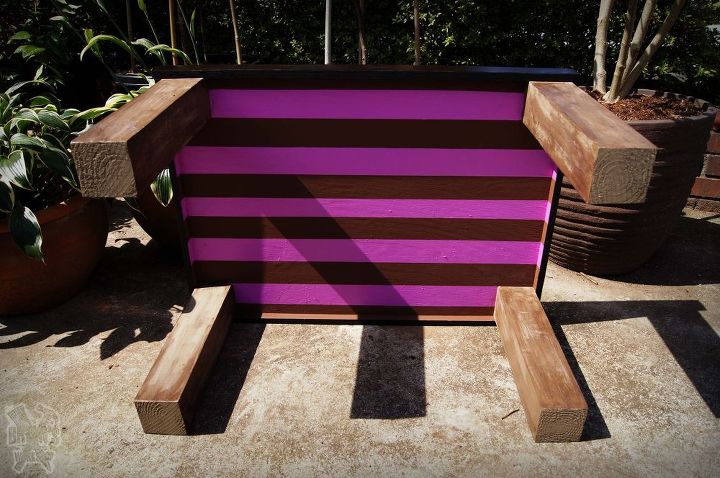
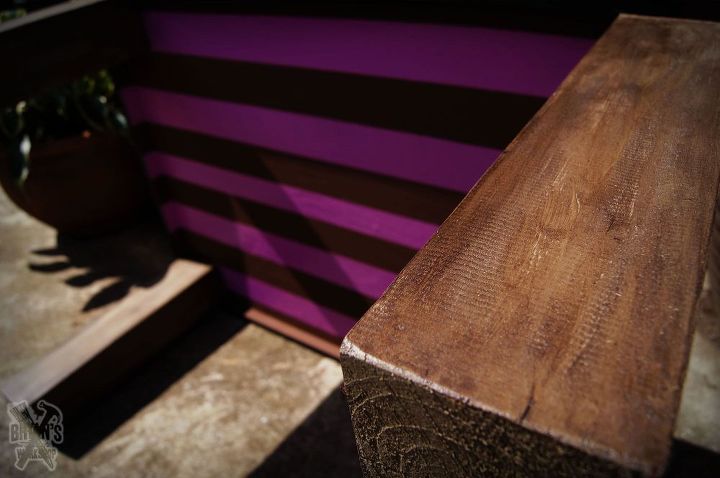
Check out the lovely stripes on the bottom of her table. We used painters tape and a ruler to make the lines.
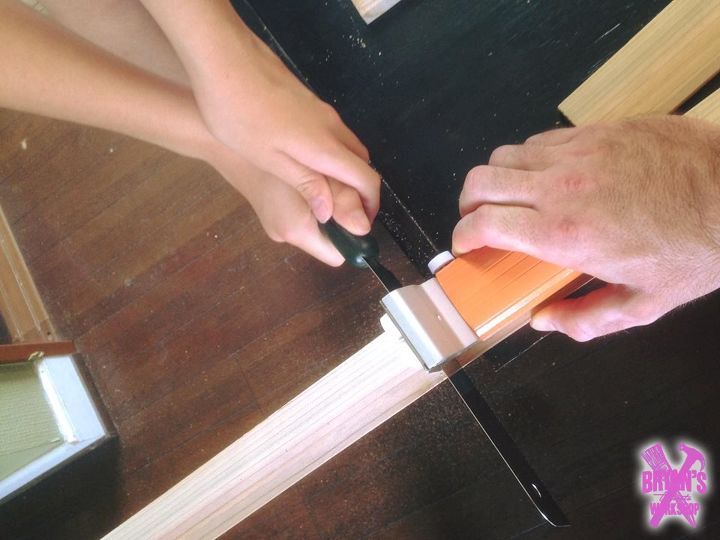
First, I cut four thick legs and had my fifth grade assistant attach them to a piece of plywood. Make sure you plan out the tabletop layout first and then cut the plywood accordingly. I bought this saw guide for my little assistant.
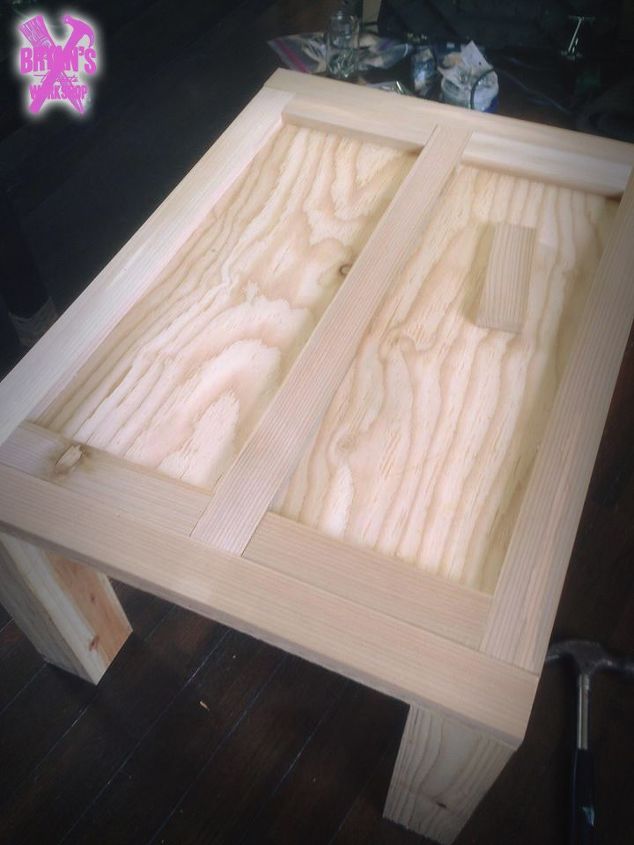
Every piece of wood is "wood glued" on and secured with screws from the bottom of the table. We screwed in the four outside pieces first and cut all the inside pieces exact enough to let pressure hold them until we were finished. It's easier this way, because you can just flip your table and do the rest without flipping it back up.
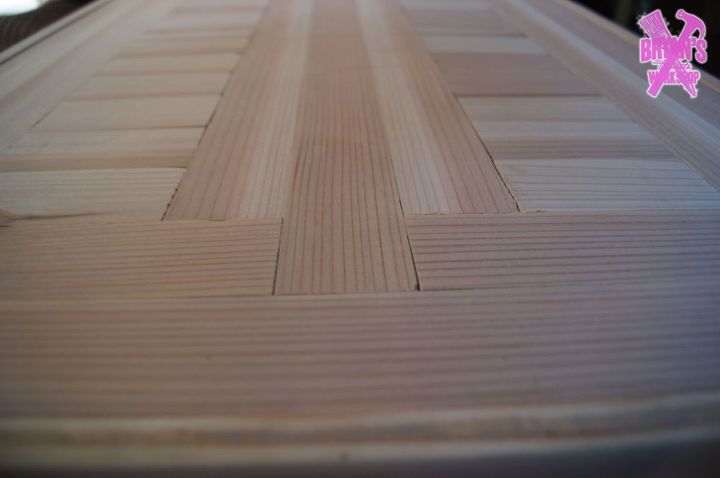
Finished! You'll also need to cut trim to go around the table. I filled all of the screw holes in with wood putty and sanded them down to blend in. They are completely unnoticeable once painted. You'll need stainable wood putty if you plan on using stain.
The legs are a nifty antique brown color with some rubbed off wood glaze.

The tea table turned out lovely!
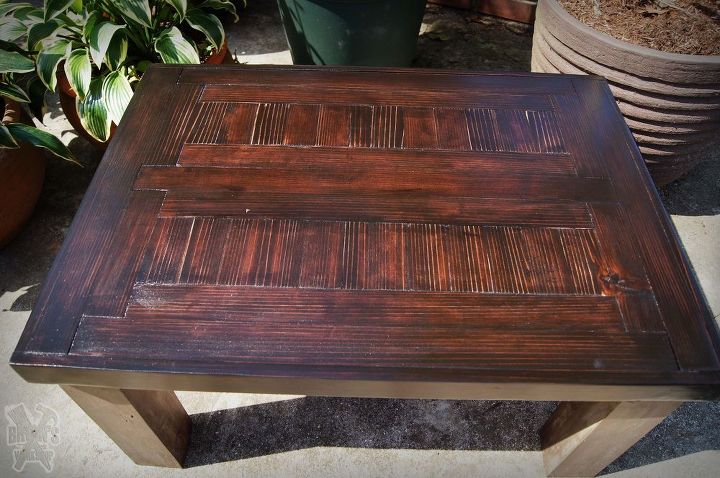
Stained and sealed!
Comments
Join the conversation
-
Beautiful, and how kind of you to teach/help her build her own table.
-
gorgeous job and table!!


Frequently asked questions
Have a question about this project?