


Give Your Kitchen a Refreshing Spot With an Easy Breakfast Counter
5 Materials
$25
1 Day
Medium
This is by far, the favorite spot in my kitchen, maybe even in the whole house. To sit with a cup of coffee, stare out the window and watch the wildlife - life doesn't get any better!
And the best part, this DIY is so easy!
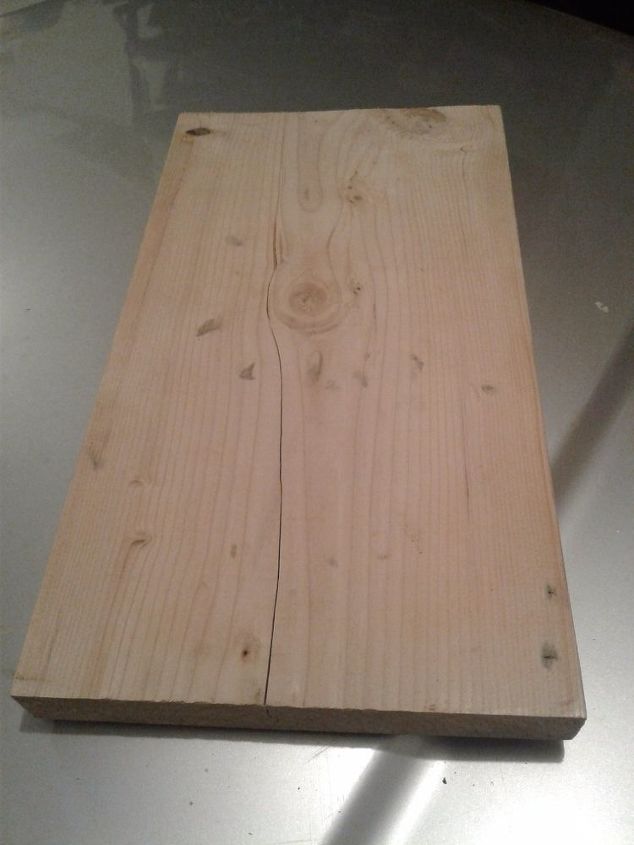
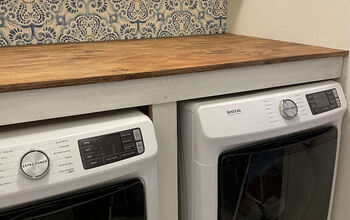
Start by choosing your wood. I picked up a standard wood plank that measured 1" X 10" X 8' however you can choose whichever size works for your space. I started by cutting it to the size I wanted and then sanding down all the sides and giving the corners a little bit more of a rounded edge instead of so straight.
My window was 32" wide, but 4" total for the window trim and I wanted about 5" on each side of the window so my wood was cut to 46" in length.
I stained my wood with Minwax Classic Gray since our kitchen is done in a gray and white color scheme. The gray was the perfect color. I gave it about 2-3 coats of stain and then sealed it to protect the surface. I waited 24 hours to make sure it was dry before we were ready to attach it.
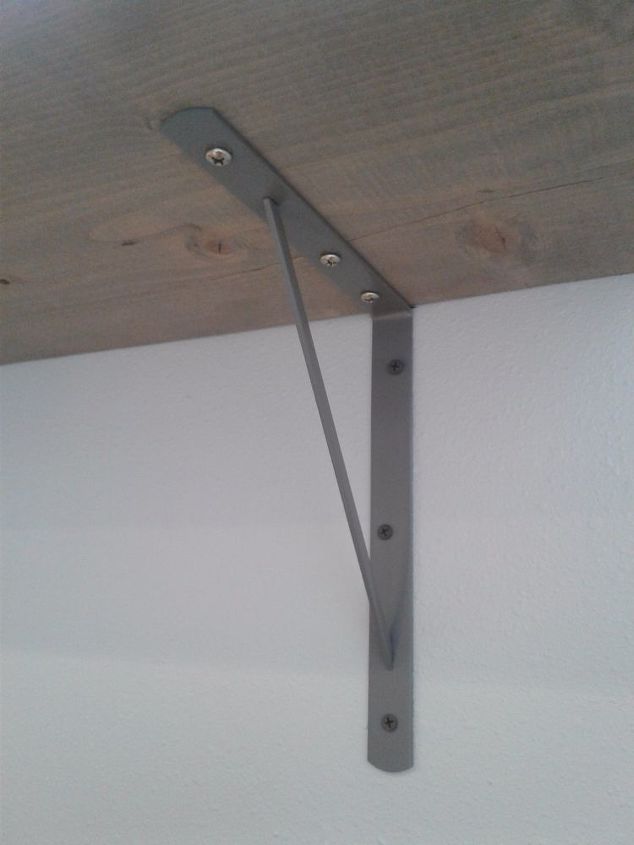
Next you will need to locate your studs and make a little mark on the wall where they are. Decide where you want your shelf to sit, measure out those dimensions and then make marks where your brackets holes are so you know where you need to attach your screws. We attached our shelf about an inch below the window trim and centered in the middle of the window.
Make sure when you buy your brackets you buy them from the lumber department and not the cabinet department. The cabinet brackets are not strong enough to support something like this so you need to buy the strong ones.
To attach the brackets to the wall we used 3" screws and used 3/4" screws to attach the bracket to the wood.
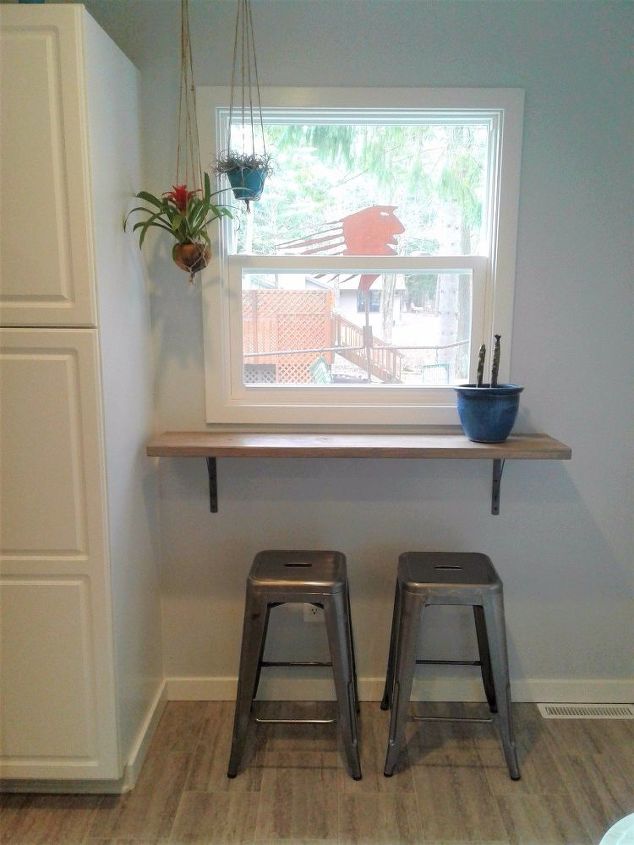
Since this is one of the few windows we have that gets a good amount of sunlight, I have since added a few more herbs to my little shelf. I love the smell of lavender and rosemary, so those were perfect choices for me.
That crazy guy you see out the window is some metal artwork my neighbor gifted to us. He is perfect for "disguising" the neighbors yard and he holds a bunch of bird feeders so they are up close and personal to us.
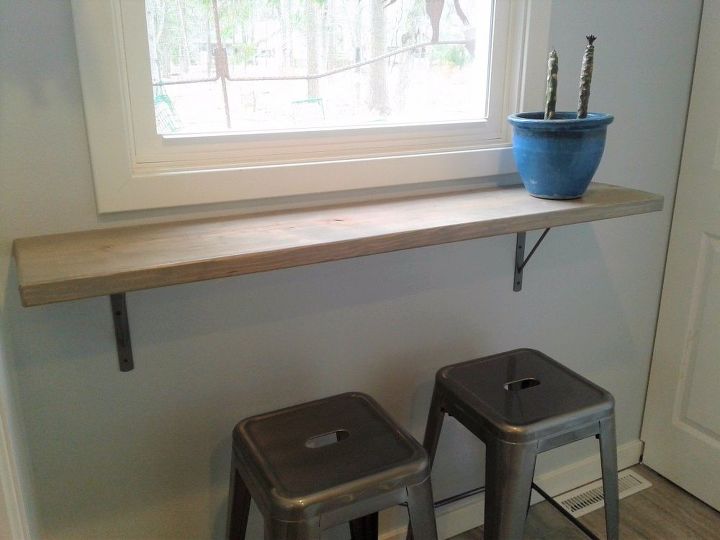
Now grab a cup of coffee, tea or whatever you prefer to drink and enjoy your new favorite kitchen spot!
You can find more DIY's like this and so much more over at CrazyDiyMom.com

Want more details about this and other DIY projects? Check out my blog post!


Frequently asked questions
Have a question about this project?